The base topology of this looks to me like a Geodesic Dome, or Bucky-Ball. This can be reached vis the shipped Add Mesh: Geodesic Domes add-on, or by taking the dual mesh of a base Icosphere. The dual can be created in Geometry Nodes, or via the shipped Tissue add-on.
This shows the dual mesh, simply subdivided, and then with the central pole vertices CtrlShiftB bevelled out to inner faces:
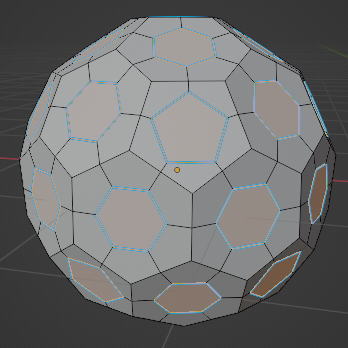
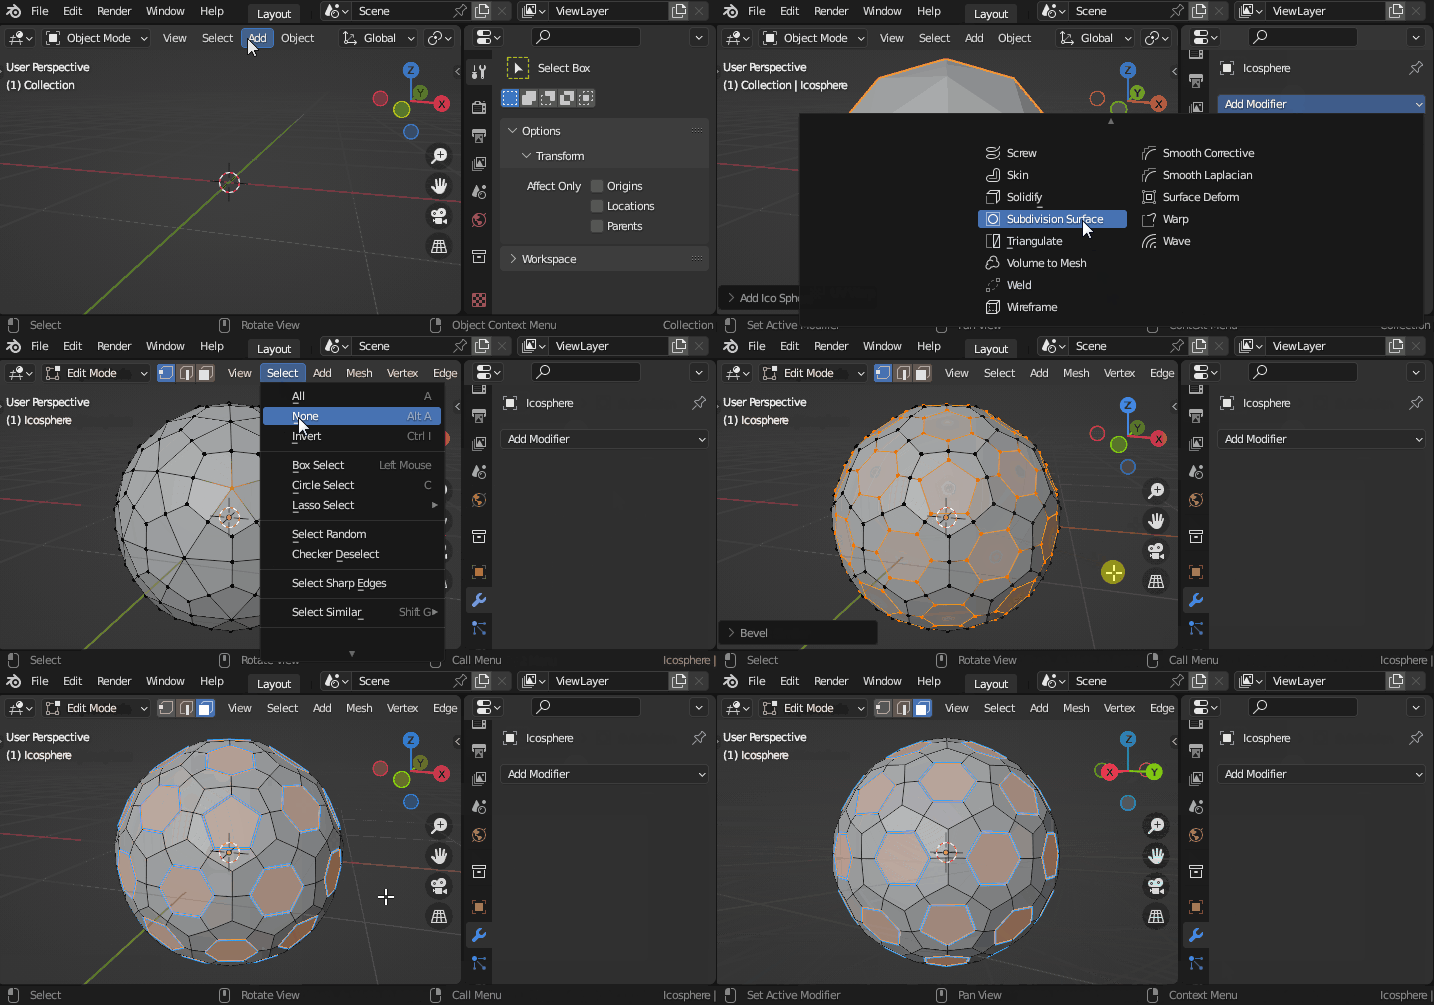
The inner faces have further:
- Had their edges Bevel Weight set to 1.
- Have had the shipped Add-on: Loop Tools > Circle applied to them, with 'Radius' set, so they are all the same size.
- Been assigned to a Vertex-Group ('Dome').
At this stage, the inset faces were UV unwrapped, by 'Reset'. This means all those face's UV's are centered in the UV space, with the same area. The remaining faces were scaled to 0 in a corner.
The faces were then repeatedly I inset (with a further I to set 'Individual')
I found 2 vertex-groups helped keep control, one for the raised domes (left), and the other for the region of the mesh supposed to remain spherical:
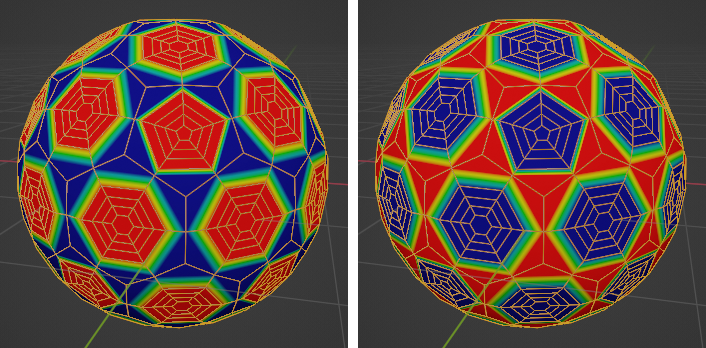
Now the rest can be done with modifiers.
- A Cast > Sphere modifier, open to adjustment further down the line, possibly aimed at the second vertex-group, above
- A Displace modifier, aimed at the left group, above, using a Blend > Spherical texture, in the space of the reset UV Map
- A Bevel modifier, by the edge-bevel weights we set earlier, to sharpen the edges of the domes, where they meet the sphere
- A Subdivision Surface modifier.
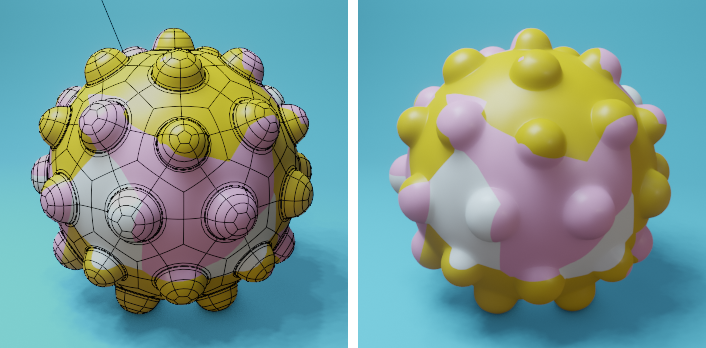
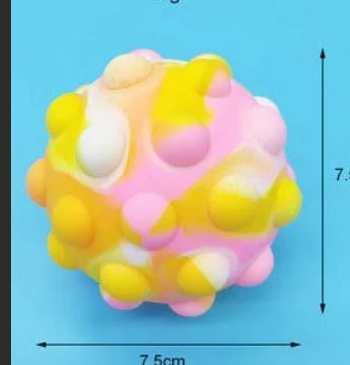
The result, and its topology:



ctrl+shift+b) or the Icosahedron (20 faces and inset each face). Then use the same procedure as shown in Robin's answer. You can easily create a dodecahedron using the same addon used in this thread and the Icosahedron using Mesh > Ico Sphere with 1 level subdiv $\endgroup$