0
$\begingroup$

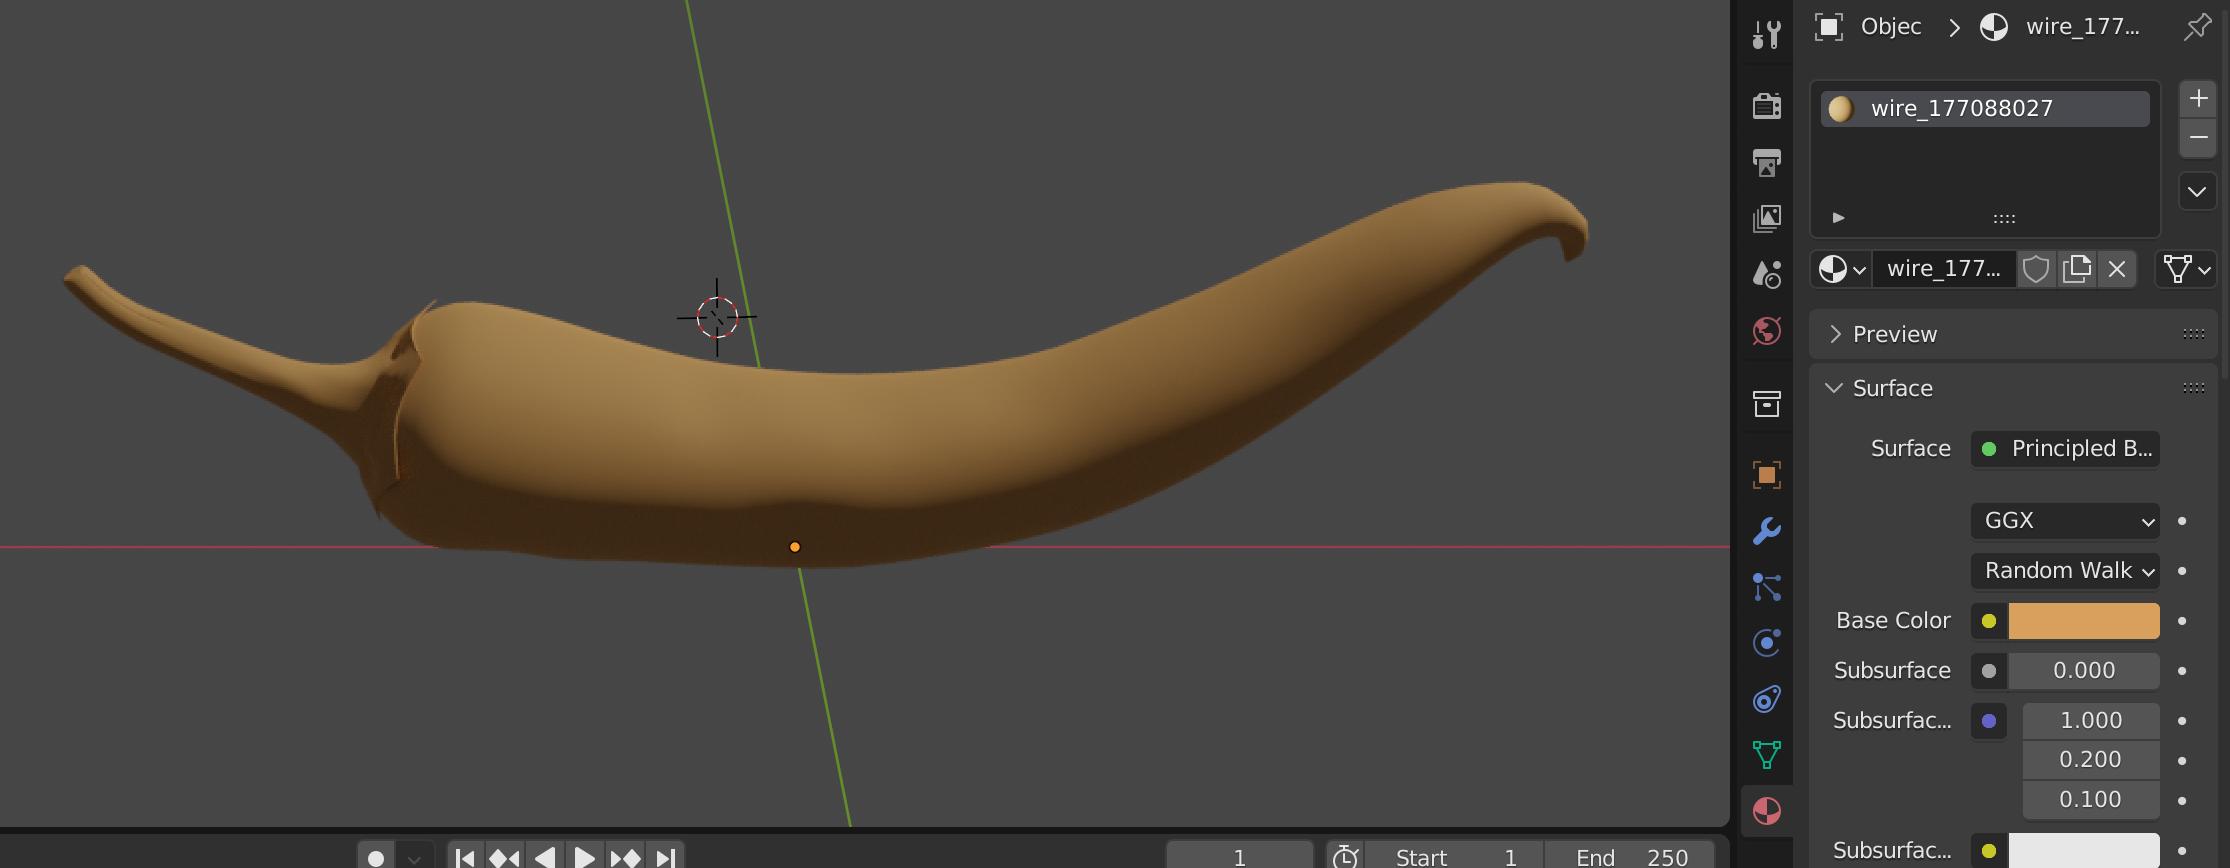
I purchased the model below. Download comes with .obj .mtl and a .max. I open the .obj and all I see is the model and no color or texture. I check material properties and it looks like it is loading info from the .mtl file but it doesn't in any way correspond to the colors shown in the image.

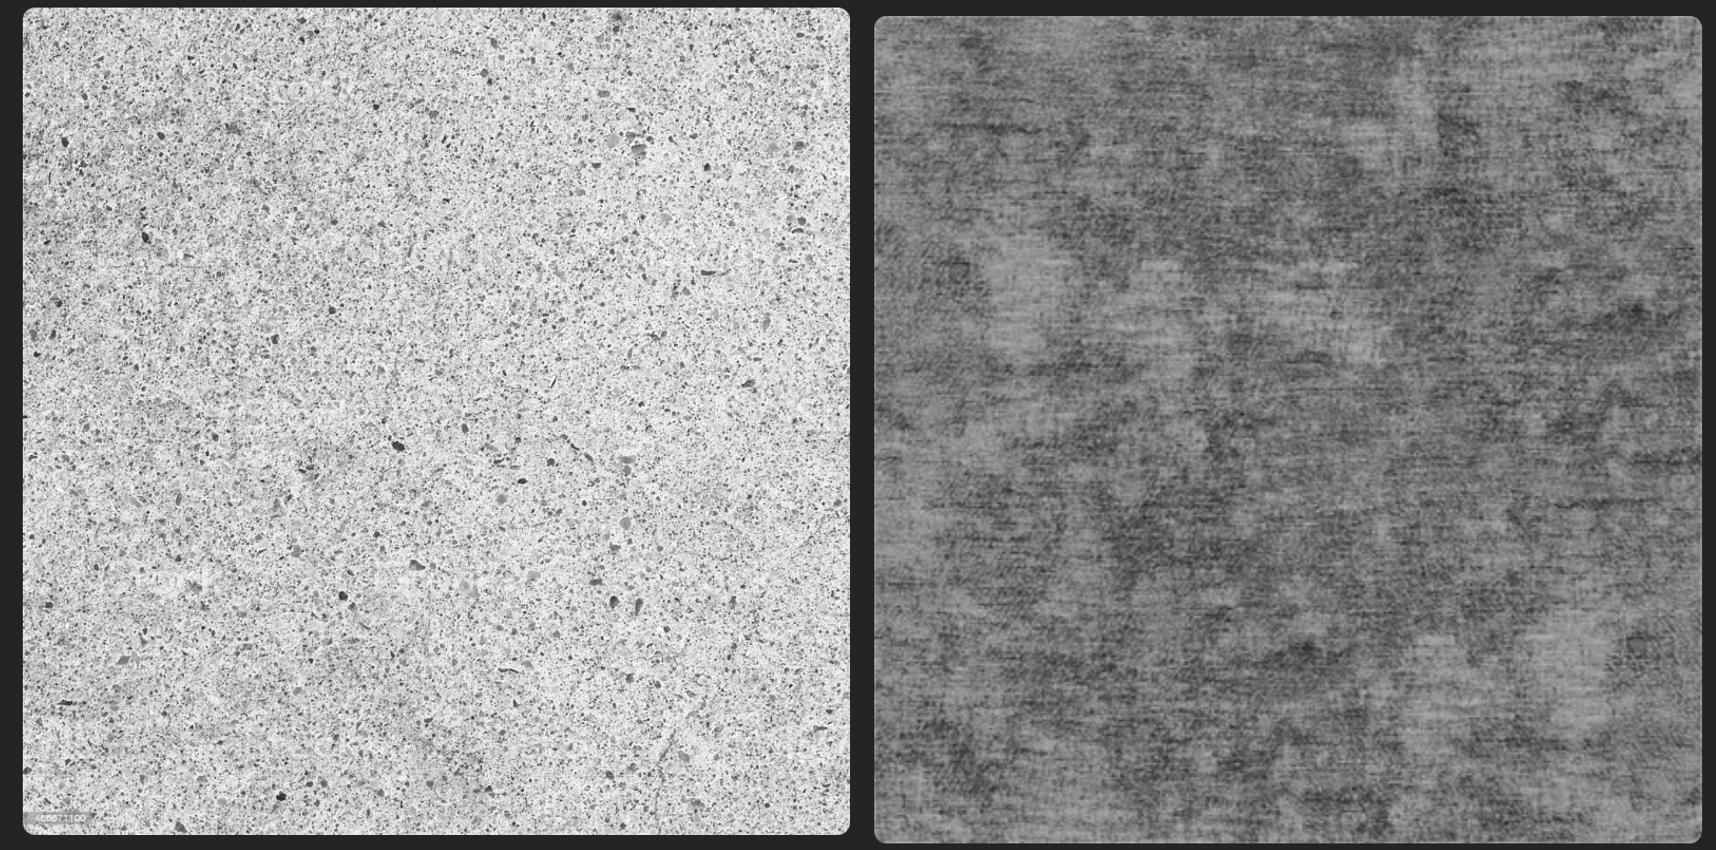
I found two texture files hidden deep in an attached RAR. Guessing the paths aren't finding those. See image below. Any suggestions on how to recreate the texture from the image? I'm guessing the image on the left (lighter) is used as roughness map?

files can be found here: https://drive.google.com/drive/folders/12bzSSawDOr21ra6wc-0doXZrvt--9UtR?usp=share_link

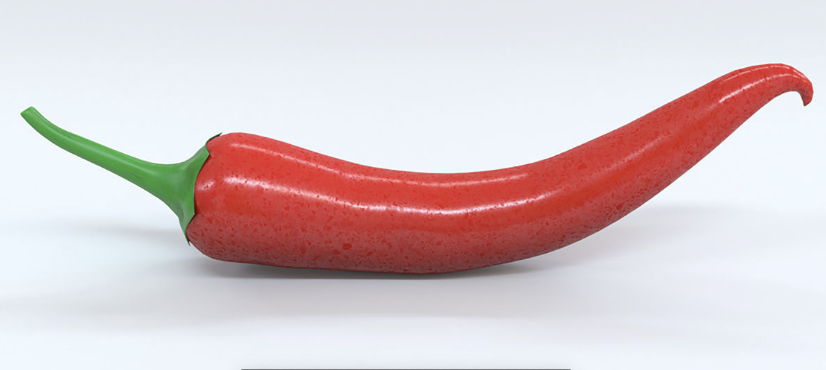
purchased model

result after import

two textures found in the DL folder

$\endgroup$
6
  • $\begingroup$ nobody can help? sad day for me $\endgroup$ Commented Dec 26, 2022 at 13:45
  • $\begingroup$ could you share the .max file as well? Might be an export problem $\endgroup$
    – Aswin
    Commented Dec 26, 2022 at 15:16
  • $\begingroup$ blender.stackexchange.com/questions/57531/… $\endgroup$ Commented Dec 26, 2022 at 17:11
  • $\begingroup$ I dropped the .max file into the folder. $\endgroup$ Commented Dec 26, 2022 at 17:57
  • $\begingroup$ I would use the left image texture for the Specular value and the right one maybe as a Bump map. Here is a try: i.sstatic.net/tM4mg.jpg - To get the light reflections as in the reference image, you need to turn down the Specular (gloss) a bit and make the chili pretty smooth (=low Roughness value). $\endgroup$
    – Blunder
    Commented Dec 26, 2022 at 18:39

1 Answer 1

0
$\begingroup$

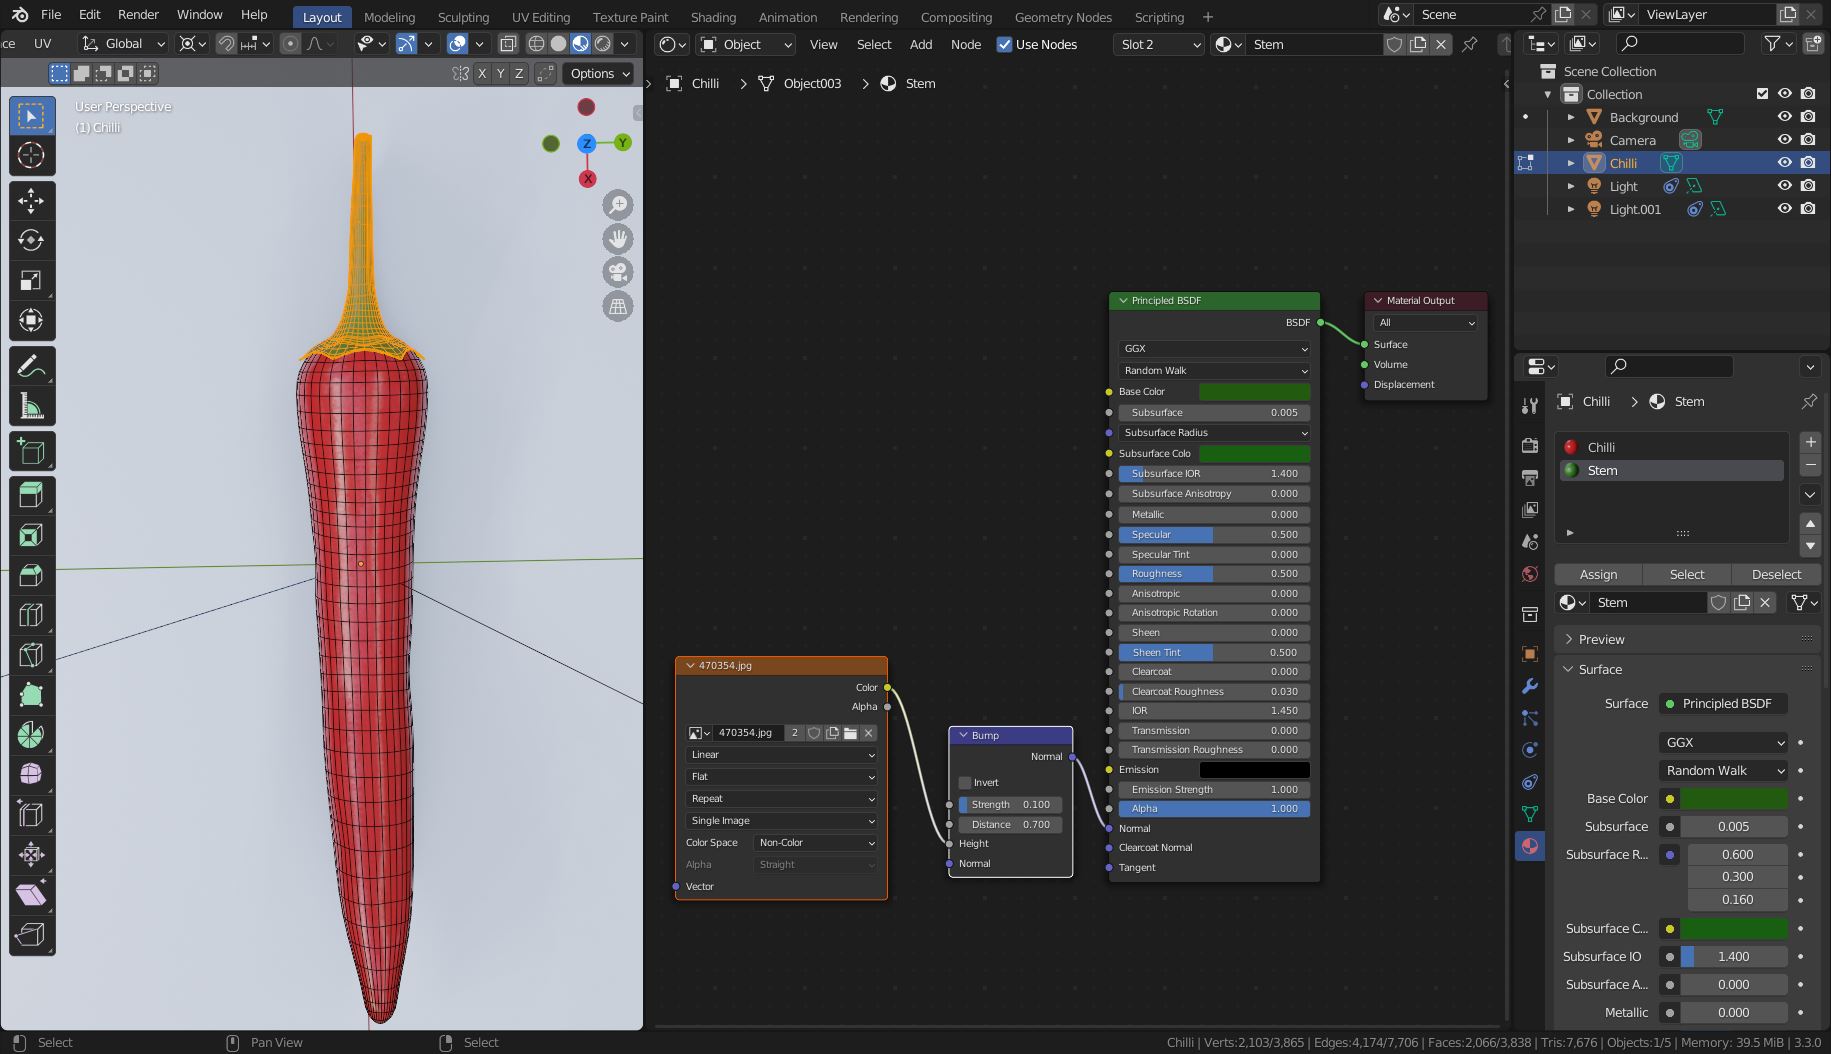
You need to create a second material for the green stem part because there is no mask or base color image. If you select a vertice at the tip then you can expand the selection with Select > Select More/Less > More (Ctrl + Numpad +)

screenshot 2

For the stem and the chili, I've used the right image texture (470354.jpg) as a Bump map. The Strength is lower for the chili.

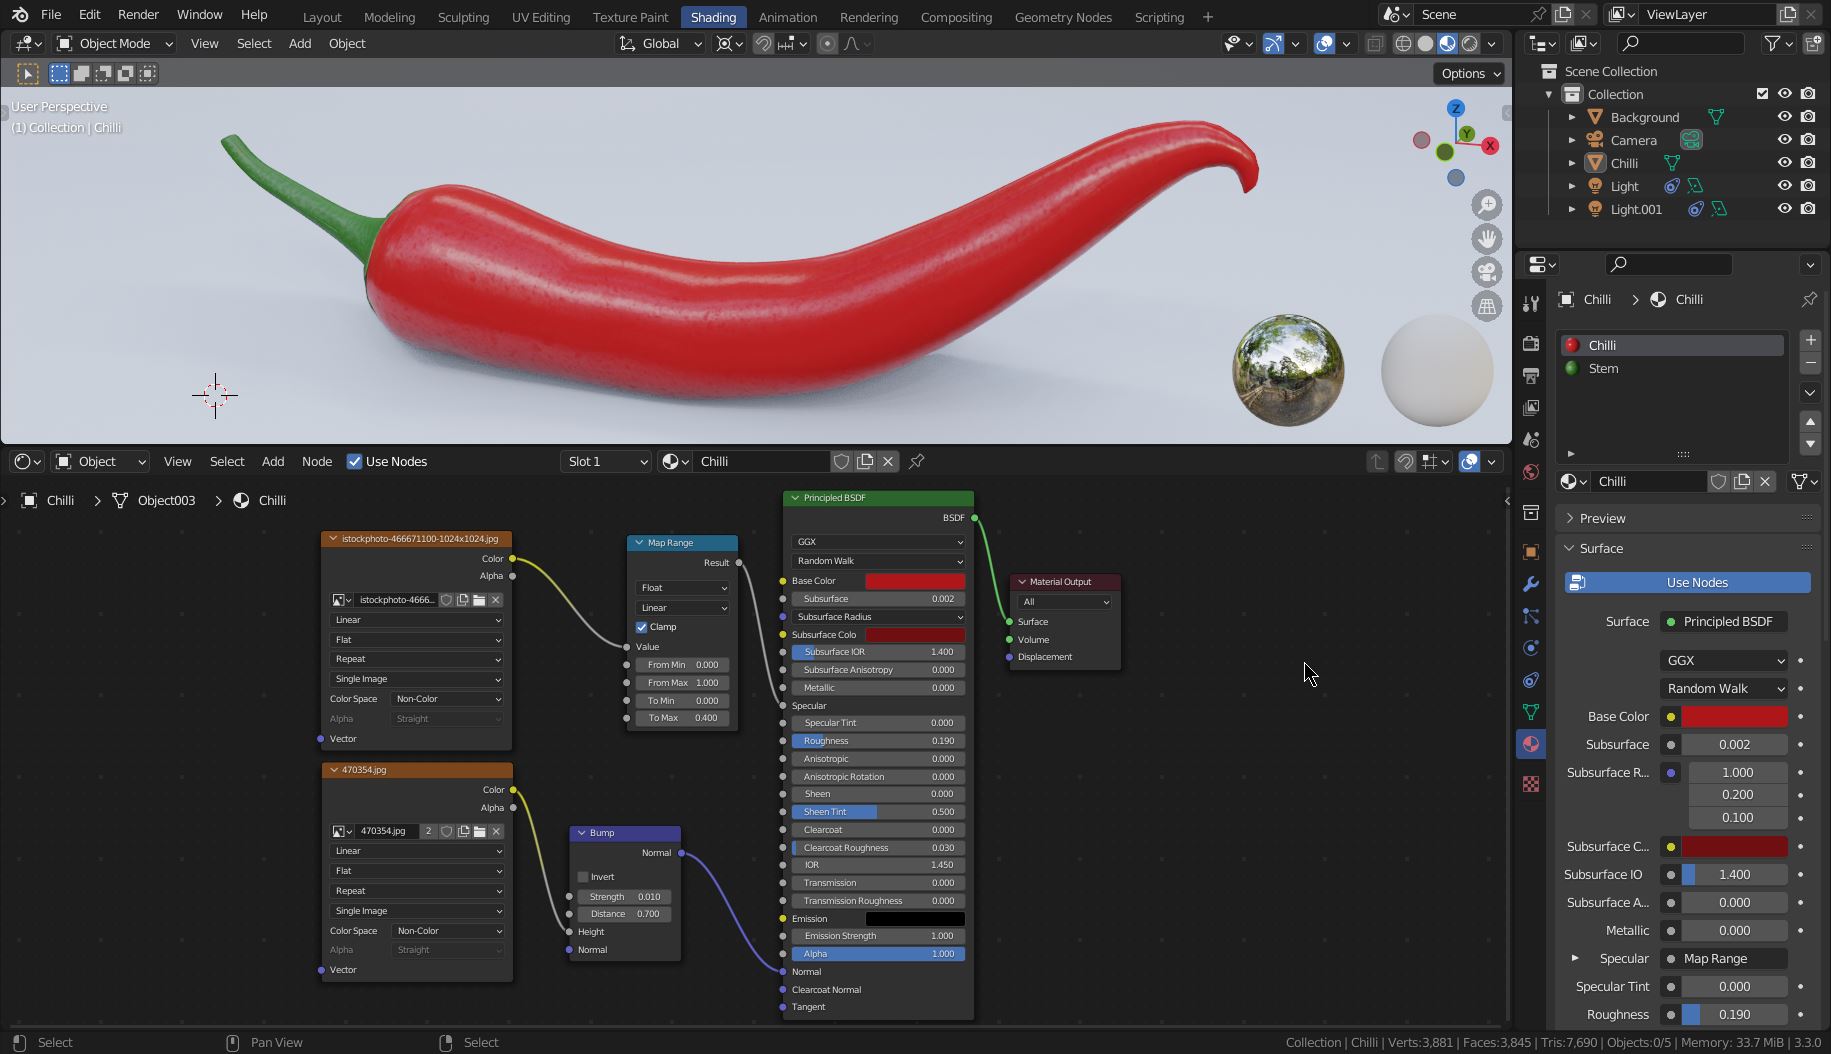
The left image texture (istockphoto-466671100-1024x1024.jpg) can be used for the Specular value for the chili. Here is a try:

screenshot 2

The white floor and the environment light (HDRI) create the pattern that you see on the chili. The horizontal light reflection is from 2 Area lights. To get the light reflections as in the reference image, you need to turn down the Specular (gloss) a bit with help of a Map Range node (0.000 - 0.400) and make the chili pretty smooth with a low Roughness value (0.190).

Do not forget to scale down the size of the chili, because imported it is a 500-m monster chili!

For Eevee enable [X] Ambient Occlusion and [X] Screenspace Reflections, use an HDRI with soft lights (forest.exr), and enable [X] Contact Shadows for the Area lights (2 m x 0.4 m, 30 W).

$\endgroup$
1
  • $\begingroup$ THANK YOU!!! looks much better. $\endgroup$ Commented Dec 31, 2022 at 10:37

You must log in to answer this question.

Not the answer you're looking for? Browse other questions tagged .