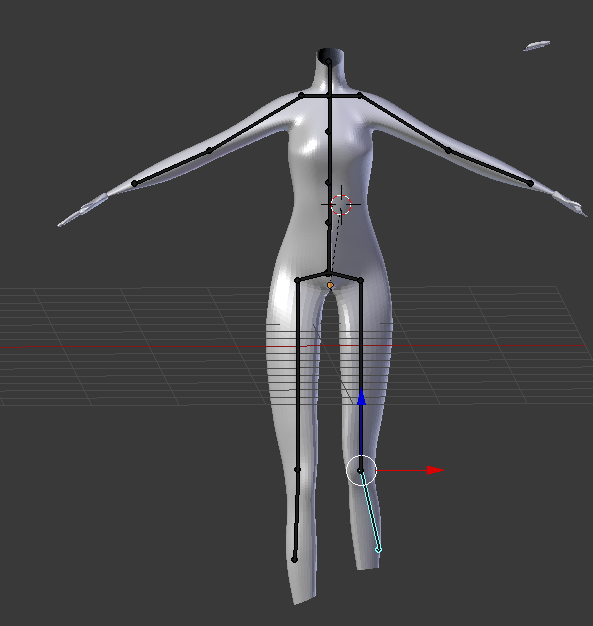
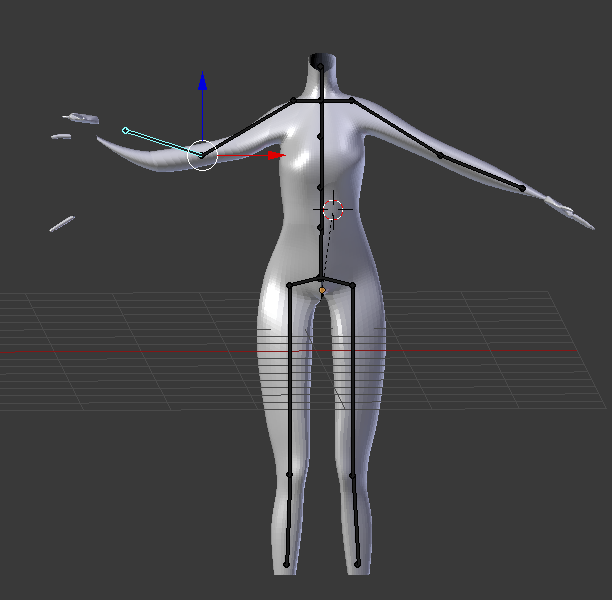
I've been following this tutorial to rig my blender character https://www.youtube.com/watch?v=mhQY2_gVoVg and no matter what I do, my rig moves other random parts of my model. If I move one leg, the other leg follows? Something's also wrong with the hands. I've applied the mirror modifier, parented using automatic weights, I even removed the mirror modifier, duplicated the half of my model, mirrored it, then joined the two so there would be no need for a mirror modifier. No matter what I do, my rig seems to be acting up strangely. I even play around with the weight paints, but it still doesn't work! I'm assuming there's nothing wrong with my mesh and that it's something with the rig, but I don't know what. Please help!
-
1$\begingroup$ maybe share your file? blend-exchange.giantcowfilms.com $\endgroup$– moonbootsCommented Aug 31, 2019 at 18:31
-
$\begingroup$ I've created a seperate duplicate file for this <img src="https://blend-exchange.giantcowfilms.com/embedImage.png?bid=6500" /> $\endgroup$– Sophia LuoCommented Aug 31, 2019 at 19:02
2 Answers
In Object mode apply the rotation and scale of your object with ctrlA, then in Edit mode recalculate the normals with ctrlN.
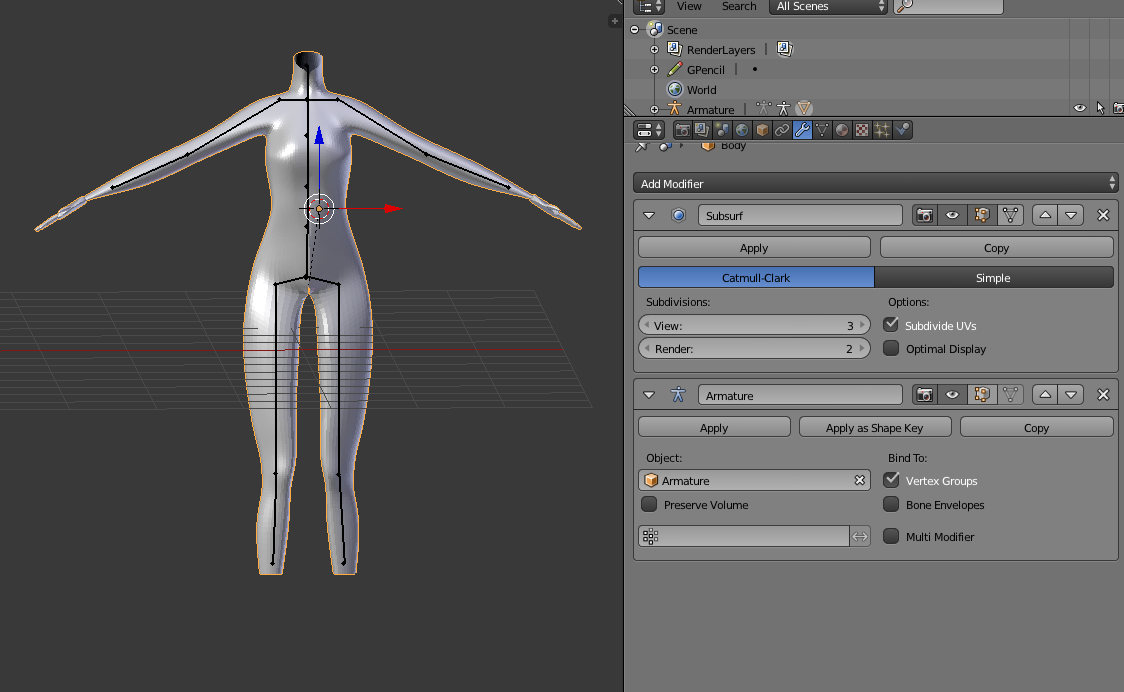
Also maybe remove the doubles, put the Armature modifier above the Subsurf, enable the Preserve Volume of the Armature modifier, join the fingers to the hands, etc...
Anyway it will need some corrections in Weight Paint mode or with the Vertex Groups Assign button.
I recreated the steps with your file and used parenting the mesh to the armature "With automatic weights"...and the result was nearly the same.
First thing is: You need more bones! :) The fingers are too far away to be moved with the lower arm bone.
The reason, why the lower left bone moves parts of the right leg (for example) is probably a too large value for its envelope. Sounds crazy somehow, doesn't it? :)
"With automatic weight" does the following: Bone by bone is heated up. Then each vertex is measured for the amount of radiation of each bone it has received. This value determines the amount of movement it does, when the according bone gets moved.
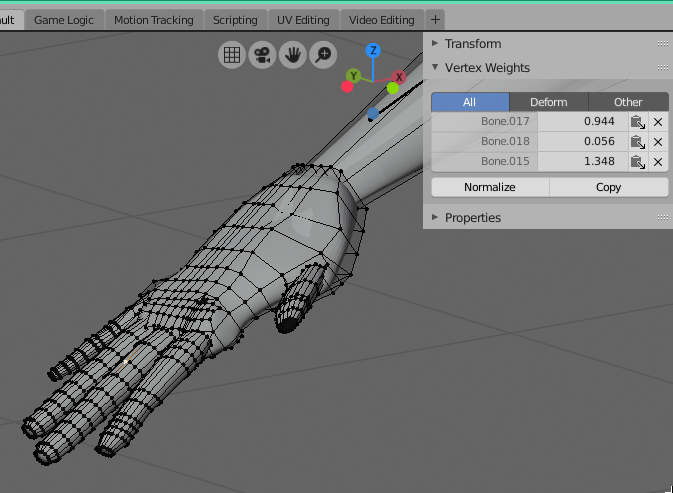
You can check for that values by entering EDIT mode for the mesh and click a certain vertex:

The bone of the lower arm is bone.8 and according the Vertex Weights in the panel on the right (under the "Item" tab) the "heat" of that bone hasn't reached that vertex of the hand. The amount of heat, each bone can generate, is controlled by the size of its "envelope value" which is shown in the Item-panel (same as in the picture) and this value can manipulated there. The value is shown, when the armature is in Edit mode.
This is the reason, why parenting an armature to a mesh is done, while the mesh and the armature are posed like an "X" because this way all bones and the according parts of the mesh have the maximum distance from each other.
How to fix: 1) Un-parent the mesh from the armature. 2) Delete all vertex groups 3) Create X pose for mesh and armature 4) Take a look at the envelope values of critical bones 5) Parent mesh to armature with "Automatic weights" 6) If ok: Accept cookies (and tea/coffee) :) 7) If not ok: GOTO 4)
...or use the Rigify-Addon... https://www.youtube.com/watch?v=pAhbO7U1ID8


