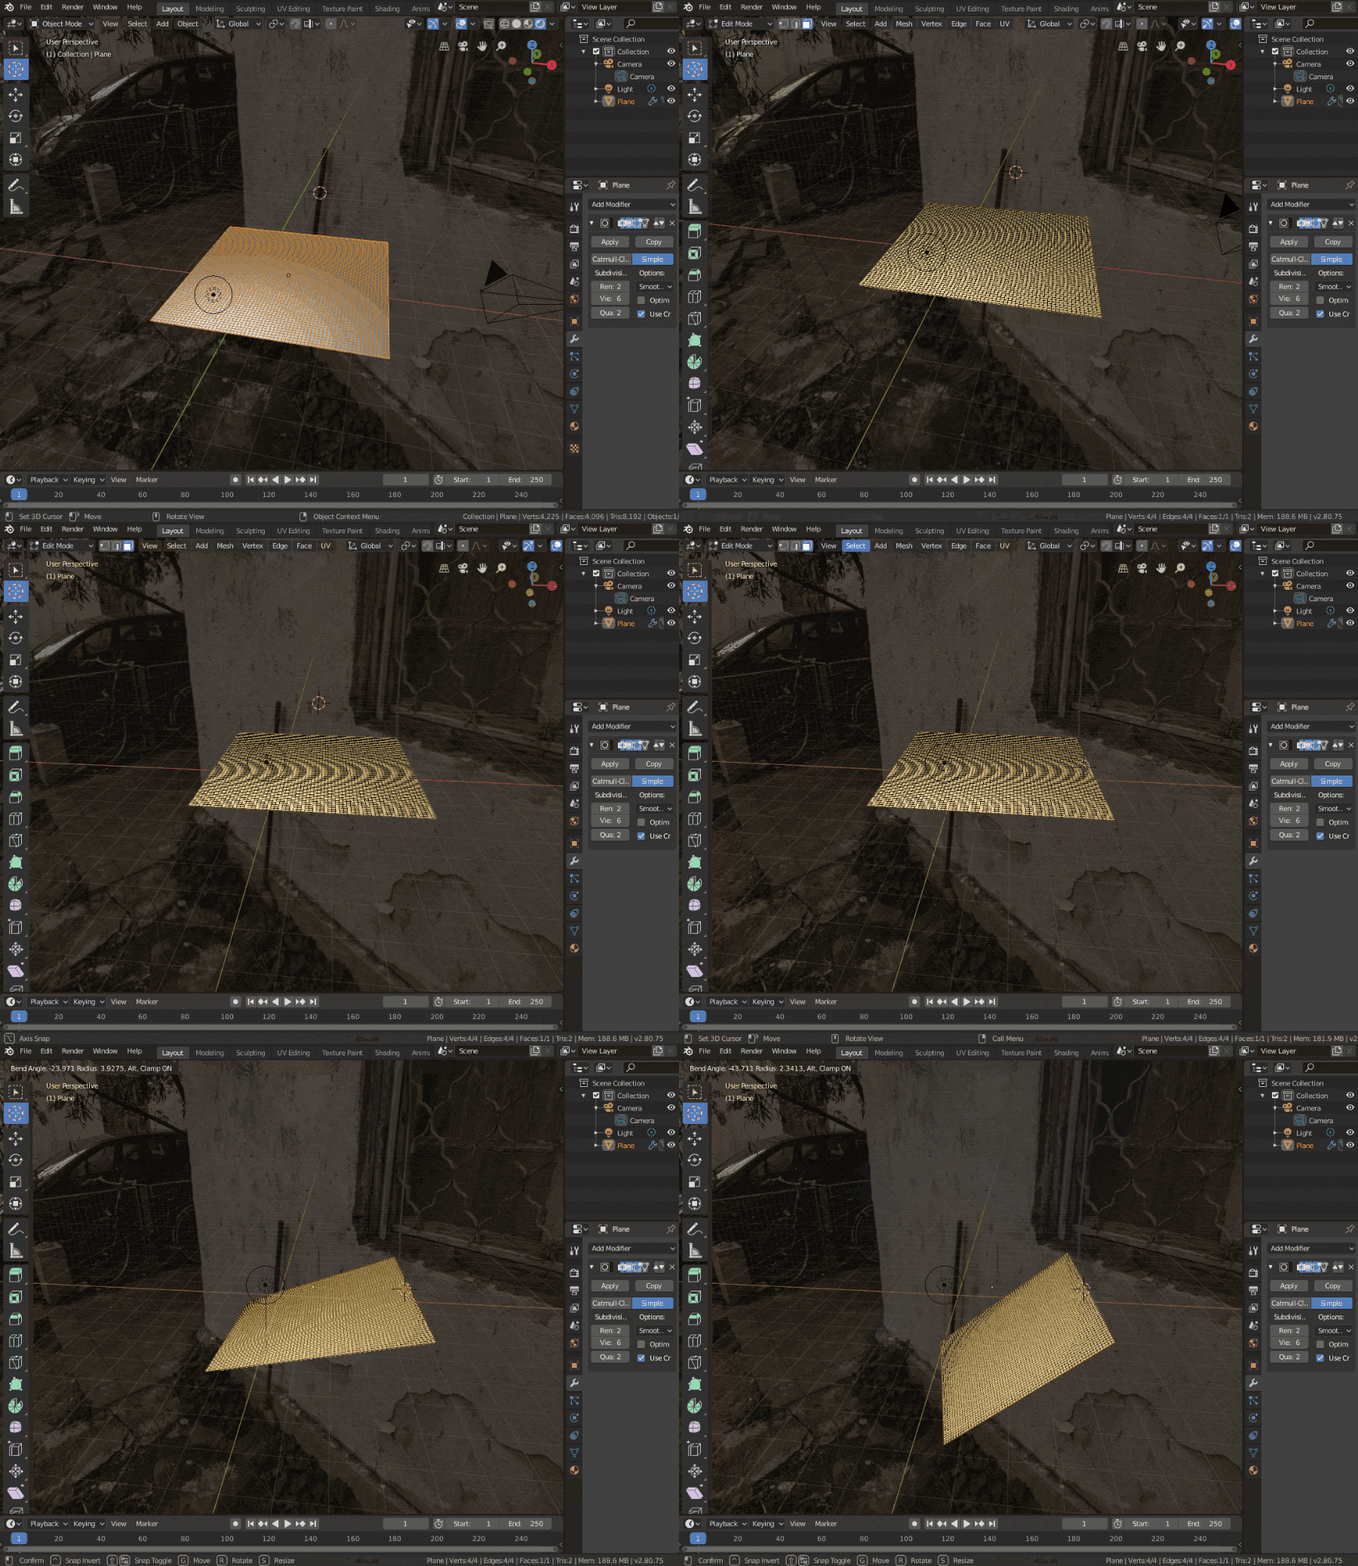
There are several way you can bend objects.
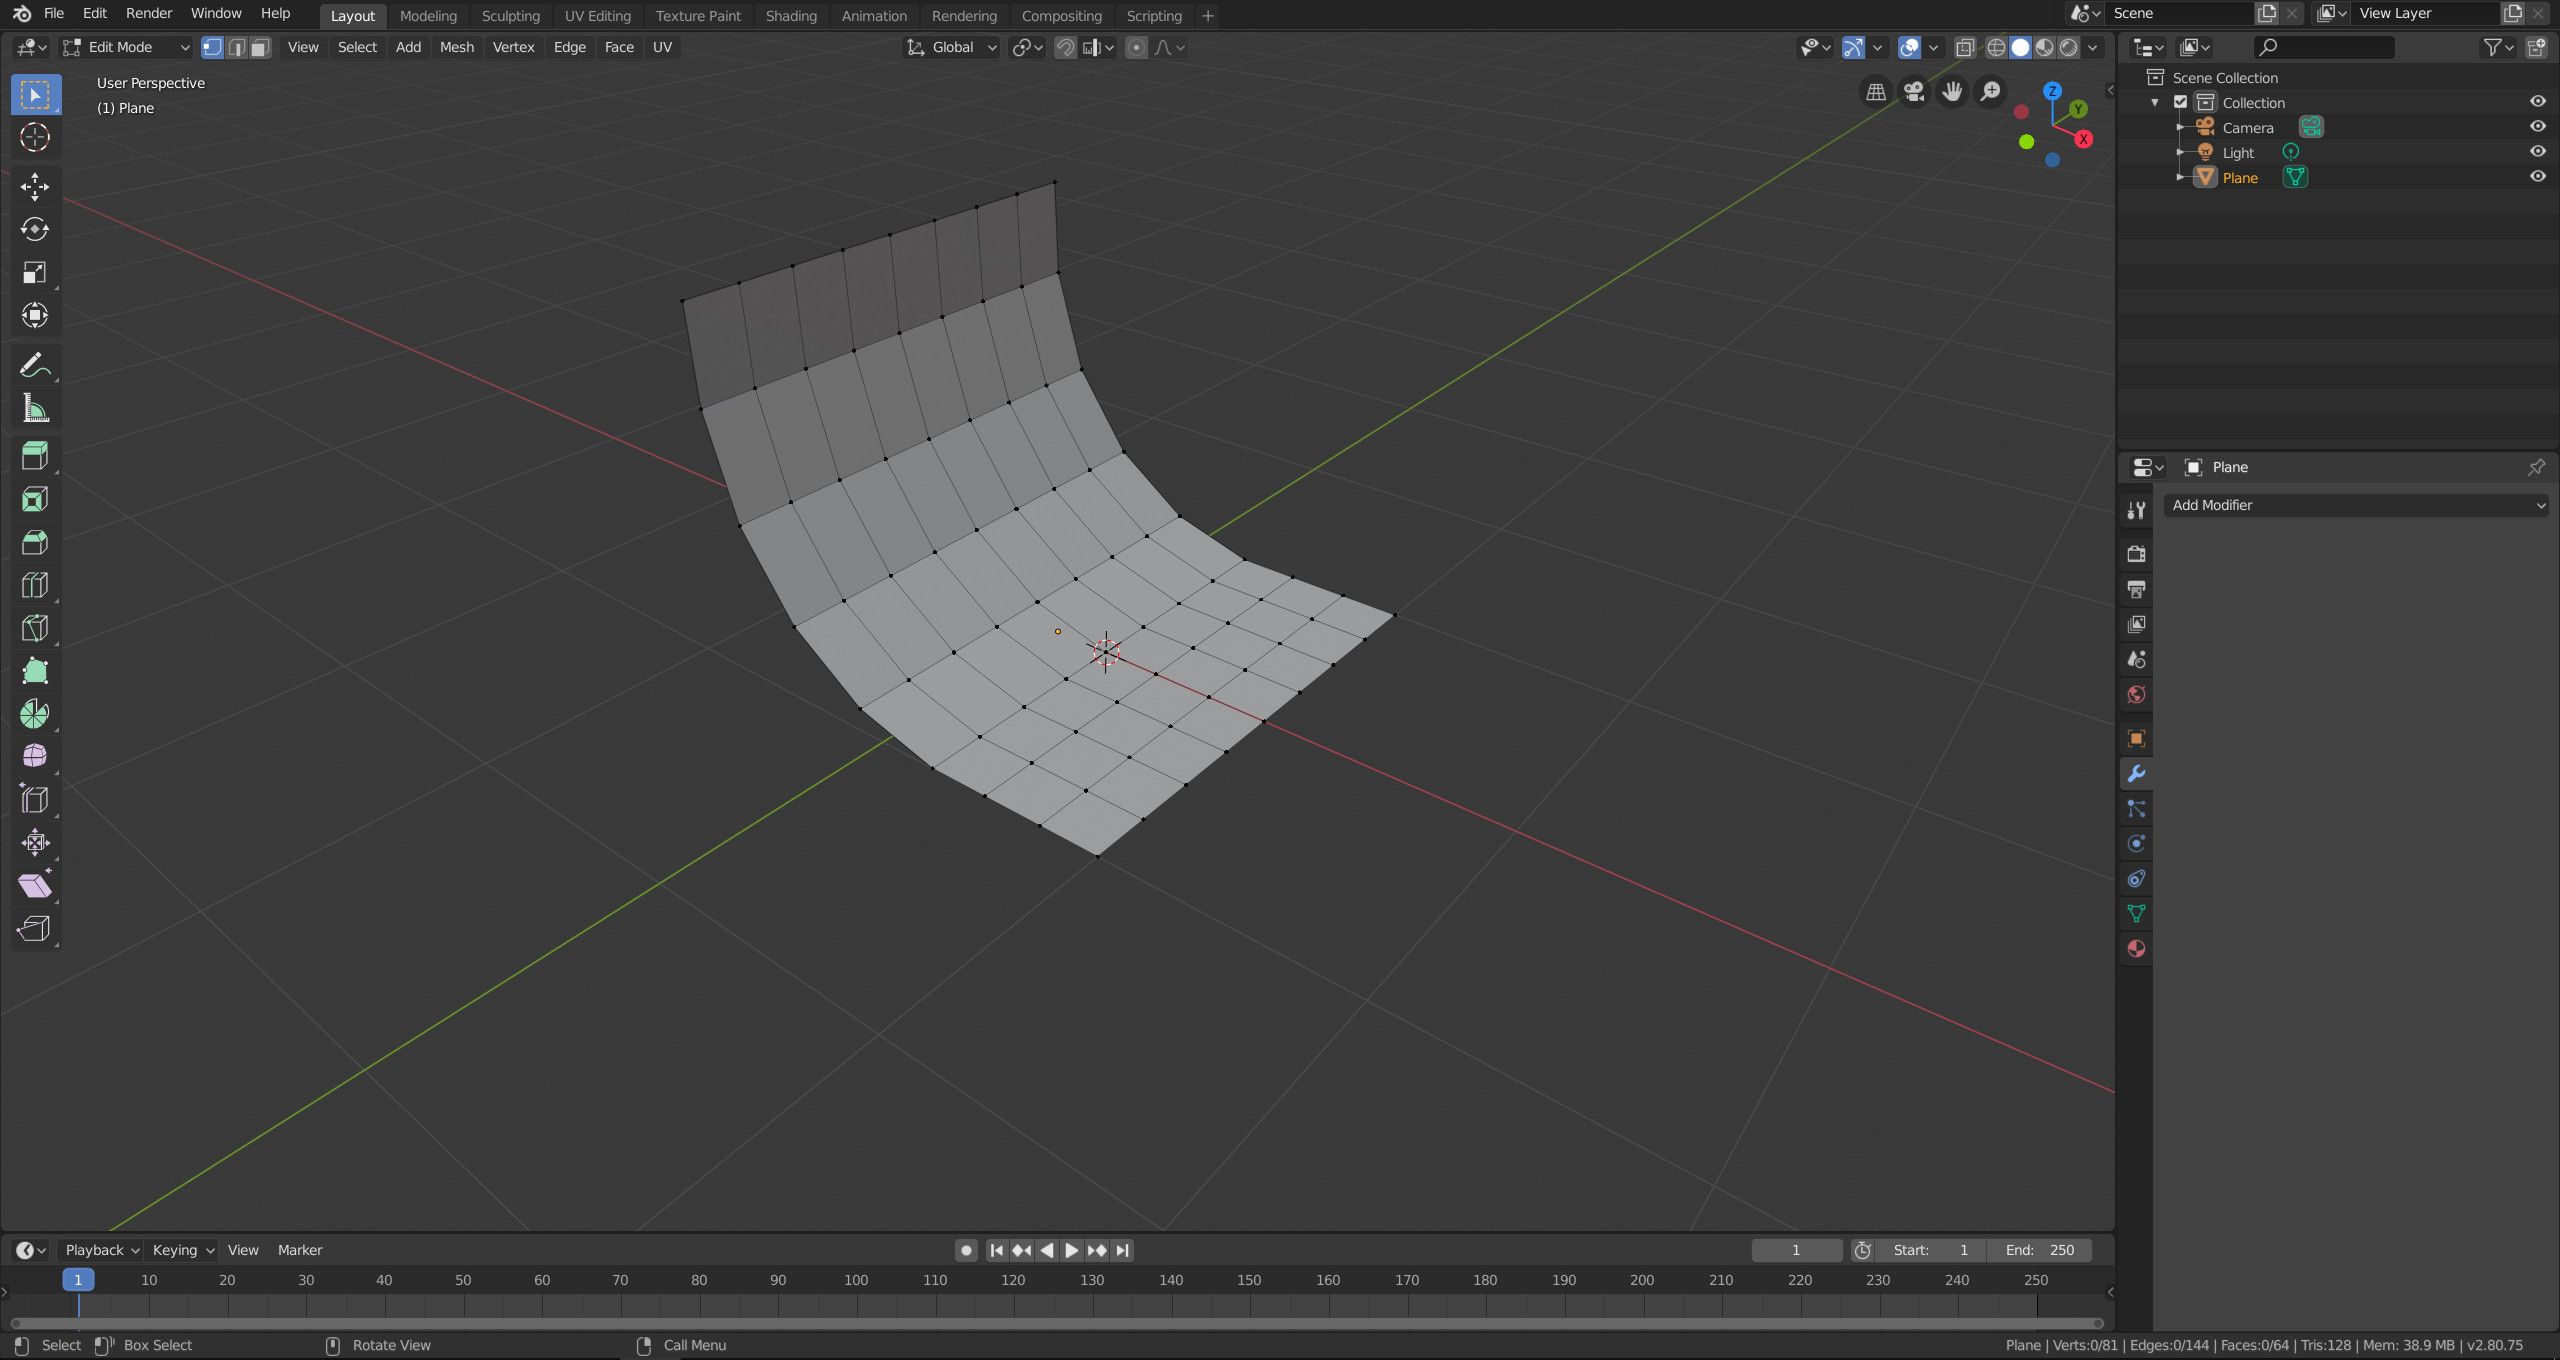
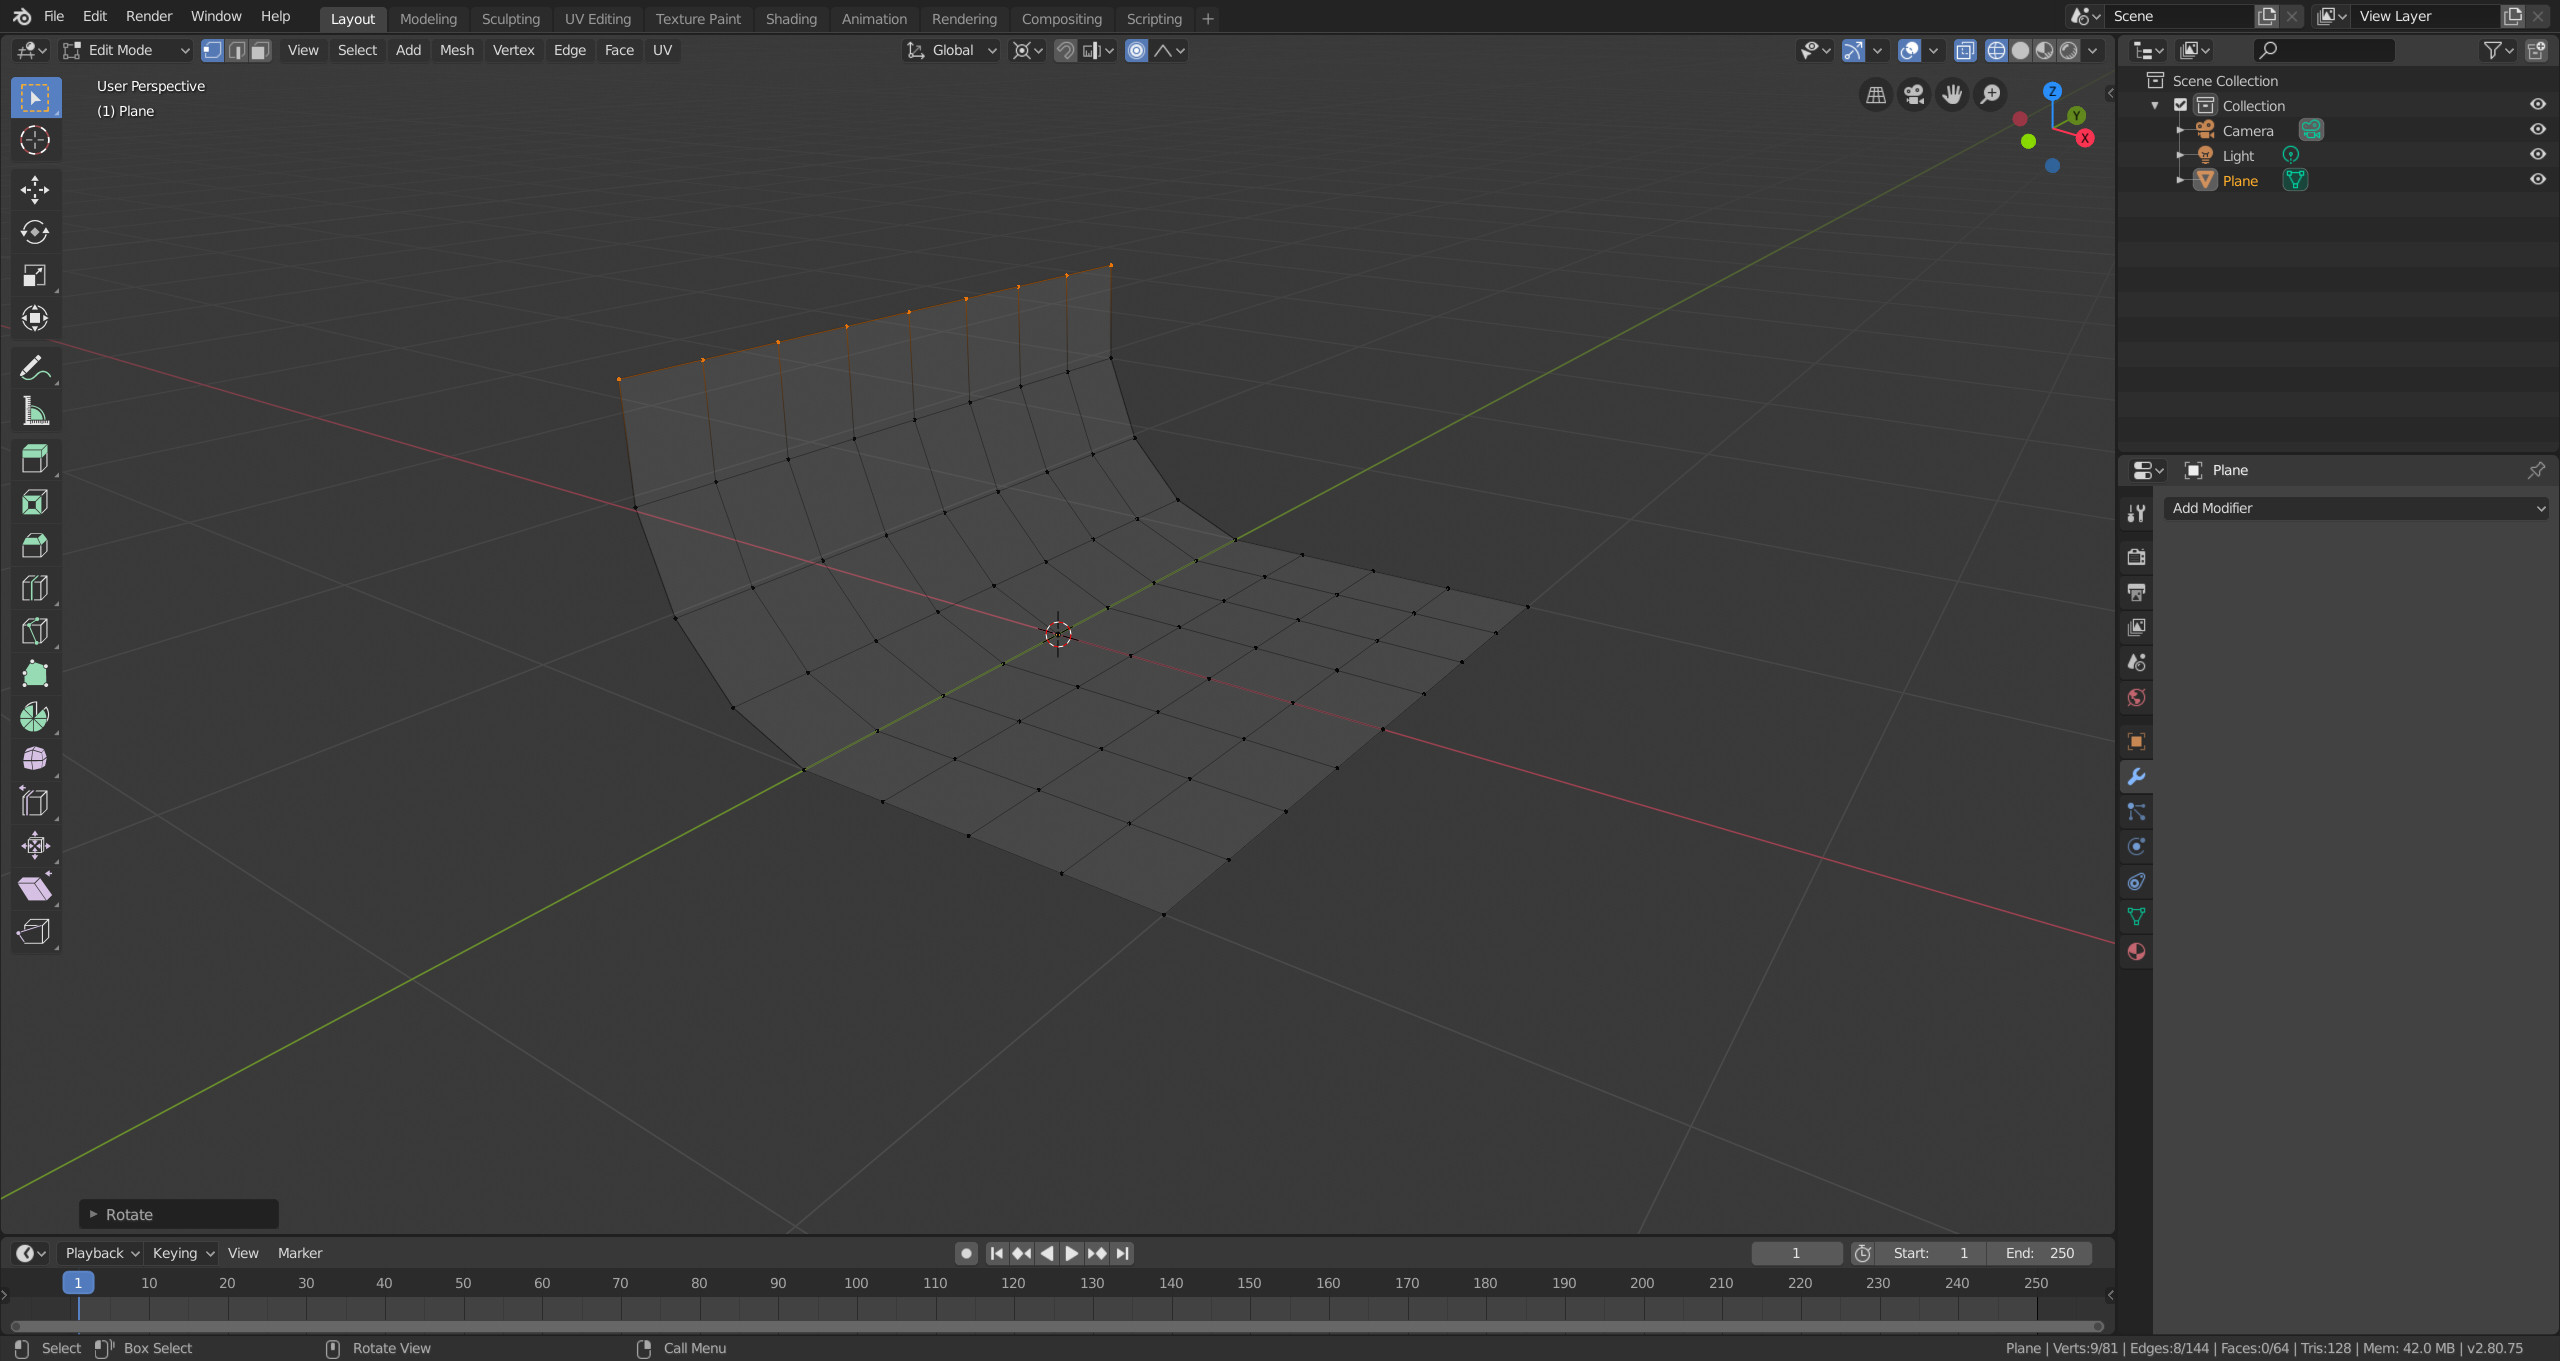
If you want to use proportional editing, you can use the following steps.
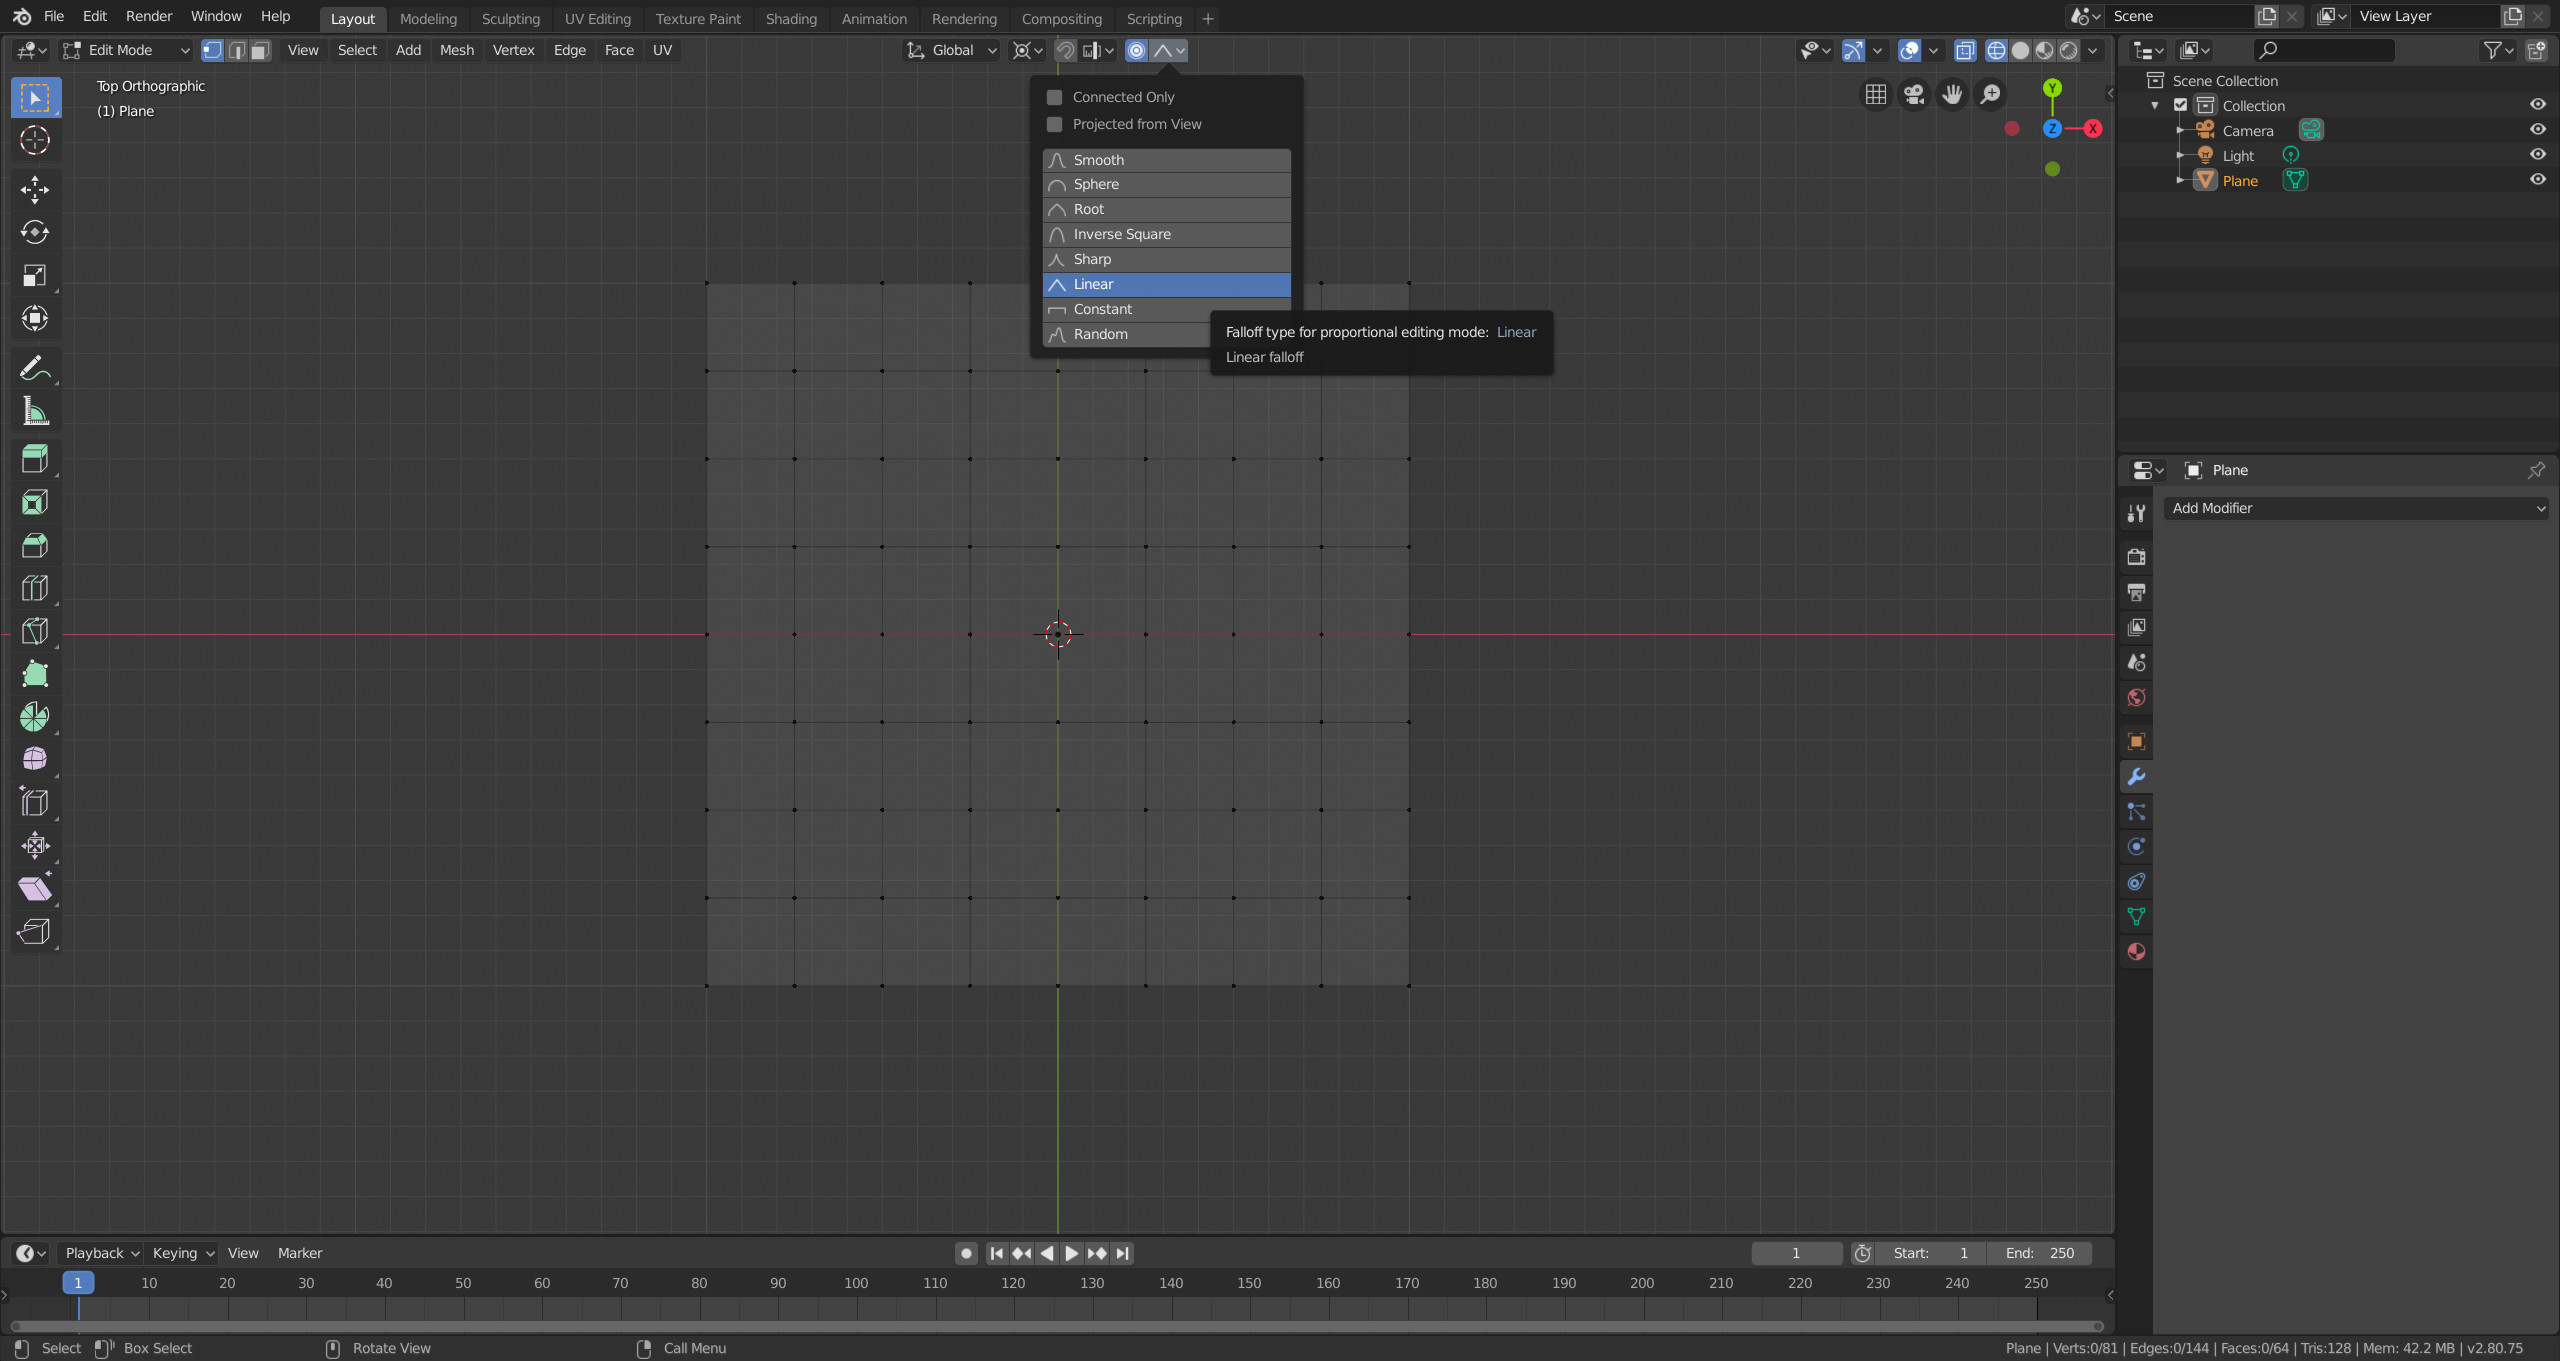
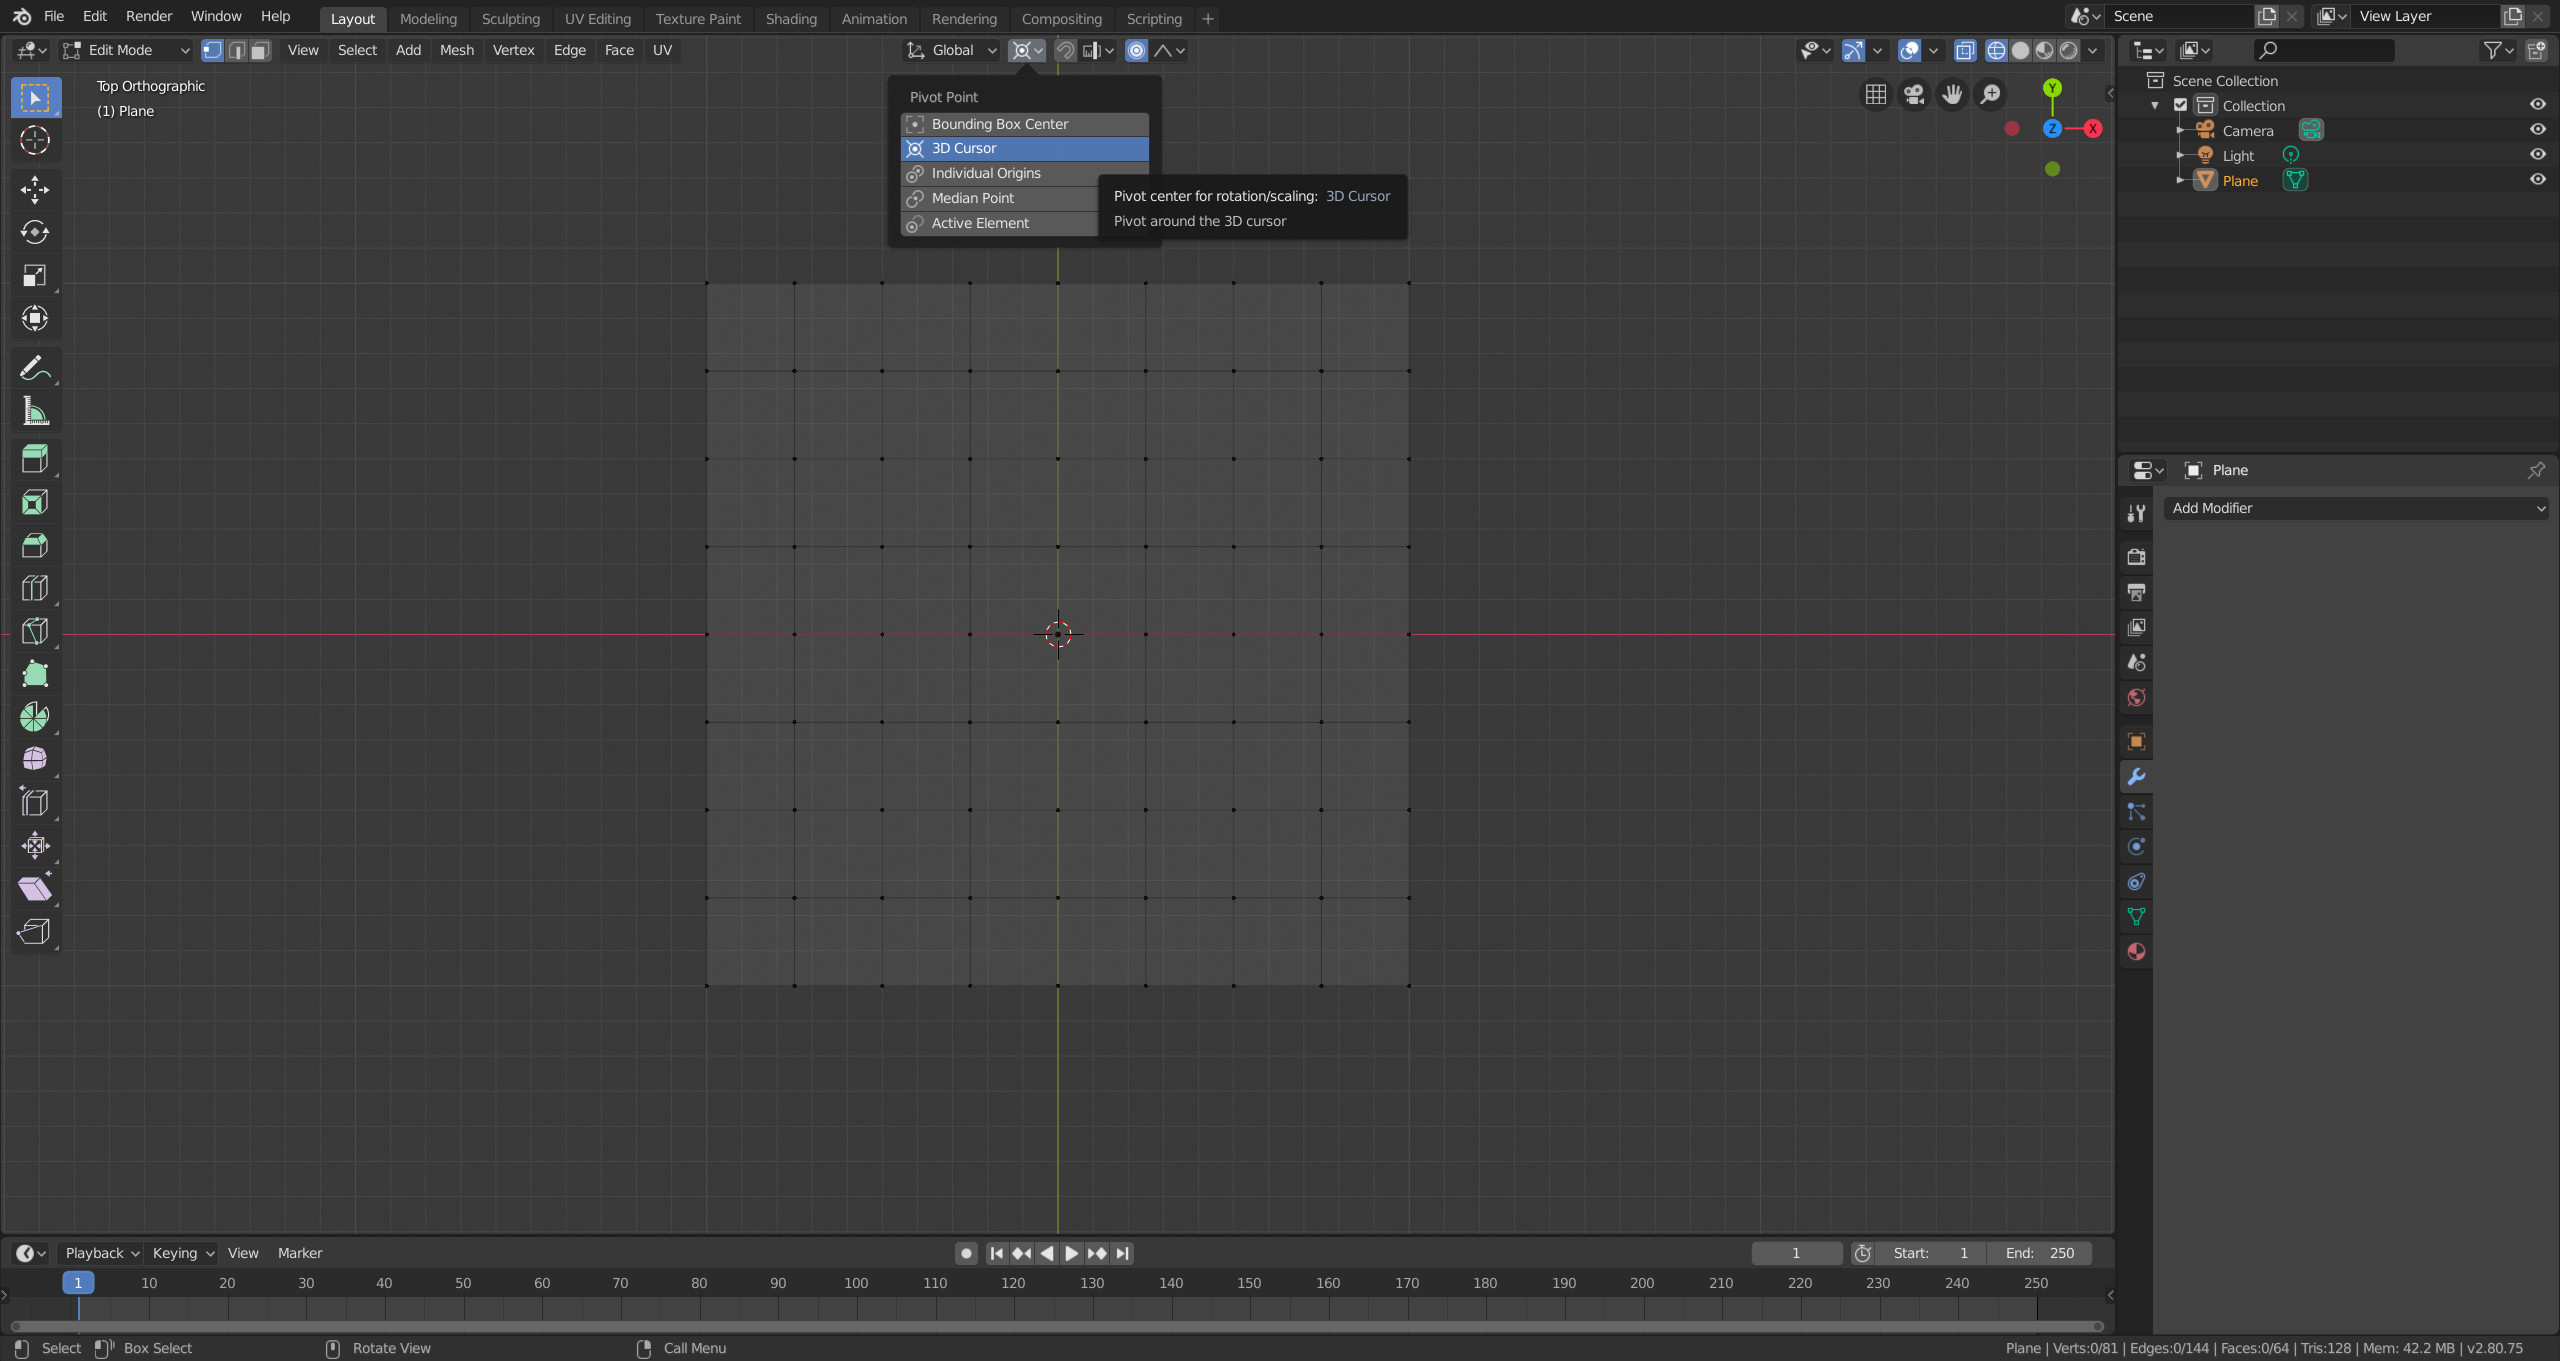
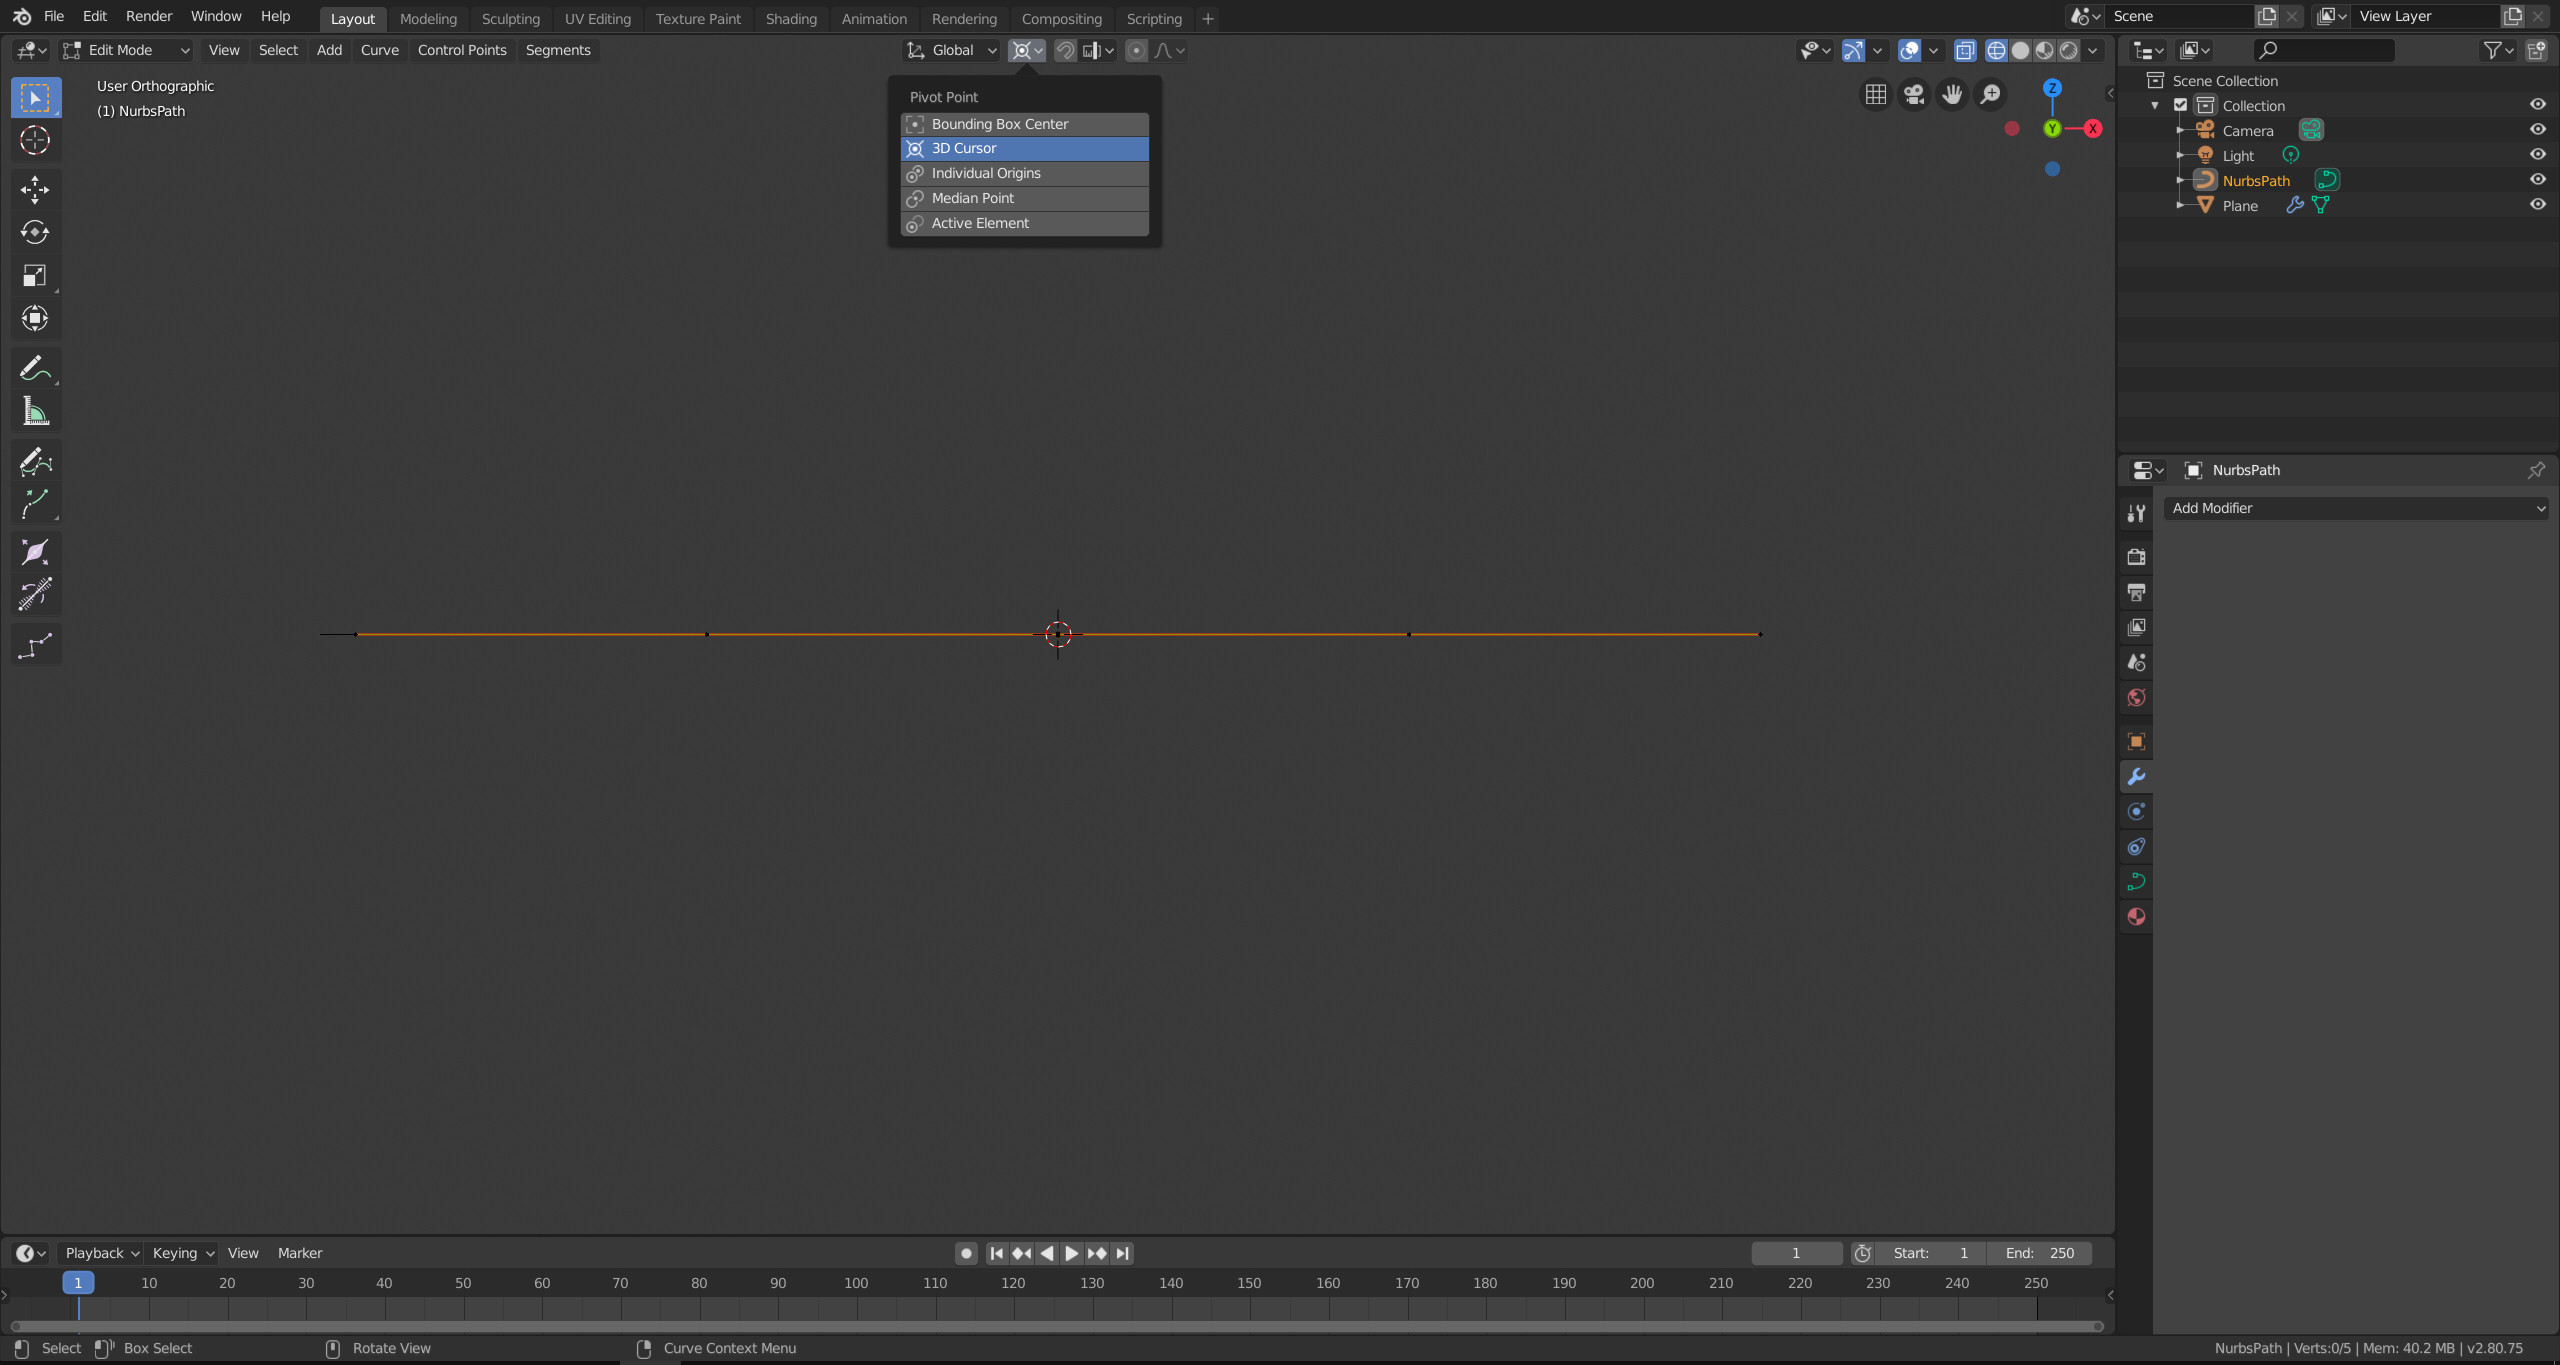
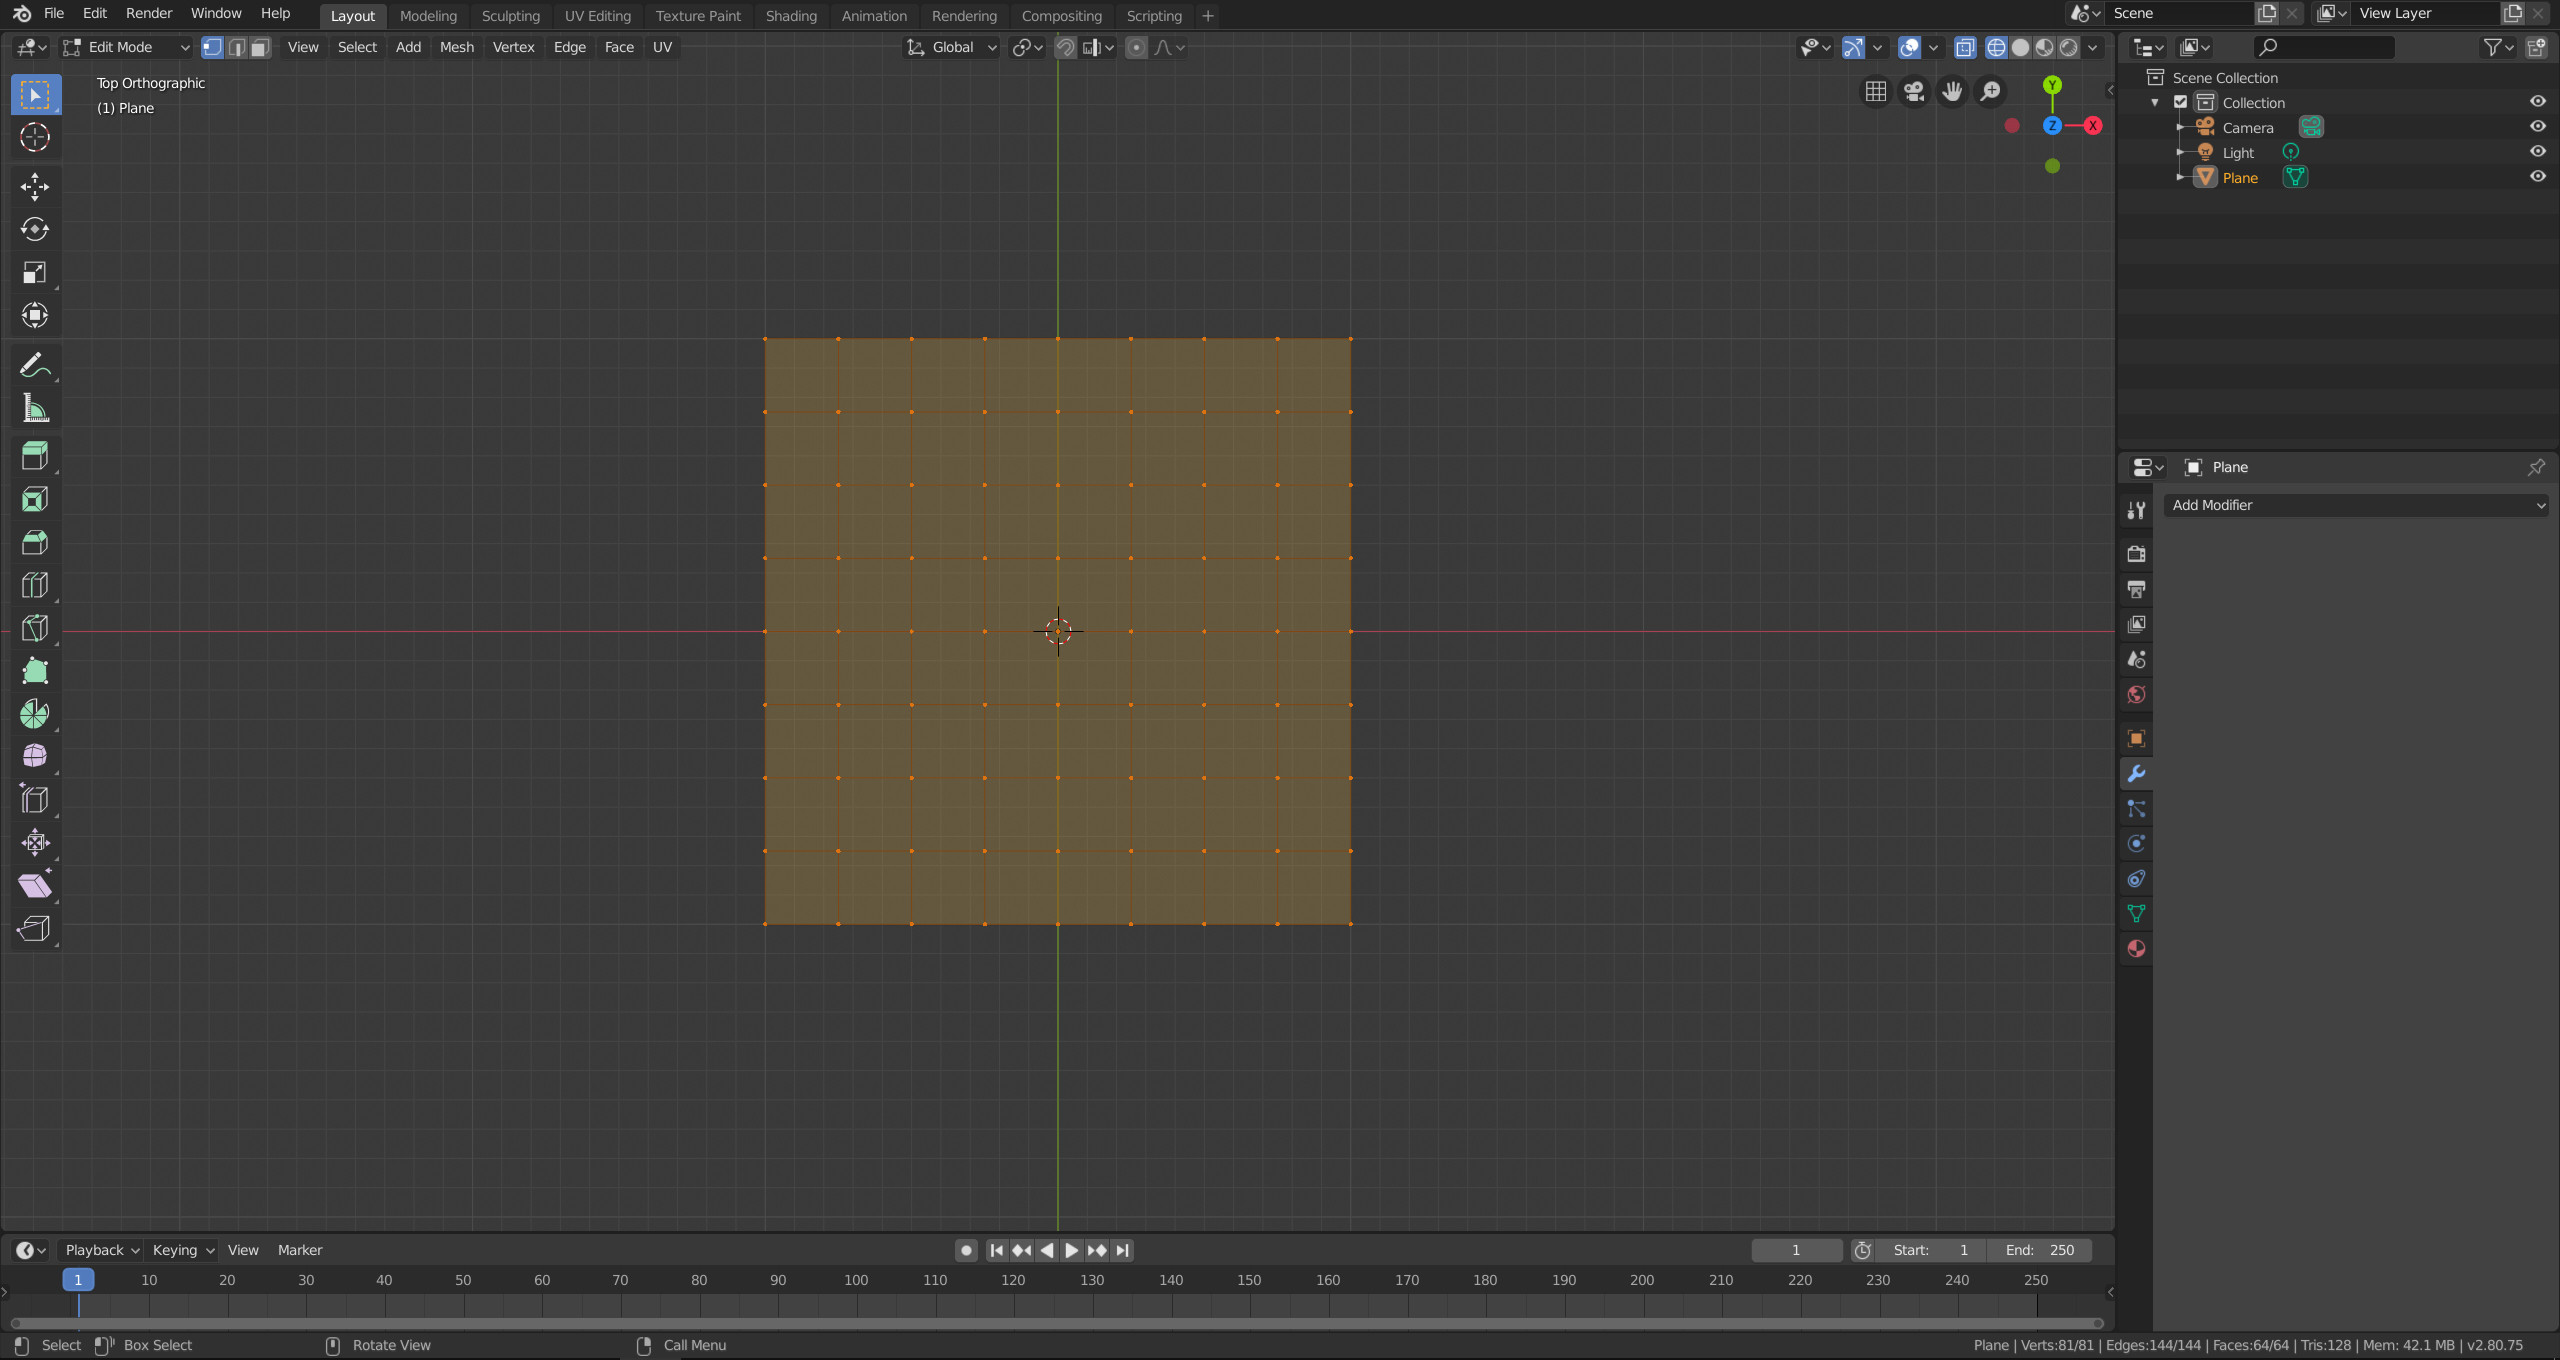
First add a subdivided plane and switch to edit mode. Activate proportional editing. I think linear falloff is the most suitable option for this task. Switch the pivot point to 3D cursor.


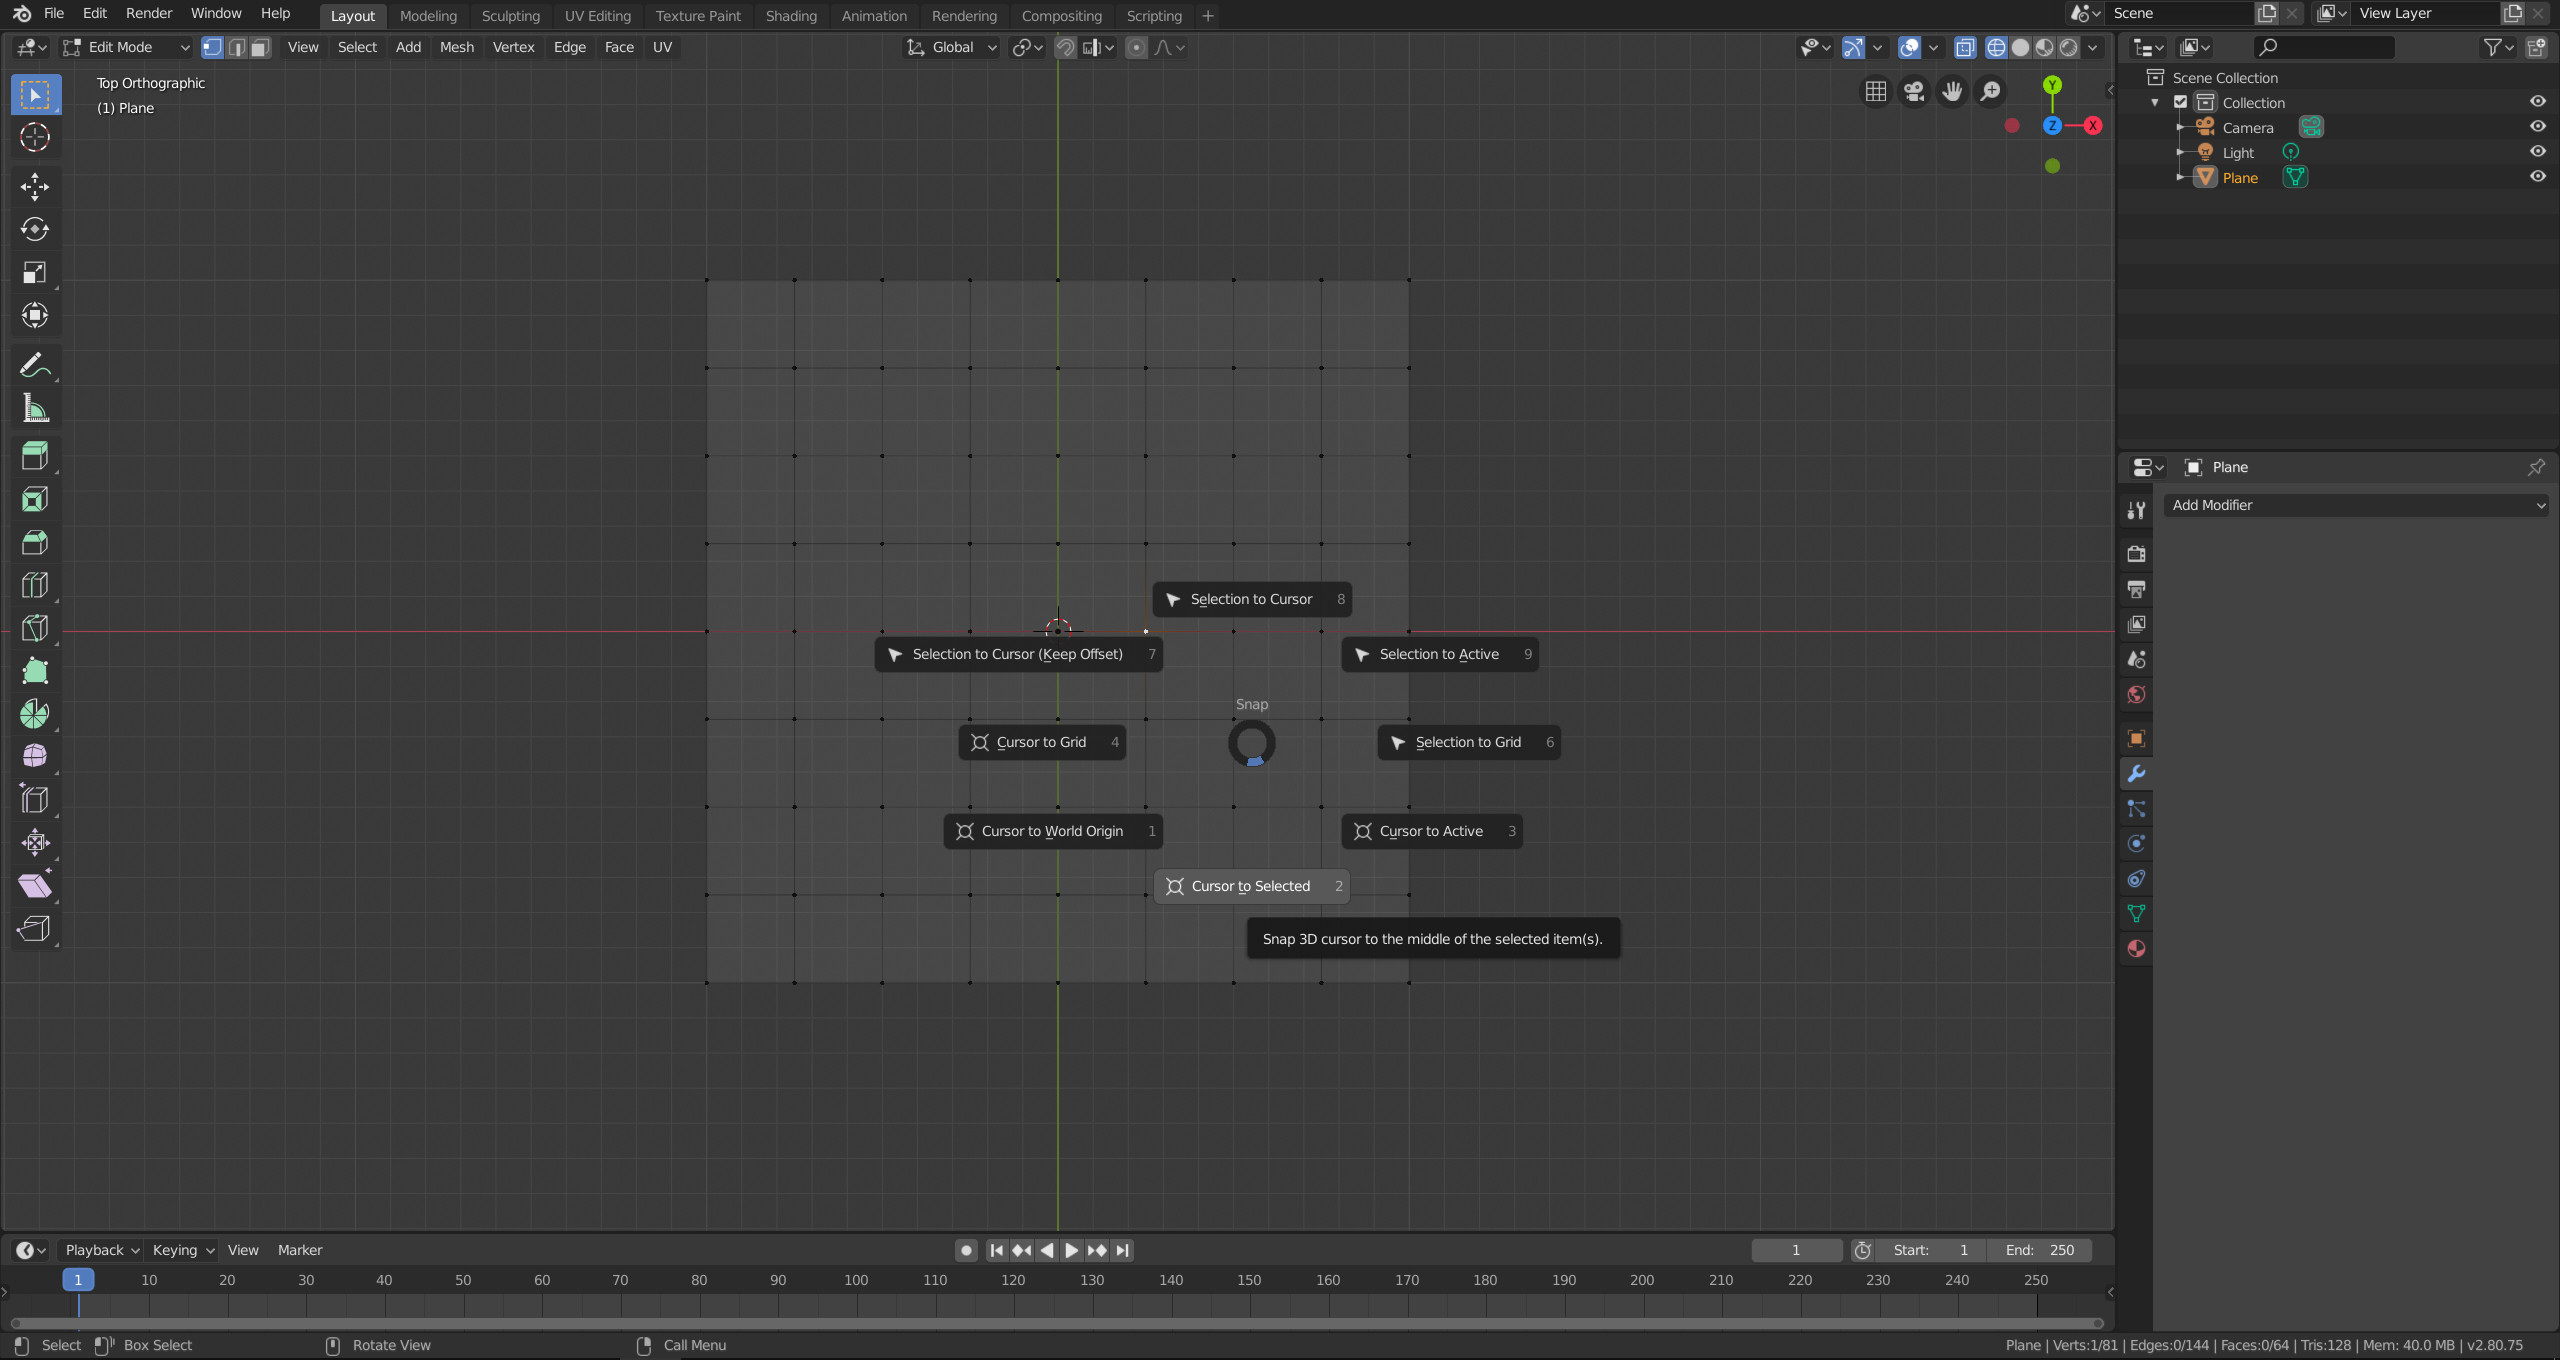
Place the 3D cursor where you want the bend to pivot. You can set the 3D cursor to the position of a vertex by selecting a single vertex and then SHIFT+S > Cursor to selected.
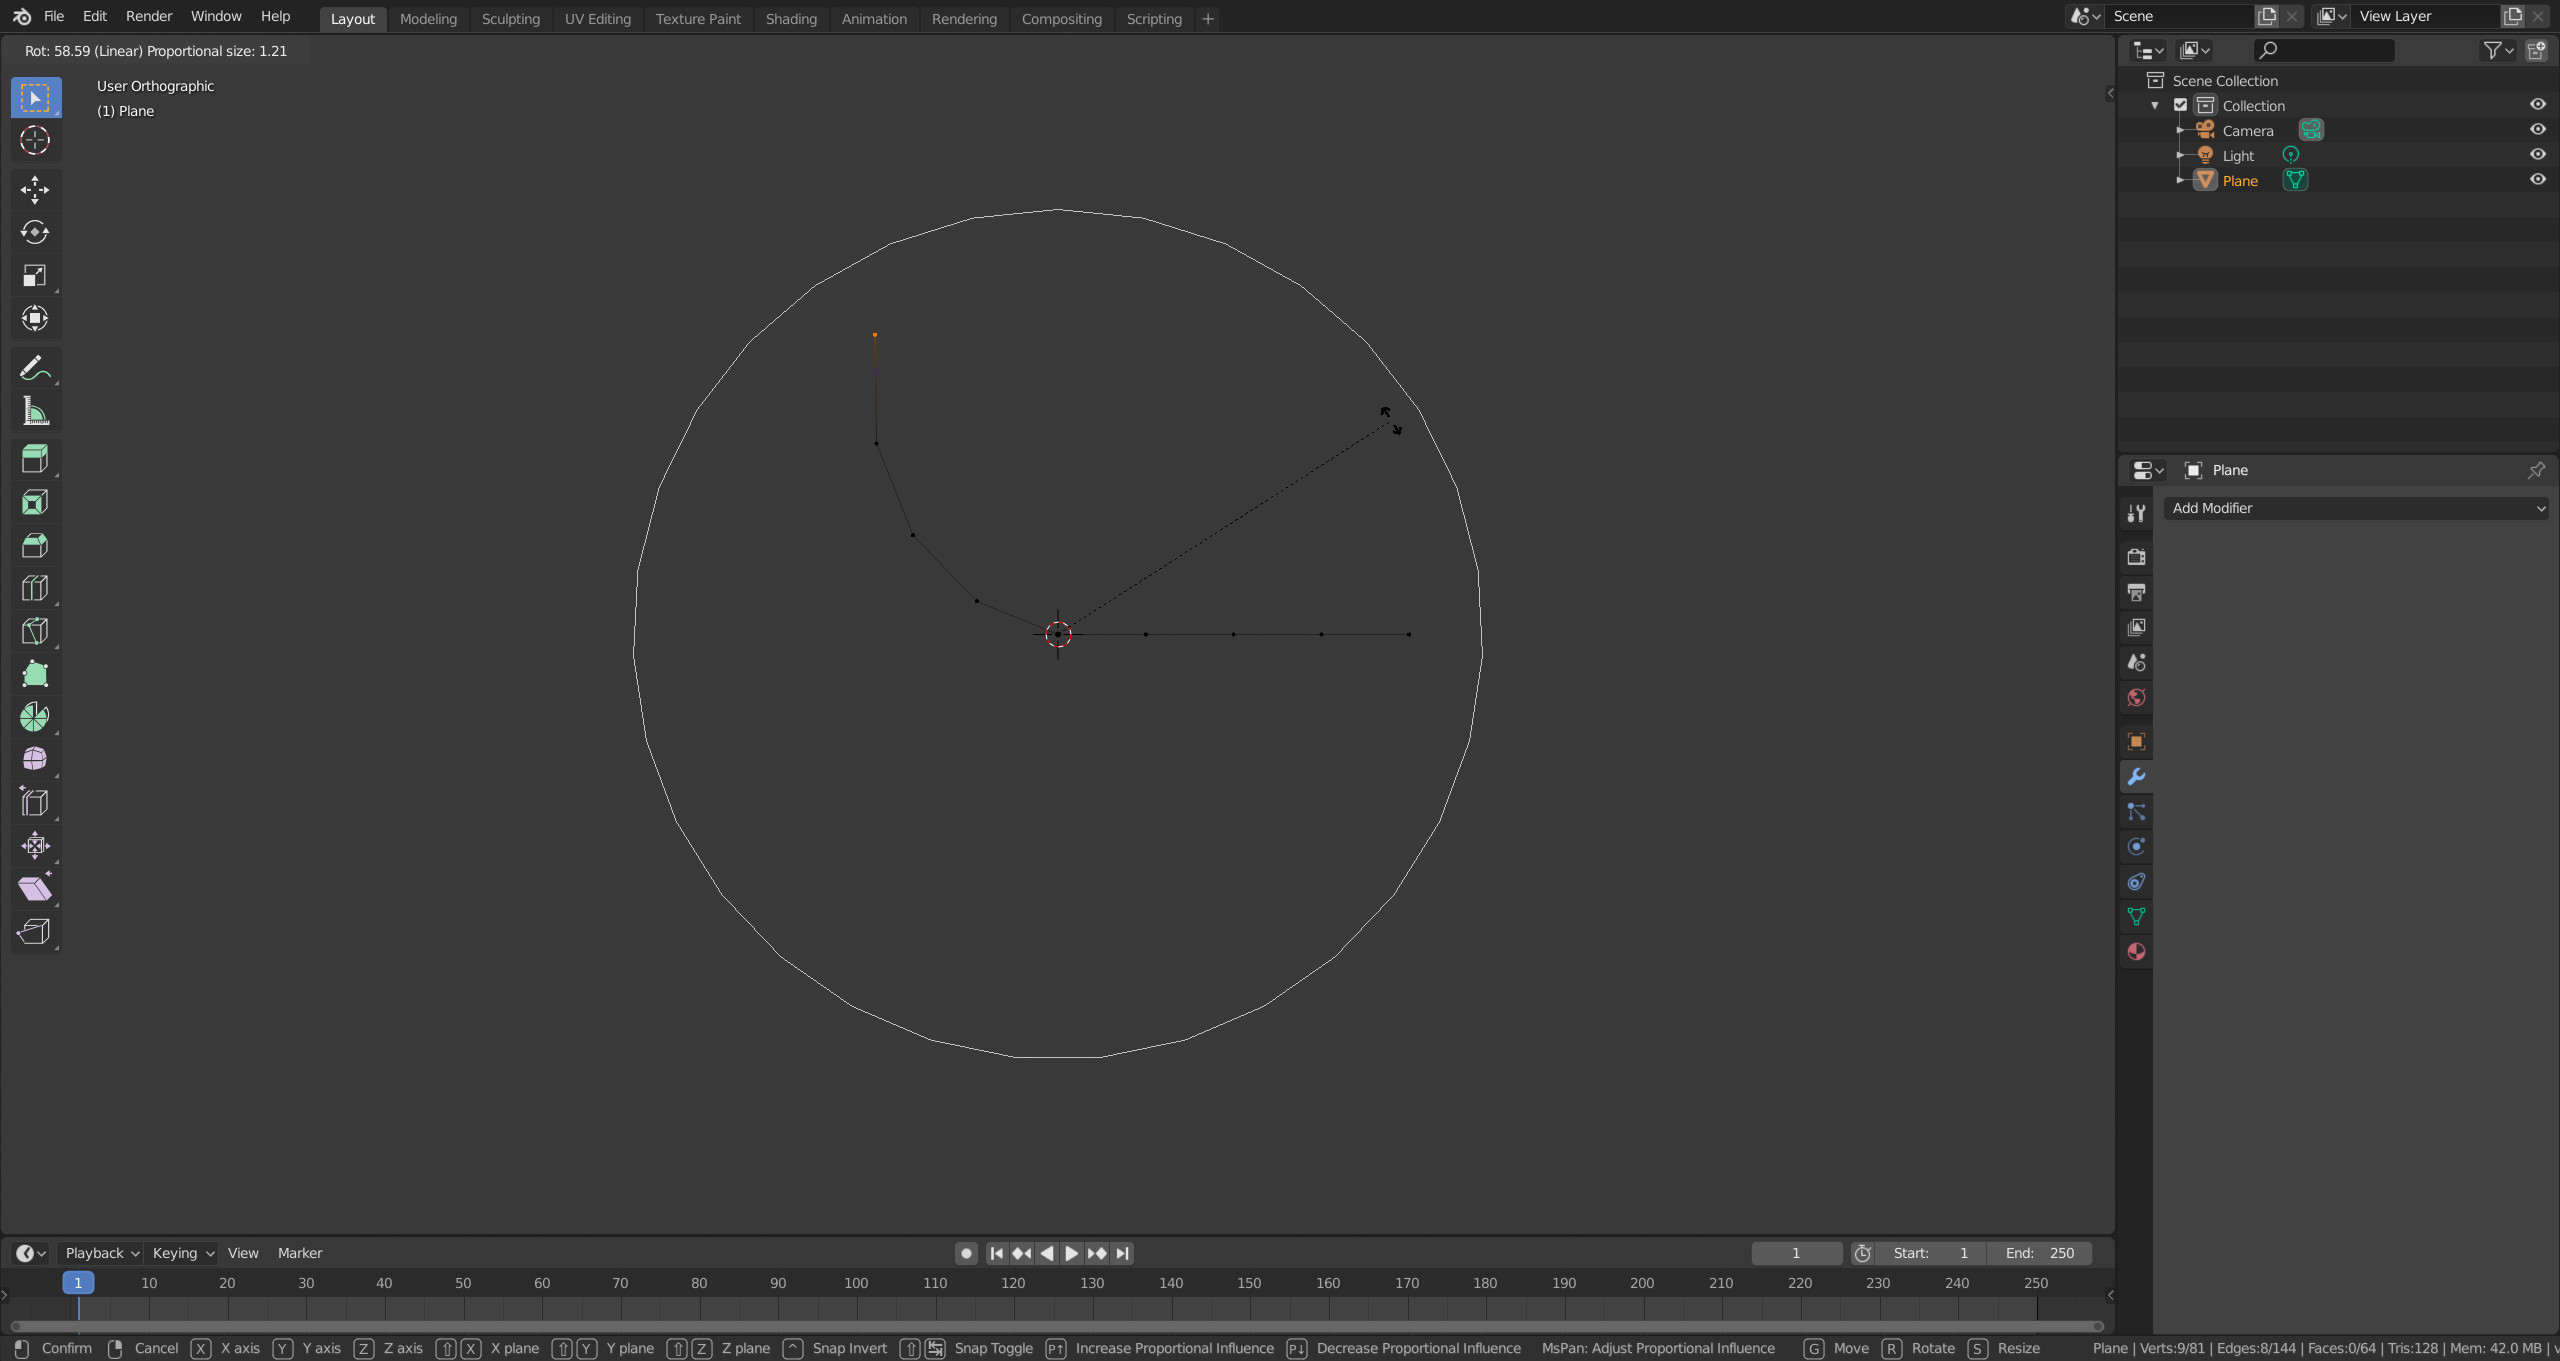
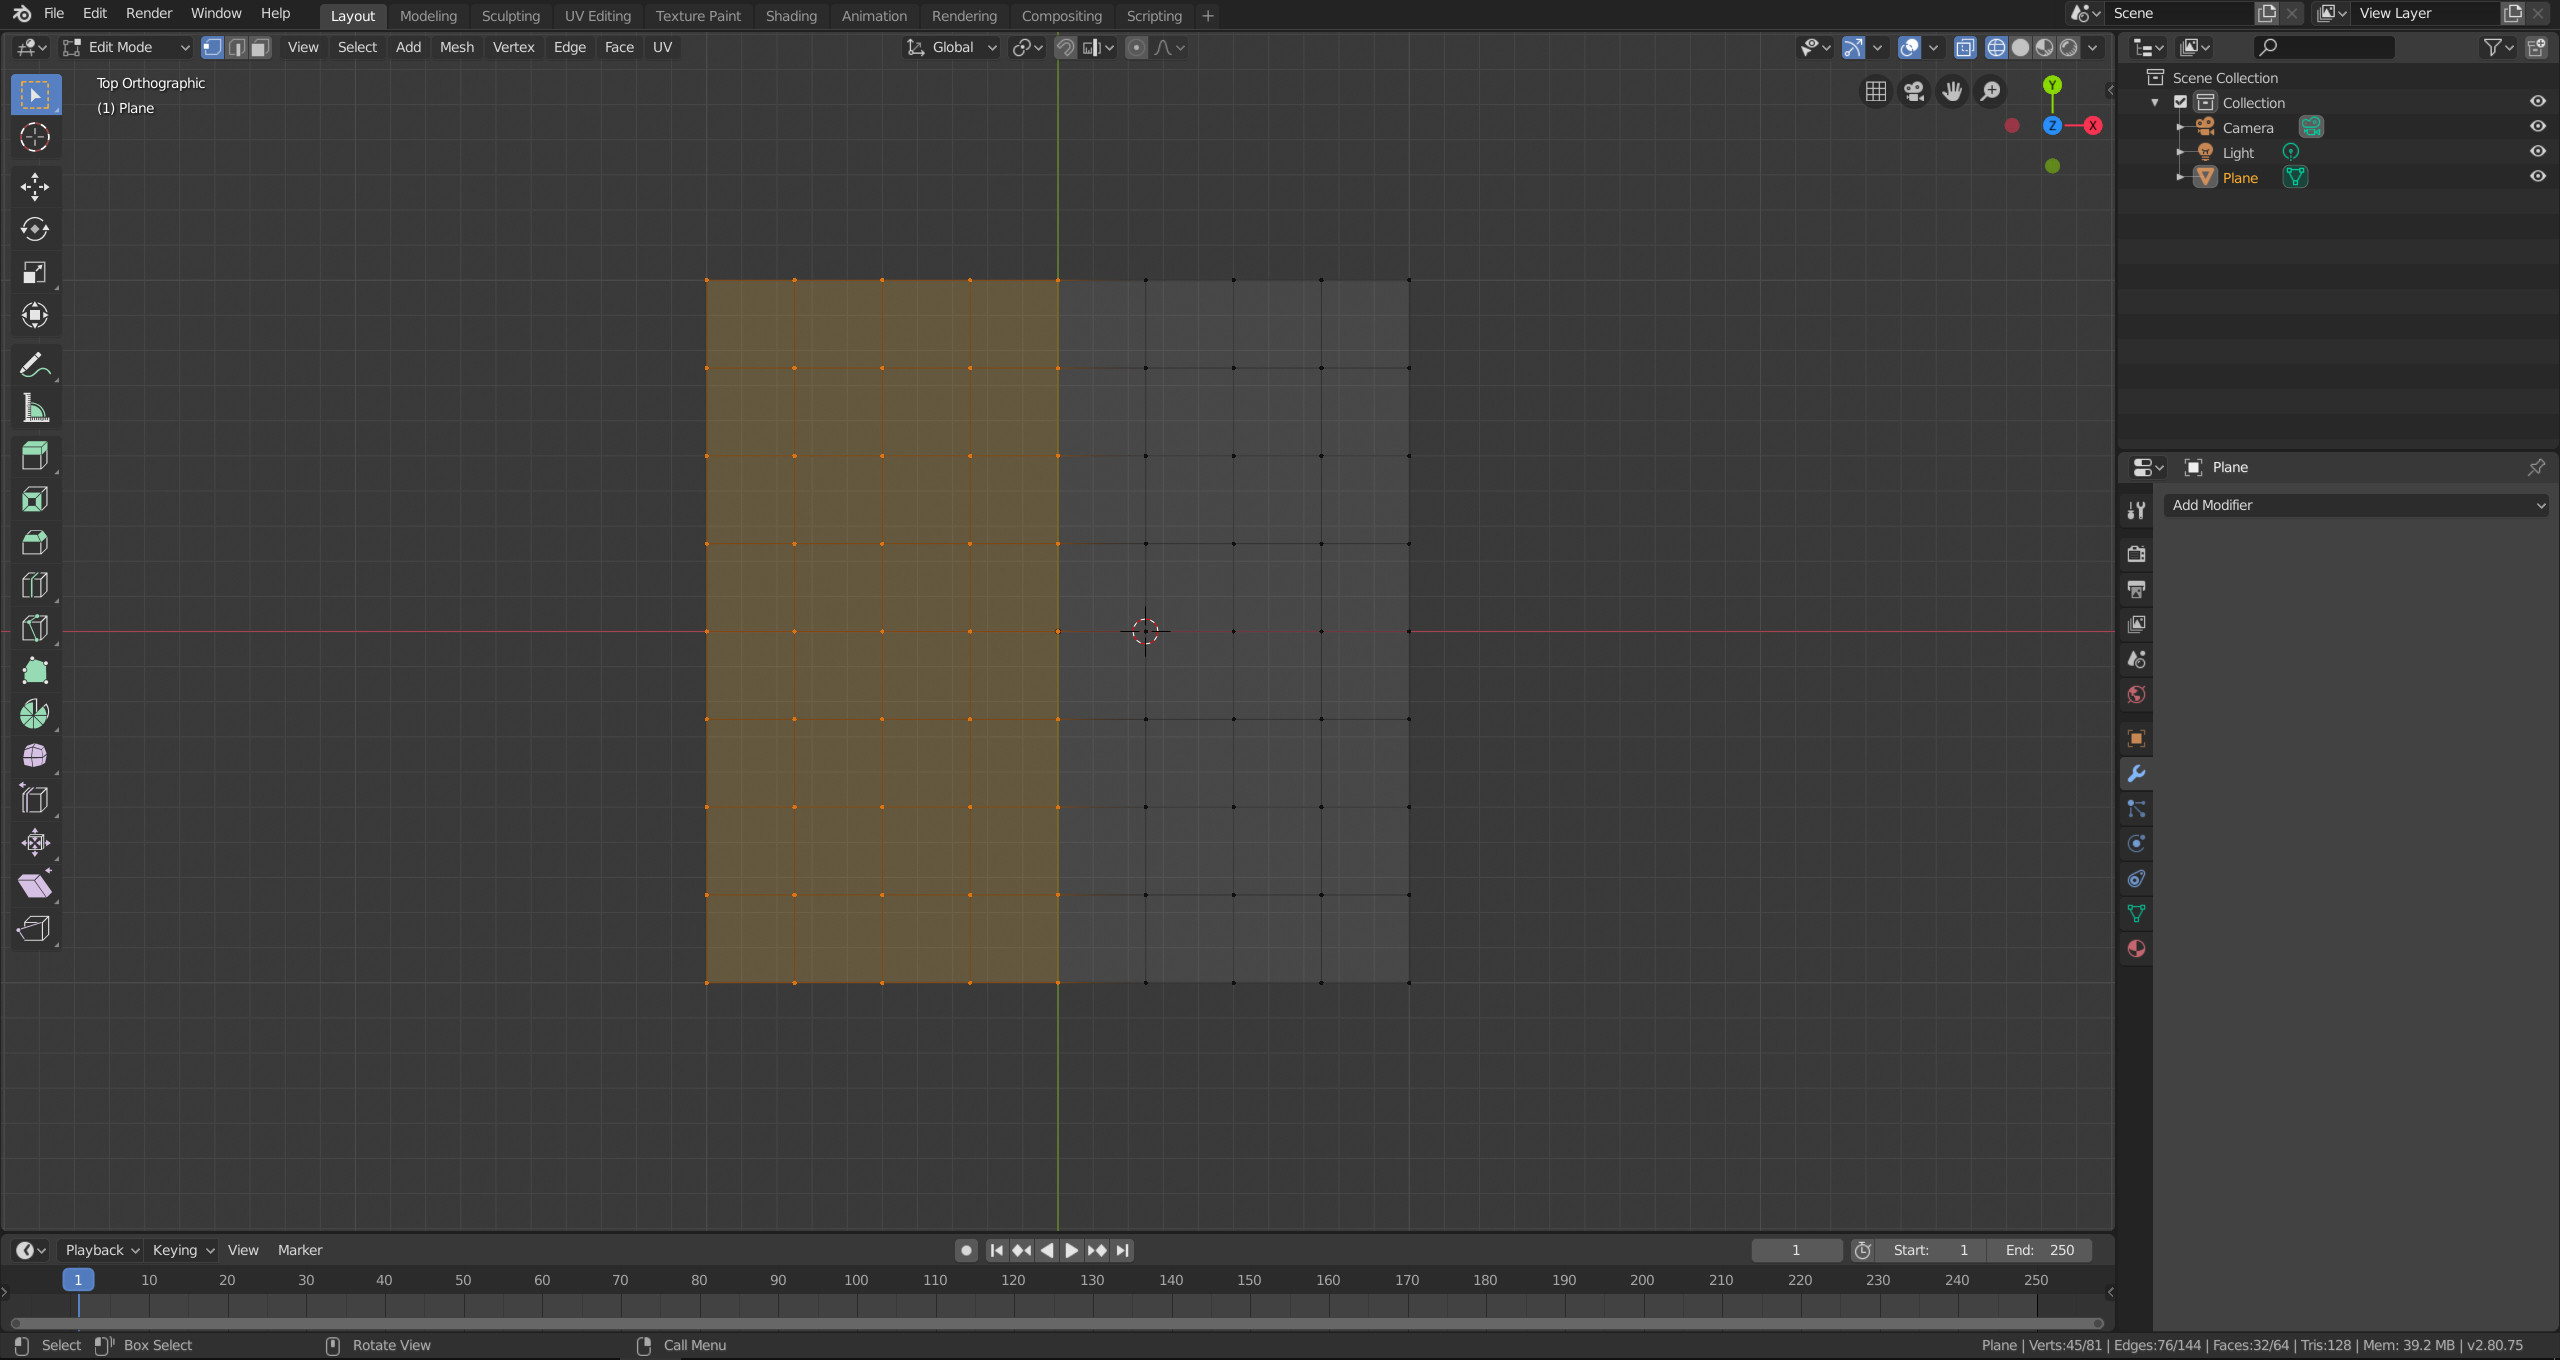
Now select the row of border vertices that will be bend. Press R to rotate, followed by the axis you want to rotate around (X, Y or Z). Adjust the radius of the proportional editing influence by using the mouse wheel.


If you want to use the Curve modifier, you have to use the following steps.
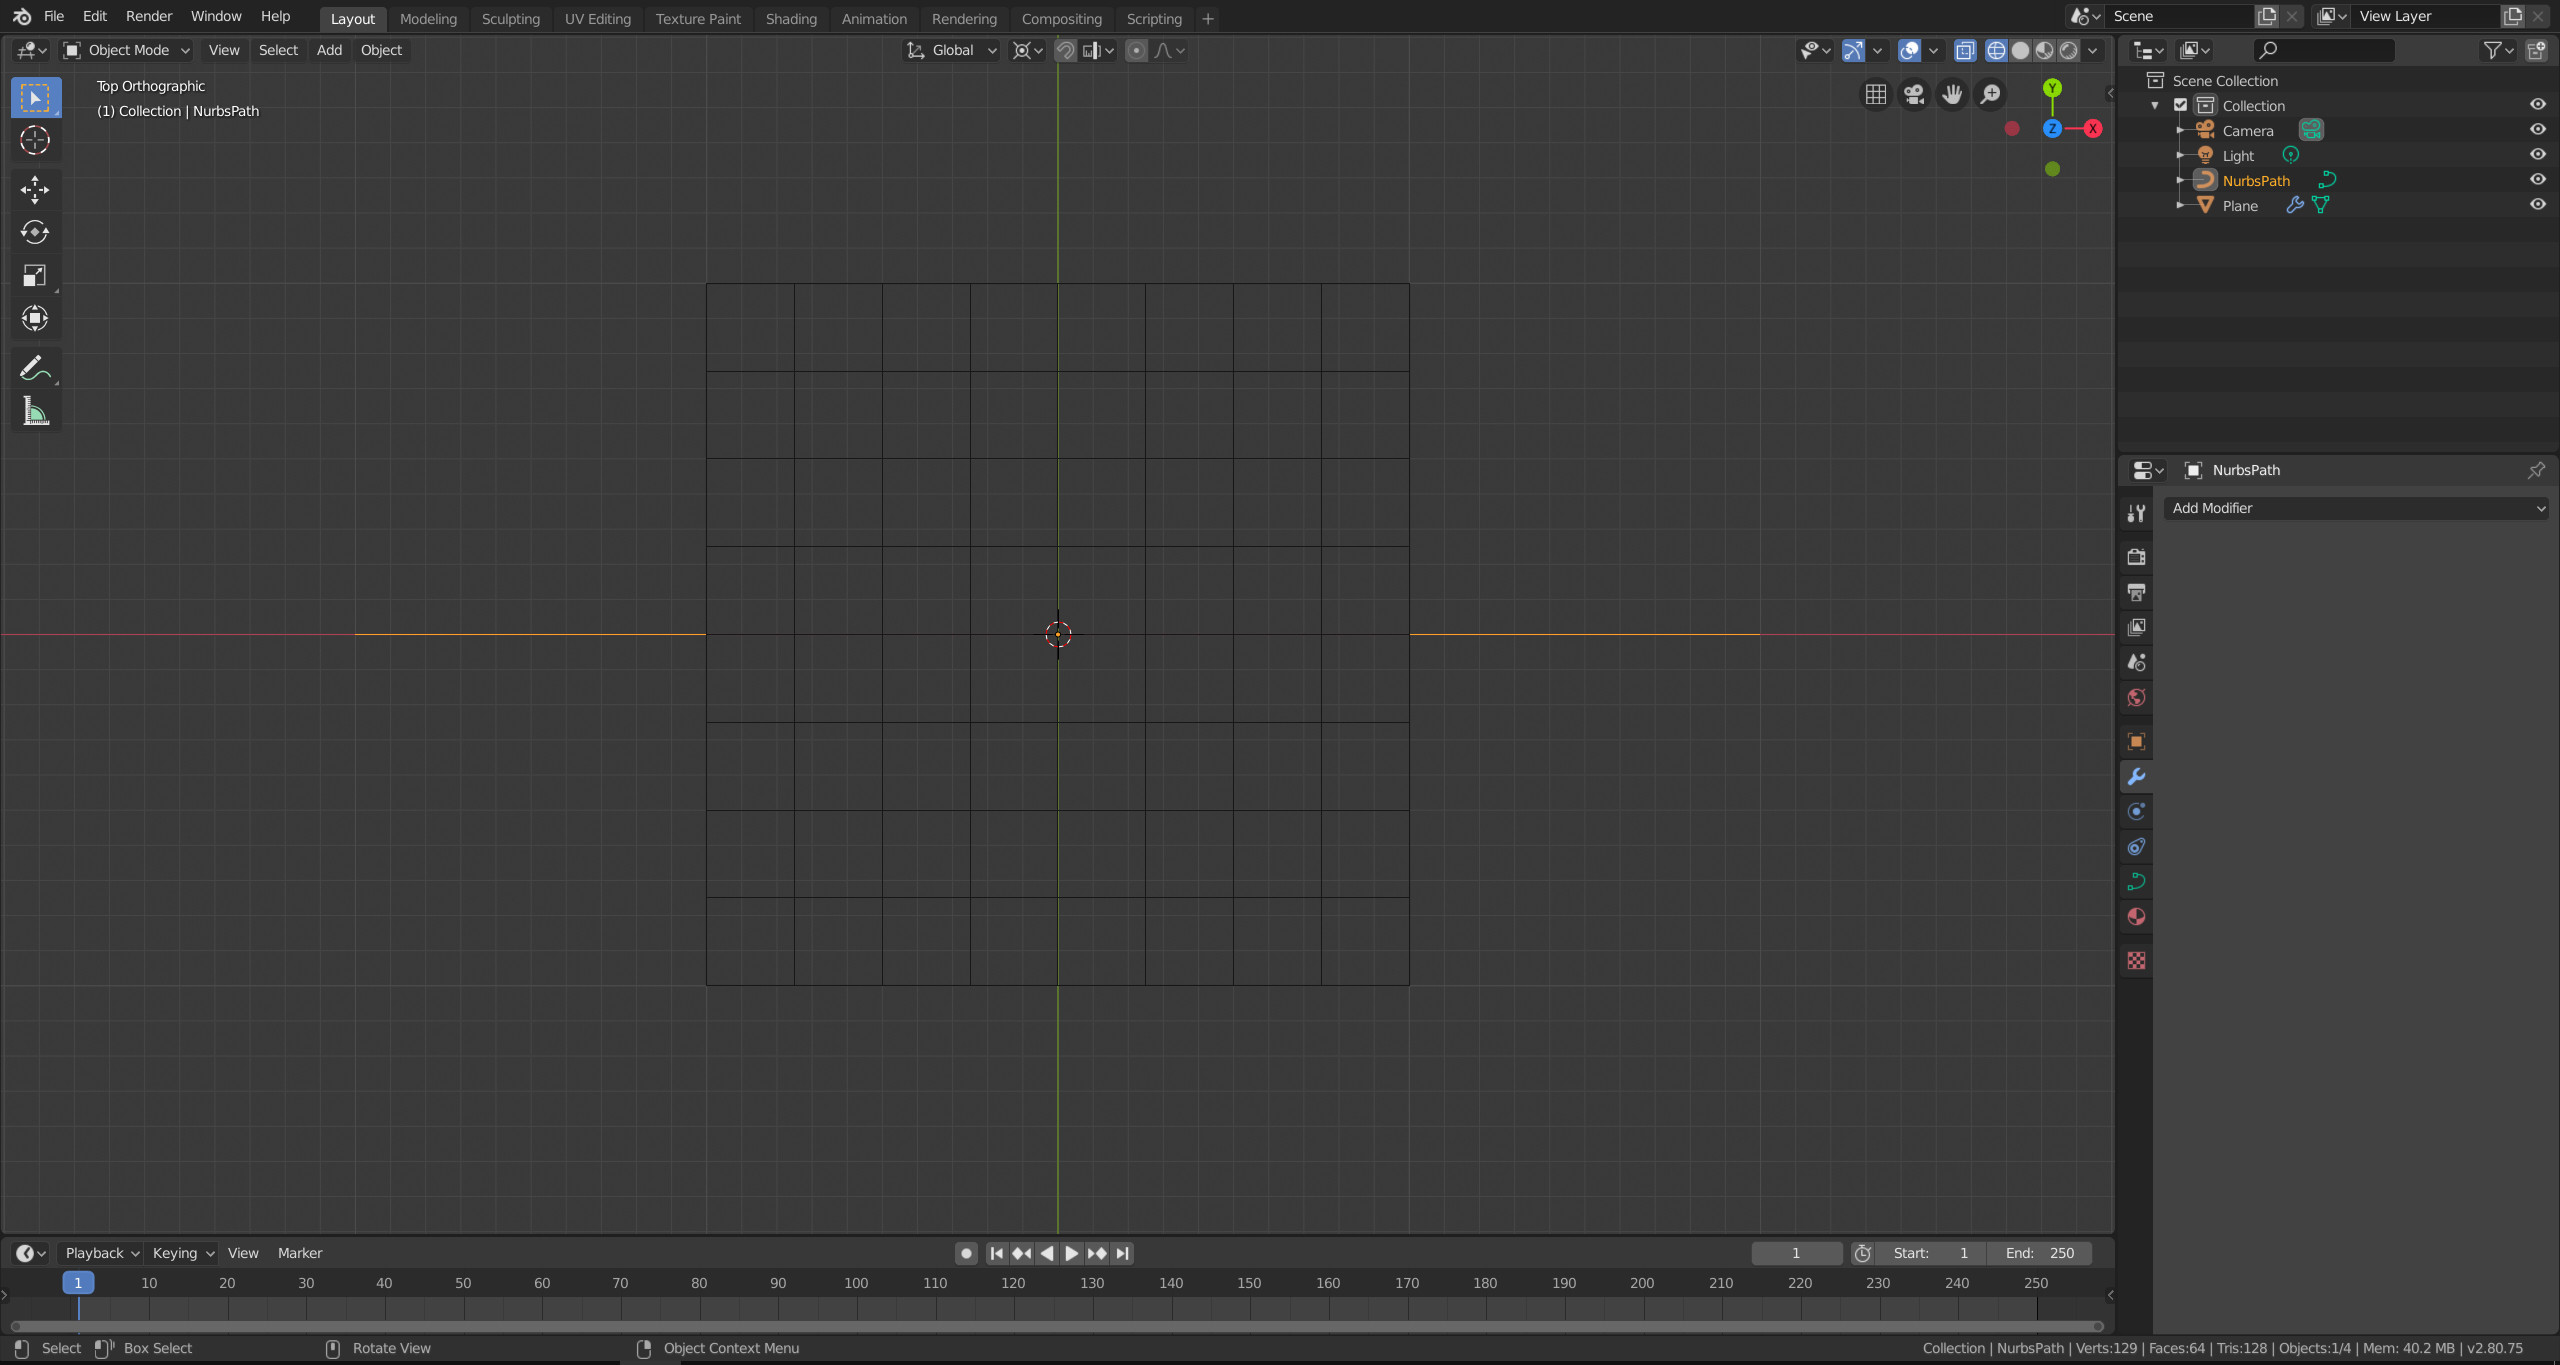
First add a subdivided plane and a path (Add > Curve > Path).

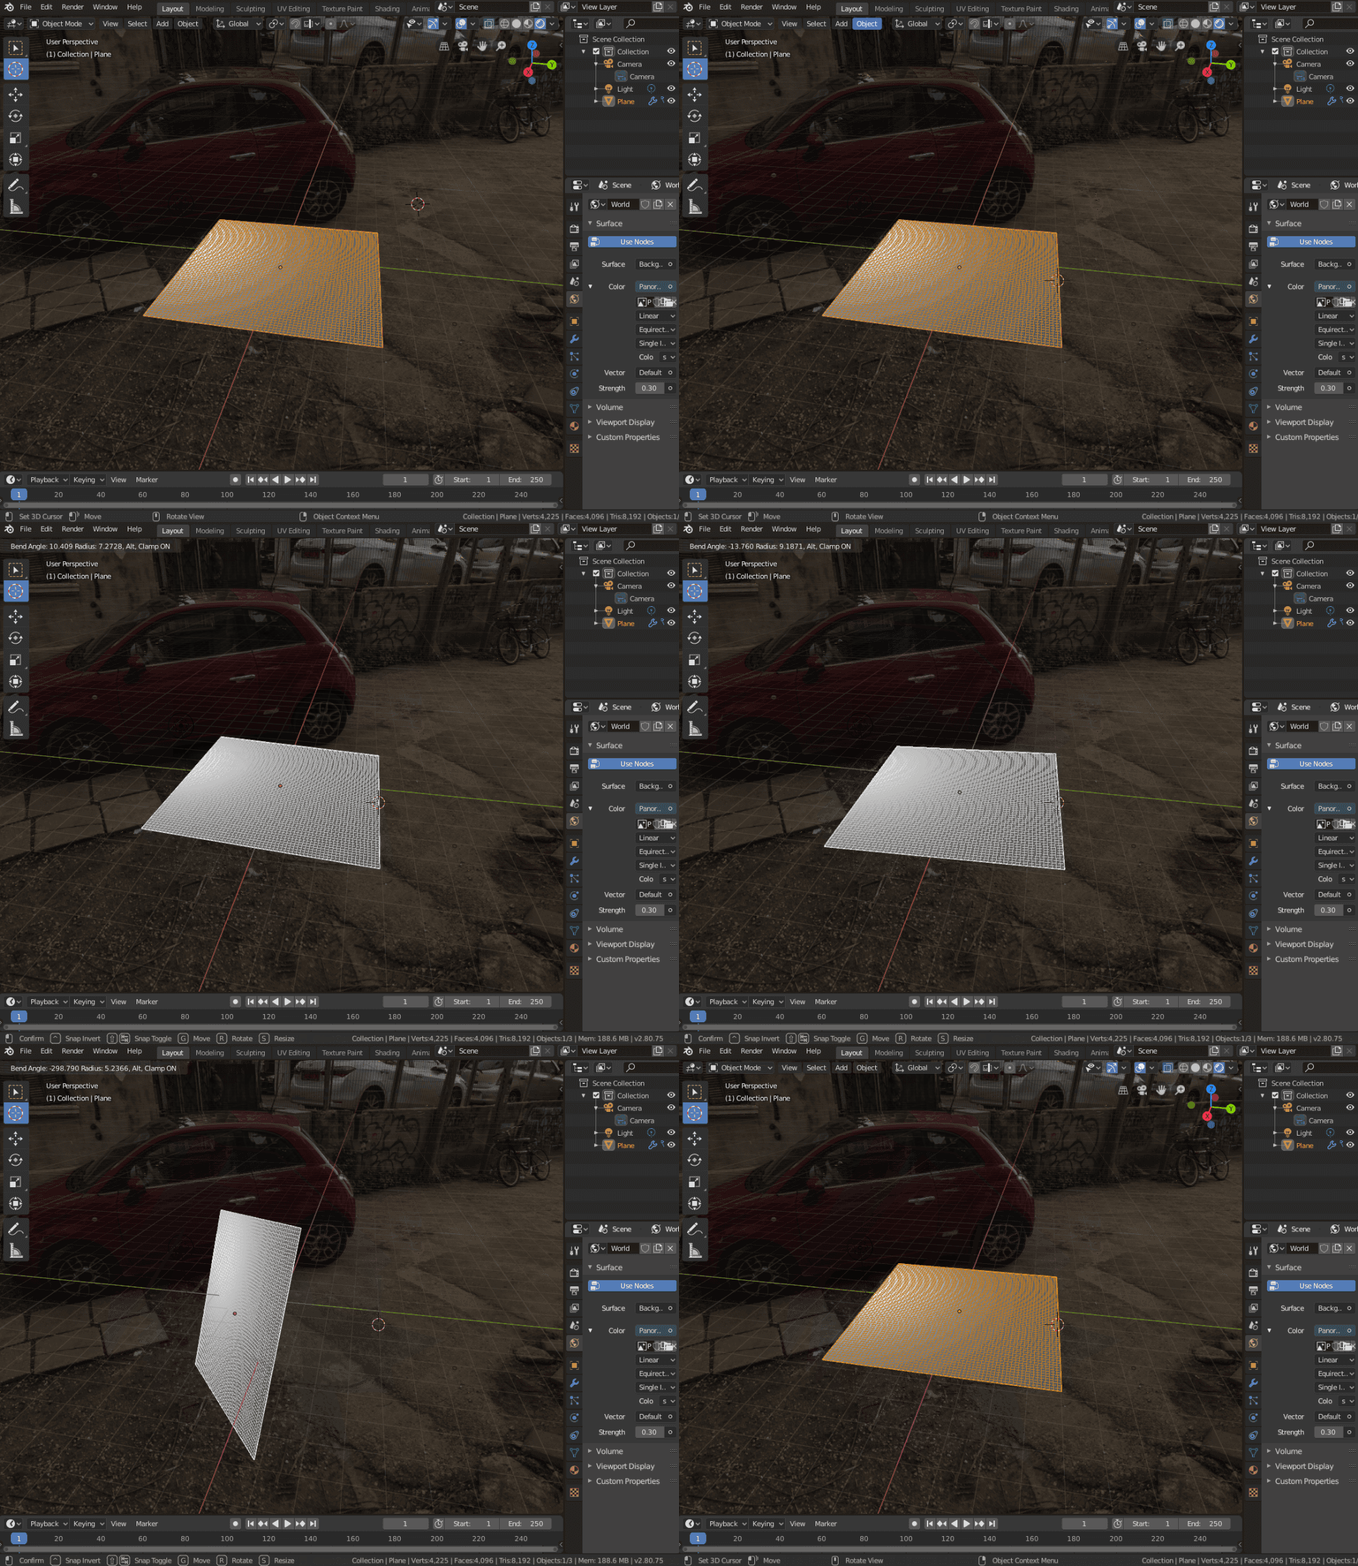
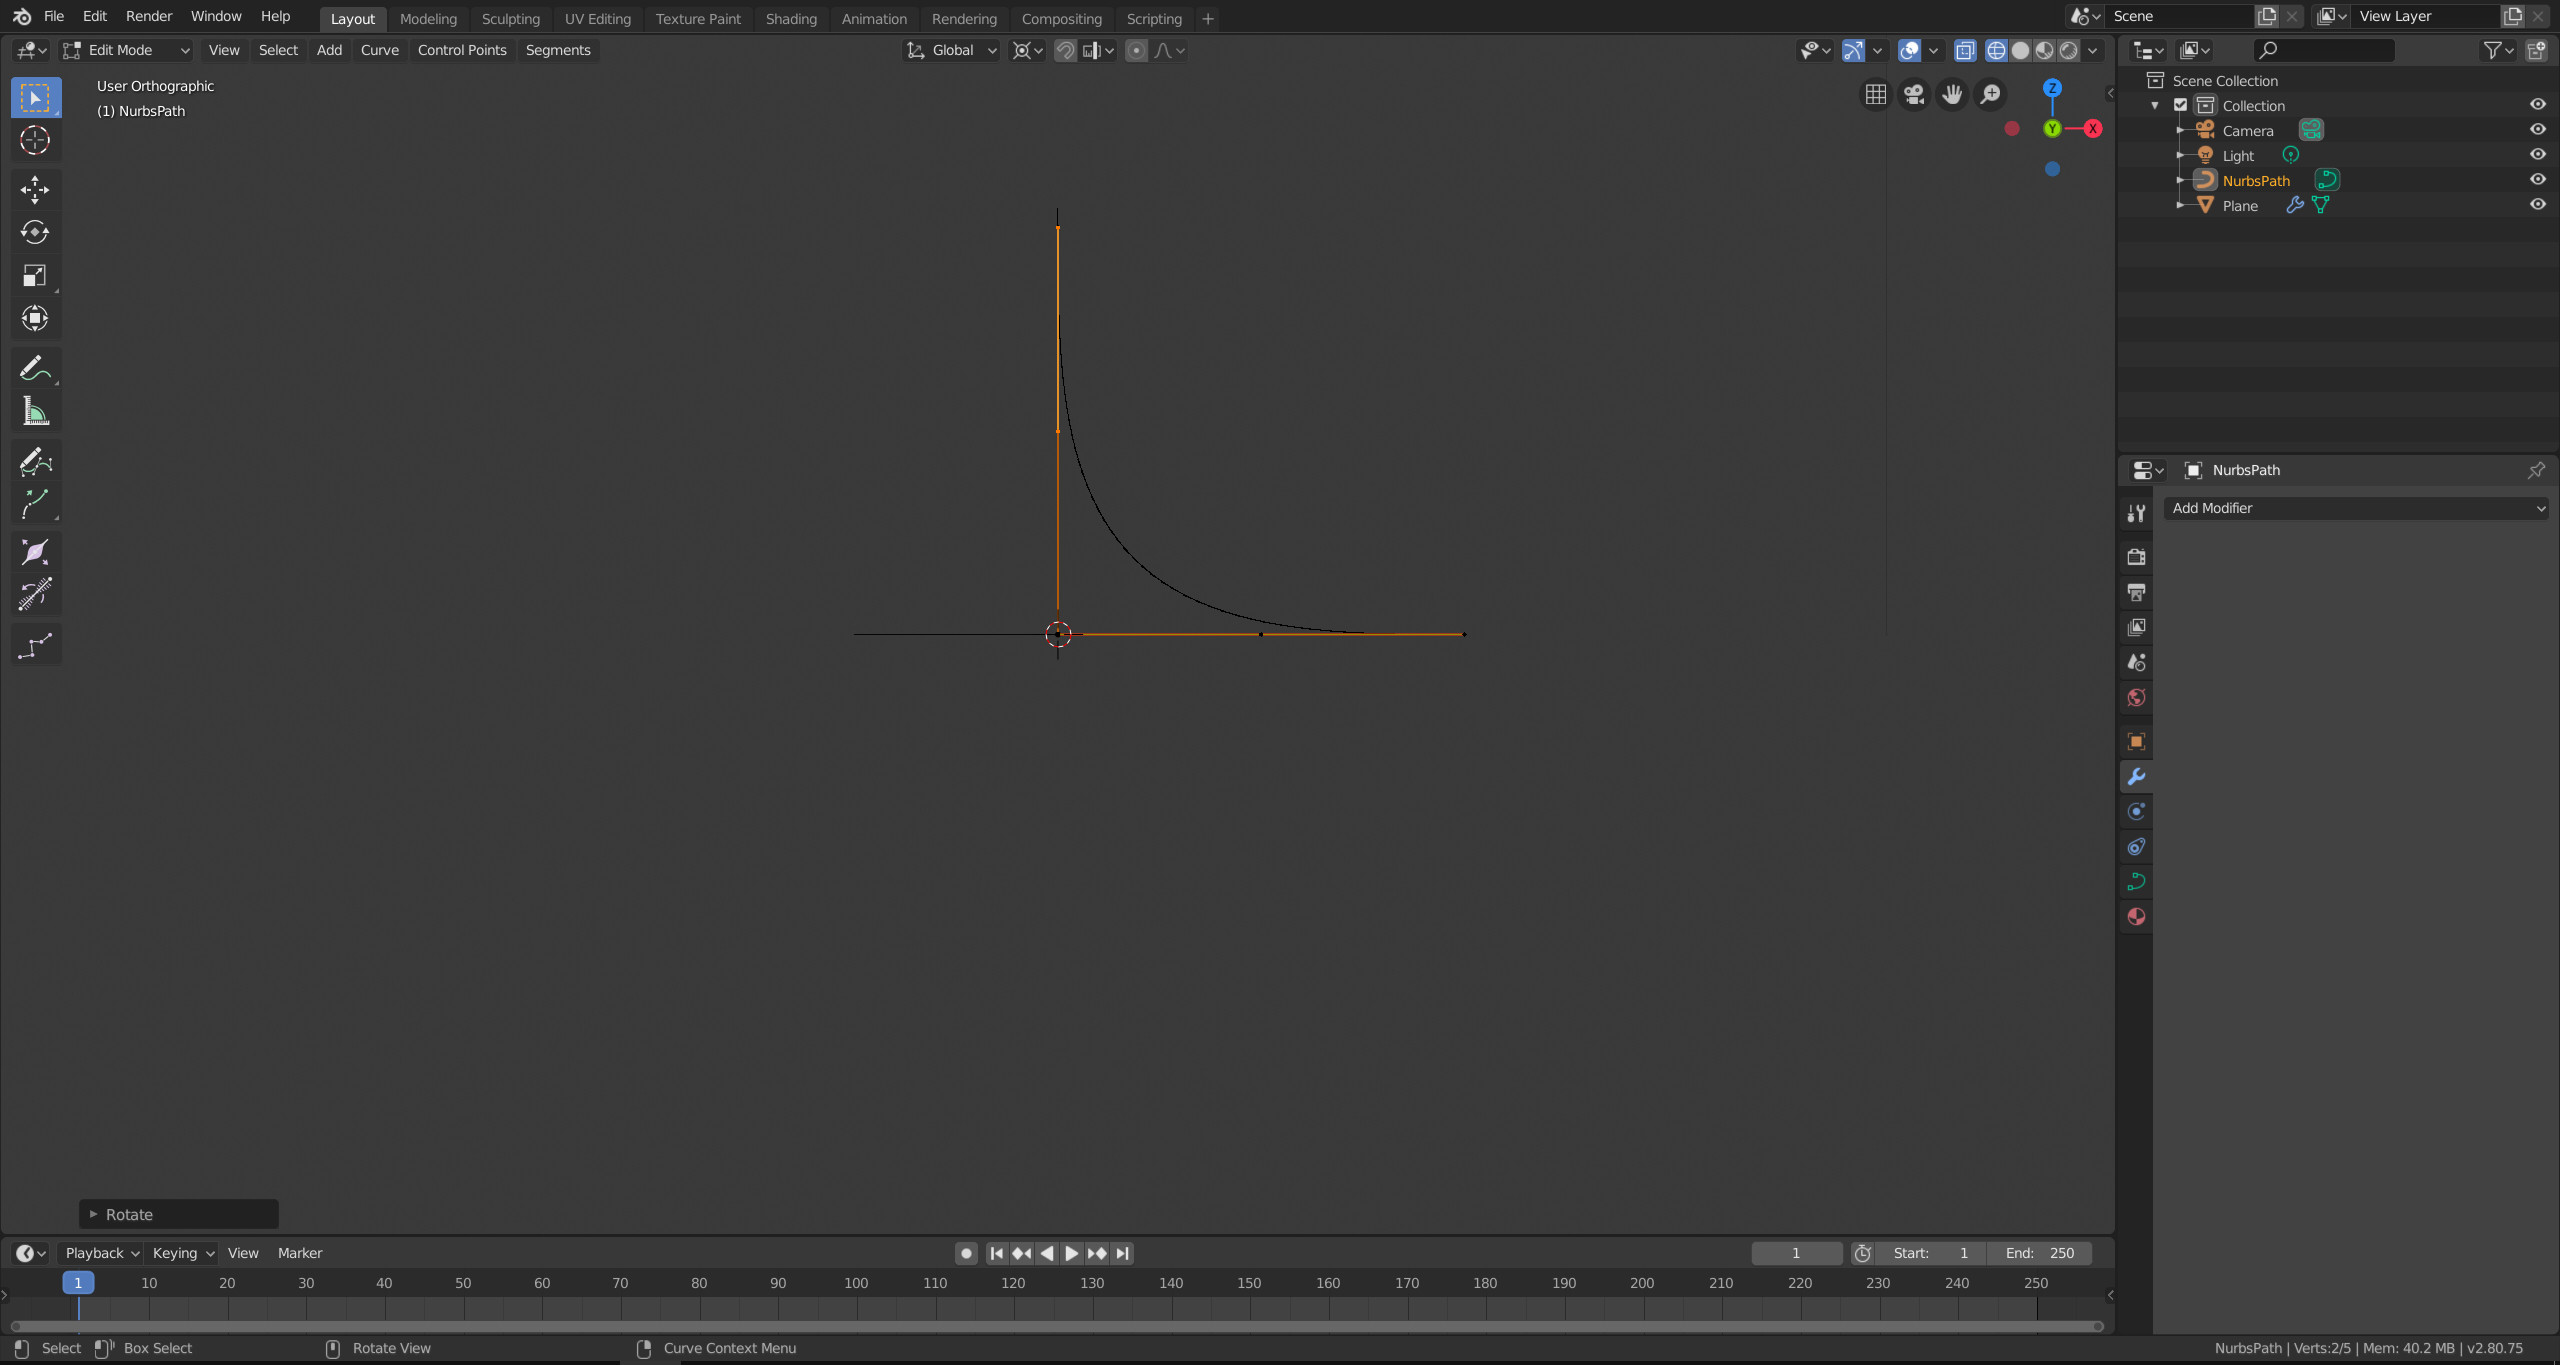
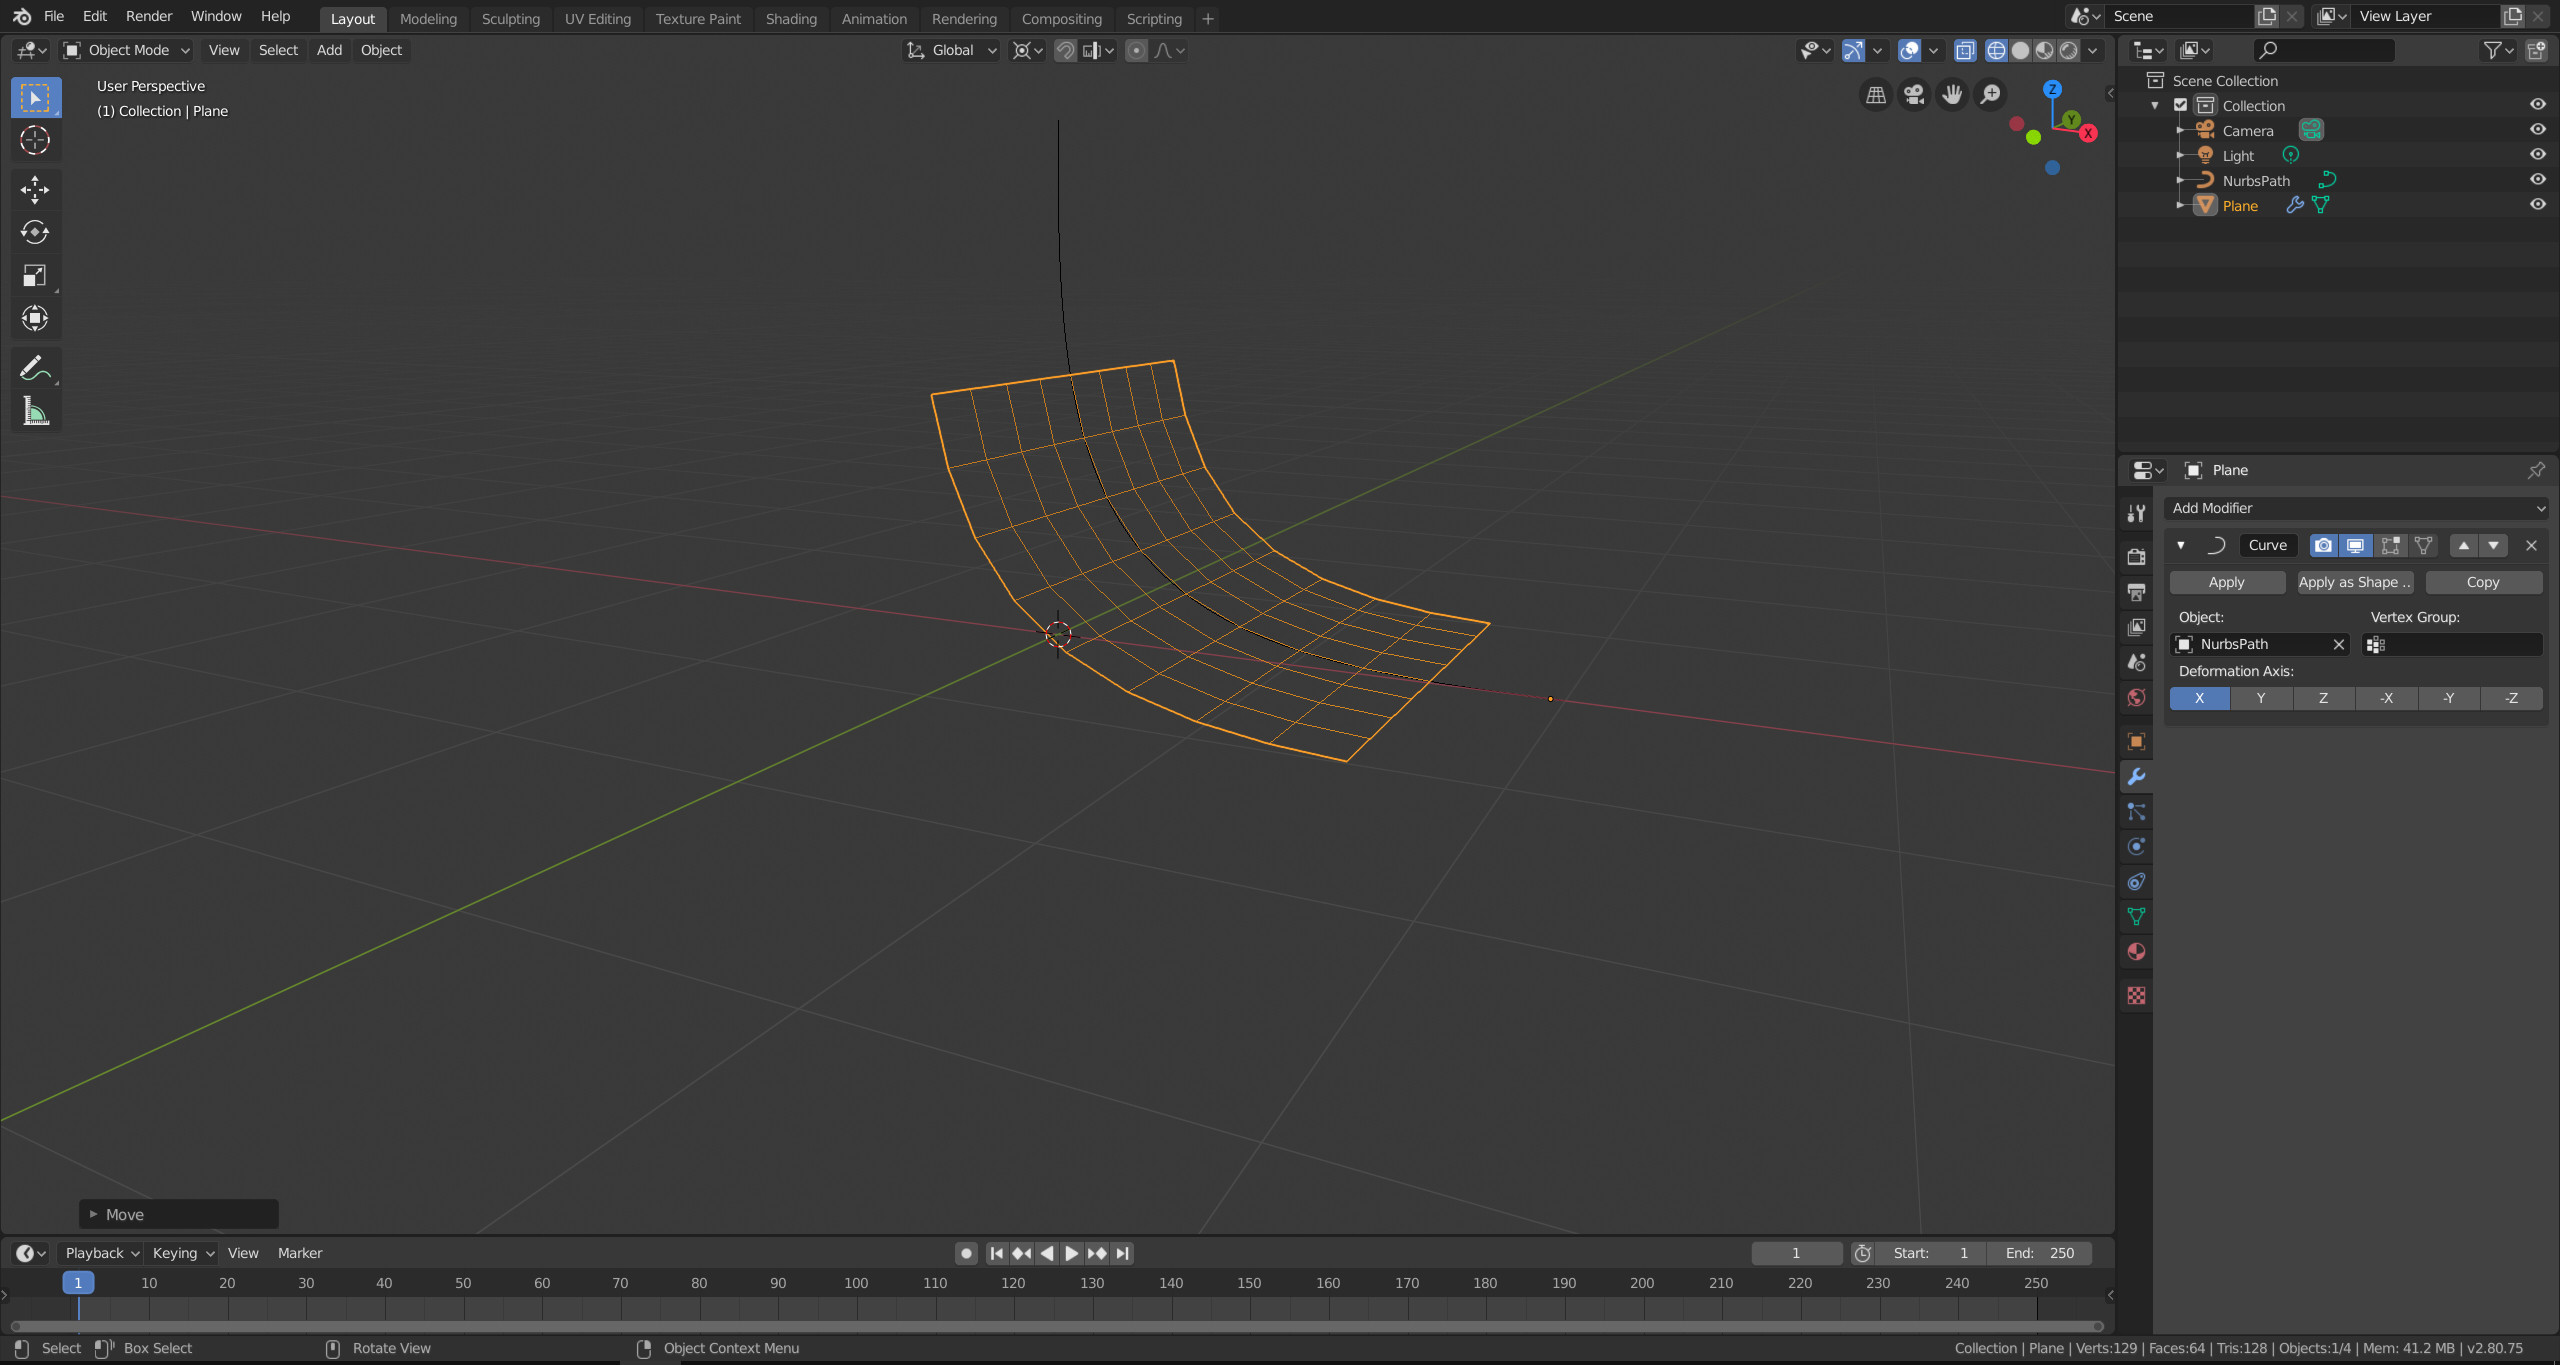
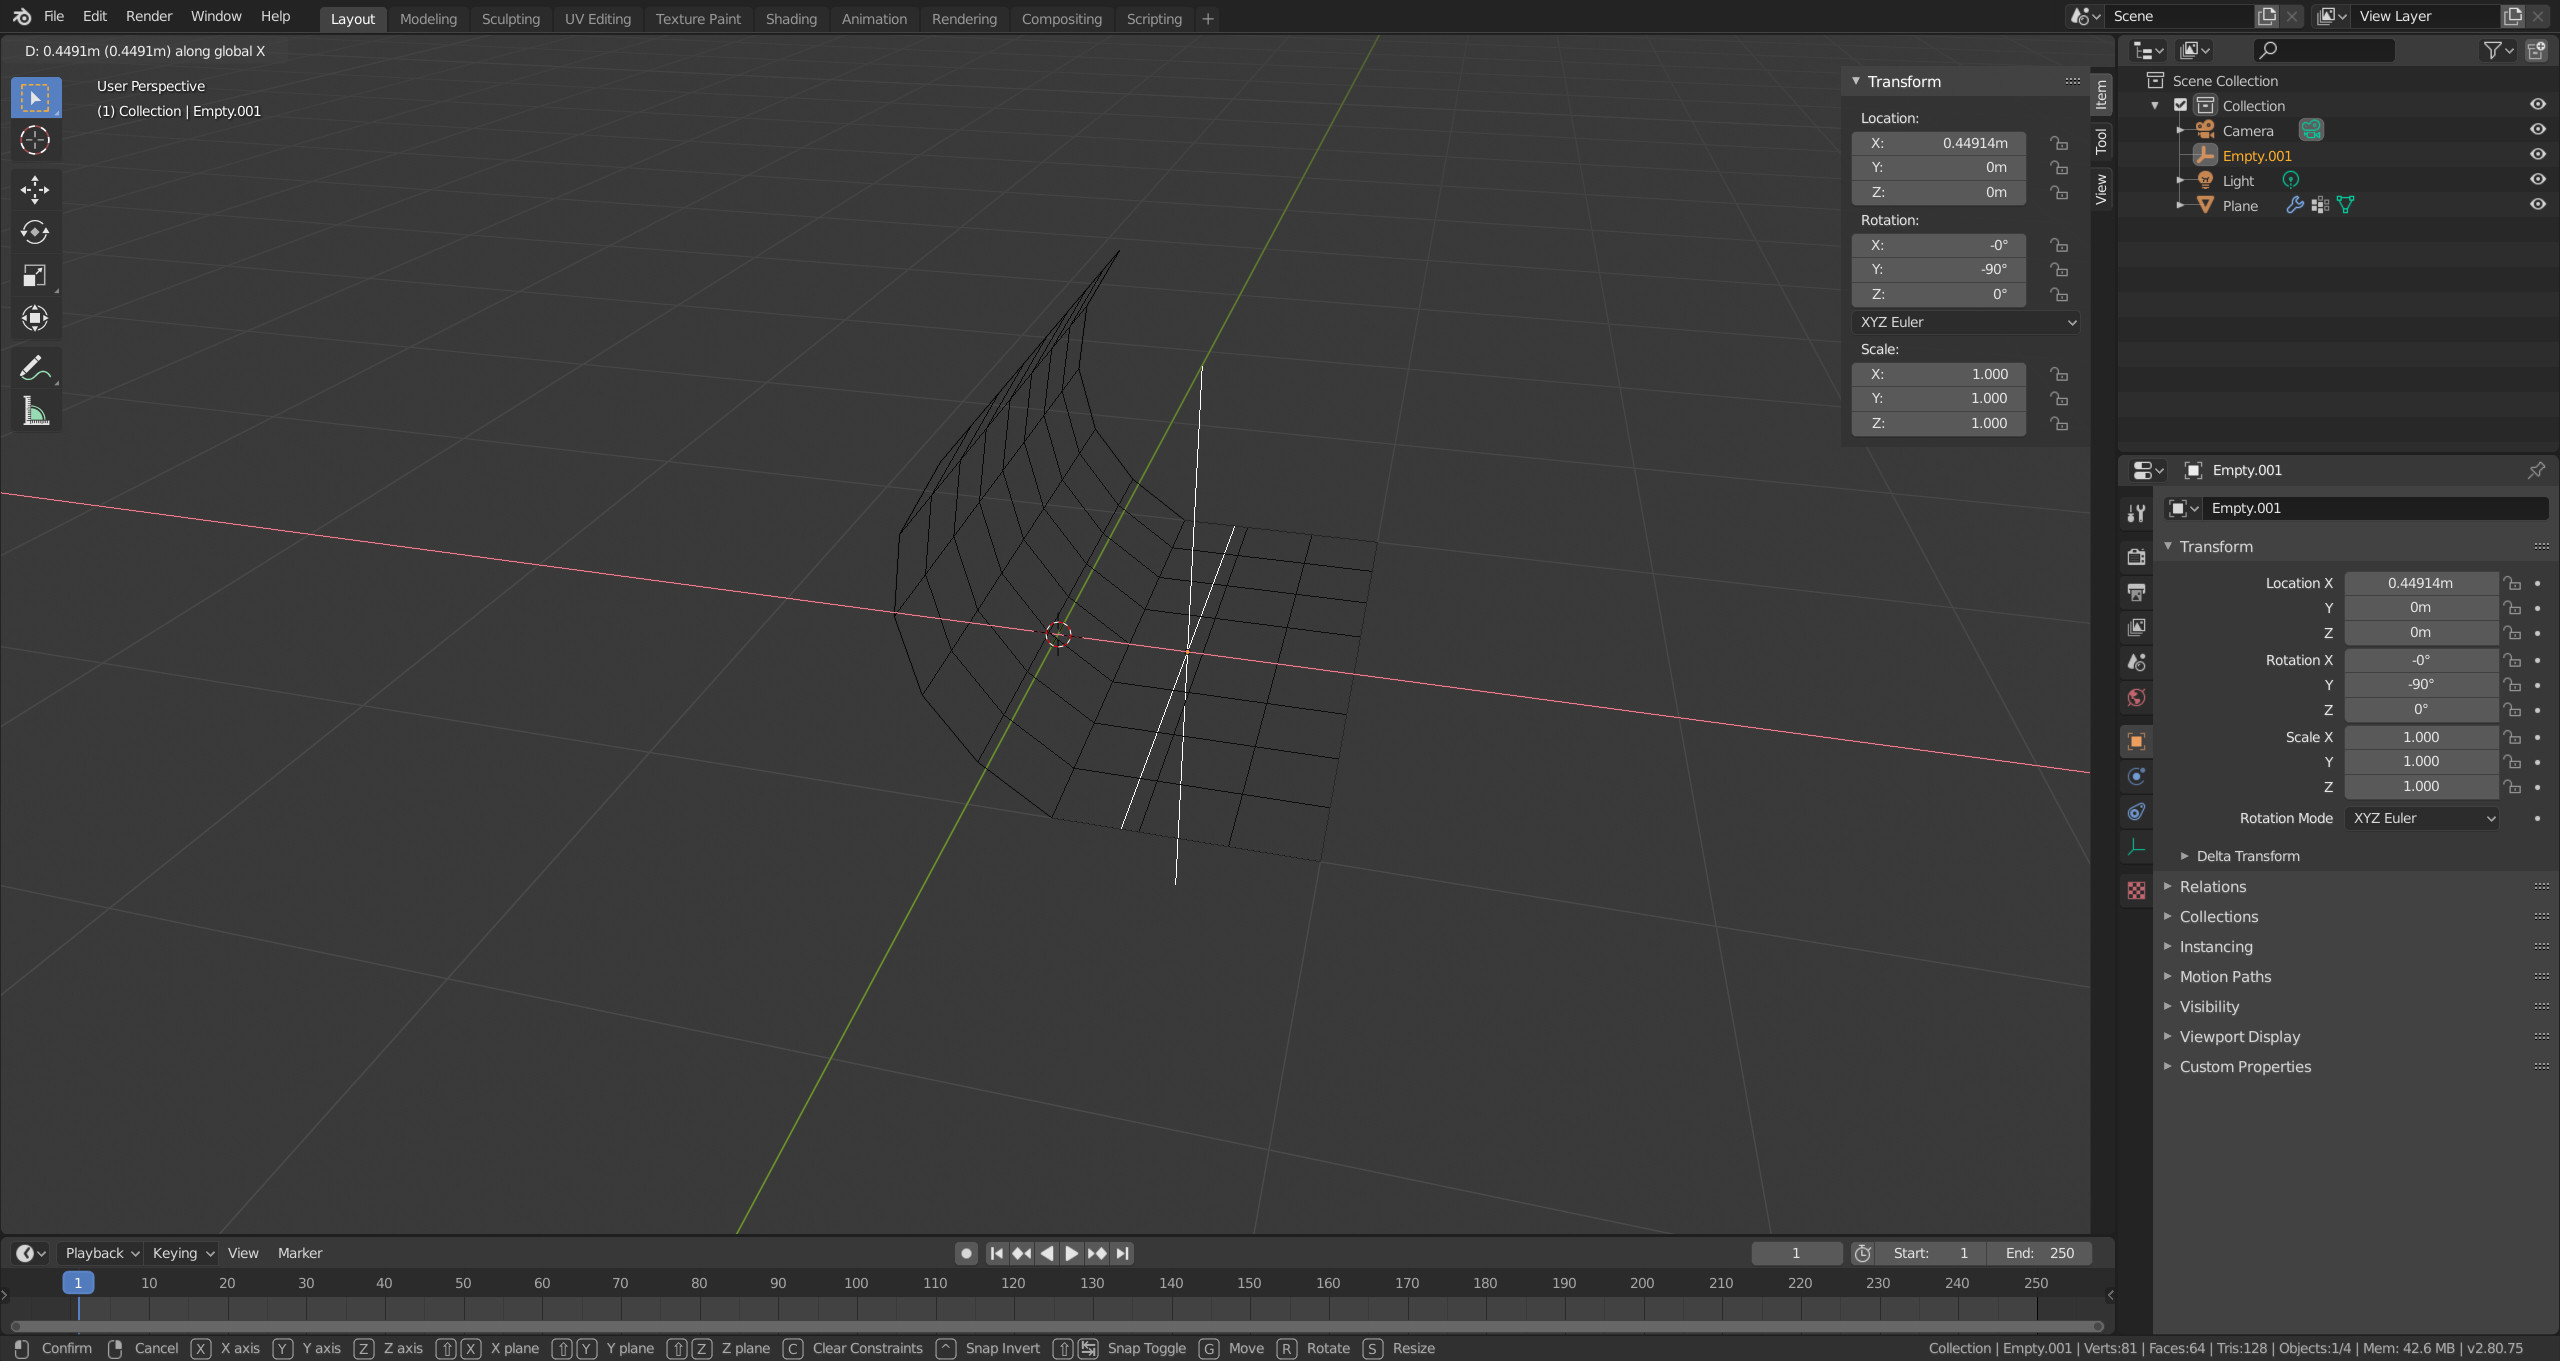
Select the path and switch to edit mode. Bend the path so that it represent the bend profile. In the screenshot I have rotated one half by 90° around the Y-axis centered in the 3D cursor.


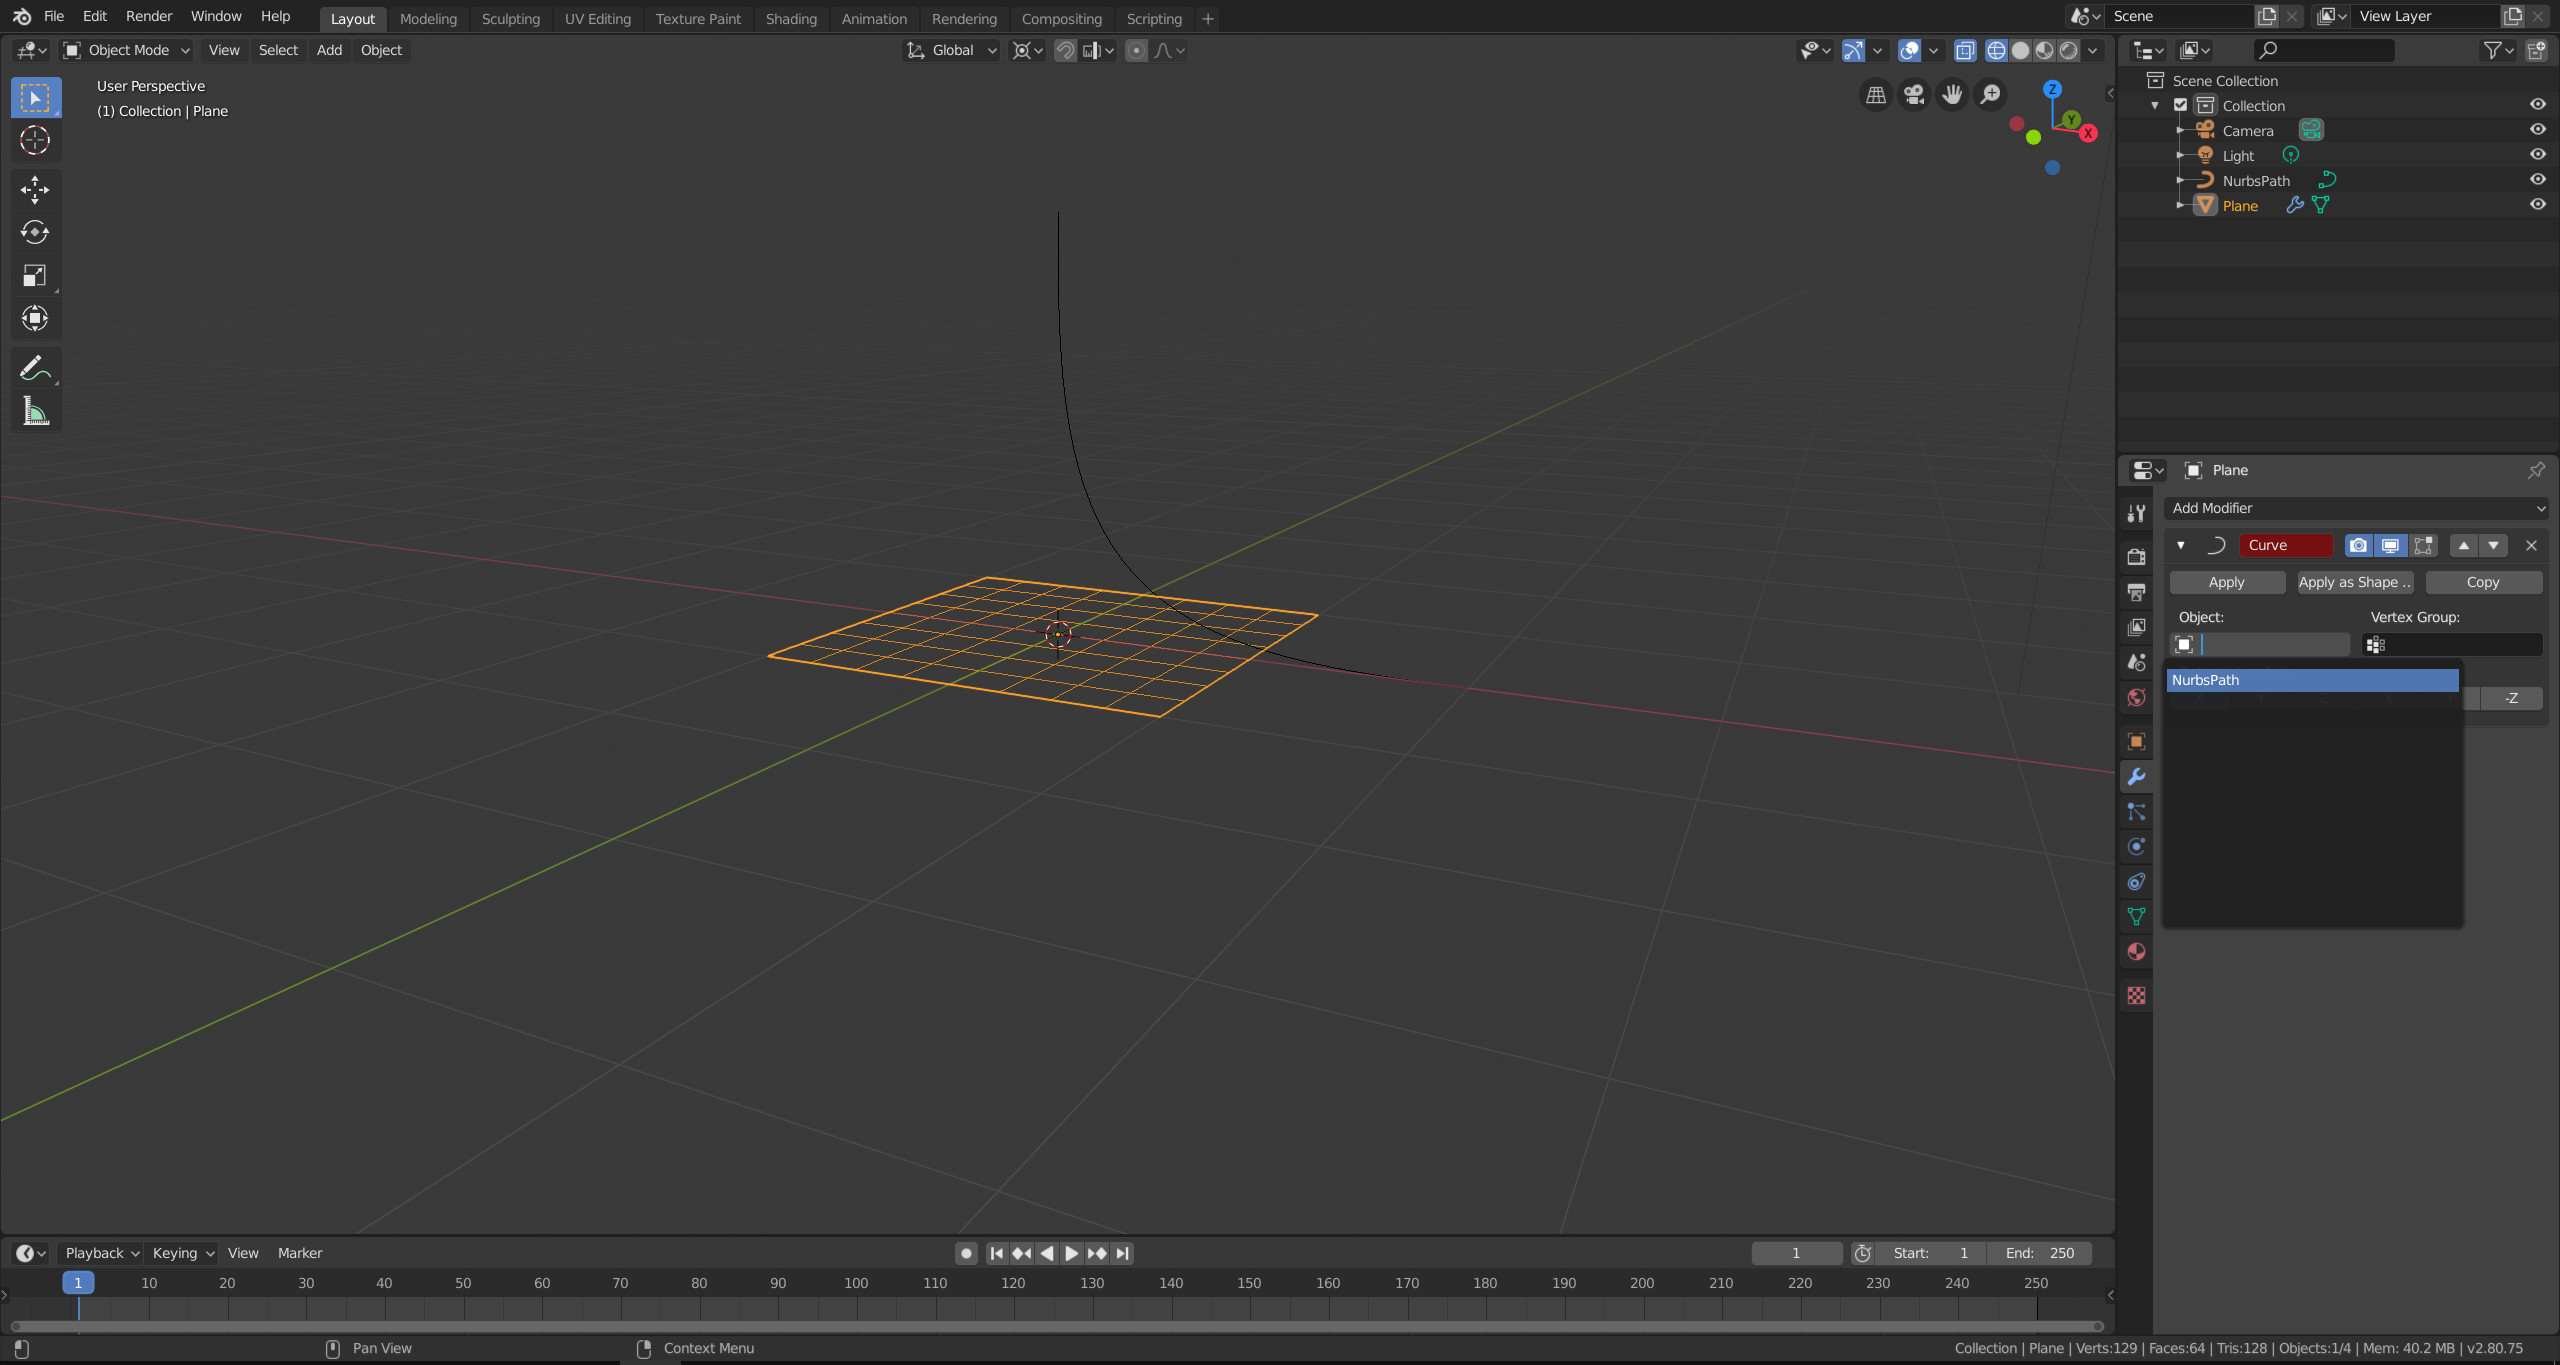
Then switch to object mode and add a Curve modifier to the plane. Select the deformation axis. The grab the plane with G and X, Y or Z whichever is you deformation axis and move the mouse cursor until it has the desired shape. Alternatively you can do it the other way around and move the curve.


If you want to use the Simple Deform modifier, you can use the following steps.
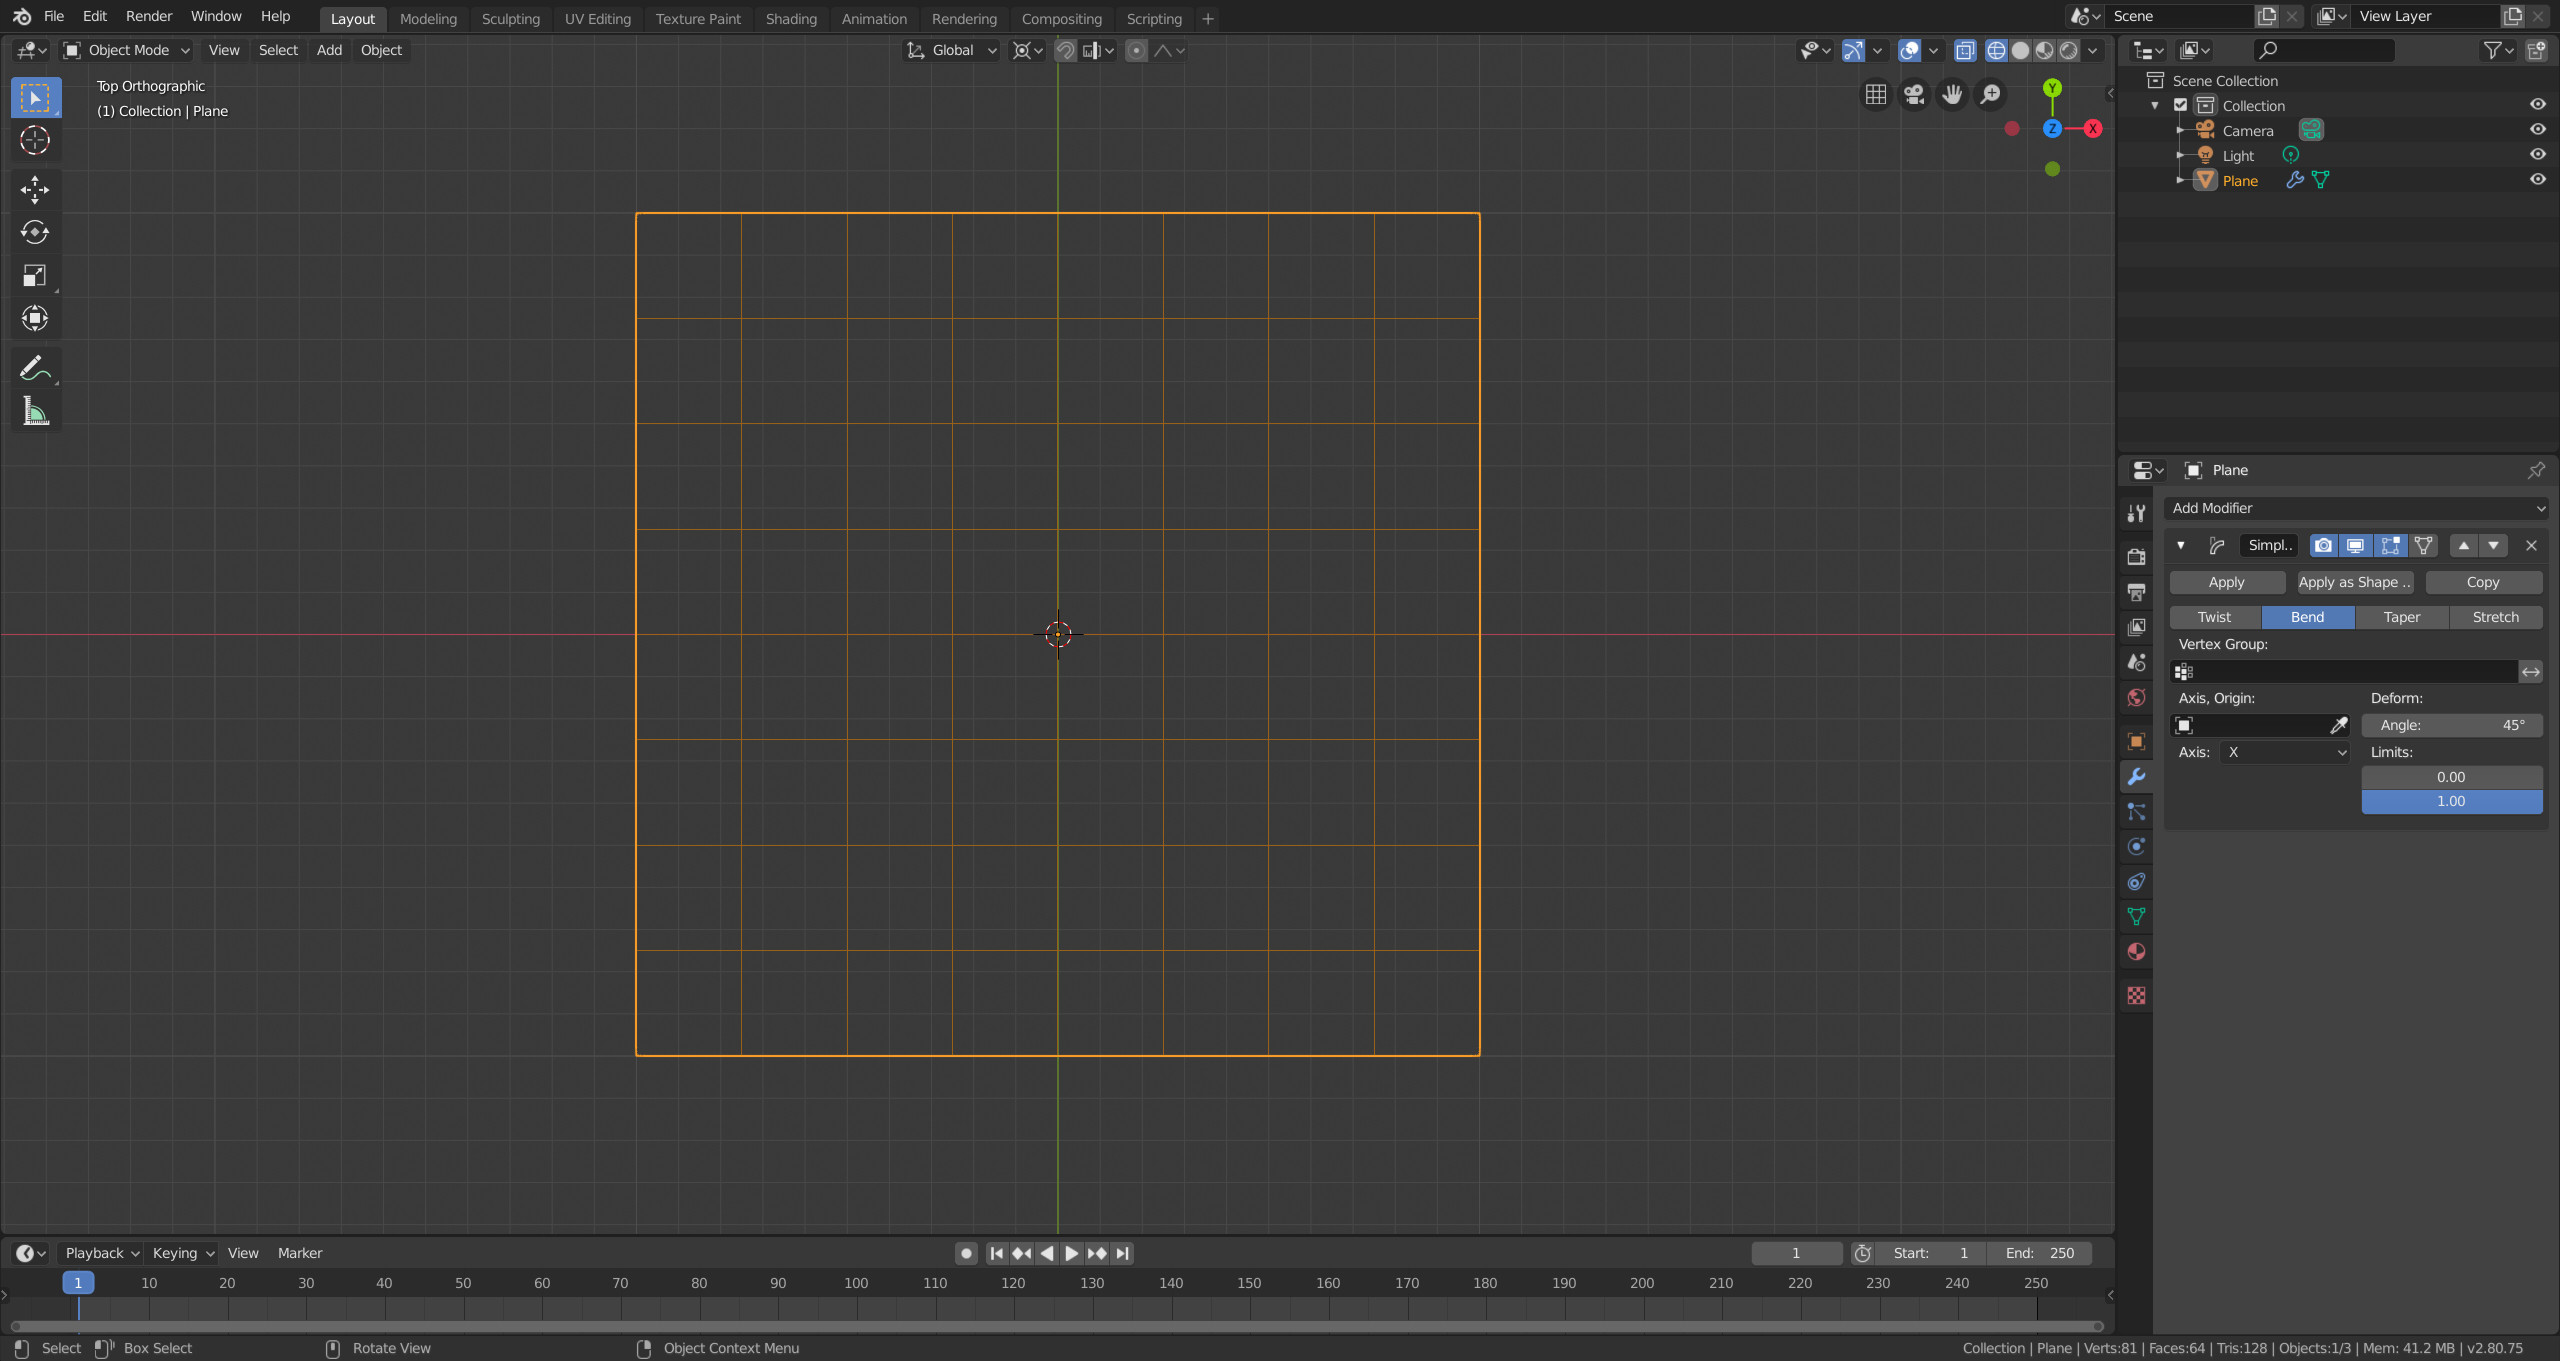
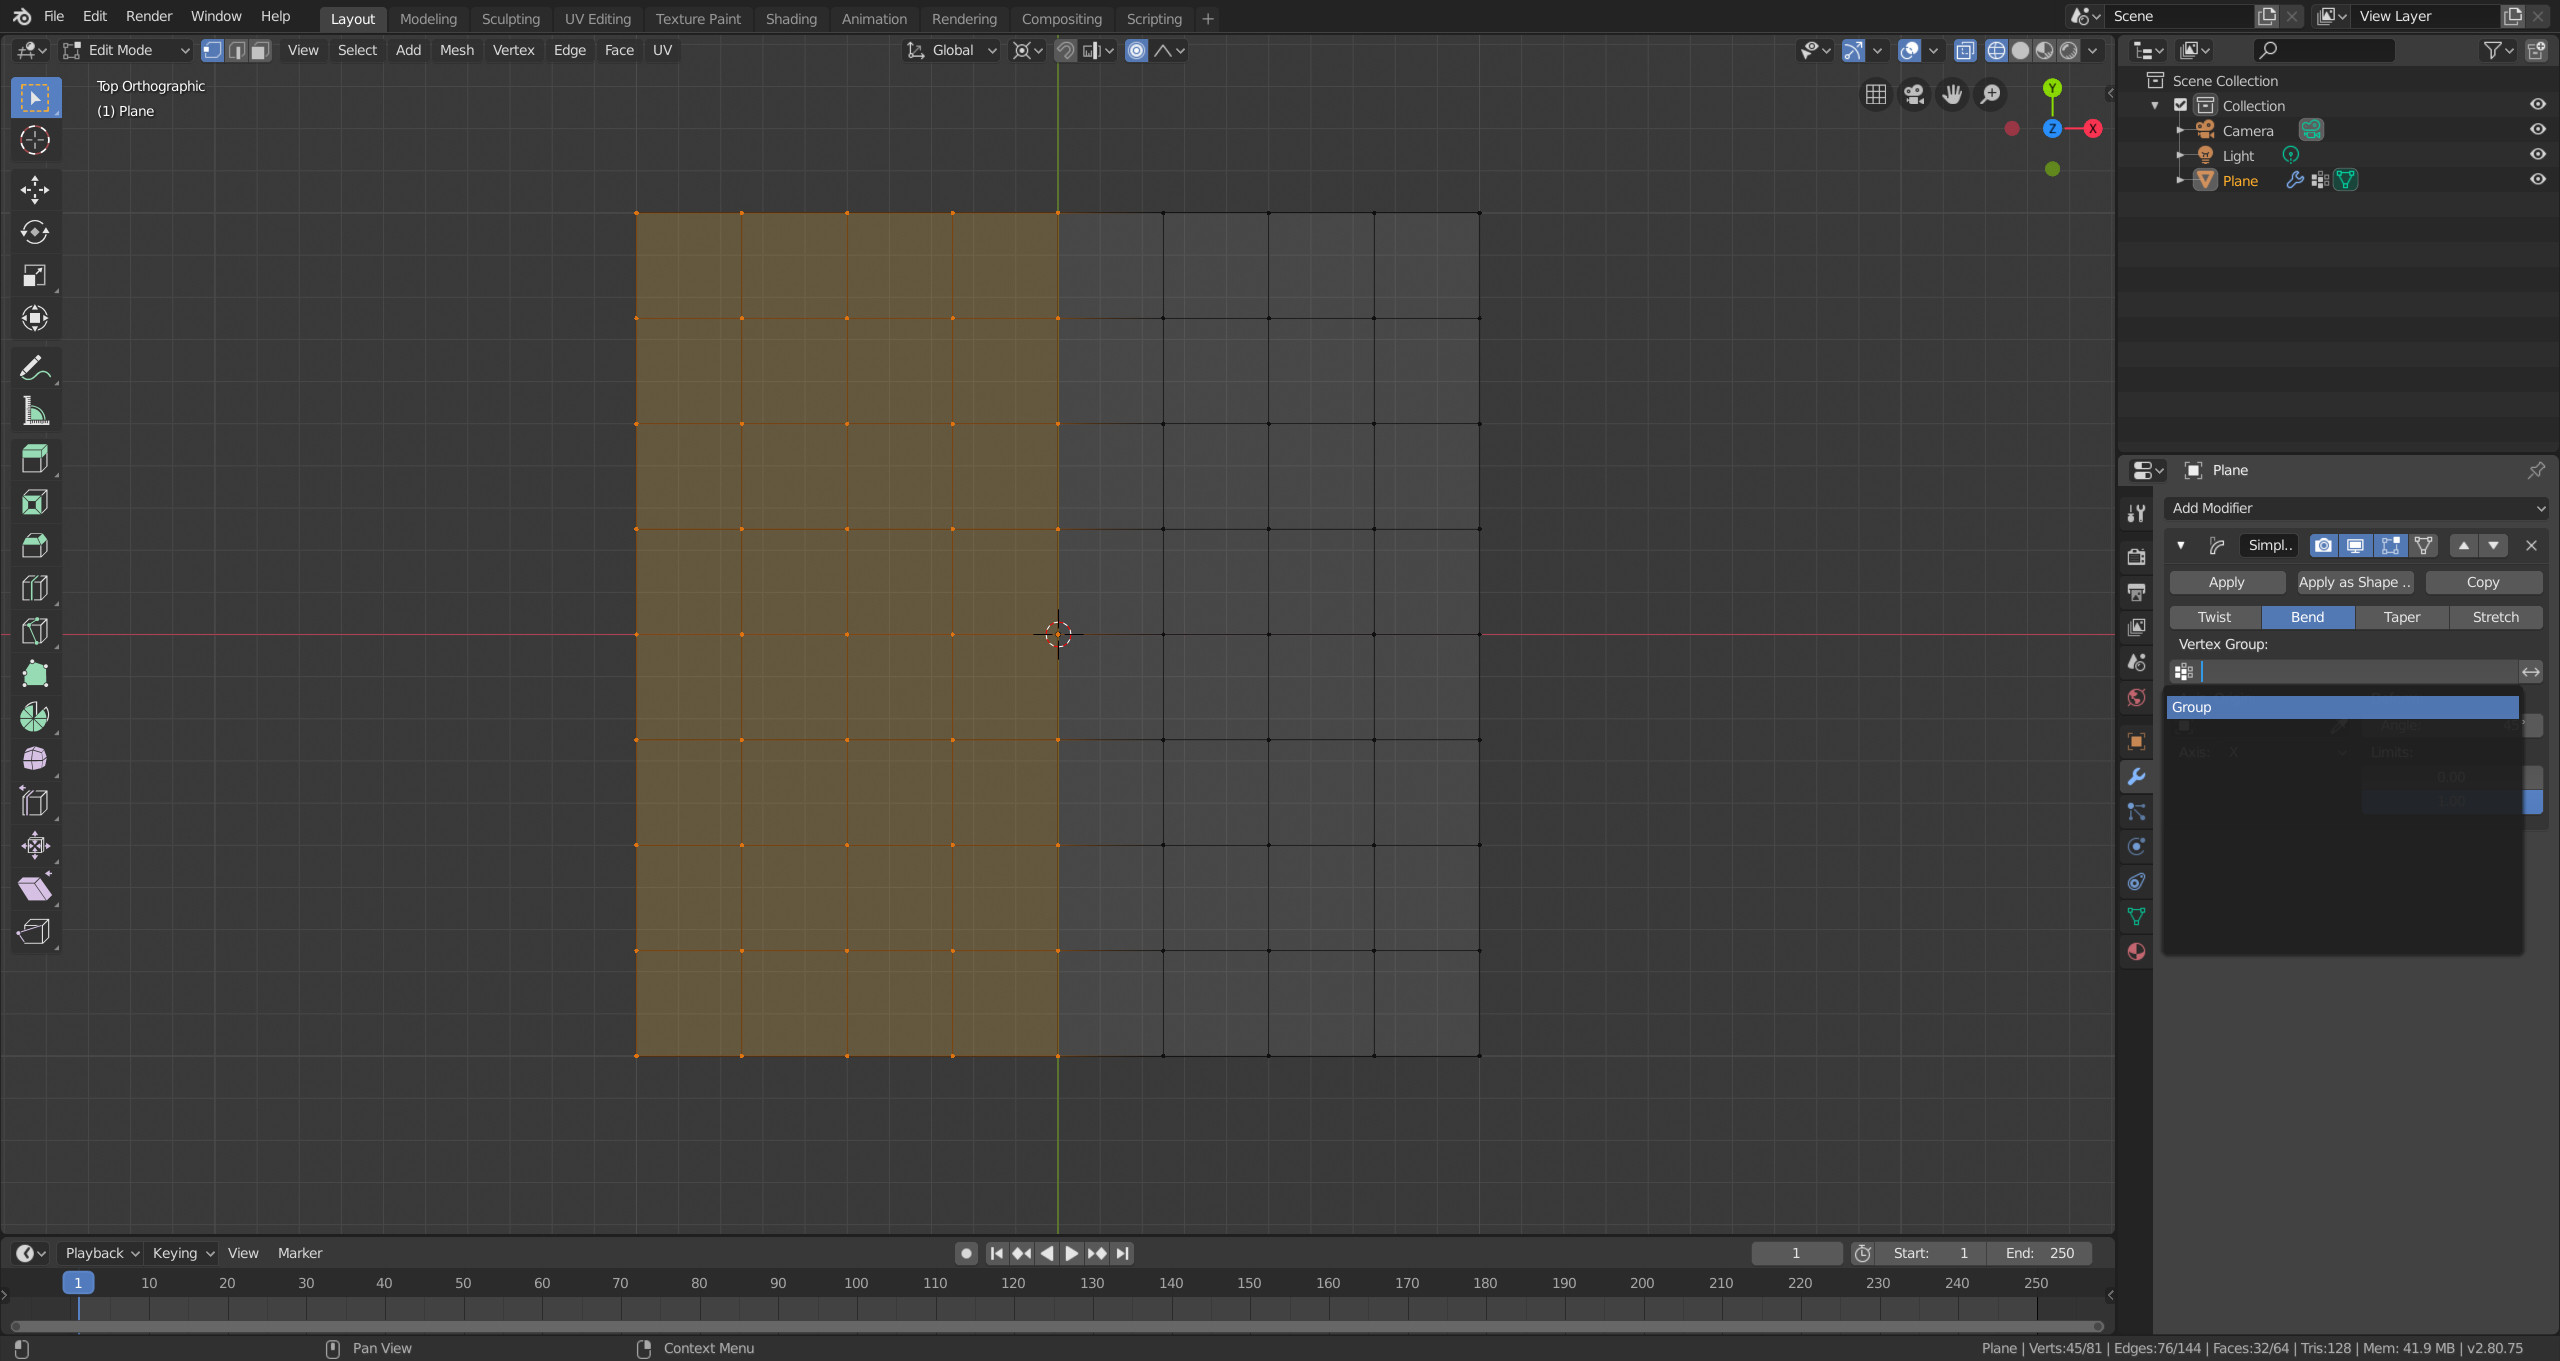
First add a subdivided plane, then add a Simple Deform modifier to it. Change the mode to Bend and set the axis to the one you want to bend around.

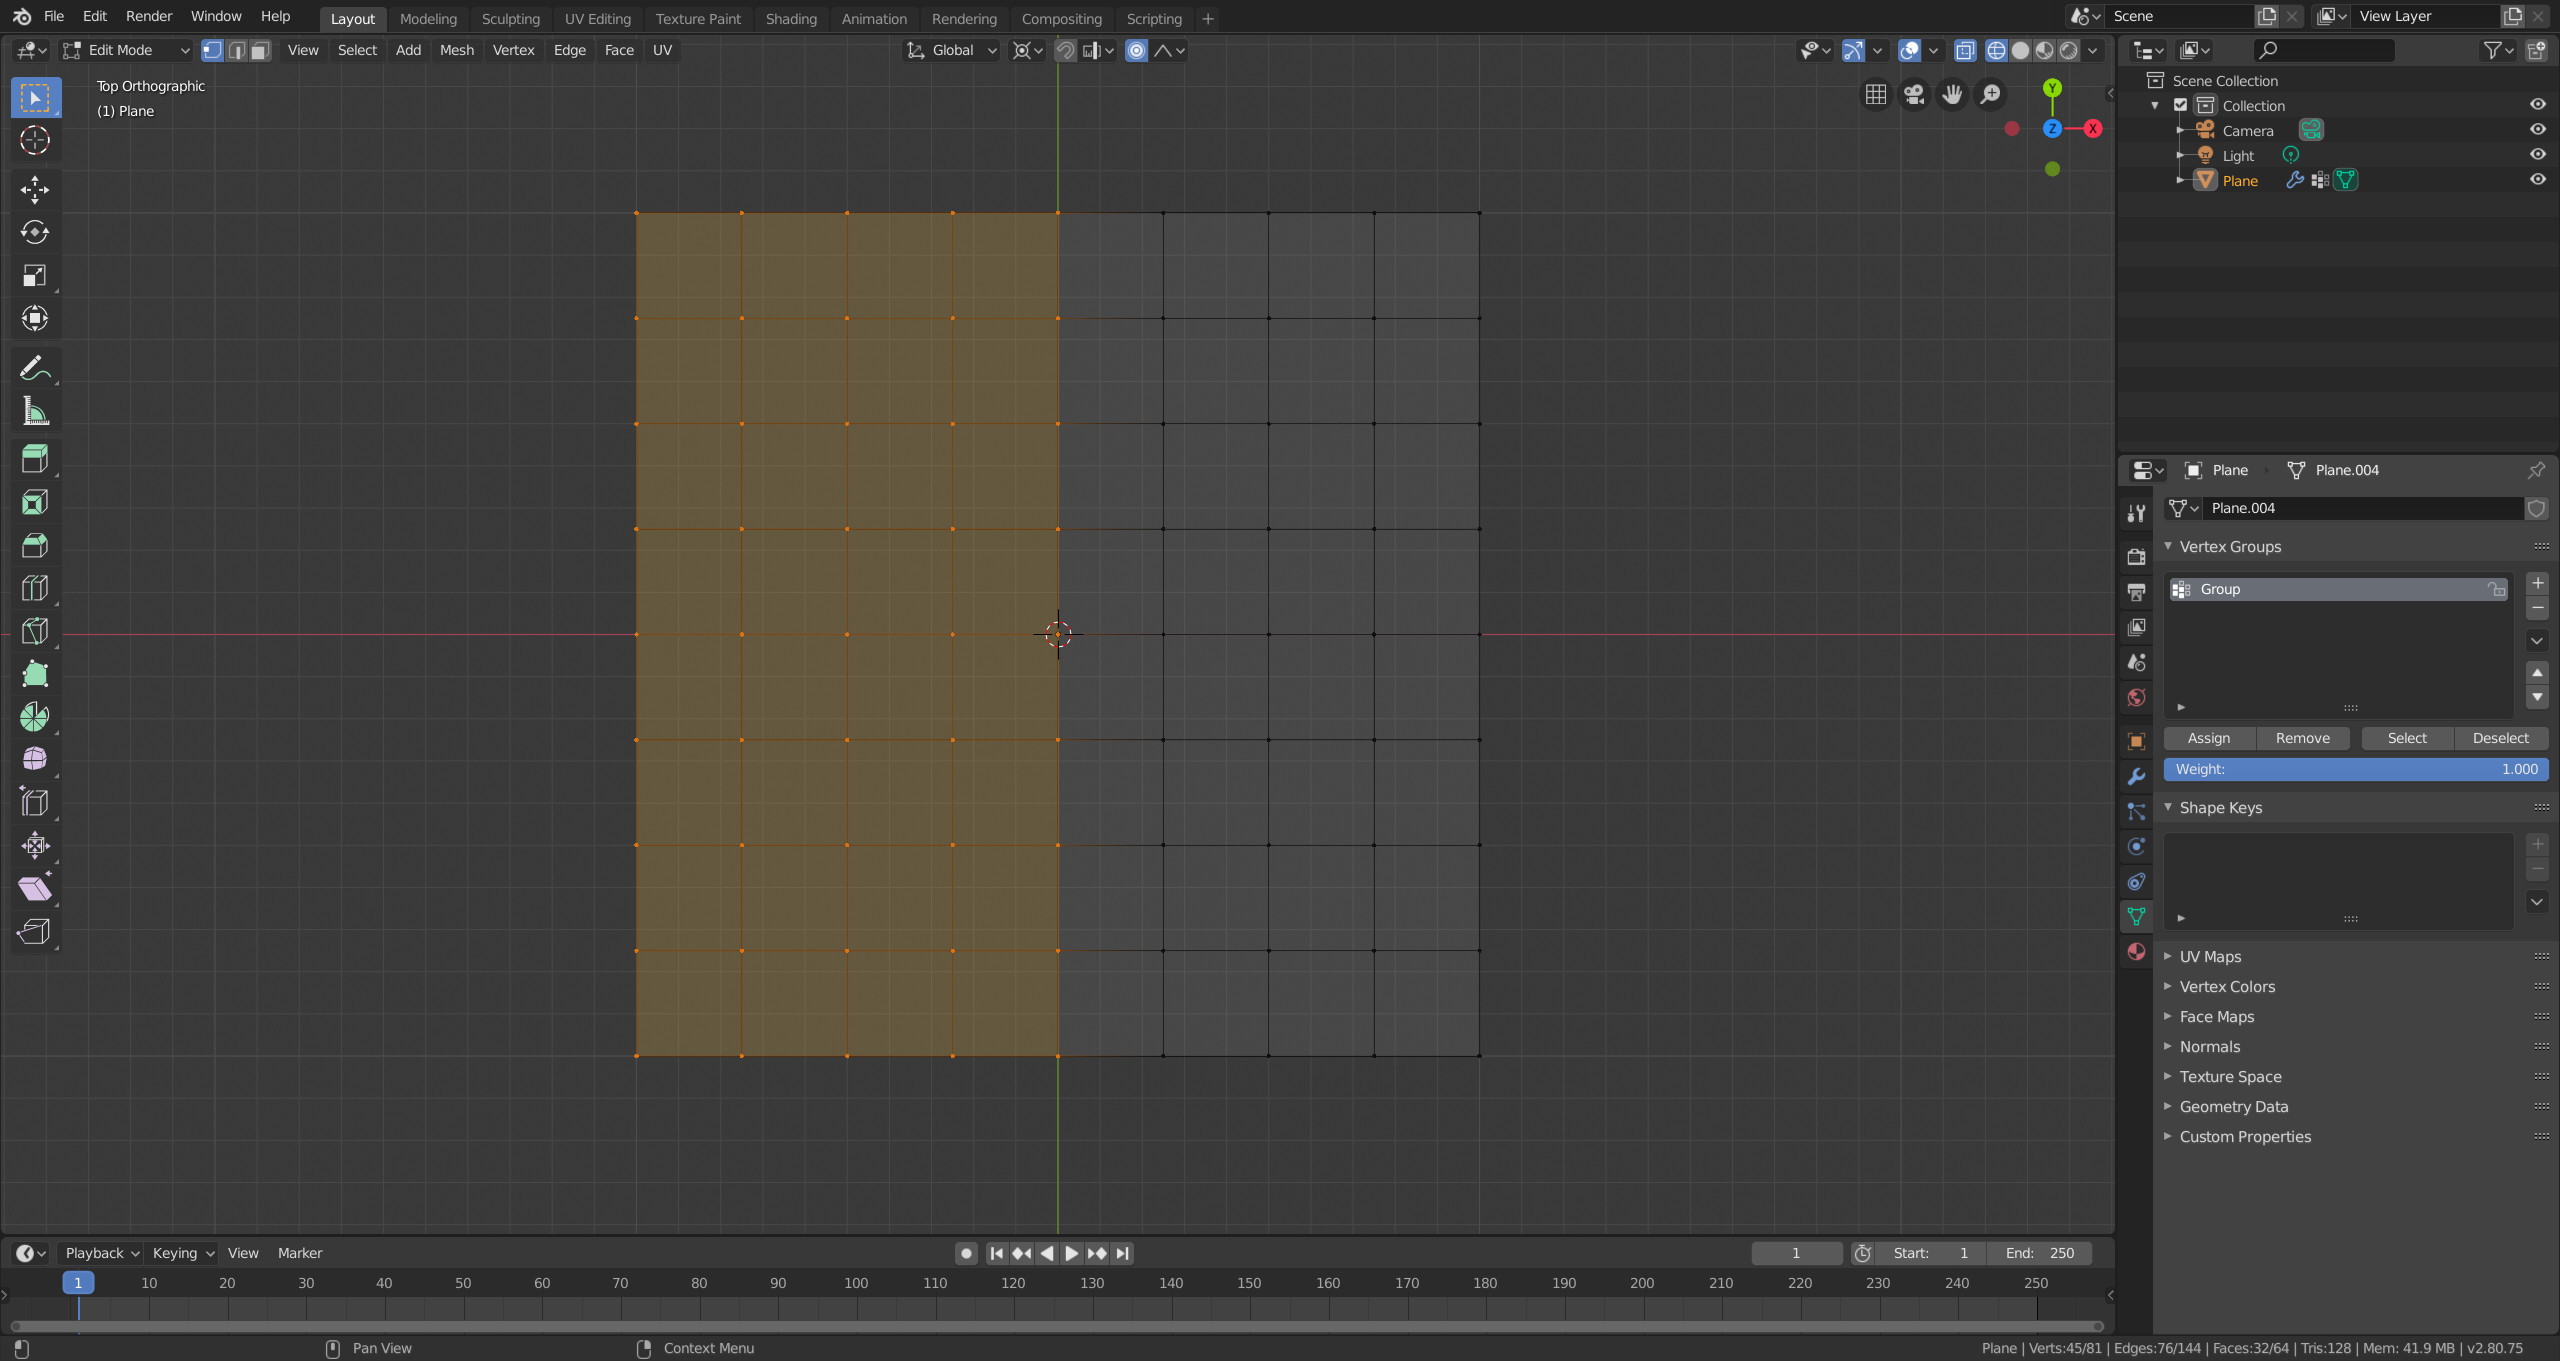
Now switch to edit mode and select the vertices you want affected by the modifier. With the vertices selected go to the object data tab and create a vertex group. Assign the selected vertices.

Add the vertex group to the modifier.

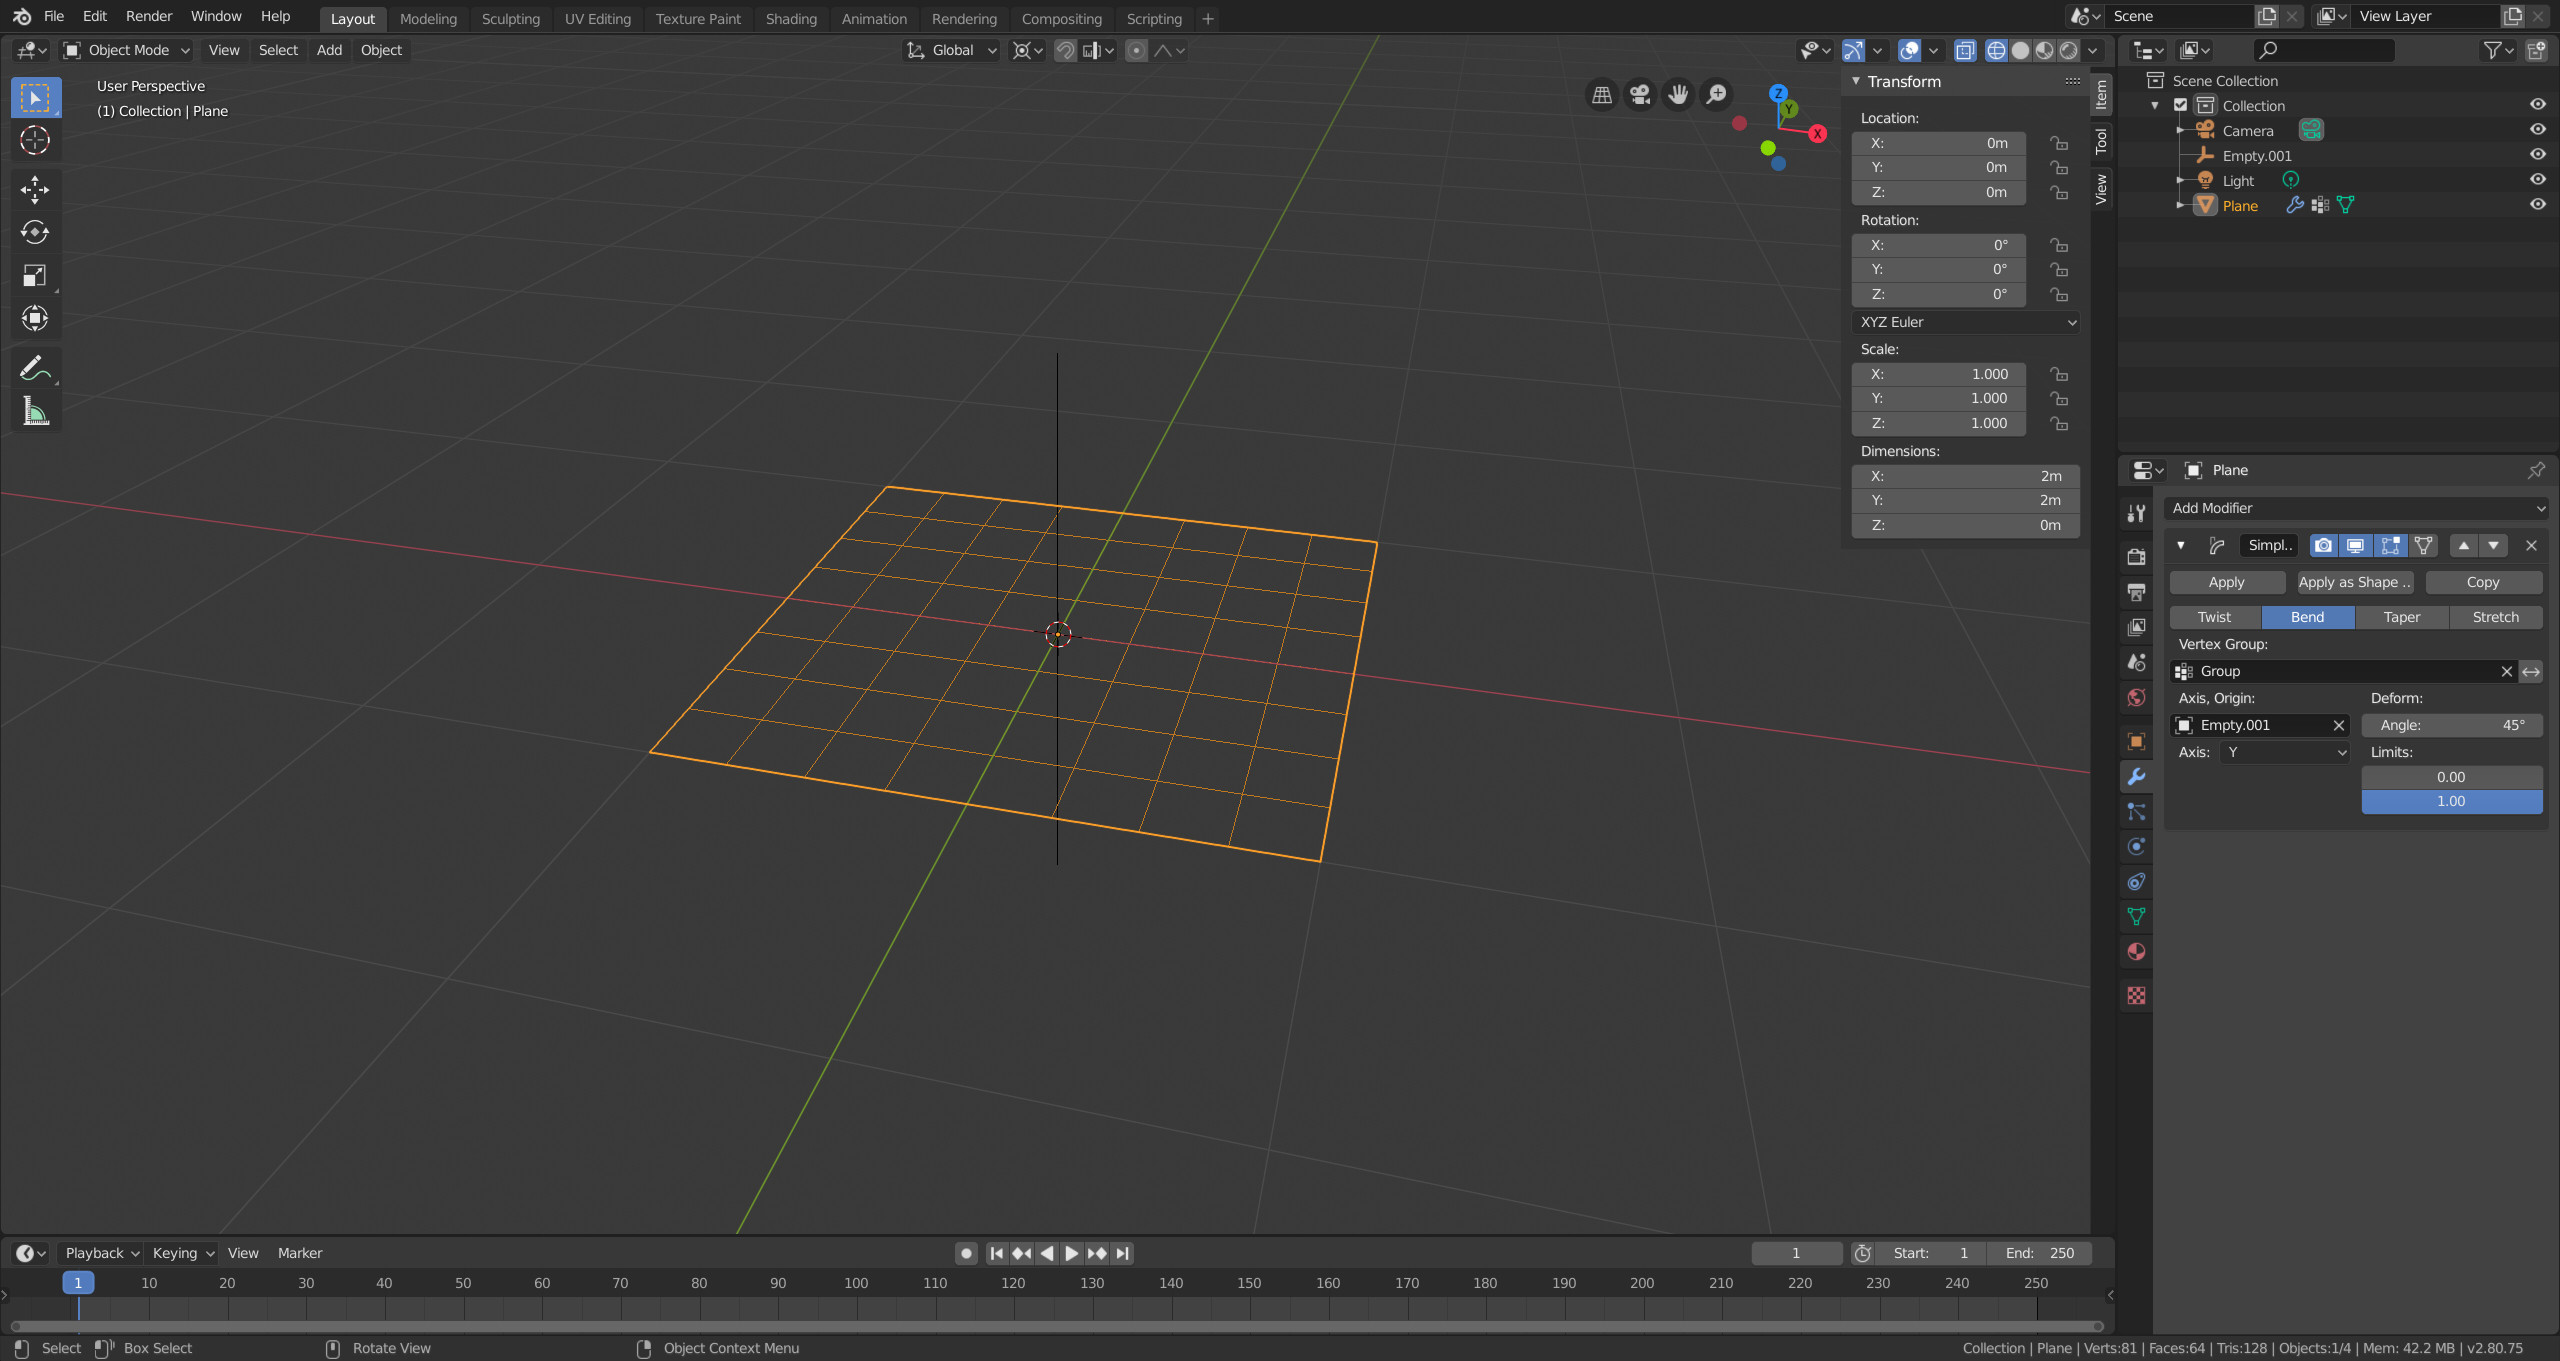
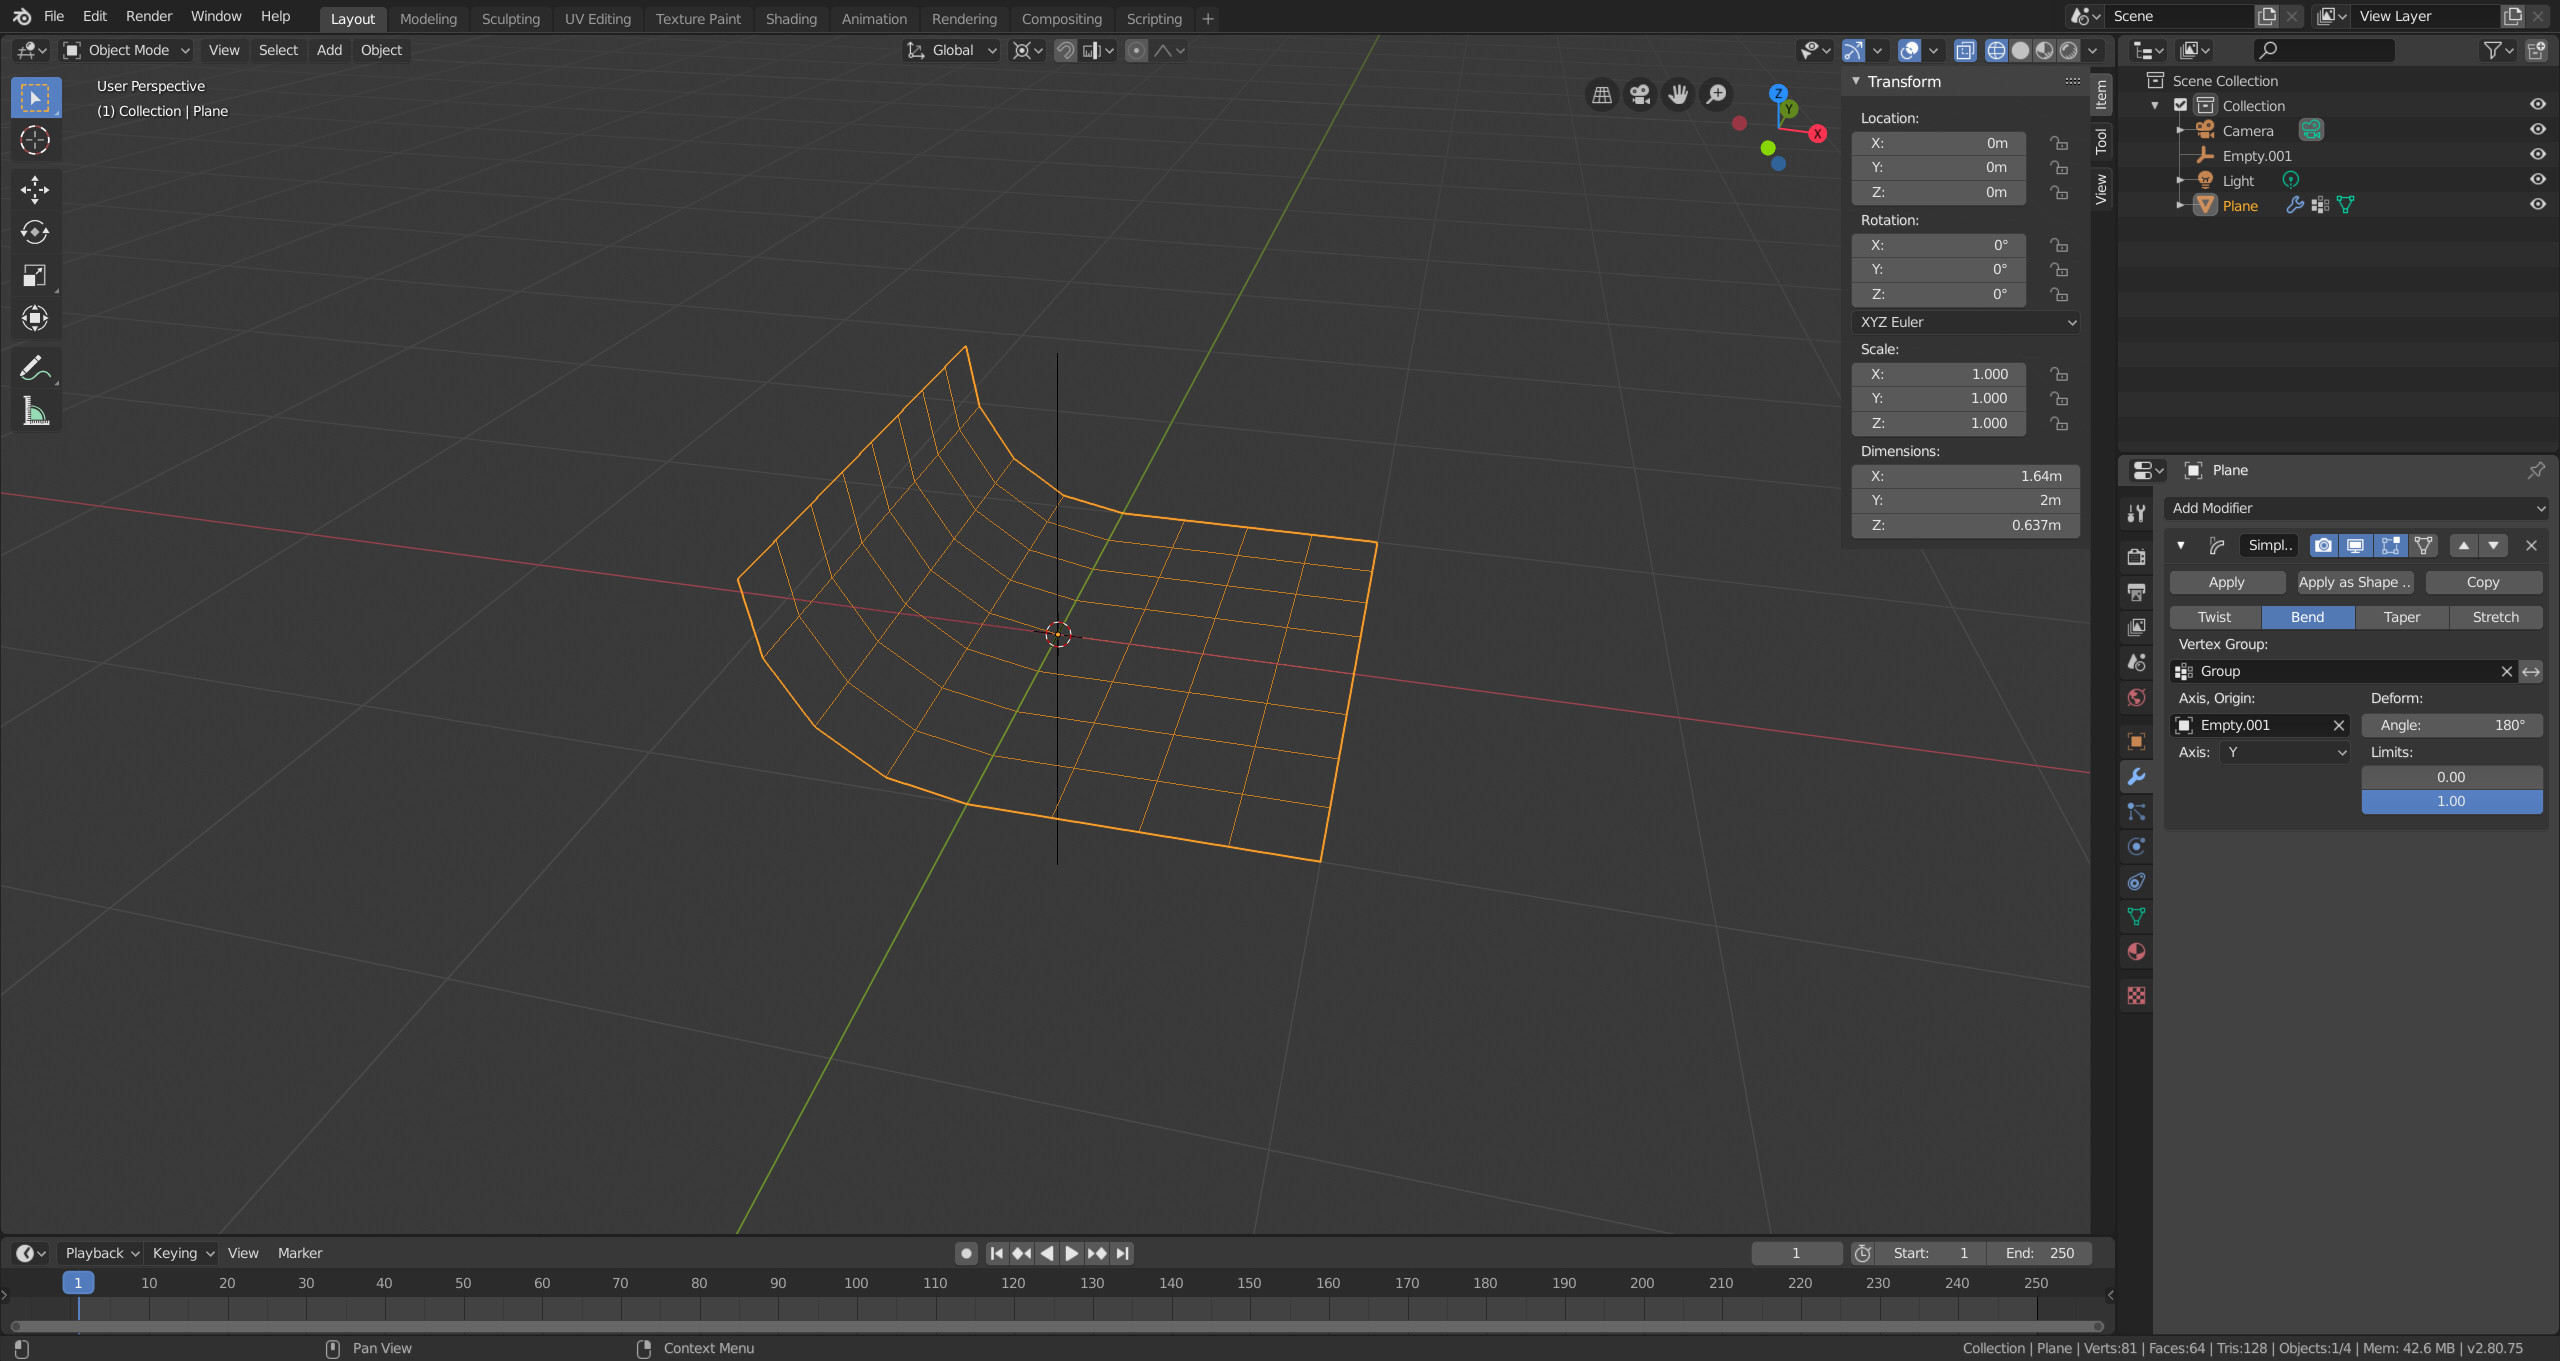
Switch back to object mode and add an empty (Add > Empty > Plain Axes) and set it as Axis, Origin for the Simple Deform modifier. Rotate the empty by 90° around the axis you want to bend. Then adjust the angle in the modifier to control how large the angle of the bend is. The empty is used a center/pivot for the bend so you can adjust the position to change the radius of the bend.


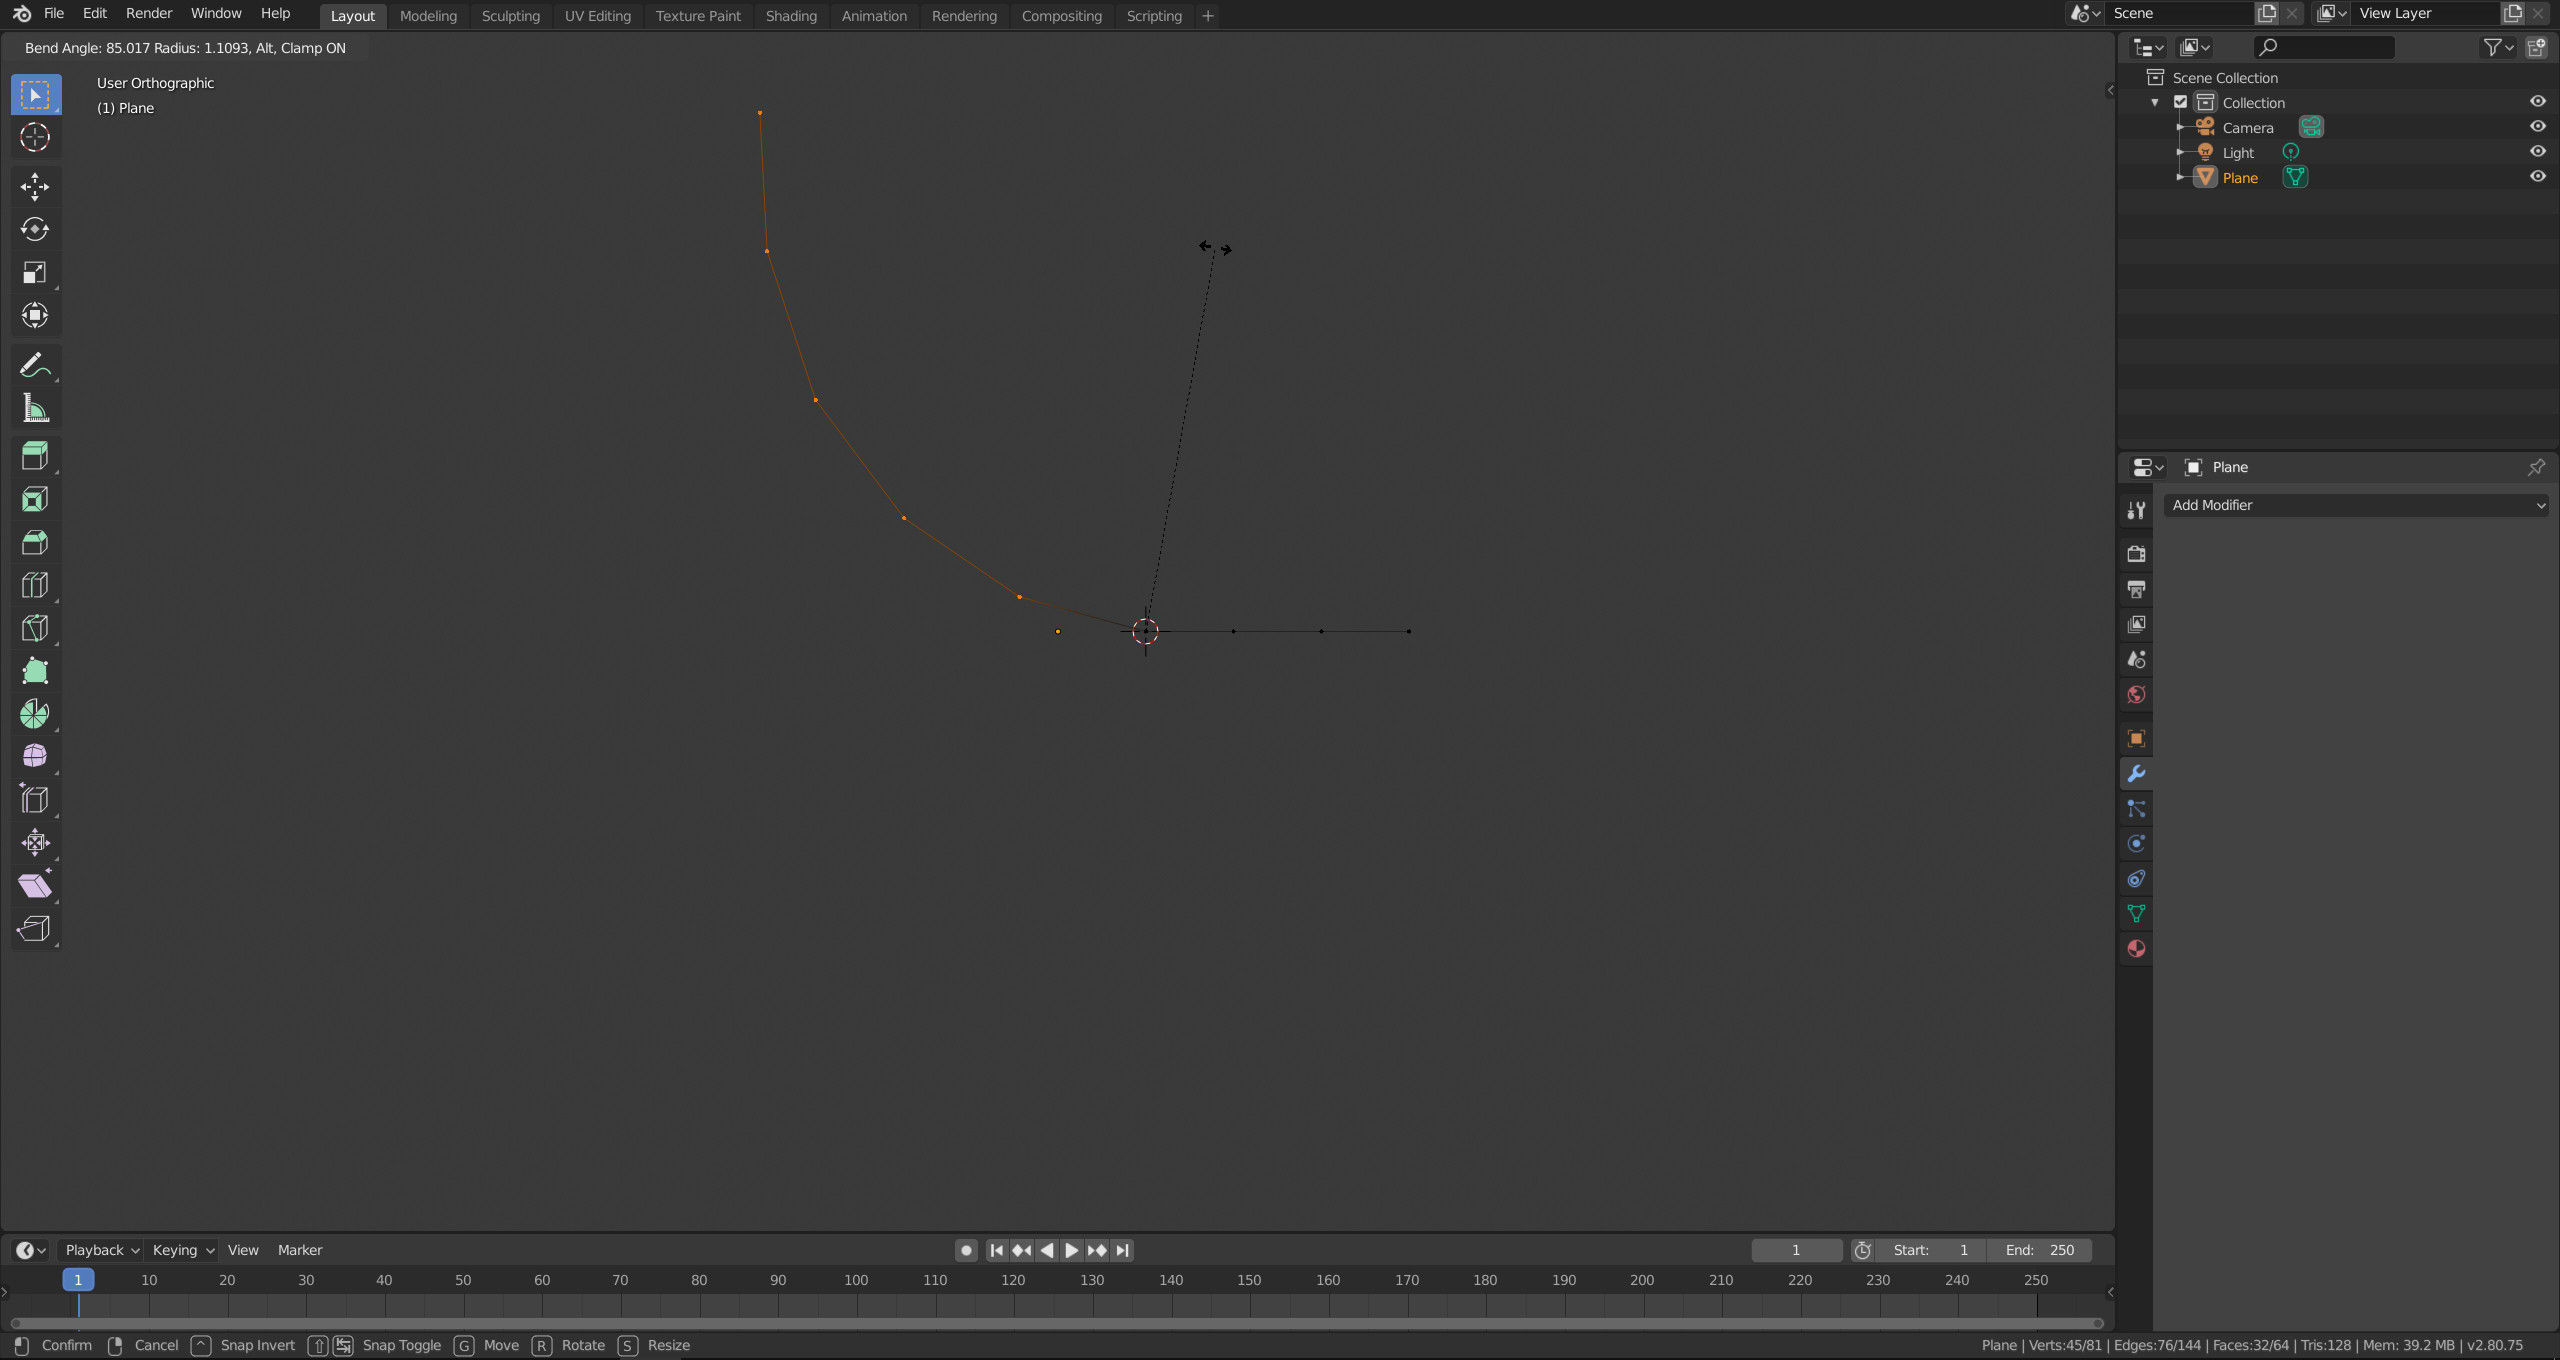
The Bend tool is a bit unintuitive because depends on your angle of view, the angle between your mouse cursor position between the start and end of the operation, the distance to the 3D cursor and uses the 3D cursor as pivot.
First step is to add and plane and subdivide it. Then switch to edit mode.

Place the 3D cursor where you want the bend to pivot. You can set the 3D cursor to the position of a vertex by selecting a single vertex and then SHIFT+S > Cursor to selected. Alternatively you can switch to orthographic perspective (Toggle with Numpad 5) and view the scene from one of the sides e.g. from the top Numpad 7. Then place the 3D cursor using SHIFT and right click into 3D space.

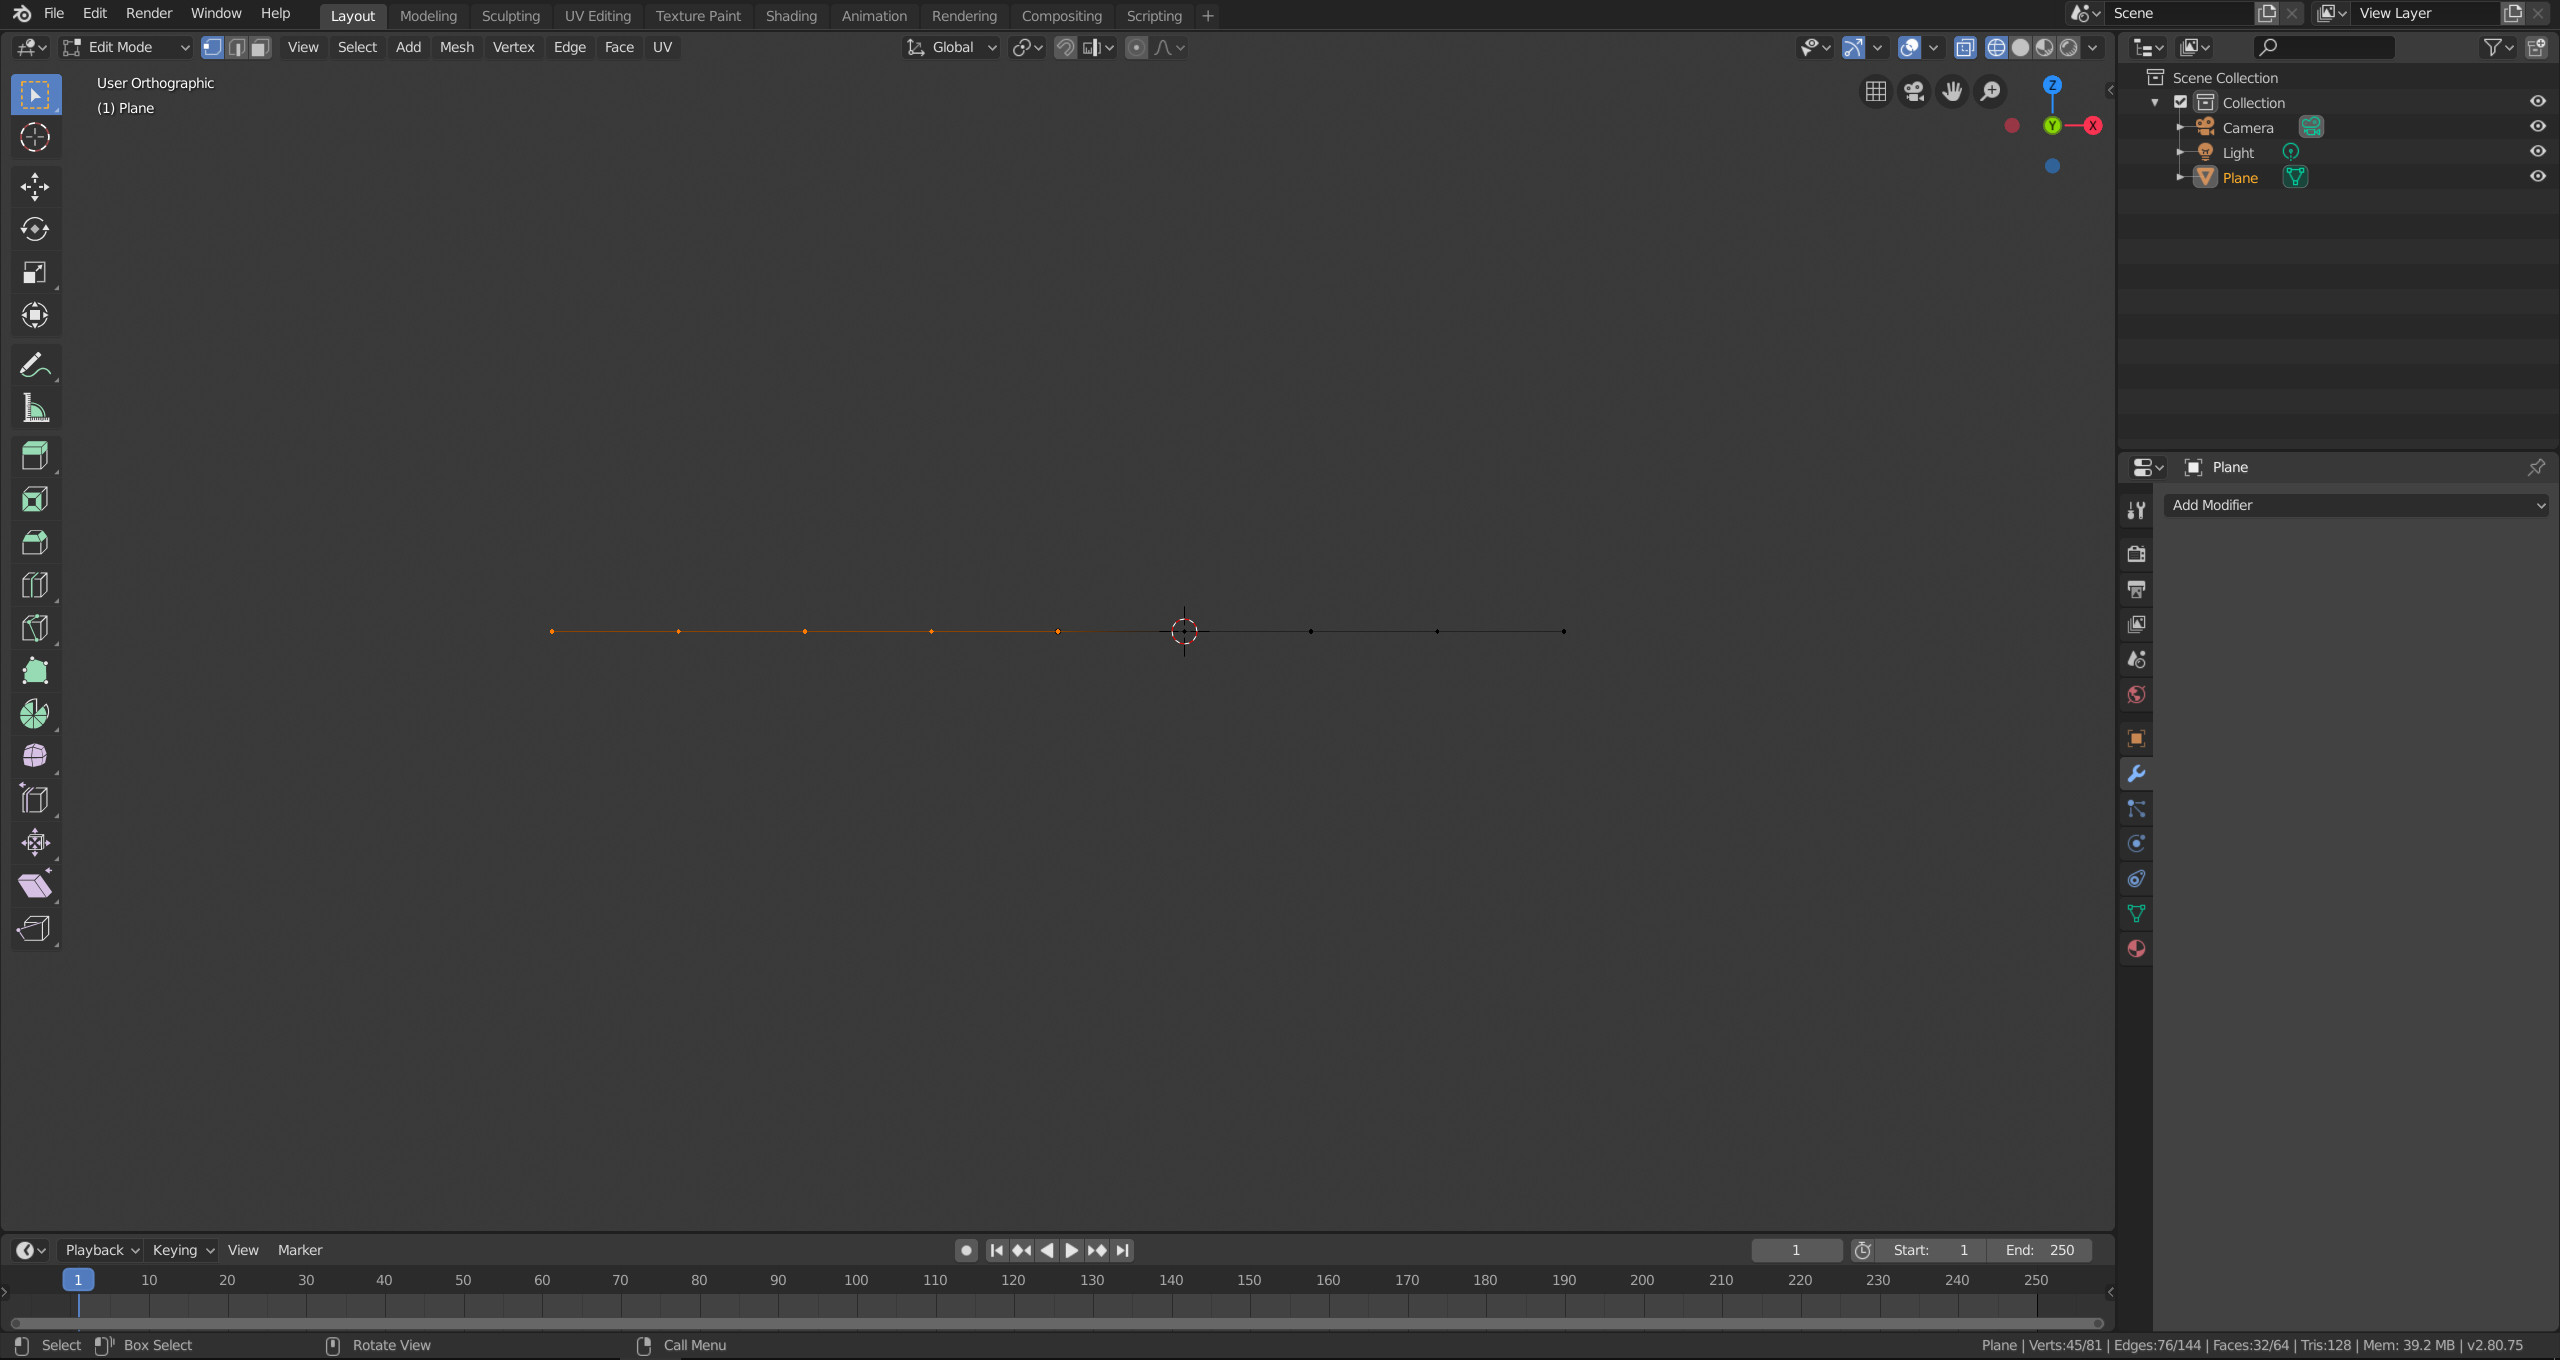
Once you have that prepared, select the vertices in your plane that you want to affect with the bend. Switch to the perspective from which you want to bend, e.g. if you want the bend to occur along the Y-axis, align your view to the Y-axis.


Press SHIFT+W to activate the bend. Now place your mouse cursor at the distance from the 3D cursor that you want as radius for the bend. Move your mouse cursor around the 3D cursor until your reached the desired angle of bend and confirm by clicking the left mouse button.
