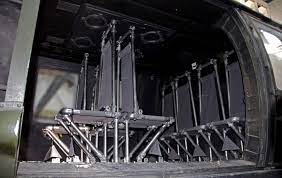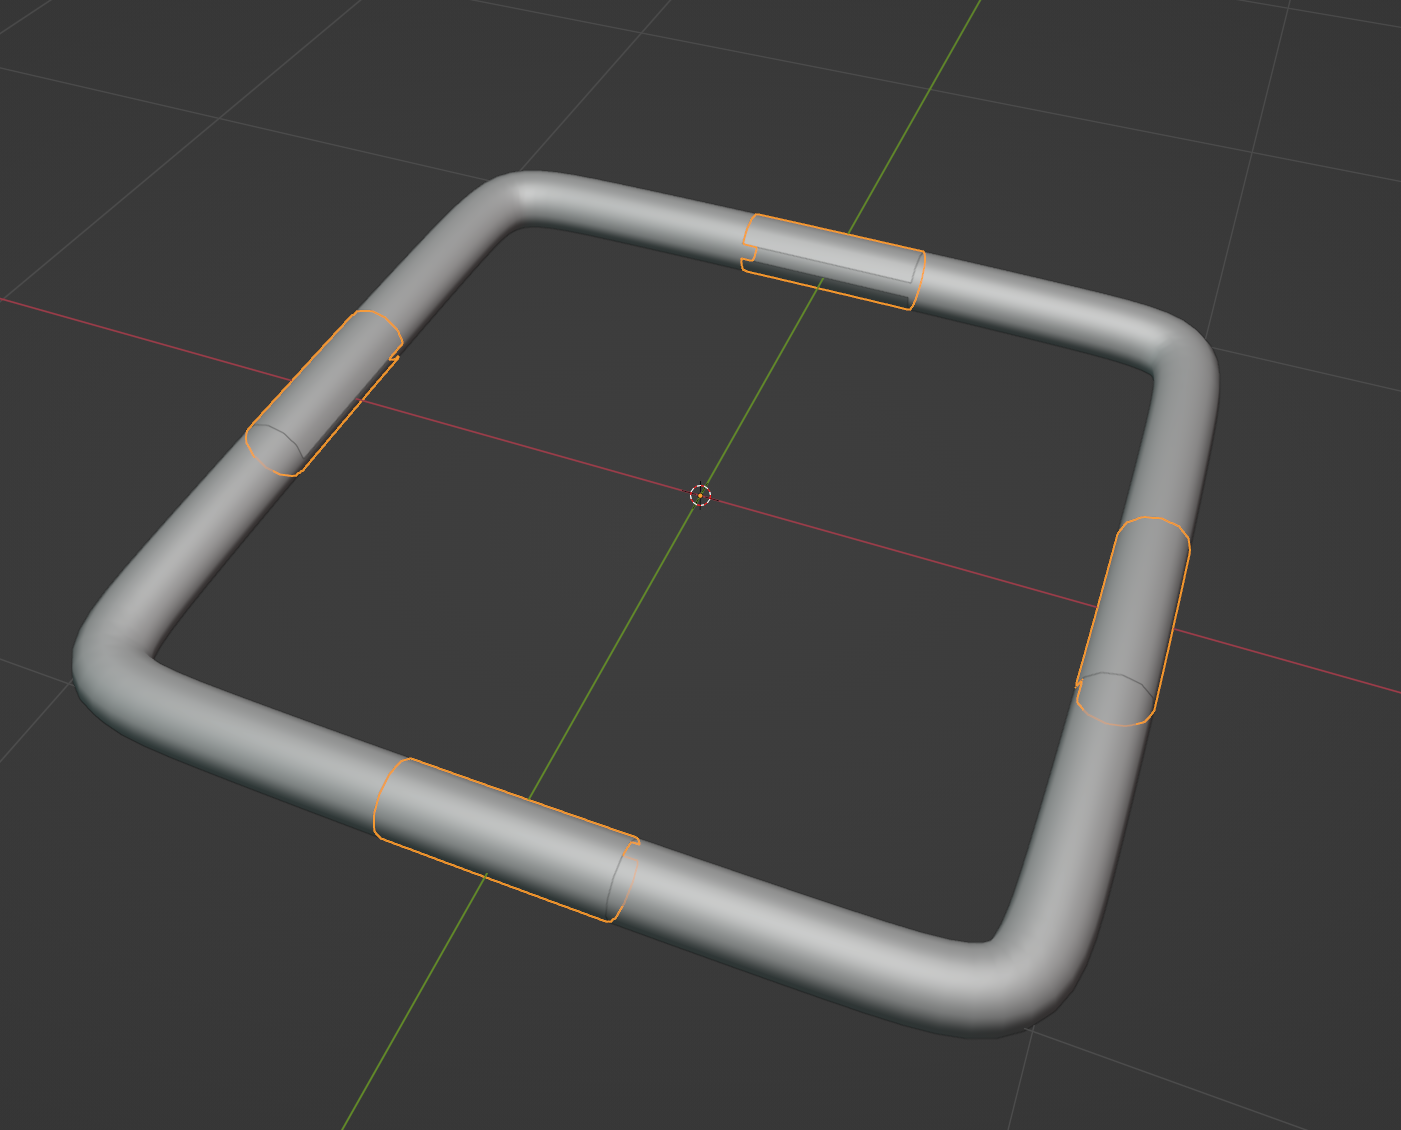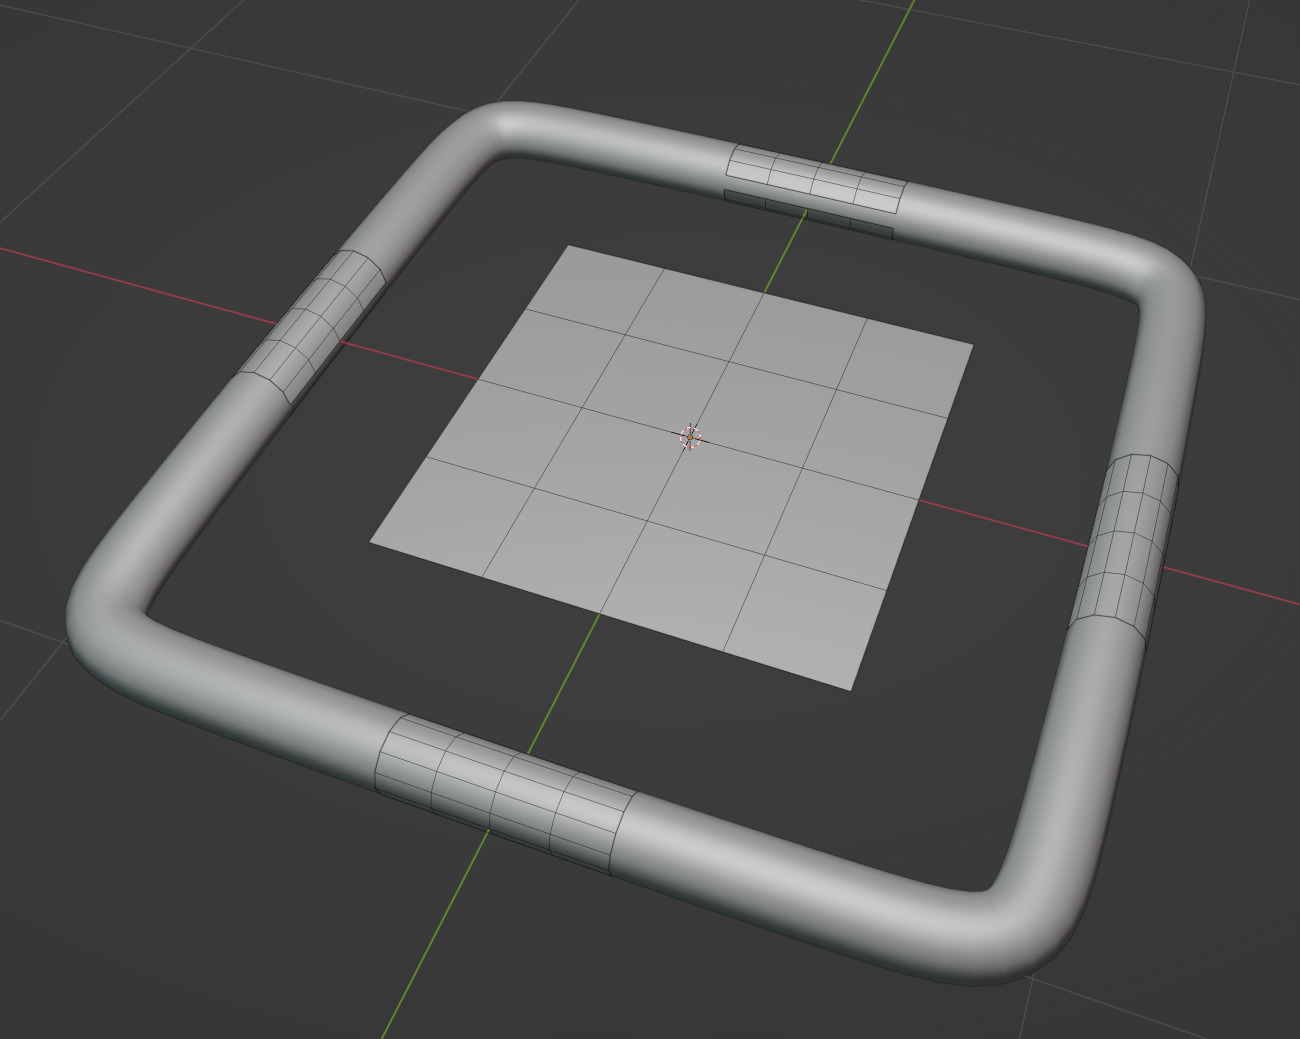
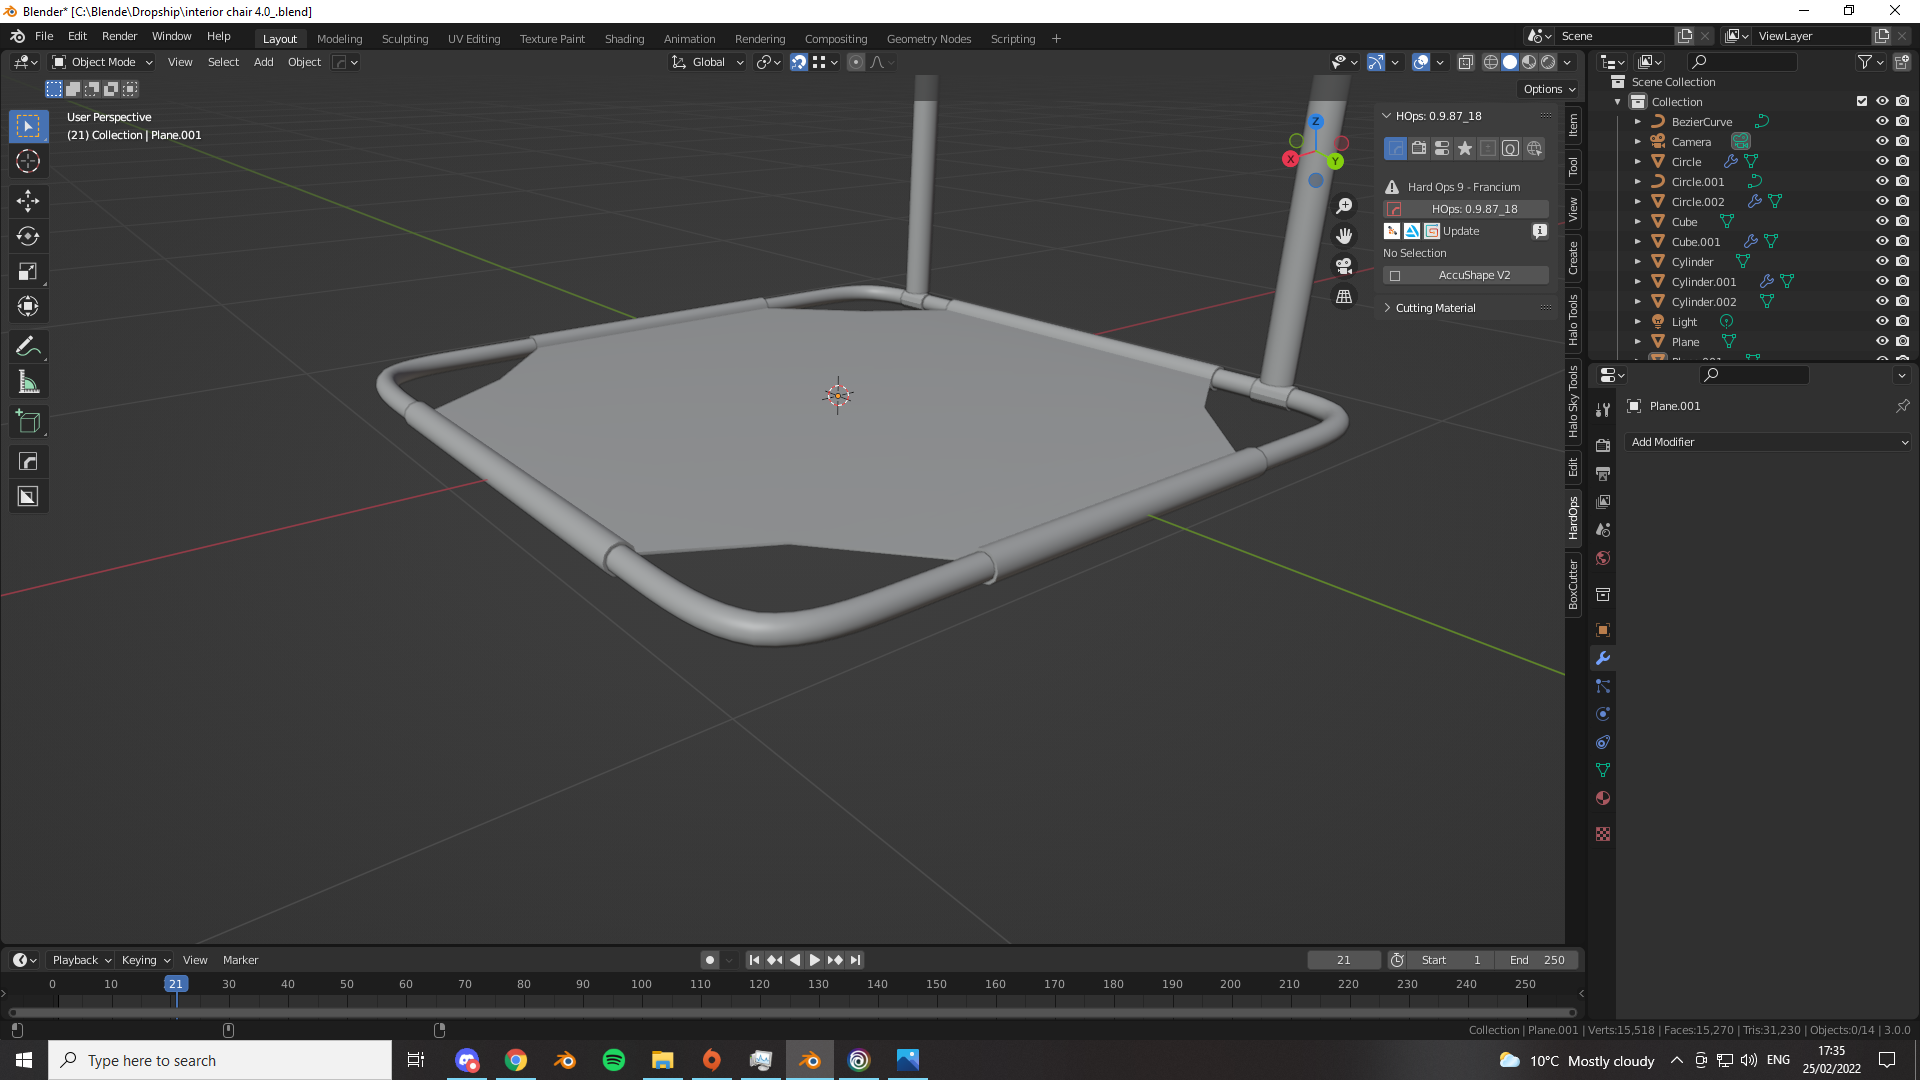
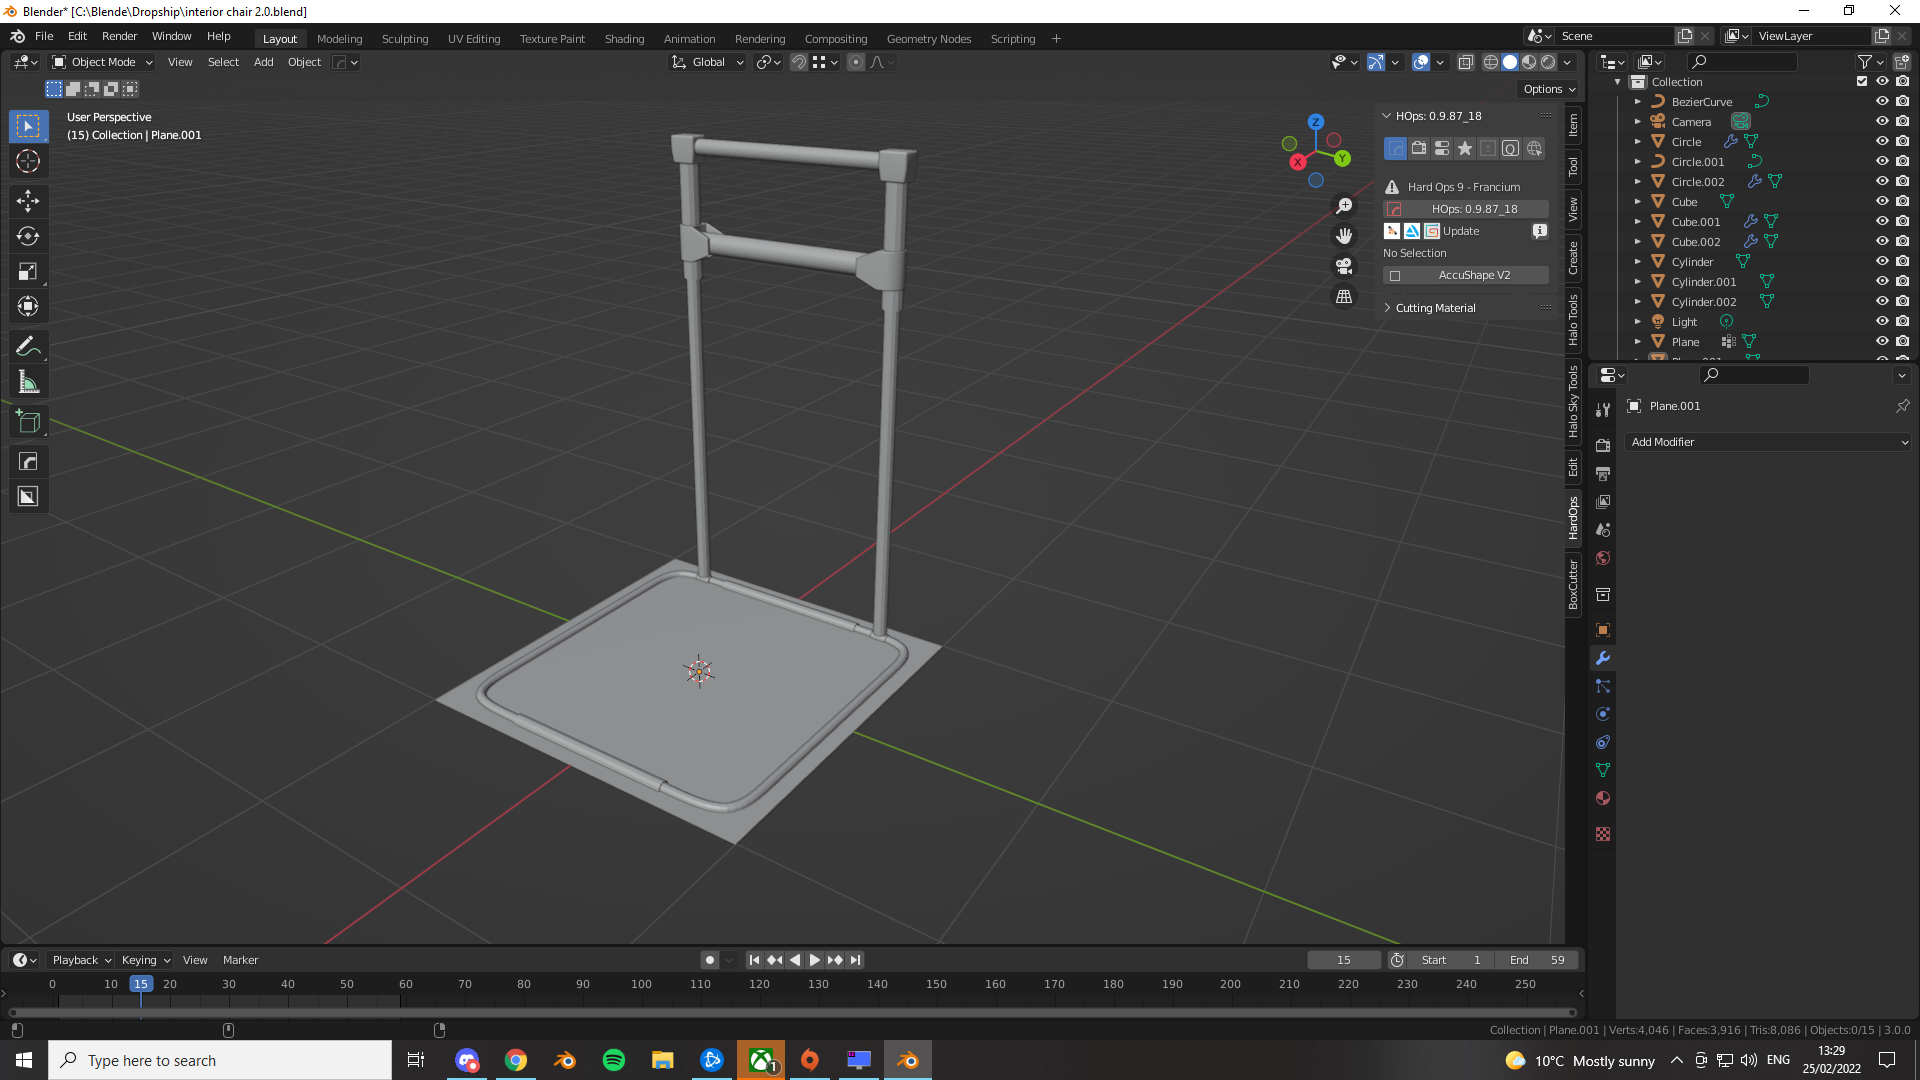
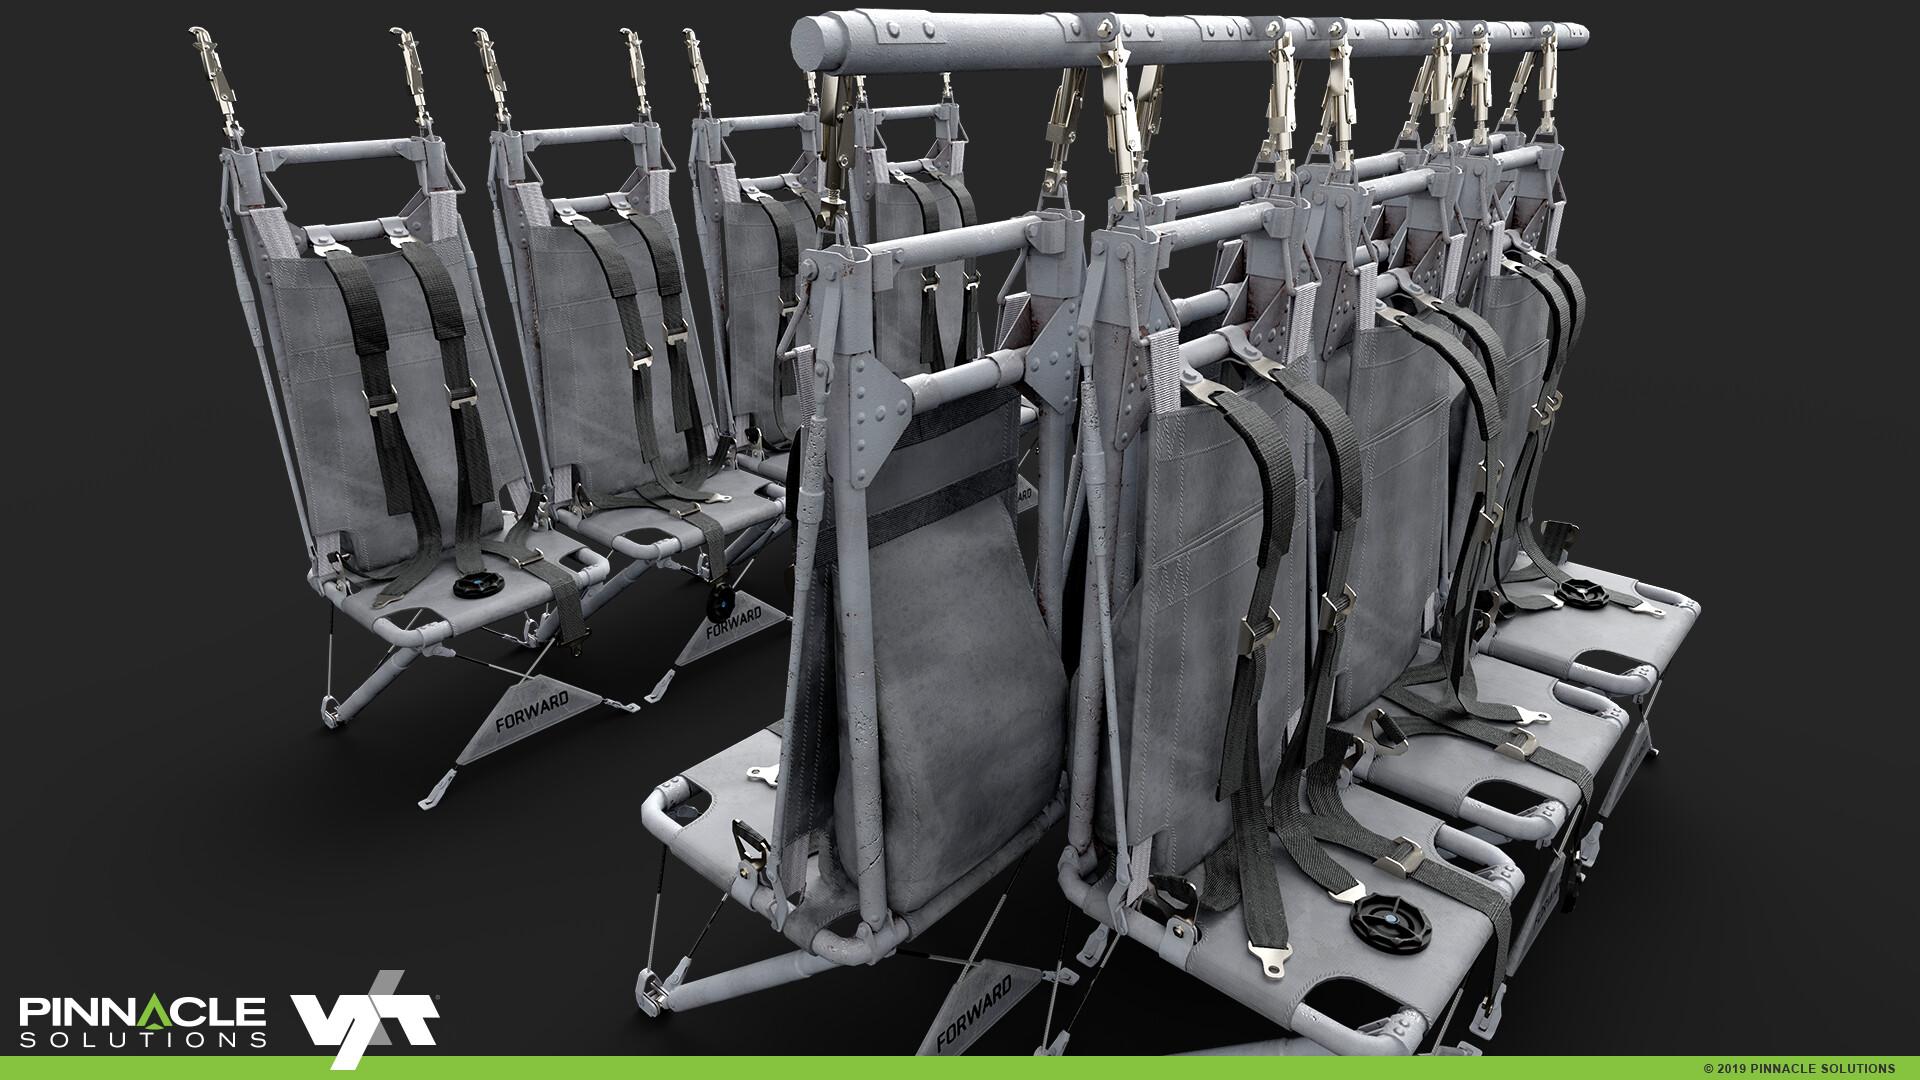
 I am creating a UH-60 passenger seat. The blockout is done and I am trying to now do the fabric part however I am having trouble wrapping the seat fabric around the metal frame. I have tried adding in a plane, solidifying it and then adding a shrinkwrap modifier however that does not achieve the effect I want. Also have tried giving the seat frame collision and then ruining a cloth sim on the subdivided plane but it does not wrap around like I want it to, Reference and model below
-
$\begingroup$ Is there a reason you can't just model the fabric like any other part of the mesh? $\endgroup$– OnyxCommented Feb 25, 2022 at 13:50
-
$\begingroup$ I need the fabric to wrap around certain parts of the mesh, I could do it manually by extruding and loop cuts but thats takes very long and is also very dirty. $\endgroup$– DocSonCommented Feb 25, 2022 at 13:51
-
$\begingroup$ How realistic does it need to be, how close are you rendering this part? The reference image is tiny, I don't see the fabric sagging anywhere, it just look like a plane so you wouldn't need to spend so much time with sim or anything complicated. $\endgroup$– LucianoCommented Feb 25, 2022 at 14:19
-
$\begingroup$ This model is to be used for a game asset ive finished and it needs to be as realistic as possible. At the moment it is just a blockout however the cloth part is infact a solid 3d object with a small thickness. Ive also uploaded a new ref for better understanding $\endgroup$– DocSonCommented Feb 25, 2022 at 14:22
1 Answer
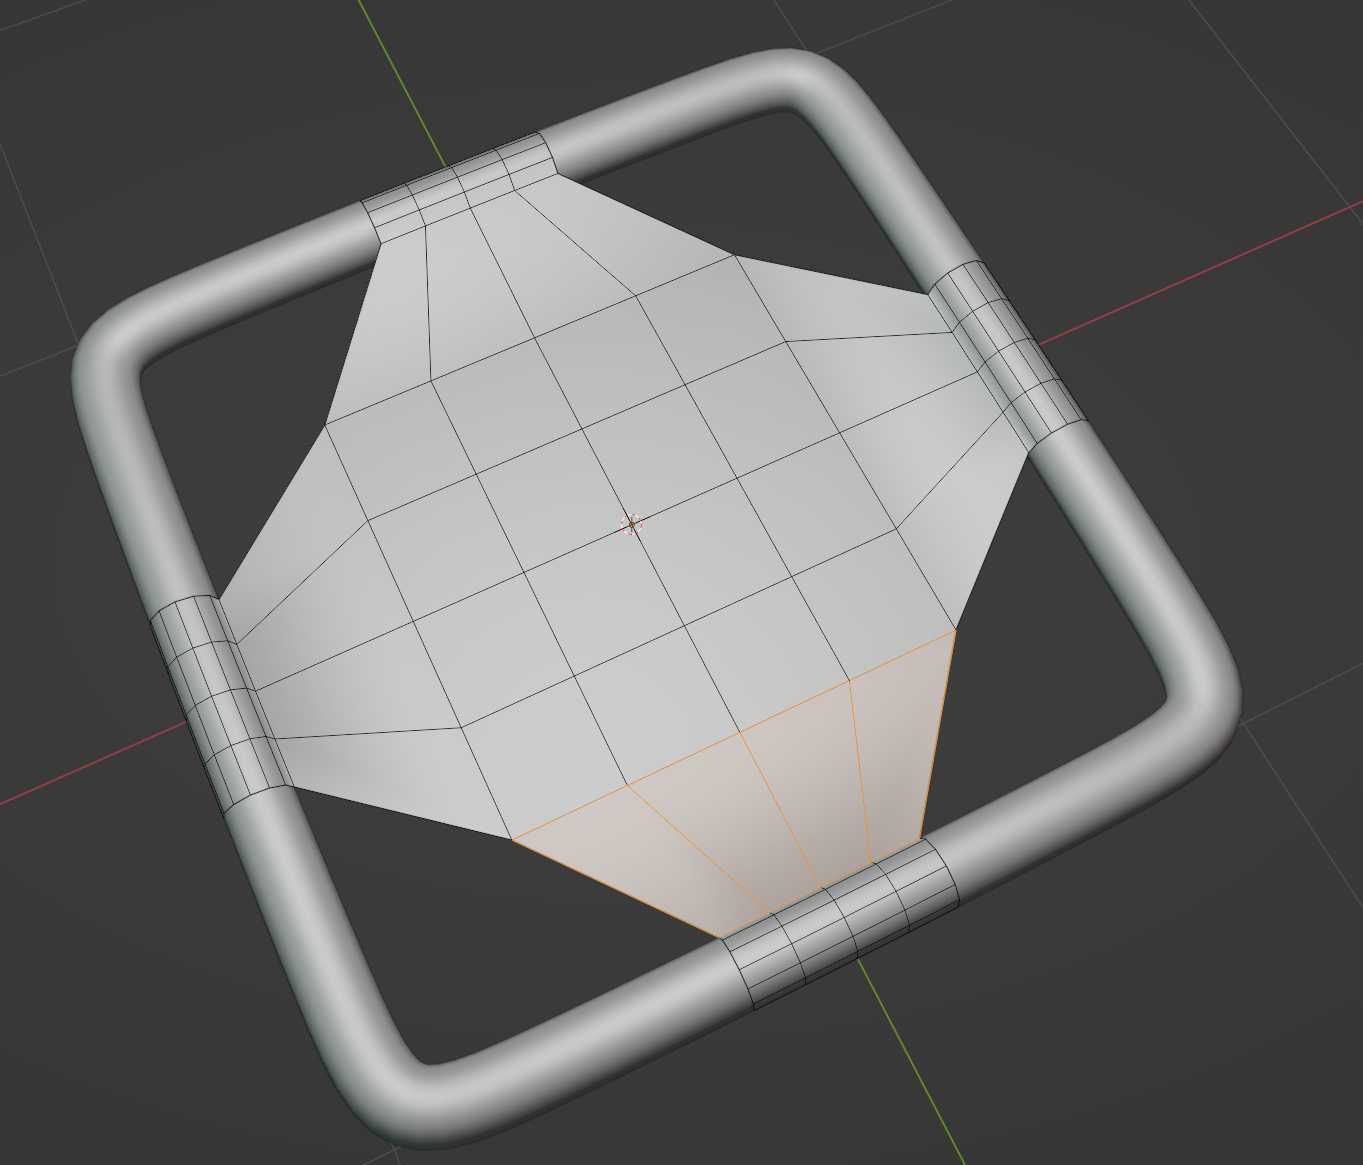
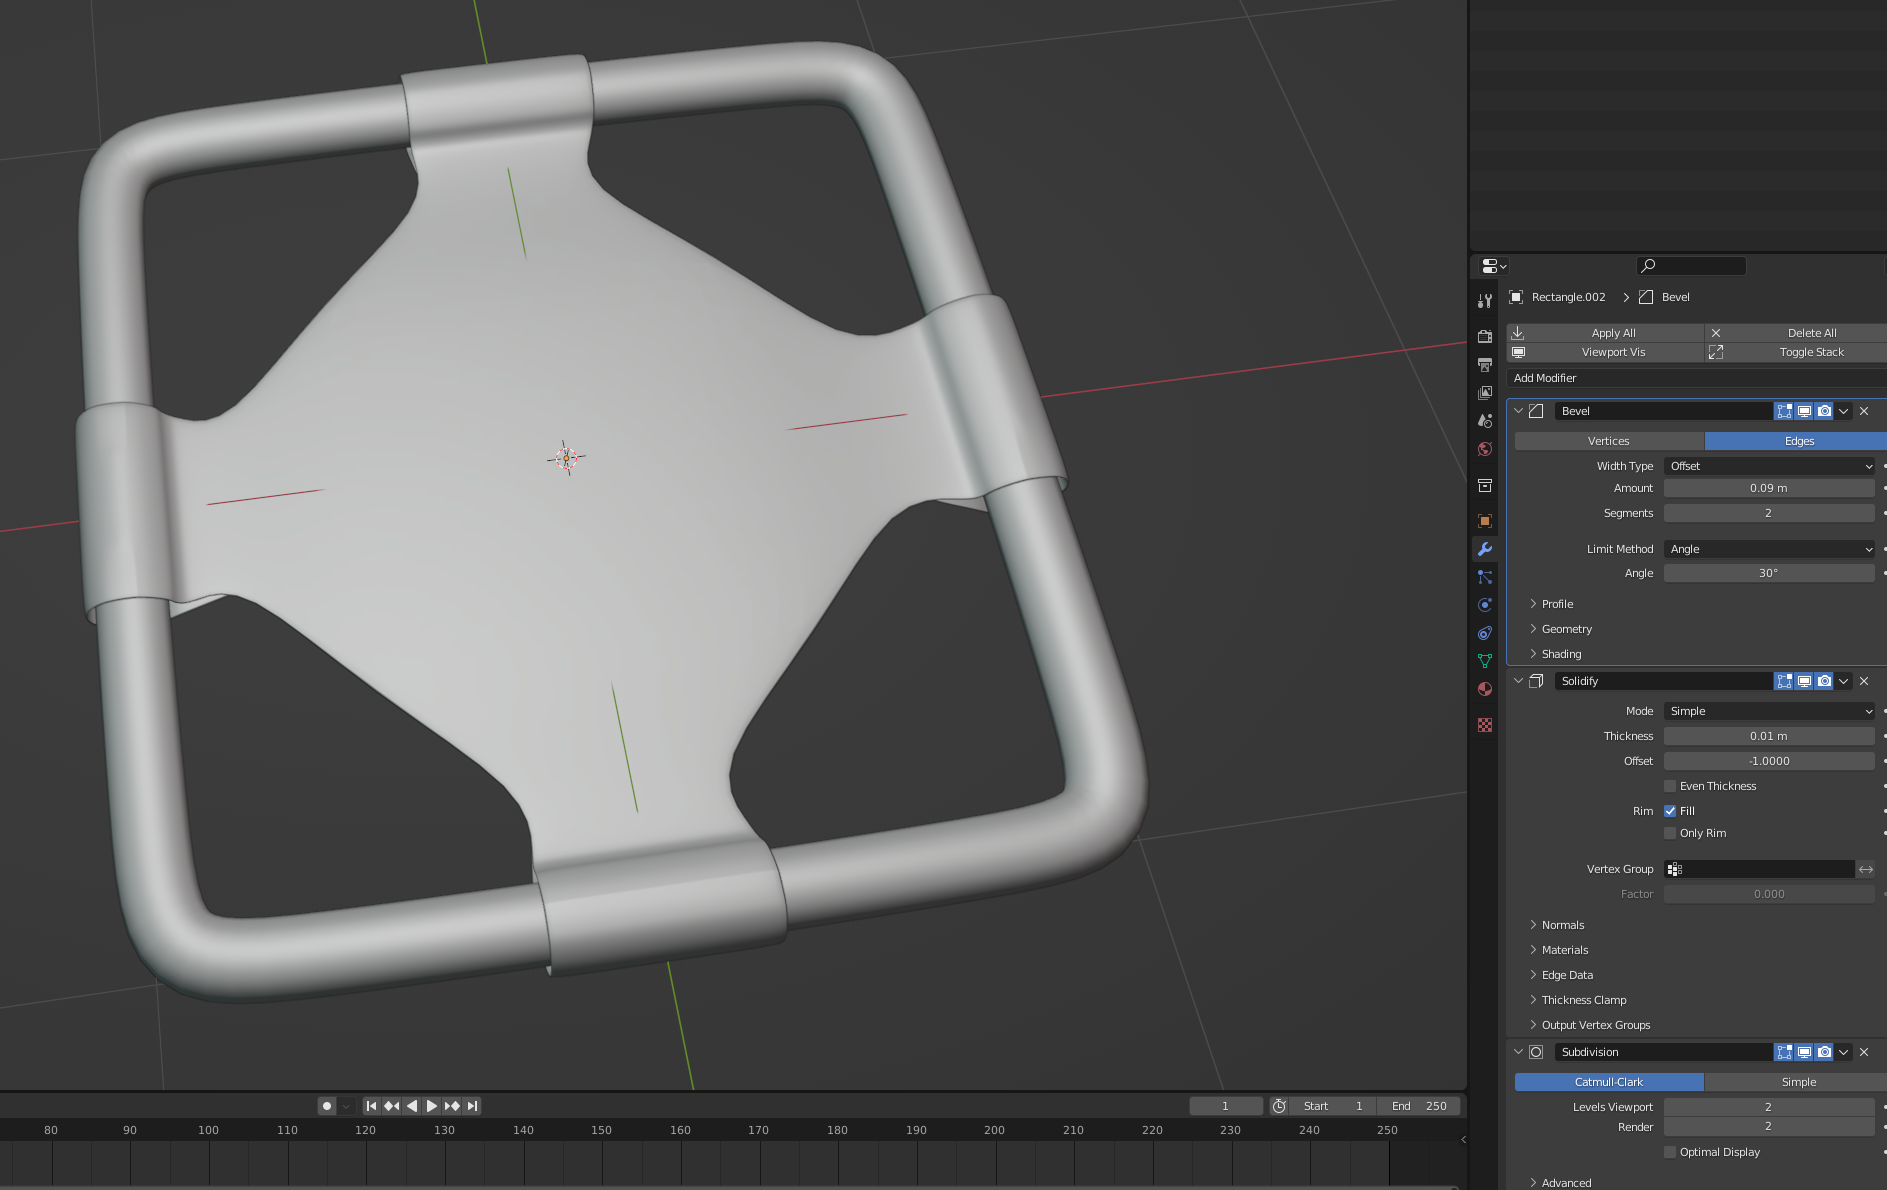
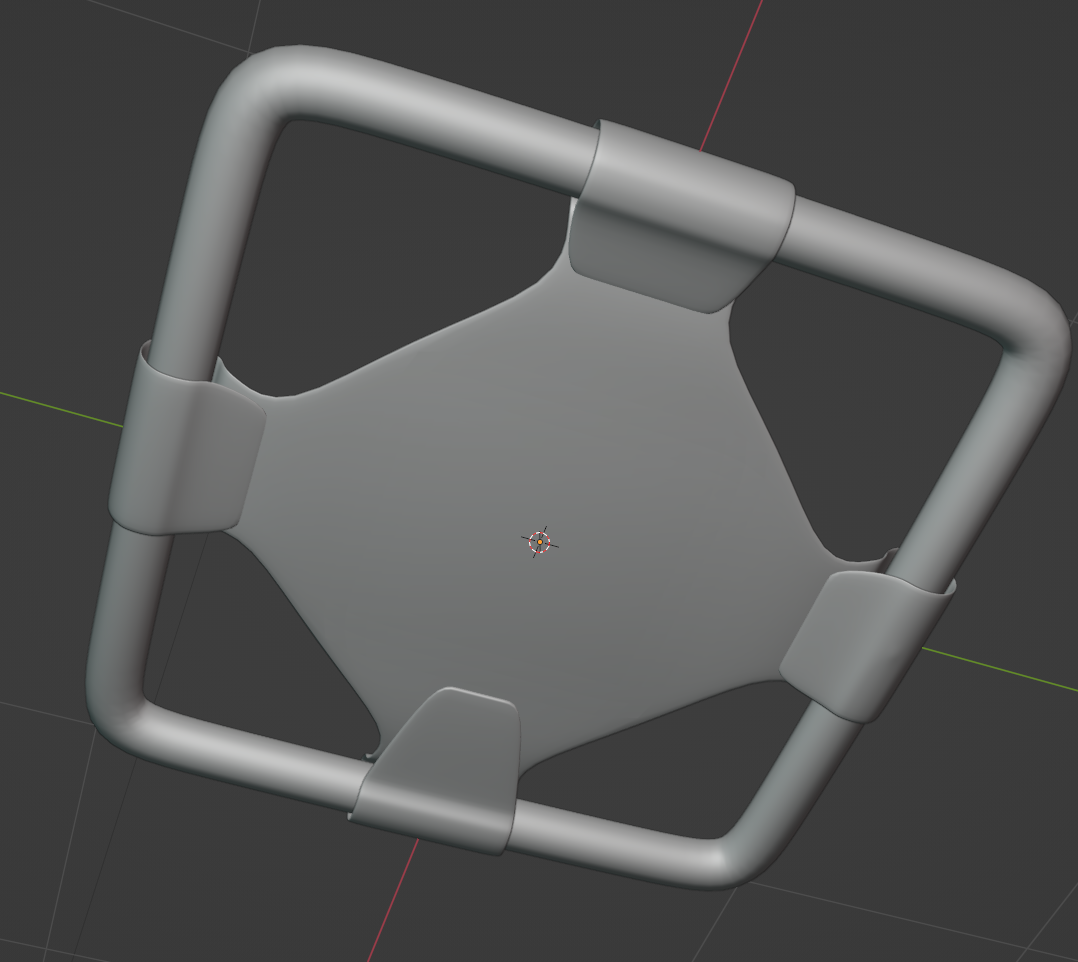
Looking at the design for these online, it seems that the seats connect to the frames, in a sort of cross shape with bevels.
What I think might produce a good result is copying and re using part of the metal frame mesh to start.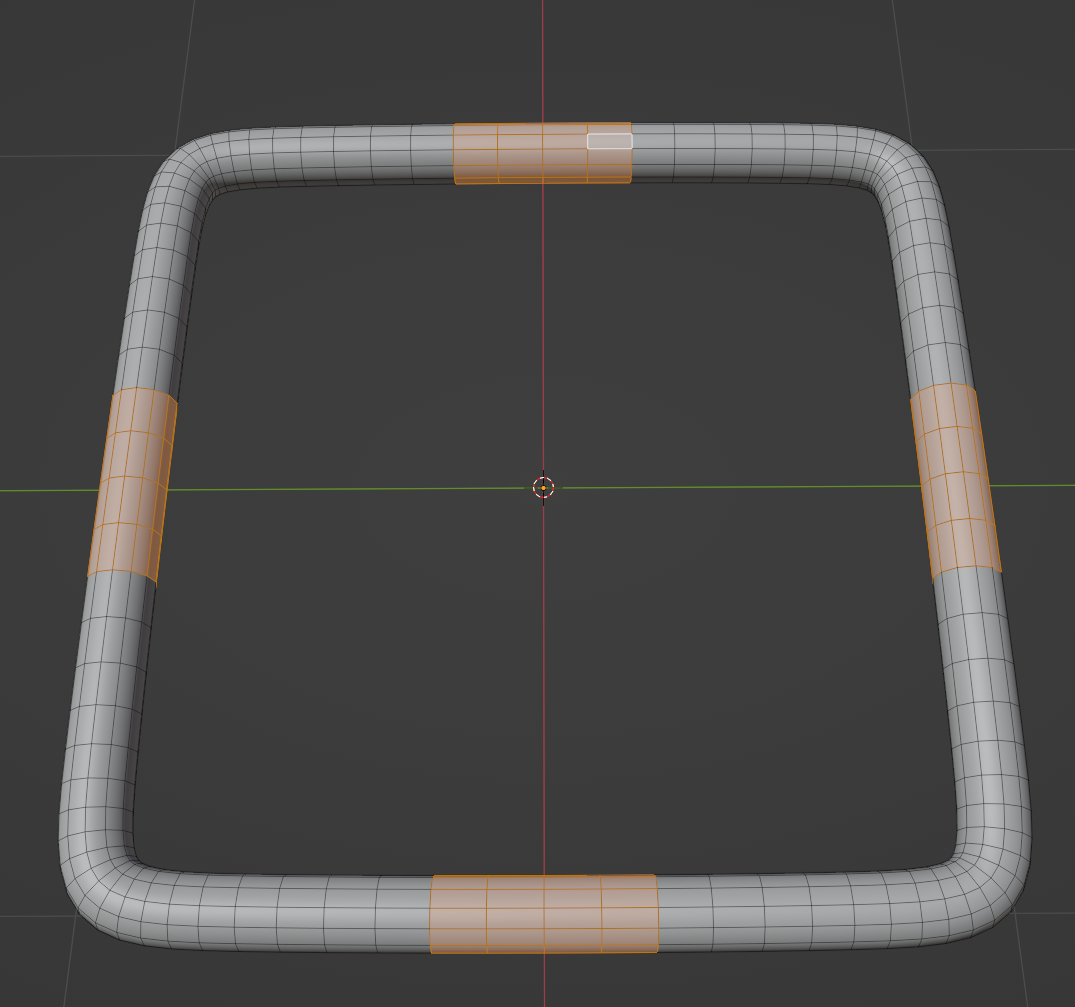
duplicate and separate these parts, taking care not to select one area you wish to bridge loop.
go into edit mode and create a plane in the middle that matches the edge loops.
Shrink/fatten everything so it fits properly and add bevel, solidify and subdivide modifiers so that it looks better. Duplicate the created mesh for both parts of the seat if possible.
-
$\begingroup$ Thank you! Cant believe i didnt think of this and instead went for the stupid complex ways haha $\endgroup$– DocSonCommented Feb 25, 2022 at 16:41
-
$\begingroup$ One small question I do have though is, how did you get the rungs to wrap back around into the seat cloth in the last picture? $\endgroup$– DocSonCommented Feb 25, 2022 at 16:58
-
$\begingroup$ The bottom tabs are probably stitched together with the cloth, so we don't have to worry about bridging those. I'll throw in one extra image to show that. $\endgroup$ Commented Feb 25, 2022 at 17:03
-
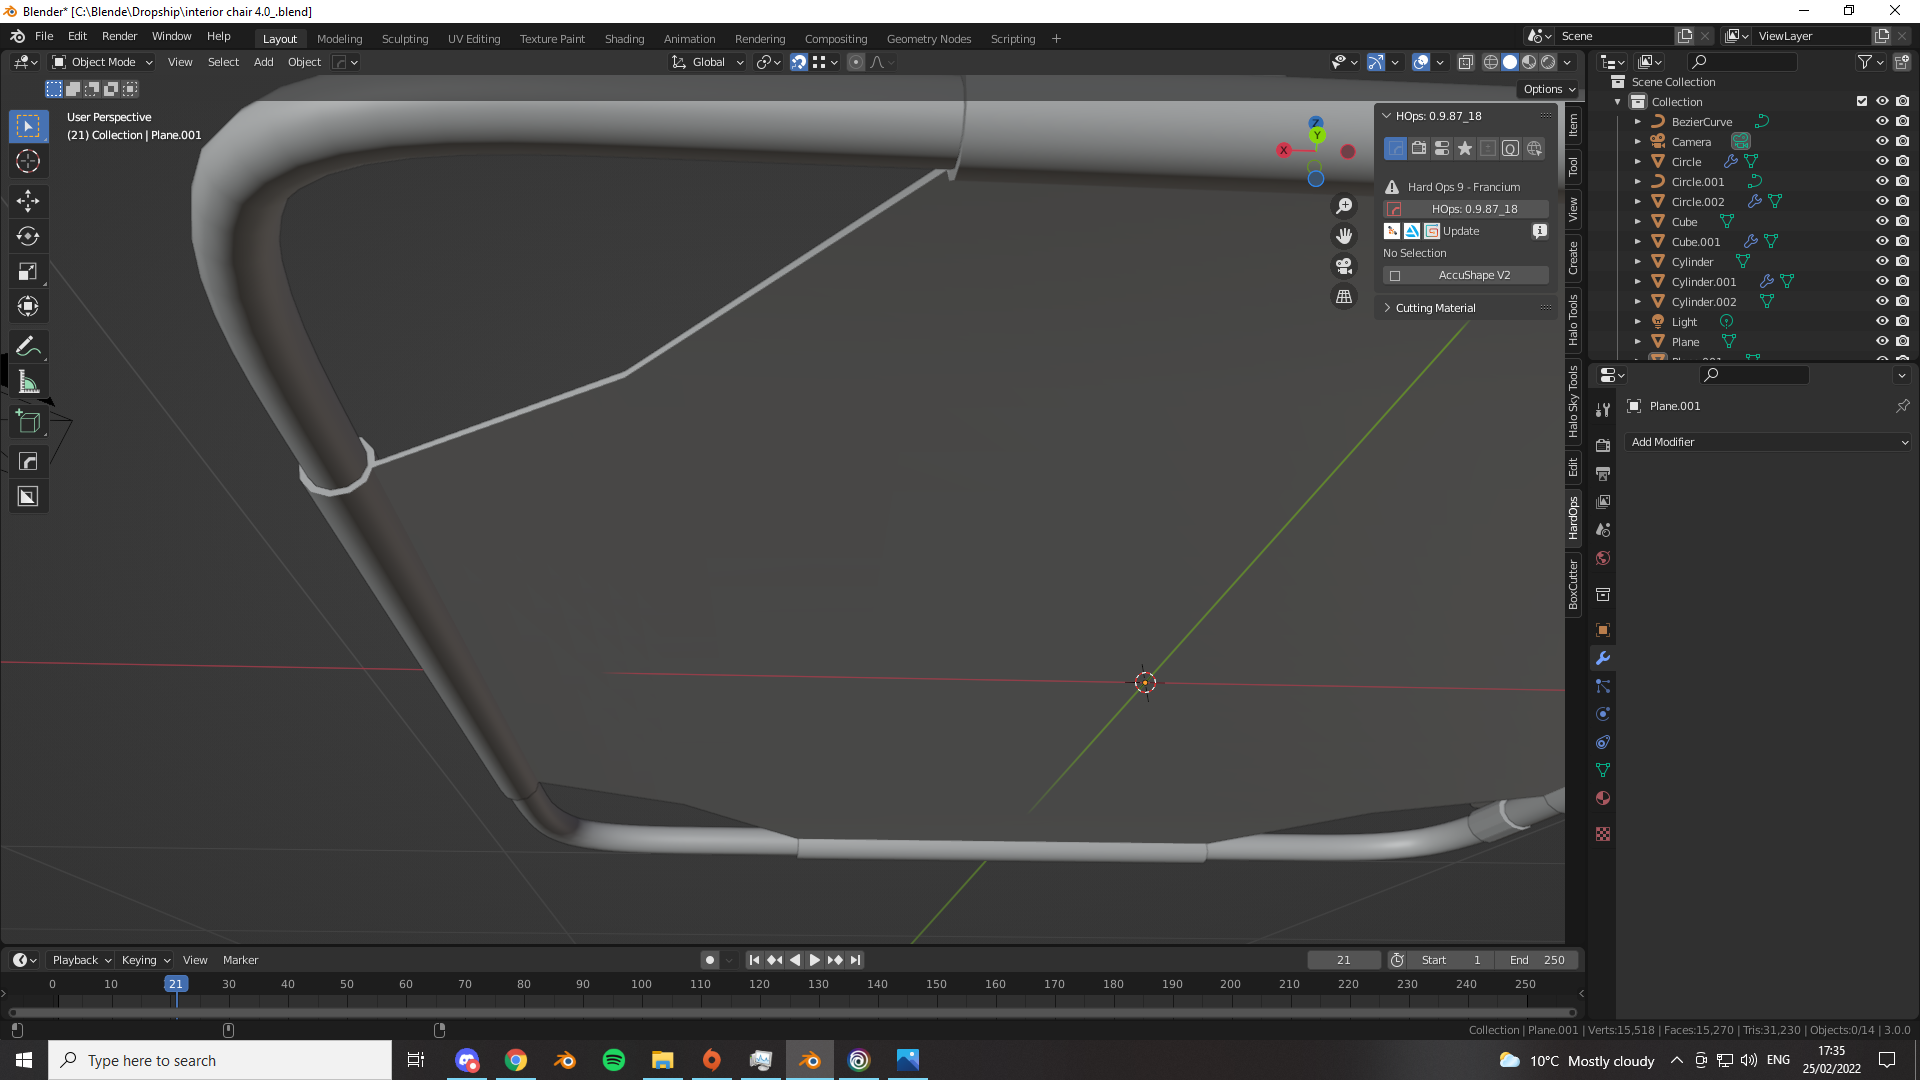
$\begingroup$ I mean moreso as to how you managed to get those in the first place, Ive added pictures of my mesh to show you what I mean otherwise it was a perfect solution and I cant thank you enough $\endgroup$– DocSonCommented Feb 25, 2022 at 17:38
-
$\begingroup$ Glad to help. When you first select your rings, you want them to have gap , so that they are not O but C shaped. $\endgroup$ Commented Feb 25, 2022 at 17:51

