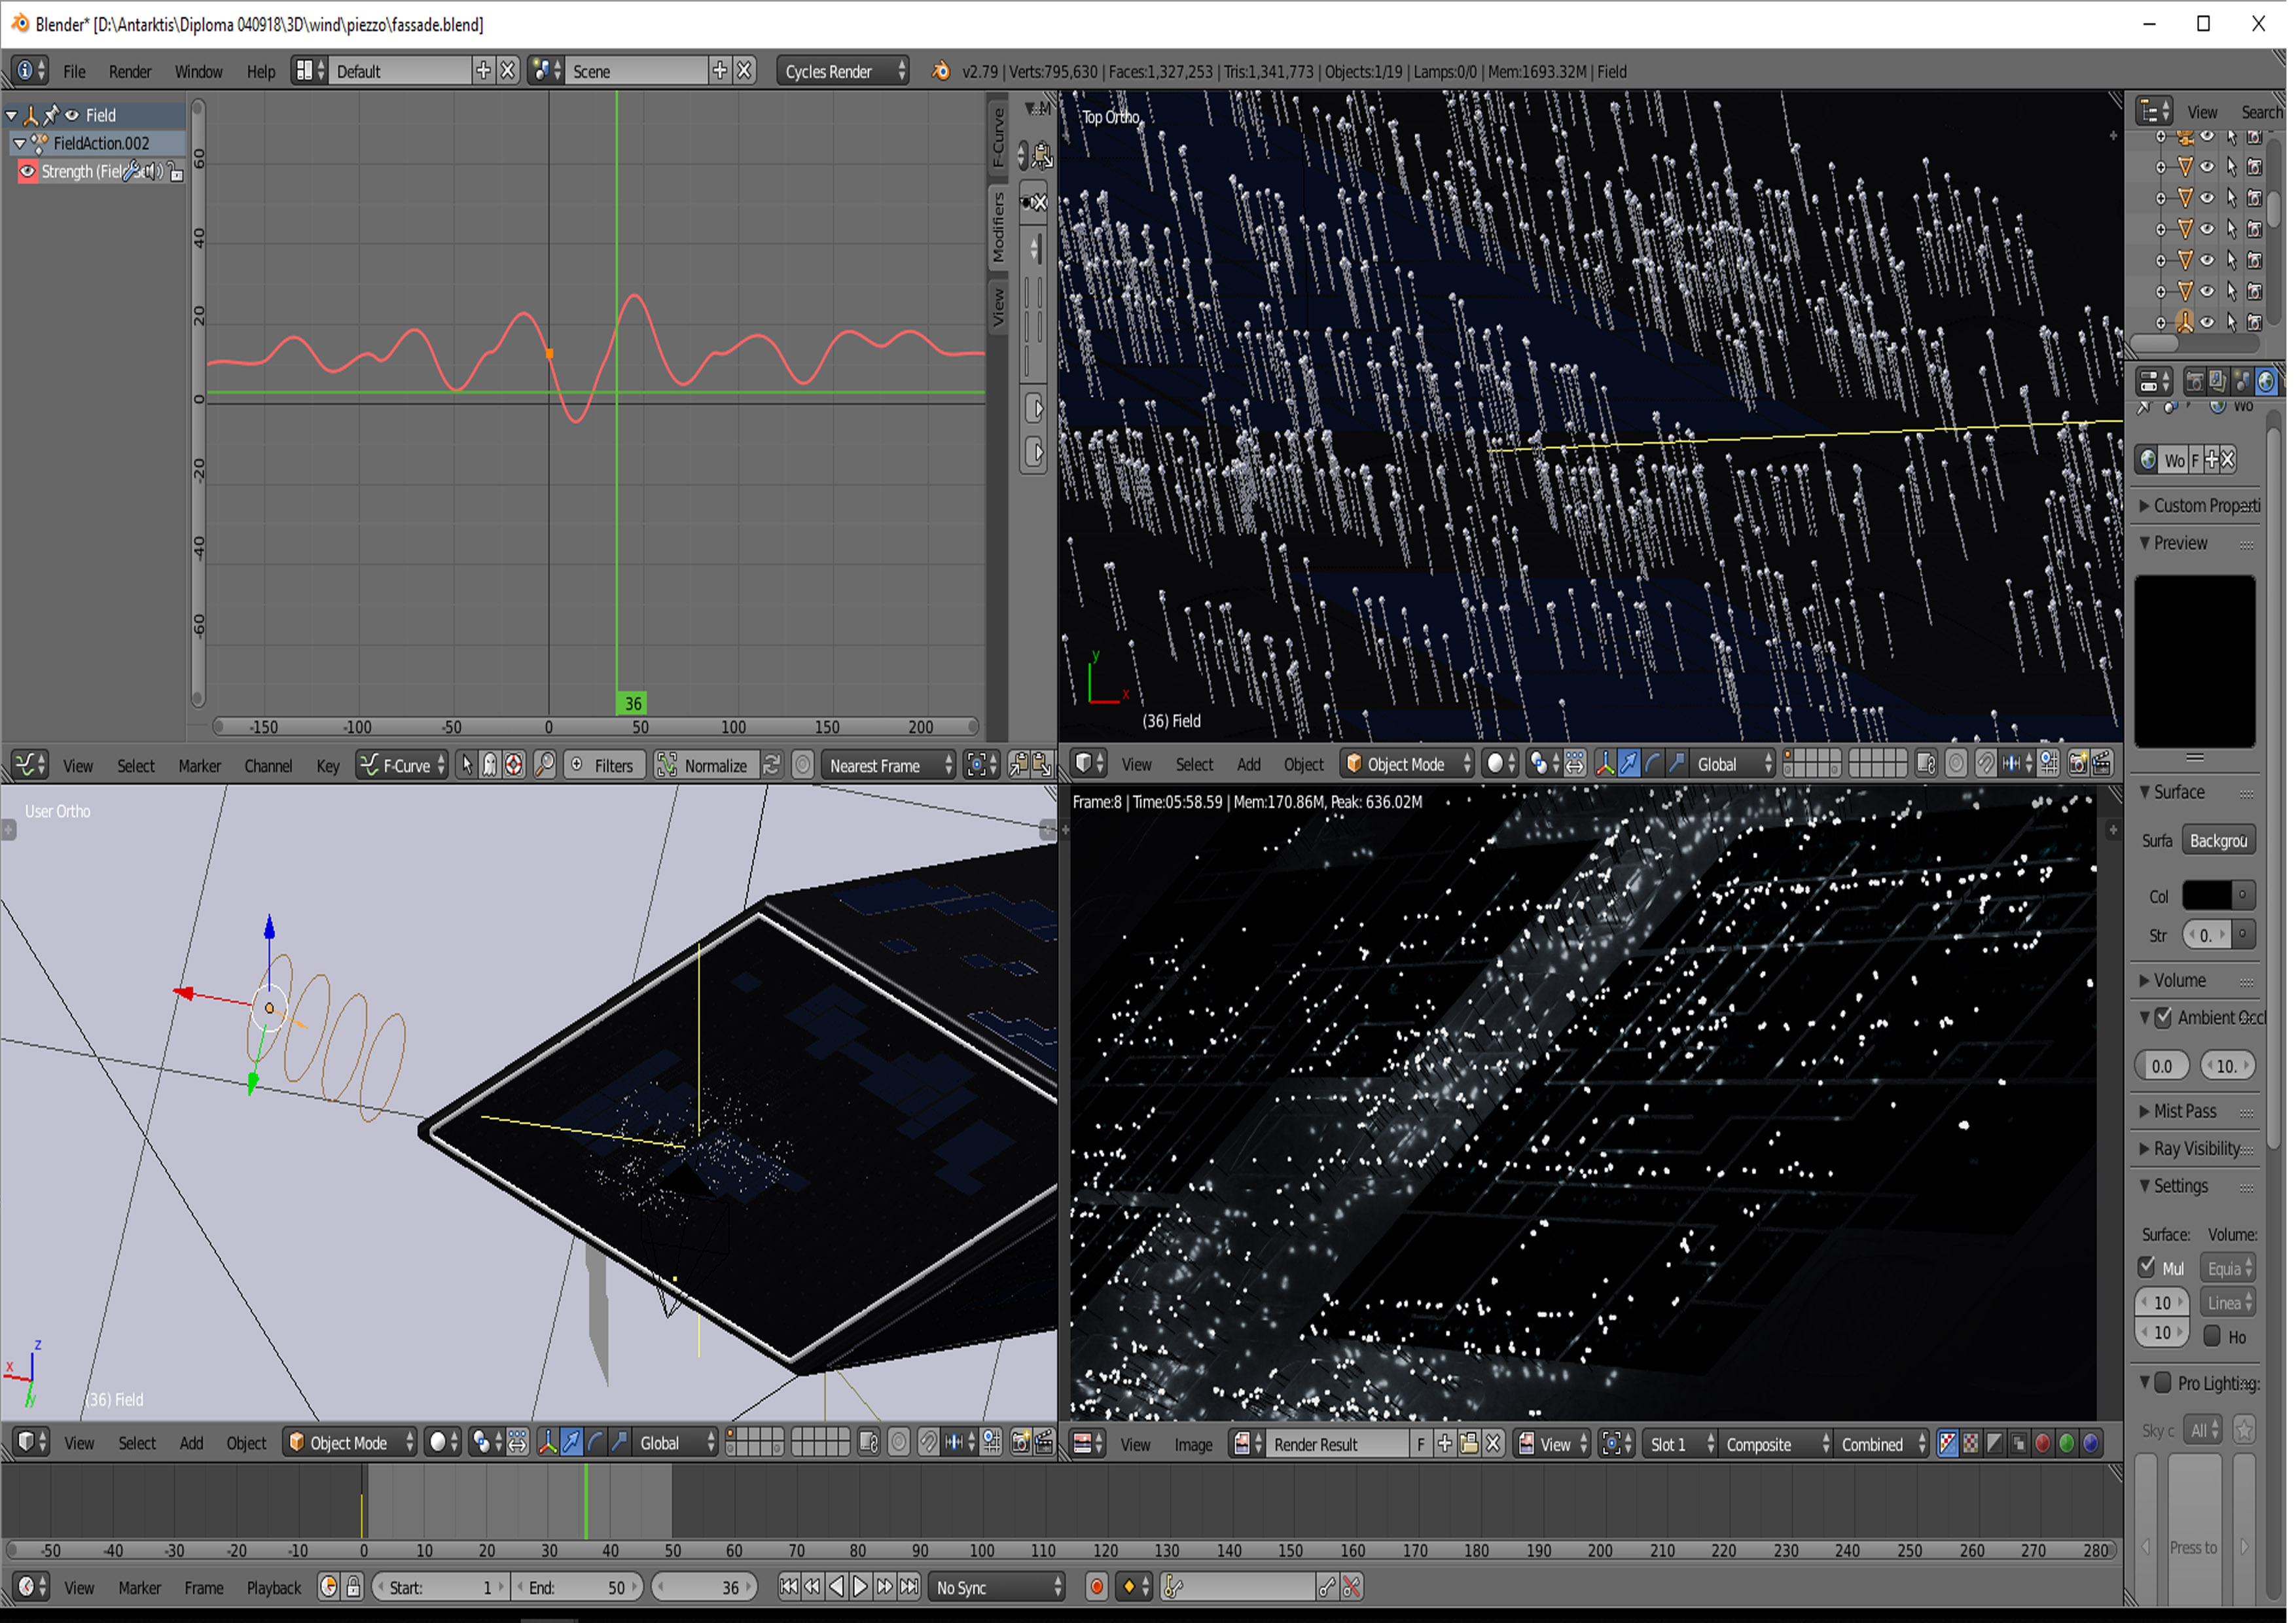
I assume you are using Hair Dynamics for your Particle System to simulate the movement. Thats really the only way I could think of making this effect. The problem is that you need get the velocity of the particles from that simulation. As far as I know thats impossible, because the particles are not moving at all, they are just "bending". The velocity of hair particles is their direction. The position of the particles (their roots in particular) is also always the same, so they don't move either.
My First working Attempt:
I first found a way to make the effect you wished for, but it is restricted to a plane and the absence of light. Maybe with more Blender knowledge (maybe with Lighting Groups or compositing) its possible to expand this concept.
I used tubes as my particles and only one sunlight directly from above. As the tubes stand still (have no potential (bend) energy) the sunlight will shine right through them and won't light them up, but as they rotate/bend sideways they will catch sunlight and light up. I used a mix from diffuse and translucent shaders to make the tube light up on all sides.
This will only work if in Cycles diffuse indirect light is turned off and will give little control over the brightness.
My Solution
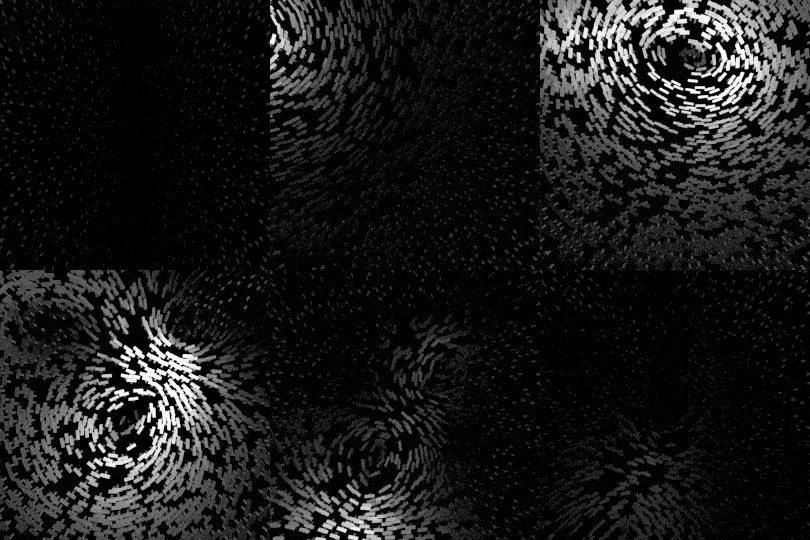
In my second attempt I got it perfect, it work an all curved surfaces and with every setup. It allows for complex lighting, complex materials and complex particles. Its based on the Normal Edit Modifier and Cycles Material Nodes. Here is a demonstration of the effect:

I again used the Hair Dynamics with gravity turned off for them. The particles can be anything you like, you just have to have some part of it with only an emission material on it.
The concept is following:
As the particles bend their normals rotate. If you compare the normals with the particles velocity (direction for hair particles) you can compute the bend angle. From there you can do anything you want with it. But its not that simple. This way it would work with tubes (because they have no normals facing in one direction) but not with cubes or more complex shapes. The key to the solution is the Normal Edit Modifier in combination with particle rotation. If configured correctly it will give the desired effect. The problem why we need particle rotation is really visible if we try to use tubes. They will light up on two sides and stay dark on the other to sides, because the normals to the side stay perpendicular to the initial particle orientation. To reliably use the normals we need them to face always the direction of the bend or the opposite. The setup for that is shown below.

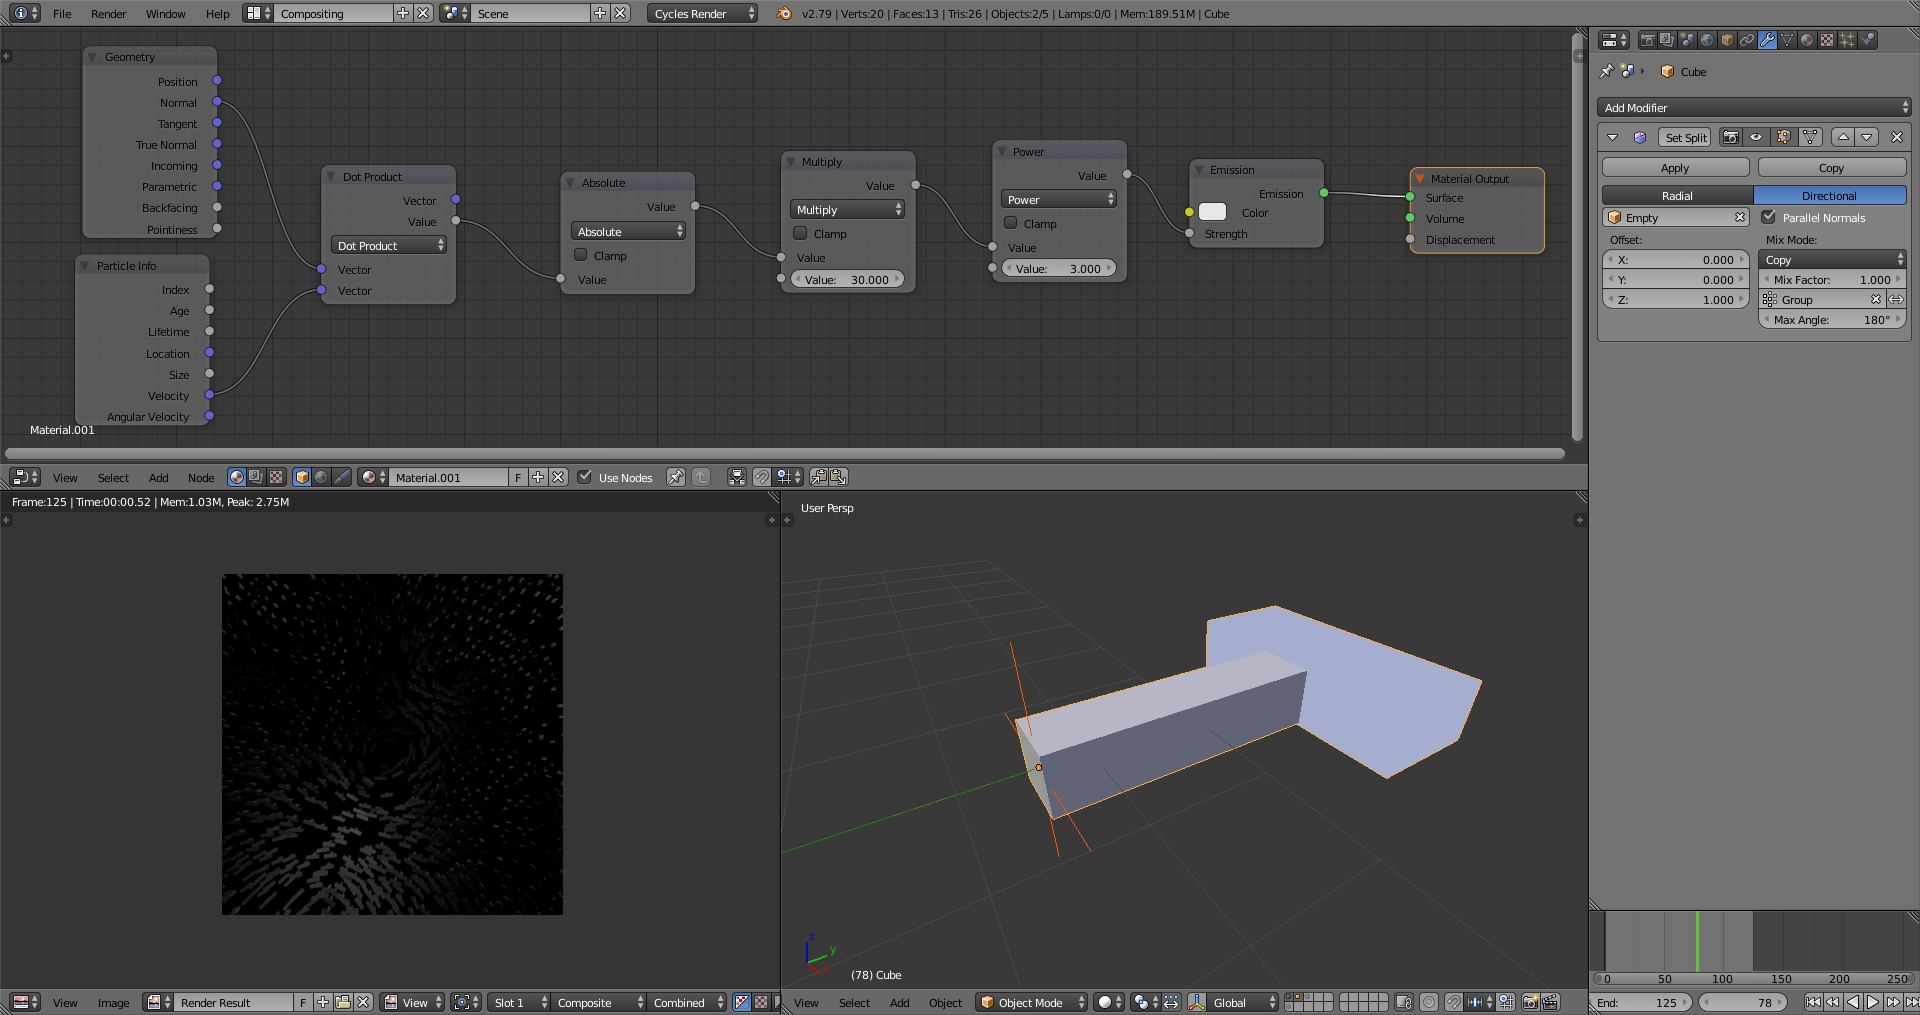
The particle has a material that emits light on rotation and a vertex group thats marks the part that has the material. The Normal Edit Modifier is set to Directional and parallel and the target is the Empty directly at the same position as the particle object. That way only the offset controls the normals. It is set to make the Normals face in the Z direction, while the particle itself is facing the Y direction (remember this can be very complicated if you rotate the particle object. The Edit is constraint to the vertex group only to not interfere with other materials. Now the object can be used as hair particle with hair dynamics to show the movement. Remember to check the Advanced checkbox in the Particle System Settings and activate Rotation. Also turn of gravity, as gravity will change the resting position of the particles after the simulation starts.
The material itself is not too complicated. It first takes the dot product of the normal and the initial particle orientation. If the Particle didn't move the angle is 90 degrees, so the dot product will be 0. As the particle moves it will go up or down. The first math node will make the value always positive (I don't it is actually needed in this particular setup). The following two math nodes will map the values to a brightness scala. I used Power here to increase the contrast, somewhat similar to gamma correction. The output goes into the emission shader.
Extension:
If you want to have your particles rotating in phase you could make the normals face the same way, the particles face (Y direction in my case) and change the math in the shader to make the emission brighter if the dot product is lower instead of higher in this case. The node setup for that looks like this:

Note that there is a new node to normalize the velocity vector. That is actually fairly important here, while it can be omited in my original solution. The reason for that is the Arccosine Node which needs the values to be in a specific range (-1 to 1). The following Absolute Node seemed neccessery after I failed to configure the Normal Edit Modifier to make all Normals face one way. For some reason there were always some Normals in the exactly opposite direction. The Arccosine Node then transforms everything into angles. Note that it was not neccessary for my original solution to include this conversion because it operated in the valuerange where the angle and the dot product are roughly proportional. The output of that is the bend angle and can be mapped like before with some math nodes to a brightness scala. You could also use that angle in combination with a colorramp to make some colorful effects.

