Expanding on sambler and Aldrik's answers,
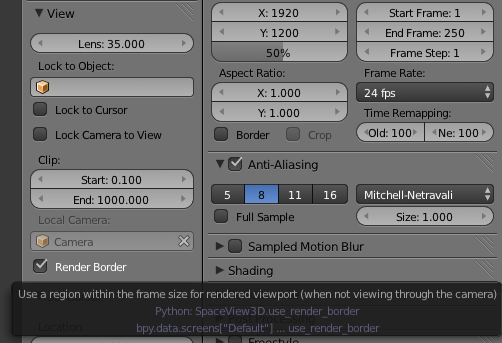
Enabling the Border setting in Render settings > Dimensions enables border for the rendered image and sets the camera bounds as the Camera Border.

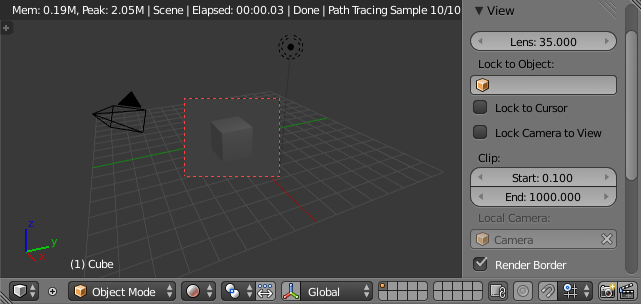
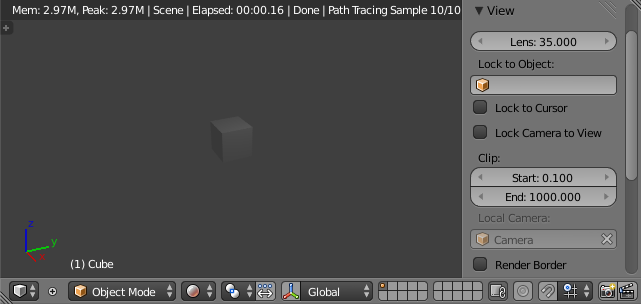
As you can see, in the Viewport render with Border enabled, only the part of the scene visible to the camera is rendered:
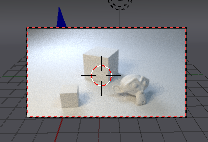
With Border disabled, everything is rendered:
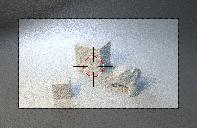
Viewport border:
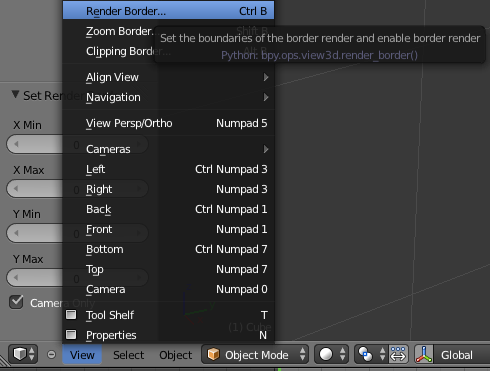
Ctrl+B (or View > Render border) sets region in the 3D view that will be rendered when the Viewport shading is set to Rendered (this can be toggled in 3D view > Properties Panel (N) > Render Border
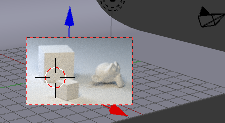
(Useful for making the part of the scene you want to see converge faster by not rendering other parts)
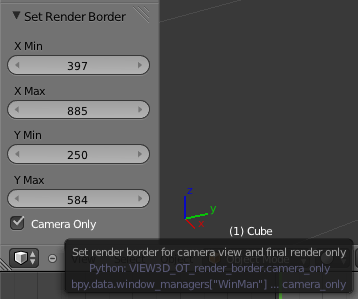
As mentioned by sambler, the Camera Only setting does not seem to make any difference (bug?)
Rendered Border:
Using Ctrl+B or Shift+B in the Camera view will define a region in the camera that will be rendered while the rest of the camera will not (if Render settings > Border is not already enabled, doing this will enable it)
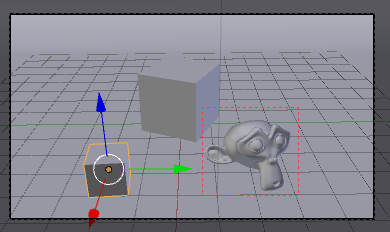
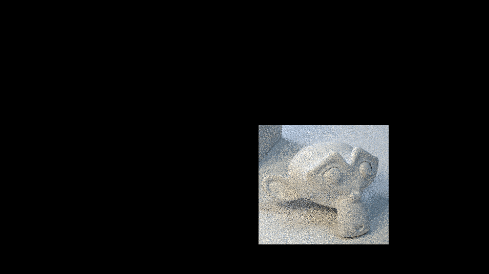
As you can see, the rendered image only rendered the border selection and left the rest as black (or transparent, if you have your render settings set to RGBA in a format that supports transparency)
The Crop option  crops the black part off automatically:
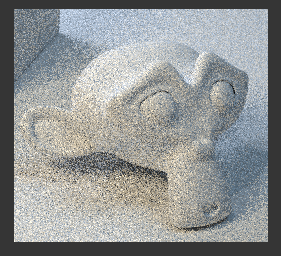
(Note that disabling the Border setting in Render Settings > Dimensions or in 3D view > Properties > View will not erase the border selections)
Pressing Ctrl+Alt+B will clear all the borders and disable the border setting in Render settings and the Properties panel.


 crops the black part off automatically:
