3
$\begingroup$

I am using a group to get more variation in grass stalks as per this tutorial. Unfortunately that tutorial was for a still image so did not cover wind or other force fields.

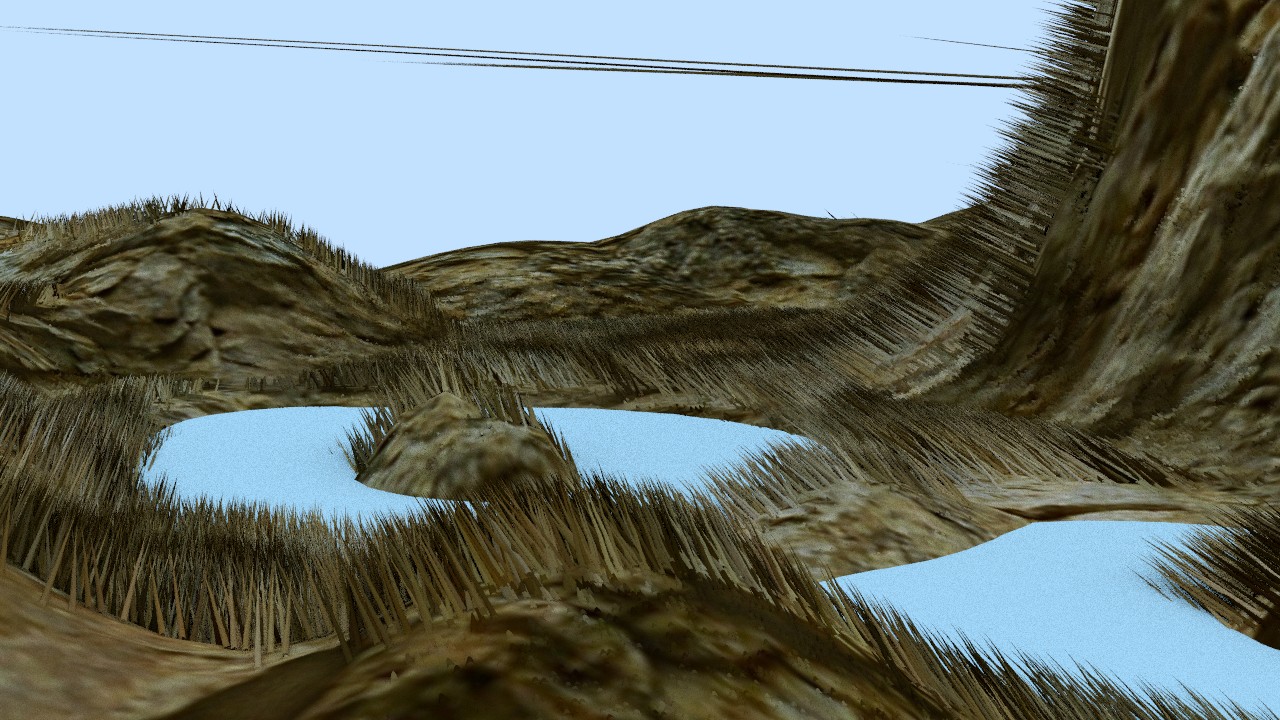
From various other tutorials I set up a wind force field. If I set the render of the grass to "Path" as can be seen, the effect is very strong.

Test with path render

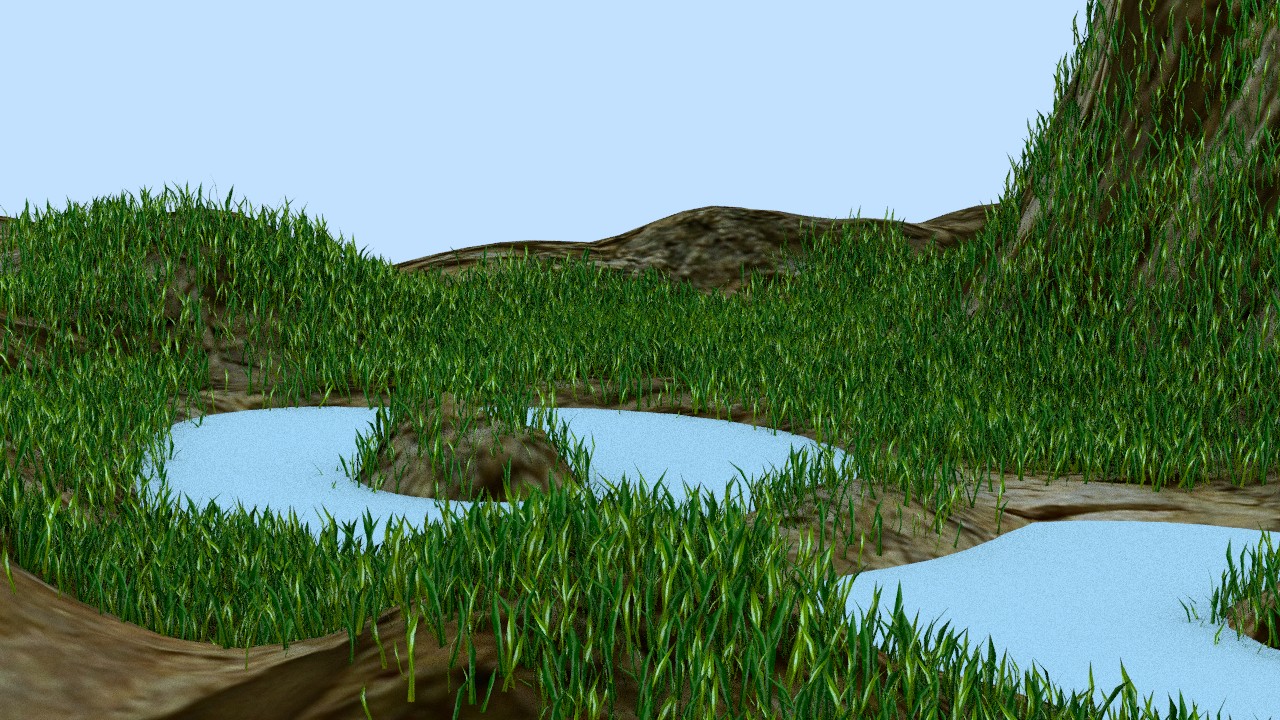
However, as soon as I change the render to "Group" the wind effect disappears.

Test with group render

While beginning to write this, I noticed a question Why does not wind force field affect grass field made with hair particles?

In that case the user had used an "Object" render and had the same problem. I checked and sure enough, if I change "Group" to "Object", the wind also has no effect.

So my question is: Is there some way to have a hair particle system affected by wind if using object or group render, or is it limited only to path render?

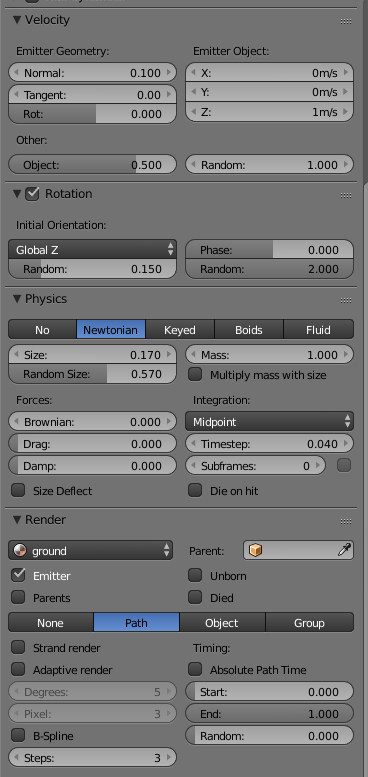
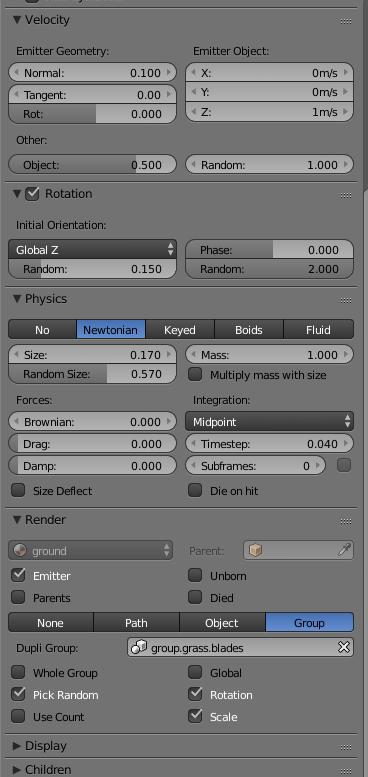
For reference, here are my particle settings:

Settings with path render

Settings with group render

$\endgroup$
6
  • $\begingroup$ Check this out: blender.stackexchange.com/questions/51259/…. You will have to add several systems if you want more than one object type though, but I don't think that will be a bid deal. $\endgroup$
    – Brenticus
    Commented Dec 28, 2017 at 21:34
  • $\begingroup$ Thanks @Brenticus. The example does use "Path" render, but it did give me one important hint - I had "Location" deselected in the force field. As can be seen in my tentative answer below, that half solved my problem. $\endgroup$ Commented Dec 29, 2017 at 9:52
  • $\begingroup$ The reason for using the paths was to define the shape of the object. The particle instance modifier is what adds the objects, and then makes them follow the path of the hair. As far as I know this is the only (or at least best by far) way to make the particles themselves react to force fields and deform. $\endgroup$
    – Brenticus
    Commented Dec 29, 2017 at 17:46
  • $\begingroup$ Thanks for the clarification @Brenticus. I don't quite understand what you mean by "object". If I select either "Object" or "Group" in the Render section, a field appears where you can select an object or group that will take the place of the standard hair particles. If you select "Path" in that section, that field disappears. My problem was that as soon as I selected either "Object" or "Path", the wind had no effect on the grass particle system. I got the wind affecting the grass by changing Initial Rotation to "Velocity/Hair", but to be honest, I don't fully understand WHY this works. $\endgroup$ Commented Dec 30, 2017 at 17:22
  • $\begingroup$ The reason for using paths instead of objects or groups is because we can then use these paths as guides for the objects to deform along. To do this, you will need to add a particle instance modifier to the grass object itself, which will then make each grass object follow the path of the hair particles. Check out the link I added above for a better walkthrough. The downside to this is that you can't seem to rotate the particles, so you wwould have to have a bunch of different rotated grass objects and a lot of particle systems. $\endgroup$
    – Brenticus
    Commented Dec 30, 2017 at 23:43

2 Answers 2

5
$\begingroup$

Finally I understand what @Brenticus was getting at when he kept using the word "deform"! If you use either the "Object" or "Group" methods to render the particles, you can in fact affect the rotation and/or location of the objects. Here is a video showing that much:
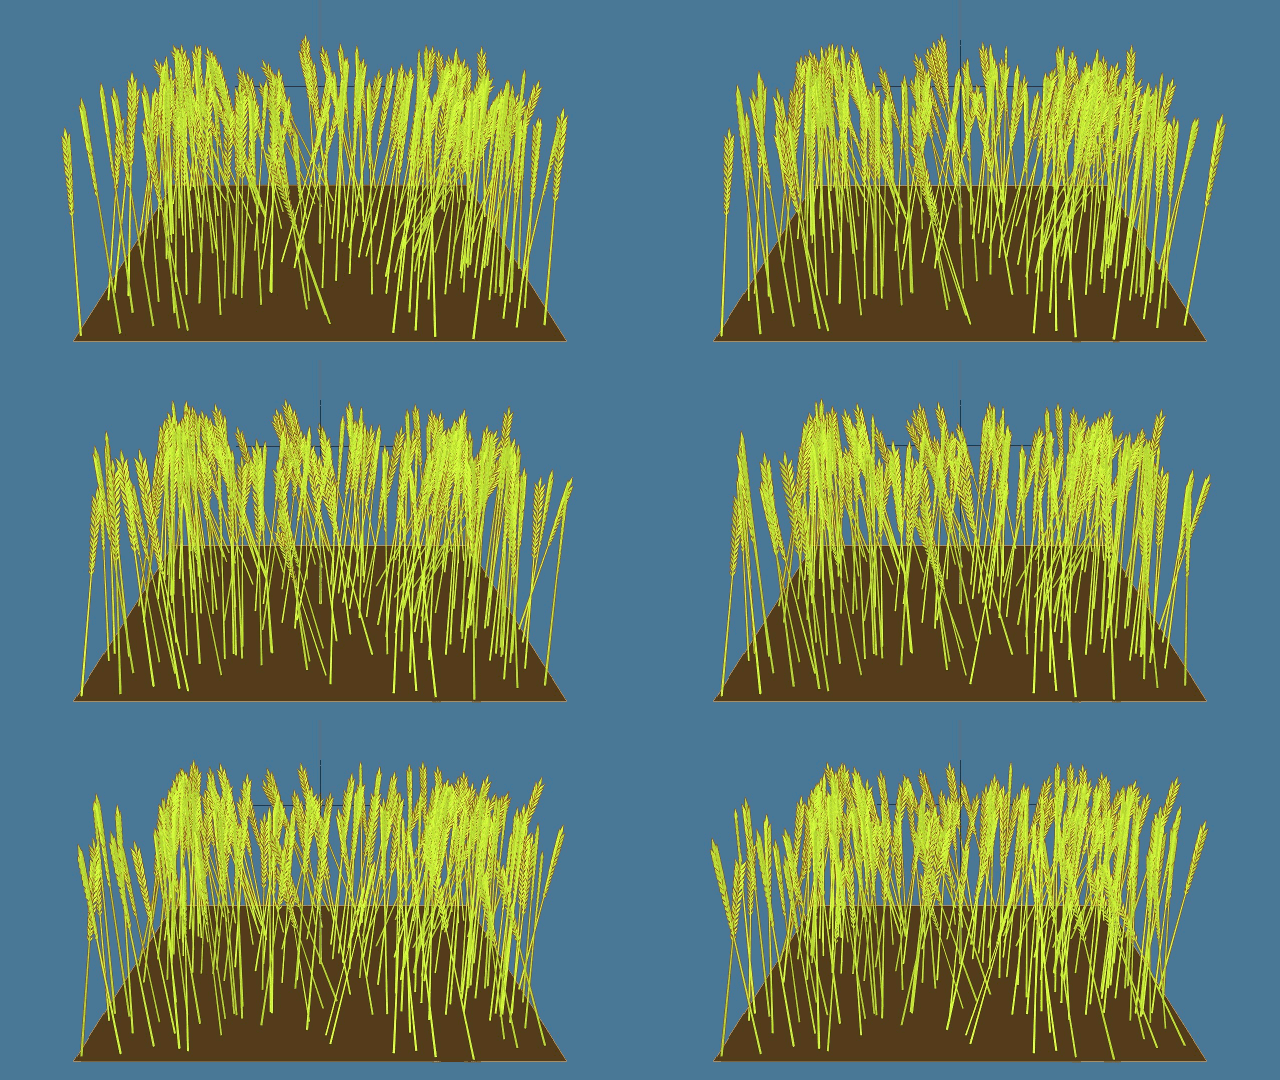
enter image description here

But what is missing is (in this case) the grass stems deforming along the hair particles. Here is the comparison:
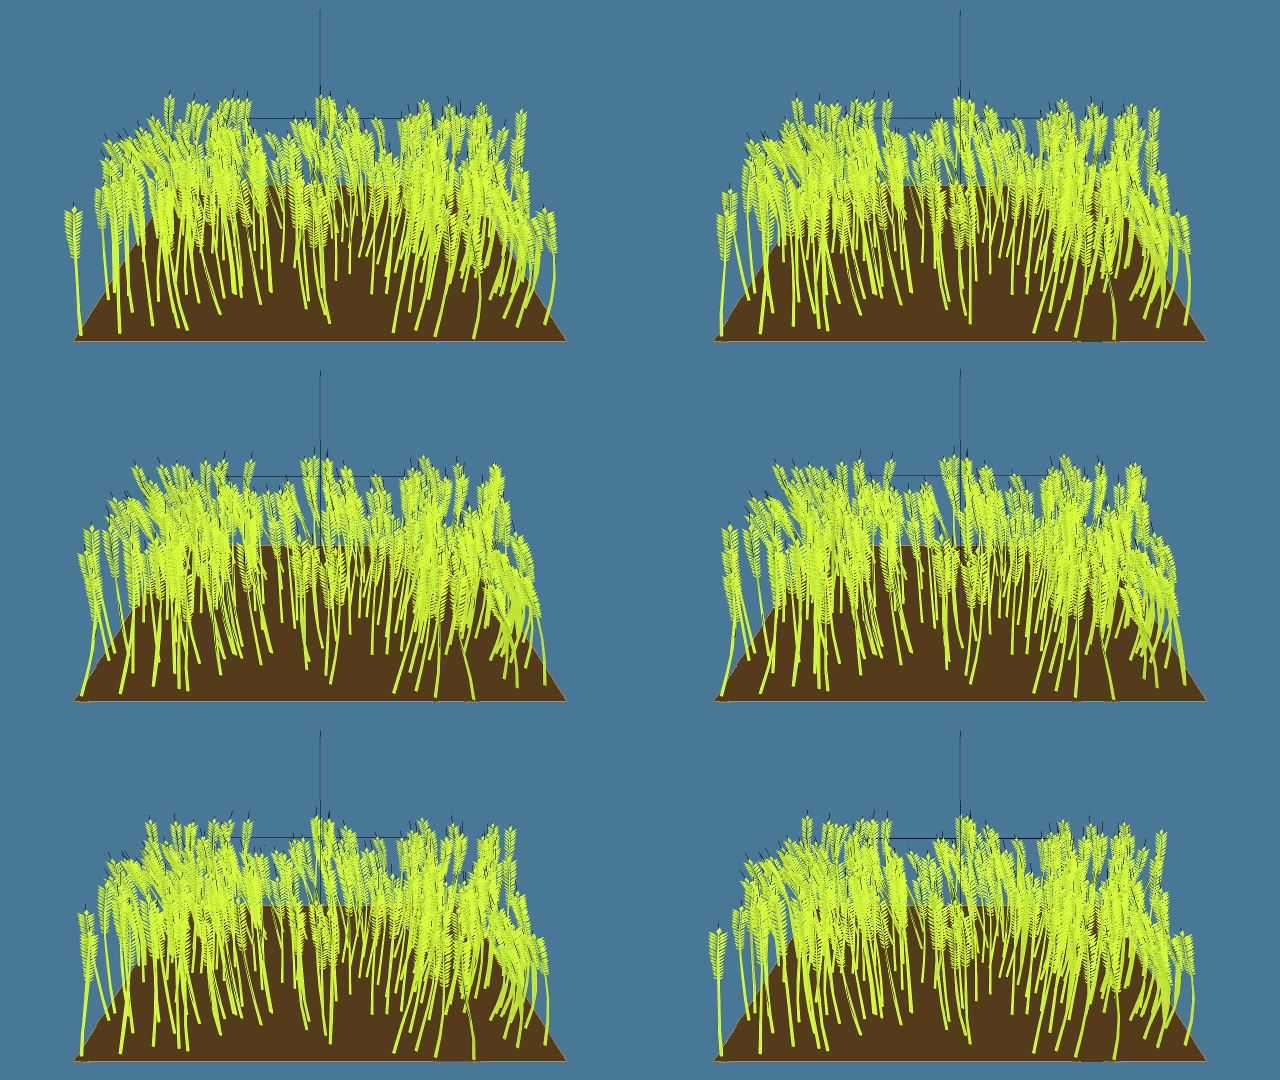
enter image description here

So the answer to my original question is outlined below in my previous answer. I only need to add that you must rotate the object(s), generally 90 degrees along the y-axis because "hair particles use the global +X axis as 'up'". That is the case for either method.

That method works if it's not important to deform the object(s) along the hair particles, and you get the benefits of "Group" options, which are quite powerful. However, in making the comparison videos I noticed that the render time was considerably longer using that method, which is another thing to keep in mind.

If it's important for the objects to deform along the hair particles, then I strongly suspect Brenticus is right and that using a particle instance modifier as per this post is just not the best but the only way of doing it. I spent several hours looking for a way to get group objects to deform and could not.

Previous answer (for Group and Object render method)

The first part is the "initial orientation" which I had set to "Global Z" so that the grass grows straight up. Changing this to "Velocity Hair" was one necessary change.
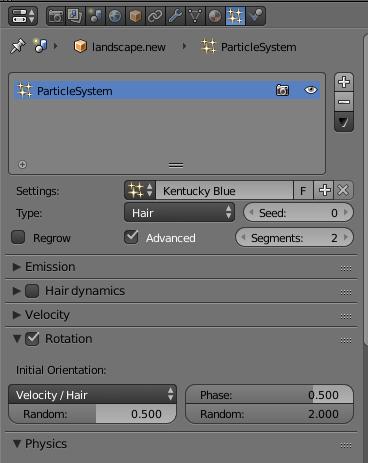
Settings with Velocity

The second part is in the force field wind settings. Under "Effect point", I had deselected "Location" because I only want to affect the rotation of the grass stems. I guess that thinking was faulty. Selecting "Location" got the grass moving.
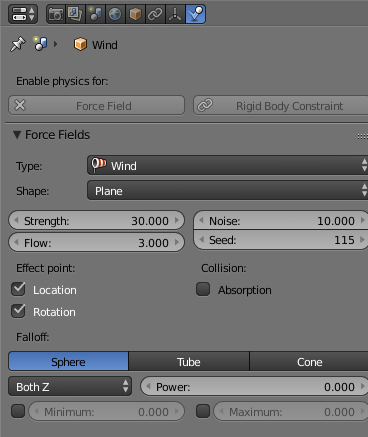
Settings for Wind

So I now have the wind affecting the grass.

$\endgroup$
1
$\begingroup$

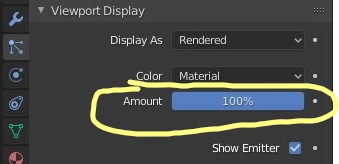
If you follow the above answer and it still doesn't work, check your Viewport Display > amount. The amount MUST be turned up to 100 for it to show in the viewport.

Amount 100%

$\endgroup$

You must log in to answer this question.

Not the answer you're looking for? Browse other questions tagged .