4
$\begingroup$

I'm new to Blender and have been following along tutorials on youtube and I must say, and loving it. So I've reached a gap in which I can't find any help on.

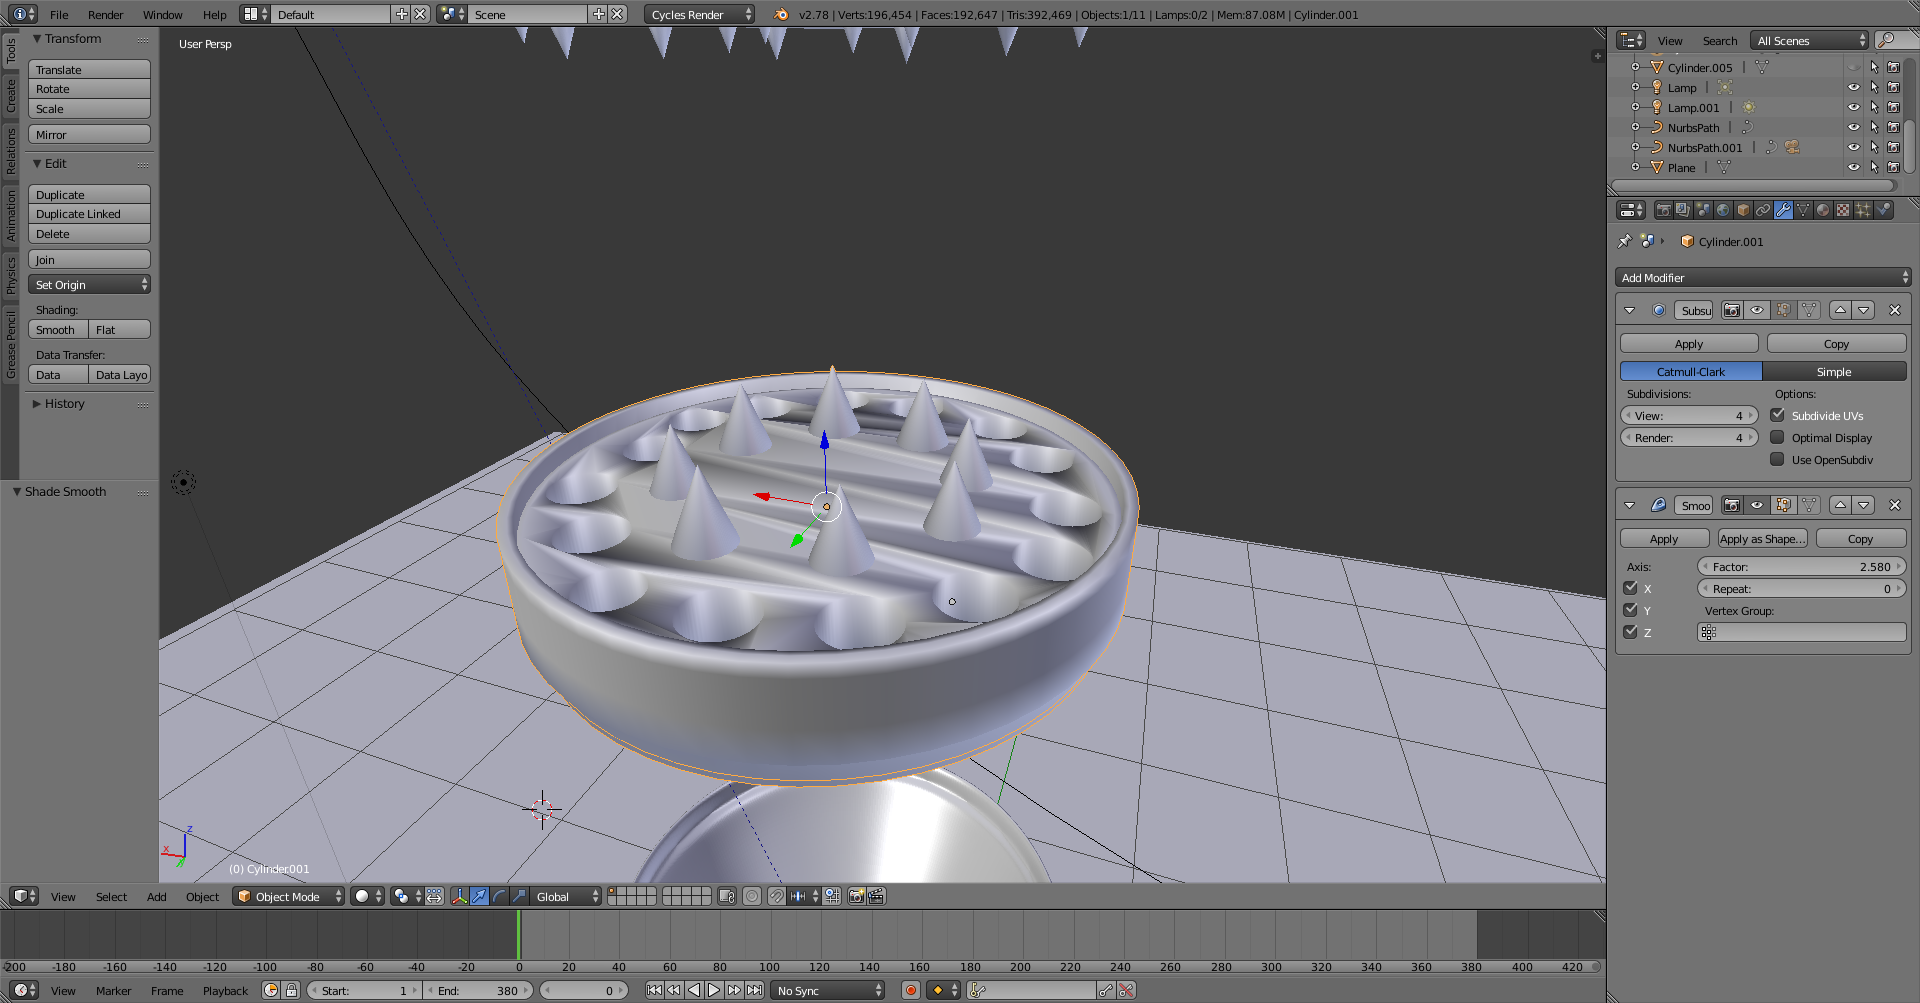
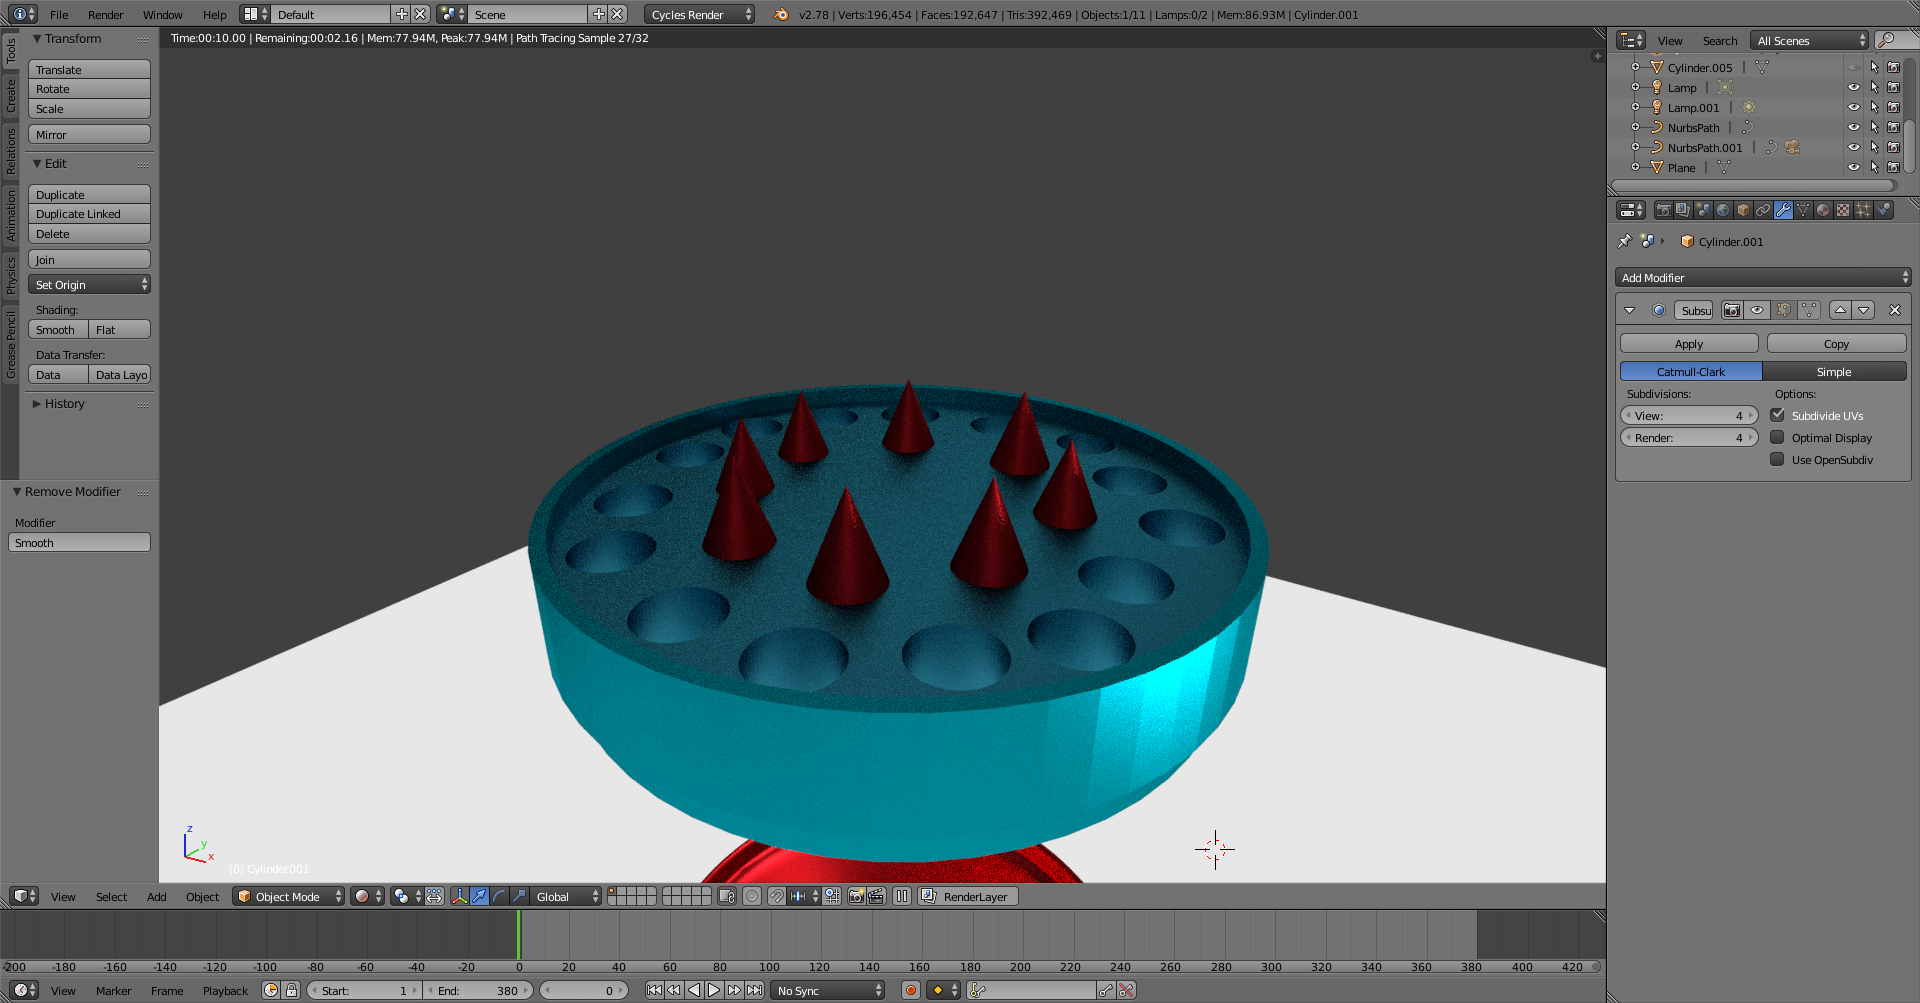
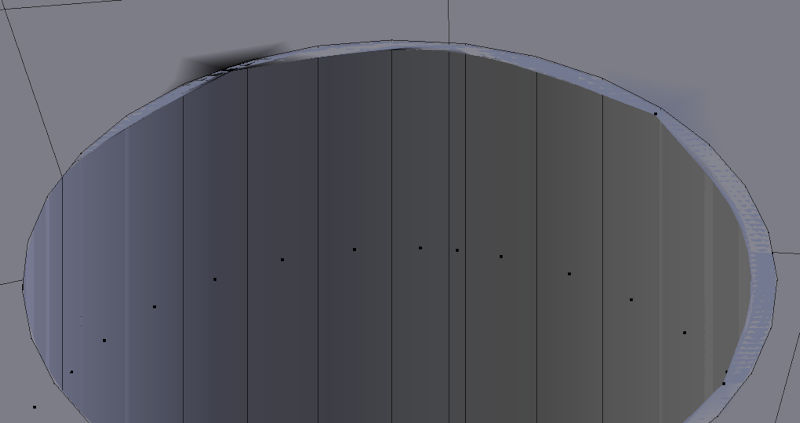
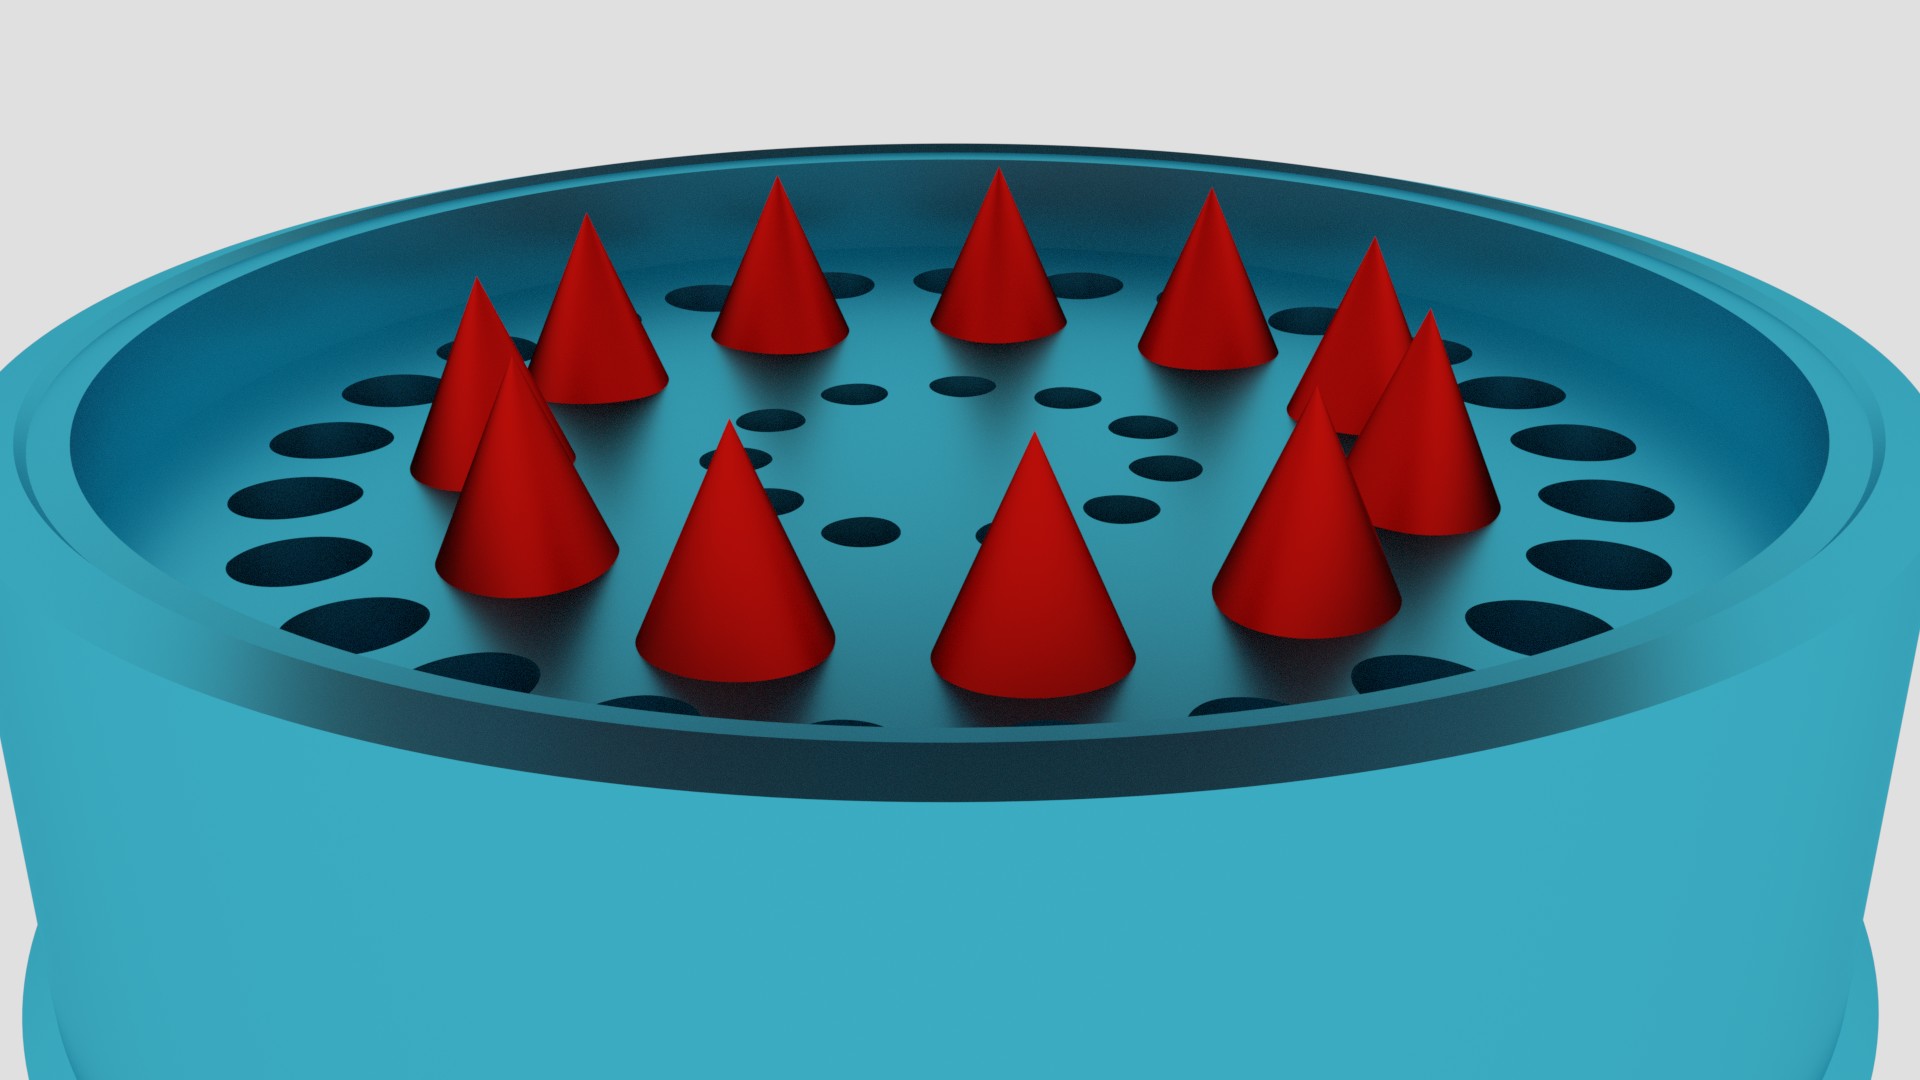
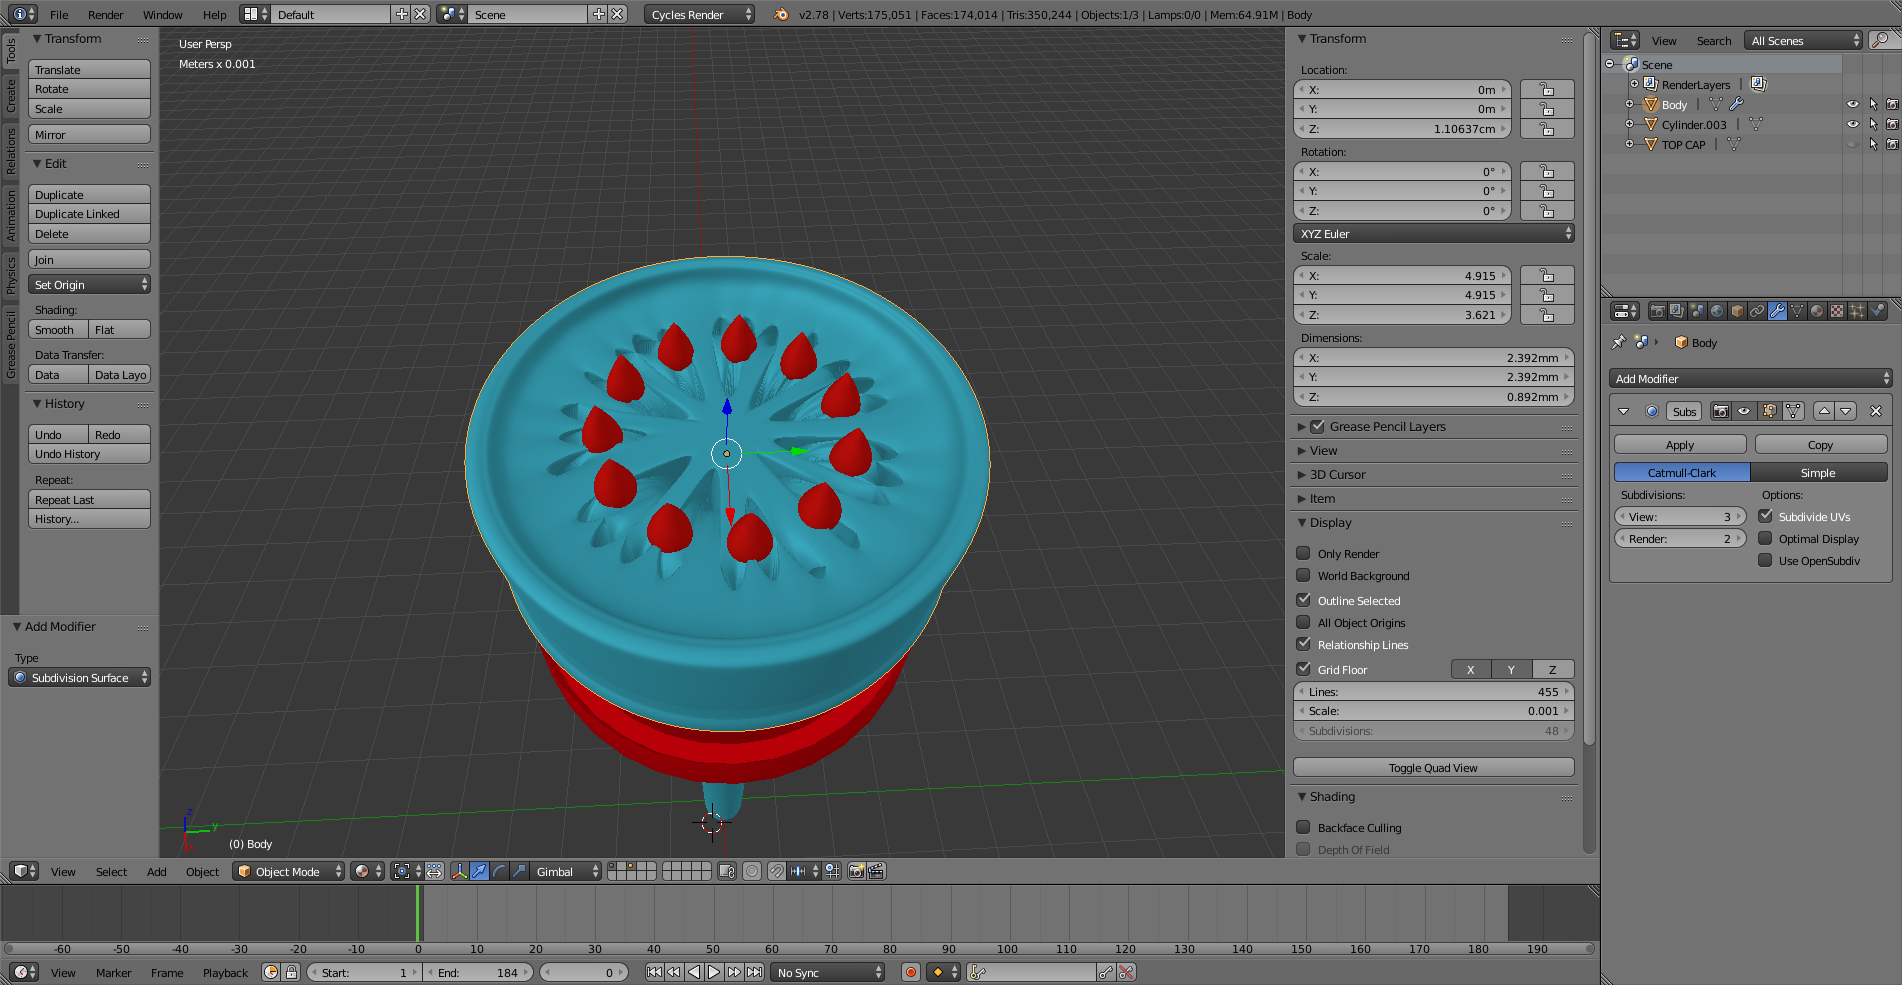
In short, I'm trying to design a grinder just as practice. Heres the the part thats giving me trouble. I created a cylinder which I shaped into the outer layer. Then I made another cylinder to place in the middle of the first one which is where the triangles will be attached to. I then attached all triangles to that cylinder and made all 3 objects into 1 as you see in the image. My problem is, when ever I turn on smooth shading, or the subdivision surface as I'm about to render, the surface on which the triangles are attached to gets warped as you see in the pics. Turning on both at the same time makes it worst as well. So when I turn both off, it looks perfectly flat again but now it looks too "blocky" as you see in the rendered image. I want it to be smooth and not ""pentagonish"" looking on the outside. Any helps is greatly appreciated as I continue to learn this amazing program.

Thanks guys

enter image description here

enter image description here

enter image description here

enter image description here

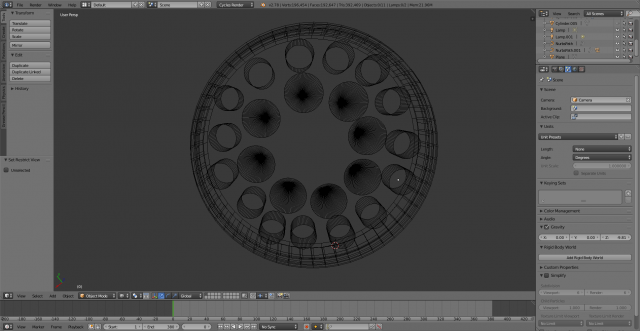
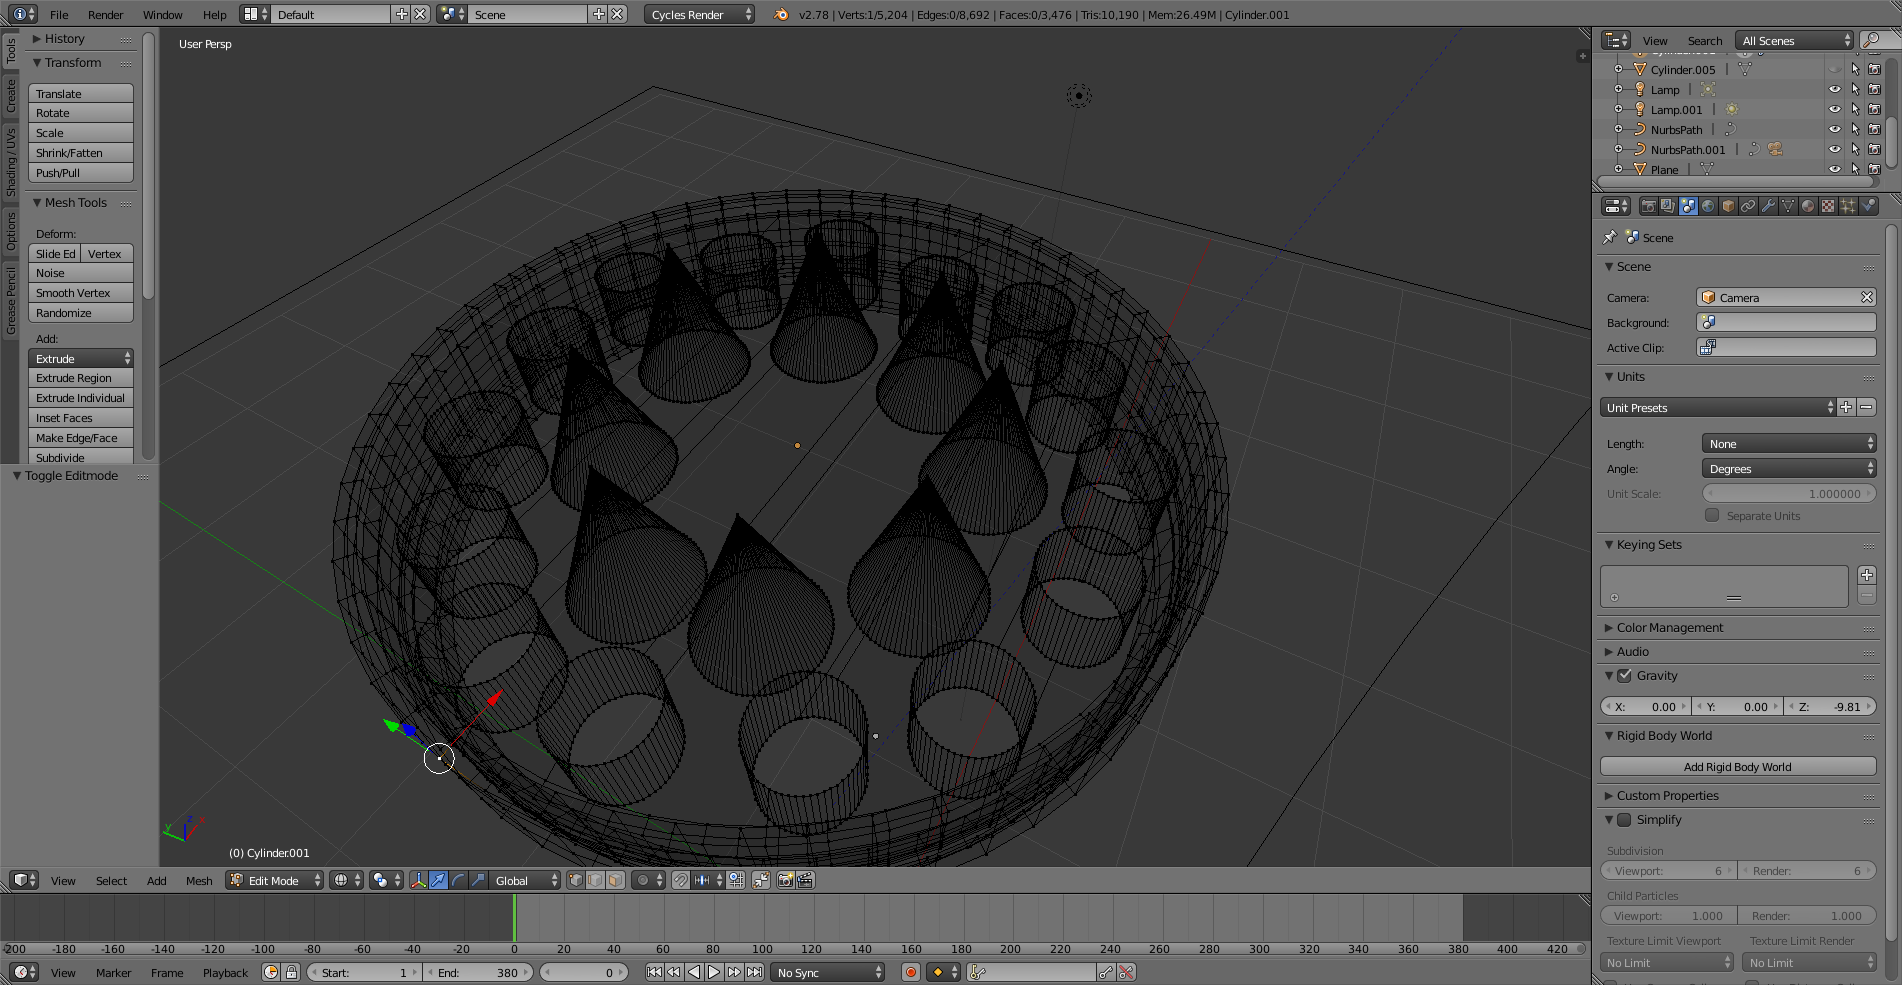
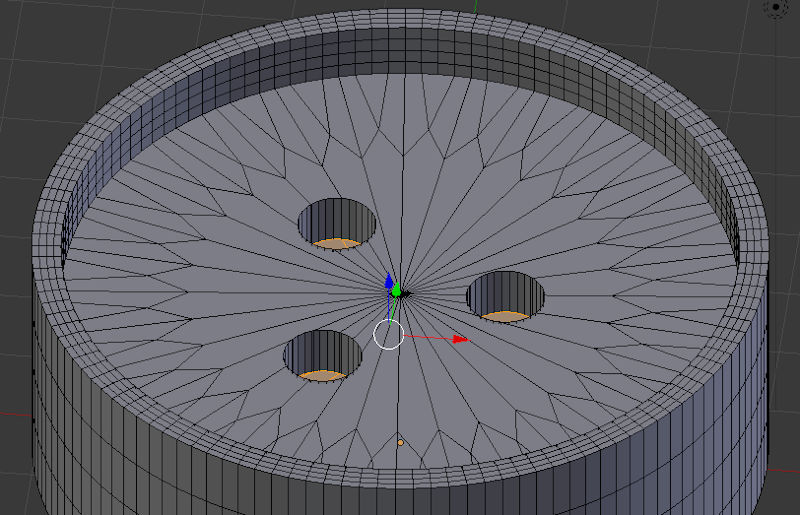
Here it is in edit mode.enter image description here

So when you say I need to subdivide the large plane, you mean I have to add more loop cuts (Ctrl + R) to the plane where the triangles are on? Or do I have to select a specific part of the plane and then press w to so I can then choose subdivide?

On that note, what is the difference between adding Loop cuts and adding sub divisions? And if this is the case like you said about smoothing one big Ngon, where might I find a tutorials on the smoothing process? Thanks again

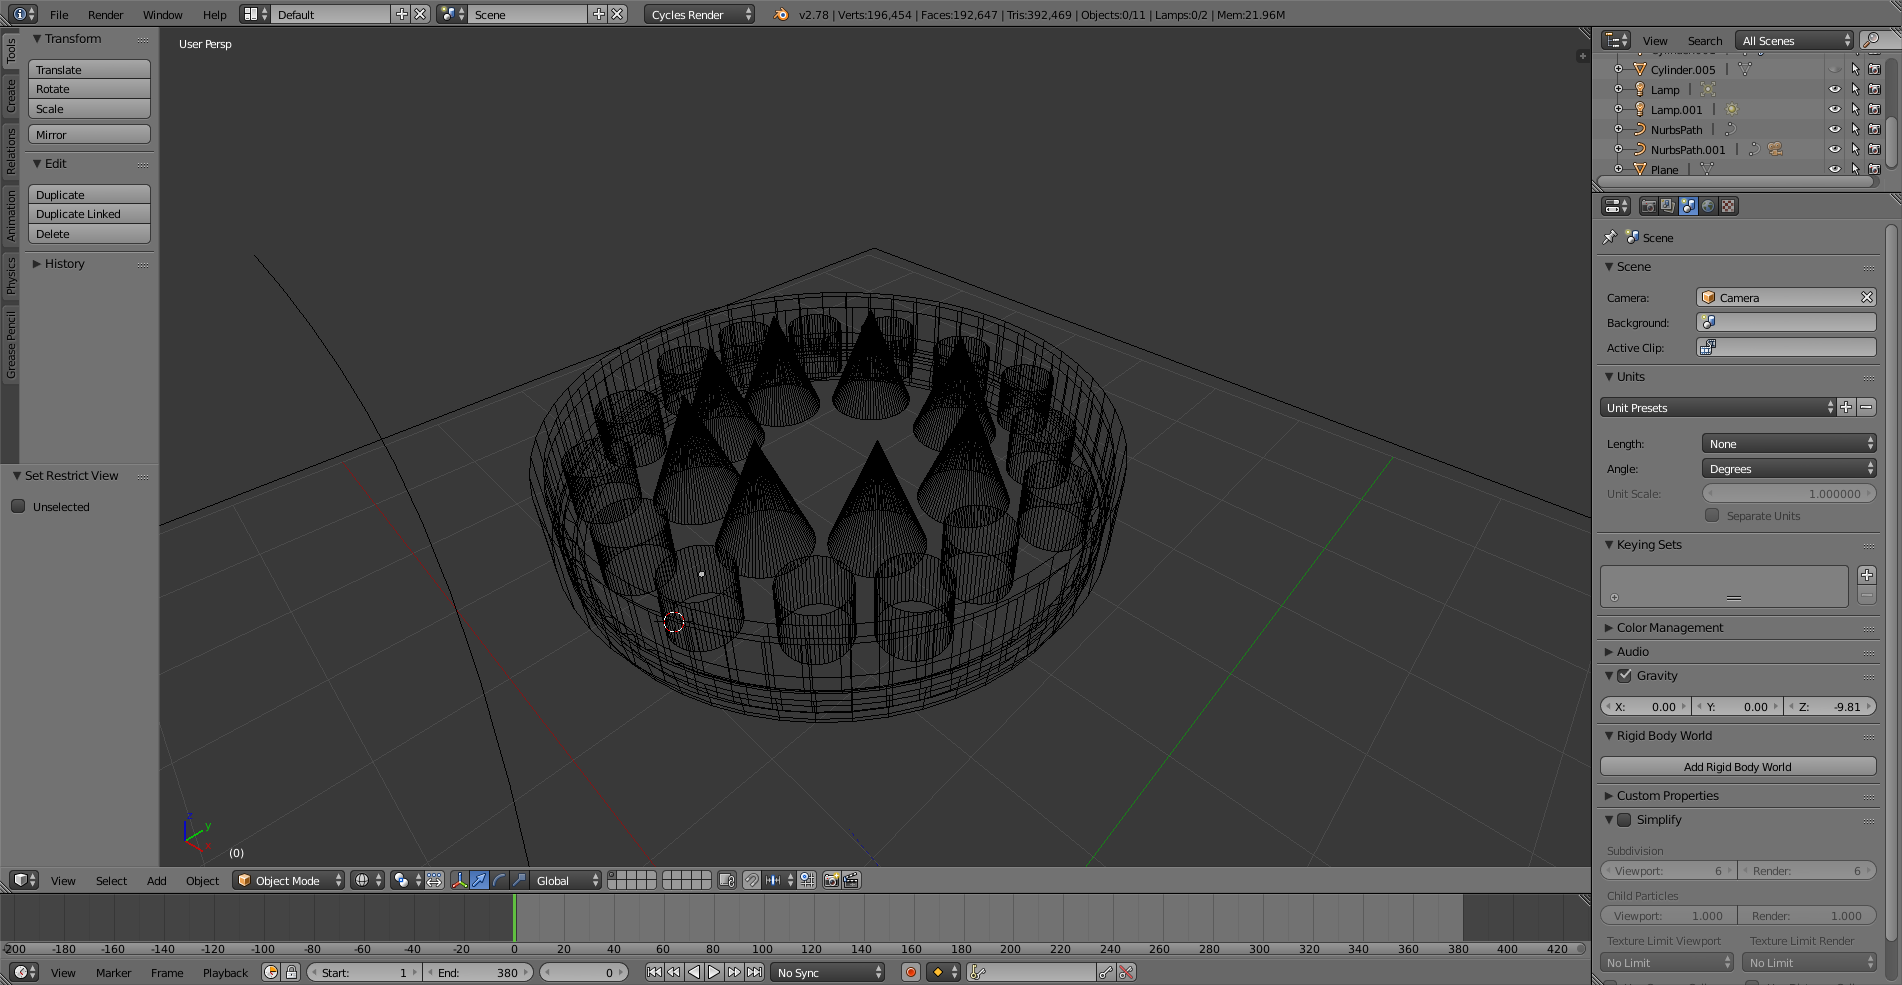
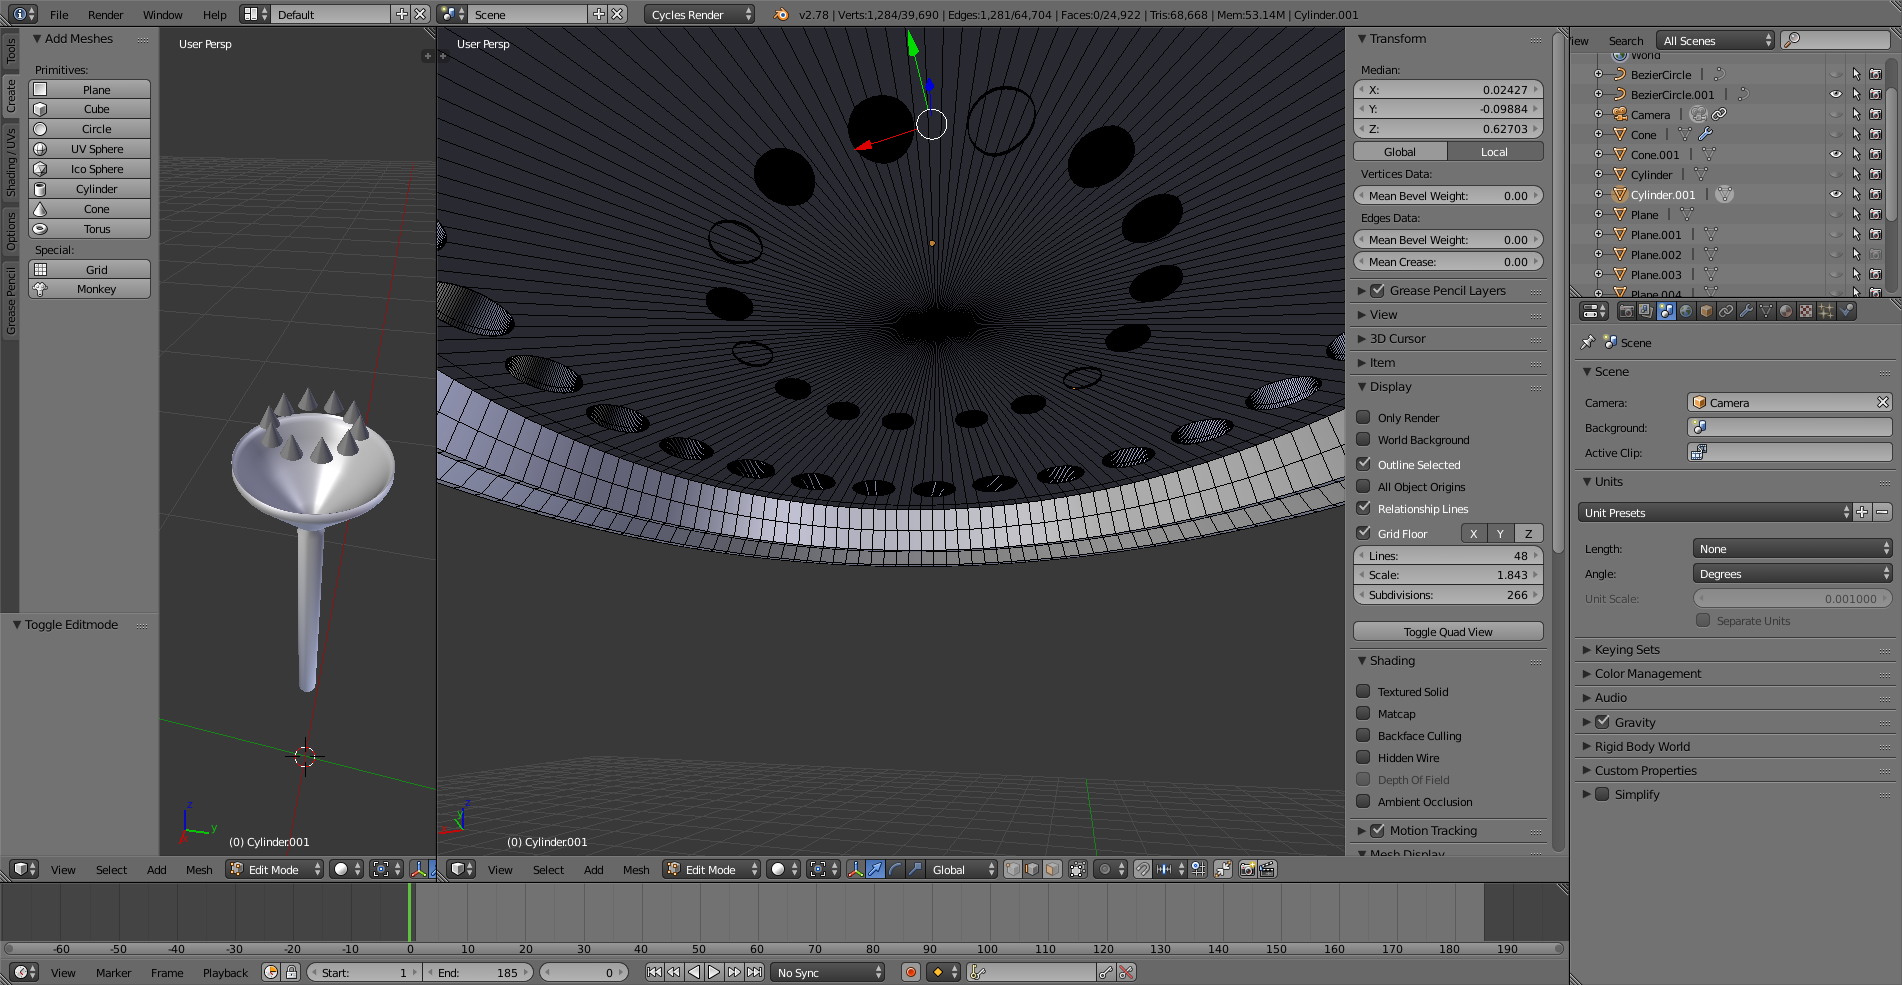
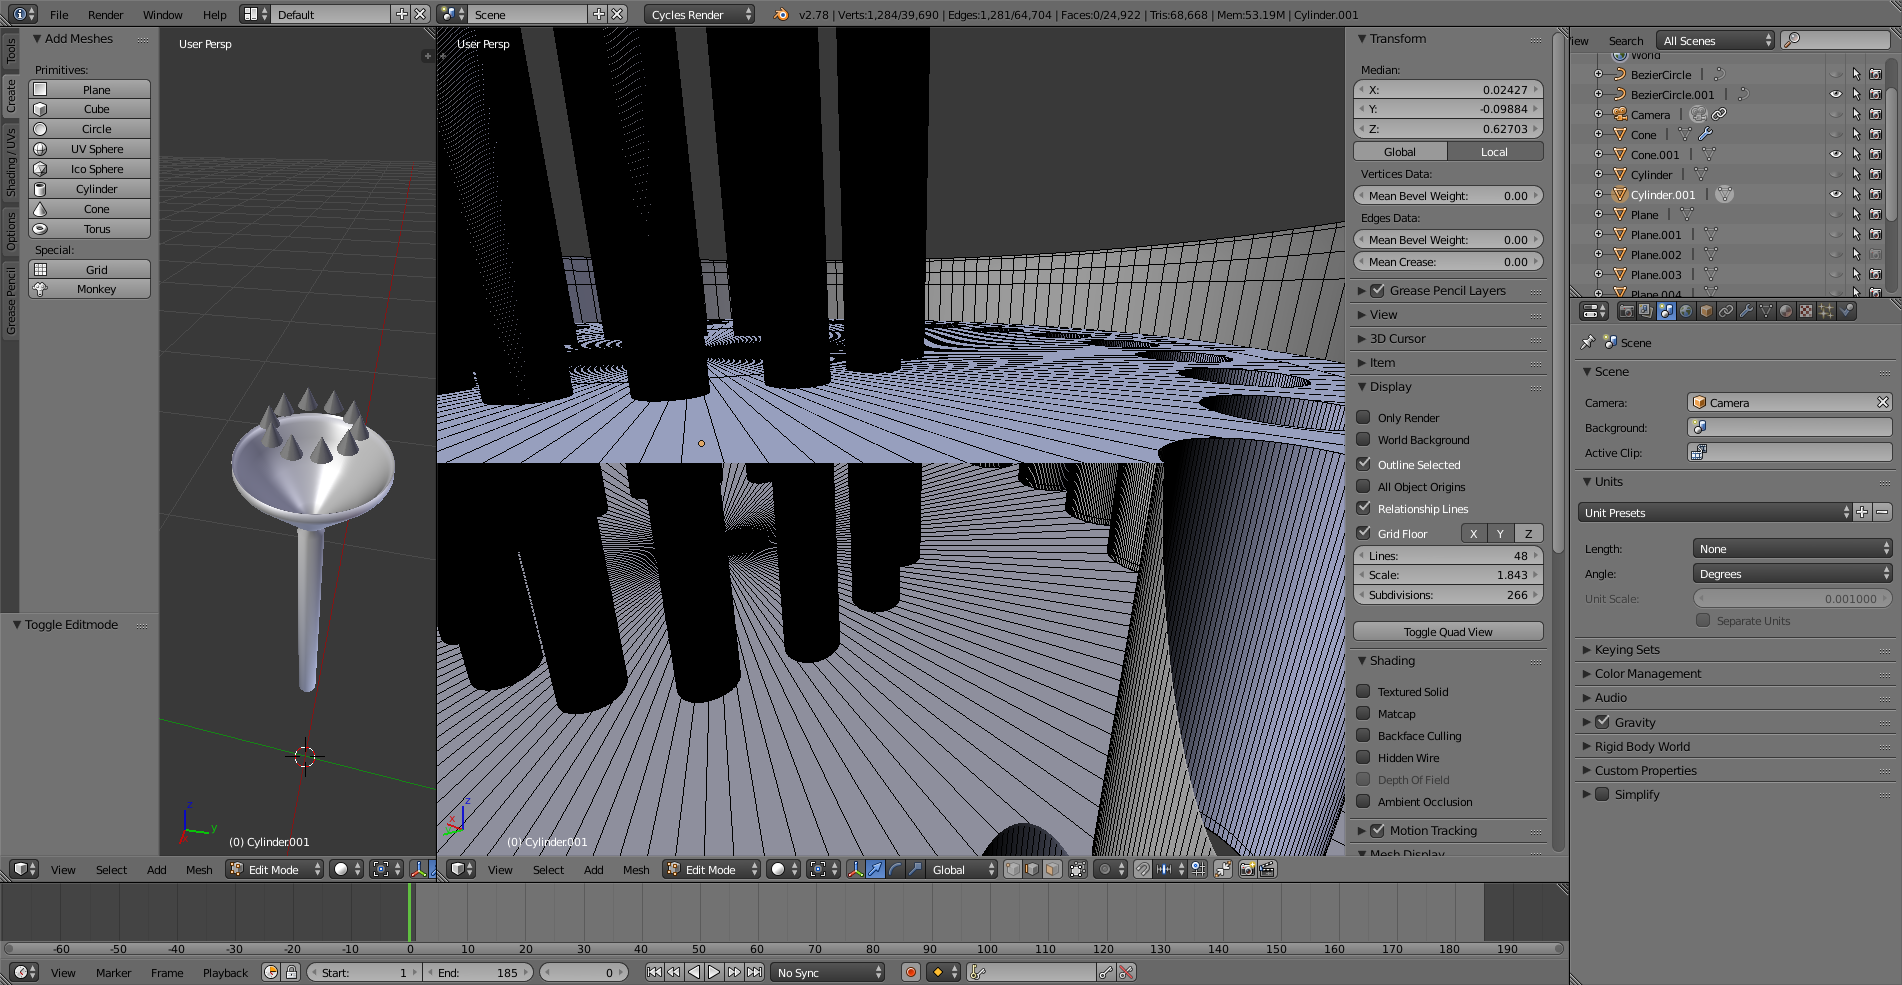
After carefully following the instructions, it still isn't working on my end. I made a cylinder, added a circle, added ARRAY and then Curve to get them perfectly circled. After erasing both the top and bottom face layer that you said, I extruded my new planes and paranted them them to the outer casing. But when I add all my cylinders to keep adding more holes, it doesn't create the walls of the tubes going in. It only makes the holes at the top and the bottom, so I undid that, used Union on boolean, which left me with the cylinders sticking out high. So I went to edit mode and grabbed their edges at the bottom and top and shortened them to the planes level inside the grinder body. But now Ive reached another obstacle. Some circles are not appearing after I do boolean....................... sigh...... I'm new to this and I know I have much to learn, but I've built that grinder body like 20 times and up in trying to learn and understand what isn't working, and I'm still stuck. I'm guessing its the geometry even tho I did use more vertices like you suggested. I guess what I'm asking now, is, how would I properly create my grinder body FROM SCRATCH properly based off the pictures I uploaded. I havent even attached the triangles because Im certain it will warp it further. Any help is appreciated

enter image description here

enter image description here

After all is done, this is what happens when I add the sub to the final body piece enter image description here
$\endgroup$
7
  • $\begingroup$ Of course. How do I upload a picture to the comments? $\endgroup$
    – Nebula 480
    Commented Jul 13, 2017 at 18:50
  • $\begingroup$ Not to the comments, use the edit link and add it to the question. If the system won't let you add another link, upload to imgur.com and then add the link to the question. $\endgroup$
    – user1853
    Commented Jul 13, 2017 at 18:52
  • $\begingroup$ Done. Thank you. Here they are ibb.co/ir36Sv ibb.co/cnrFLF $\endgroup$
    – Nebula 480
    Commented Jul 13, 2017 at 18:53
  • $\begingroup$ I apologize. I'm extremely new here and got ahead of myself. I'm sorry $\endgroup$
    – Nebula 480
    Commented Jul 13, 2017 at 18:57
  • $\begingroup$ @Nebula480 - No problem at all. But you need to include a wireframe screenshot in Edit Mode. Object Mode almost never shows all the geometry. This appears to be a classic case of trying to smooth one giant Ngon. You need to subdivide that one large plane in a meaningful way. $\endgroup$
    – bertmoog
    Commented Jul 13, 2017 at 19:03

1 Answer 1

6
$\begingroup$

Sorry I didn't have time to give you a formal answer yesterday.

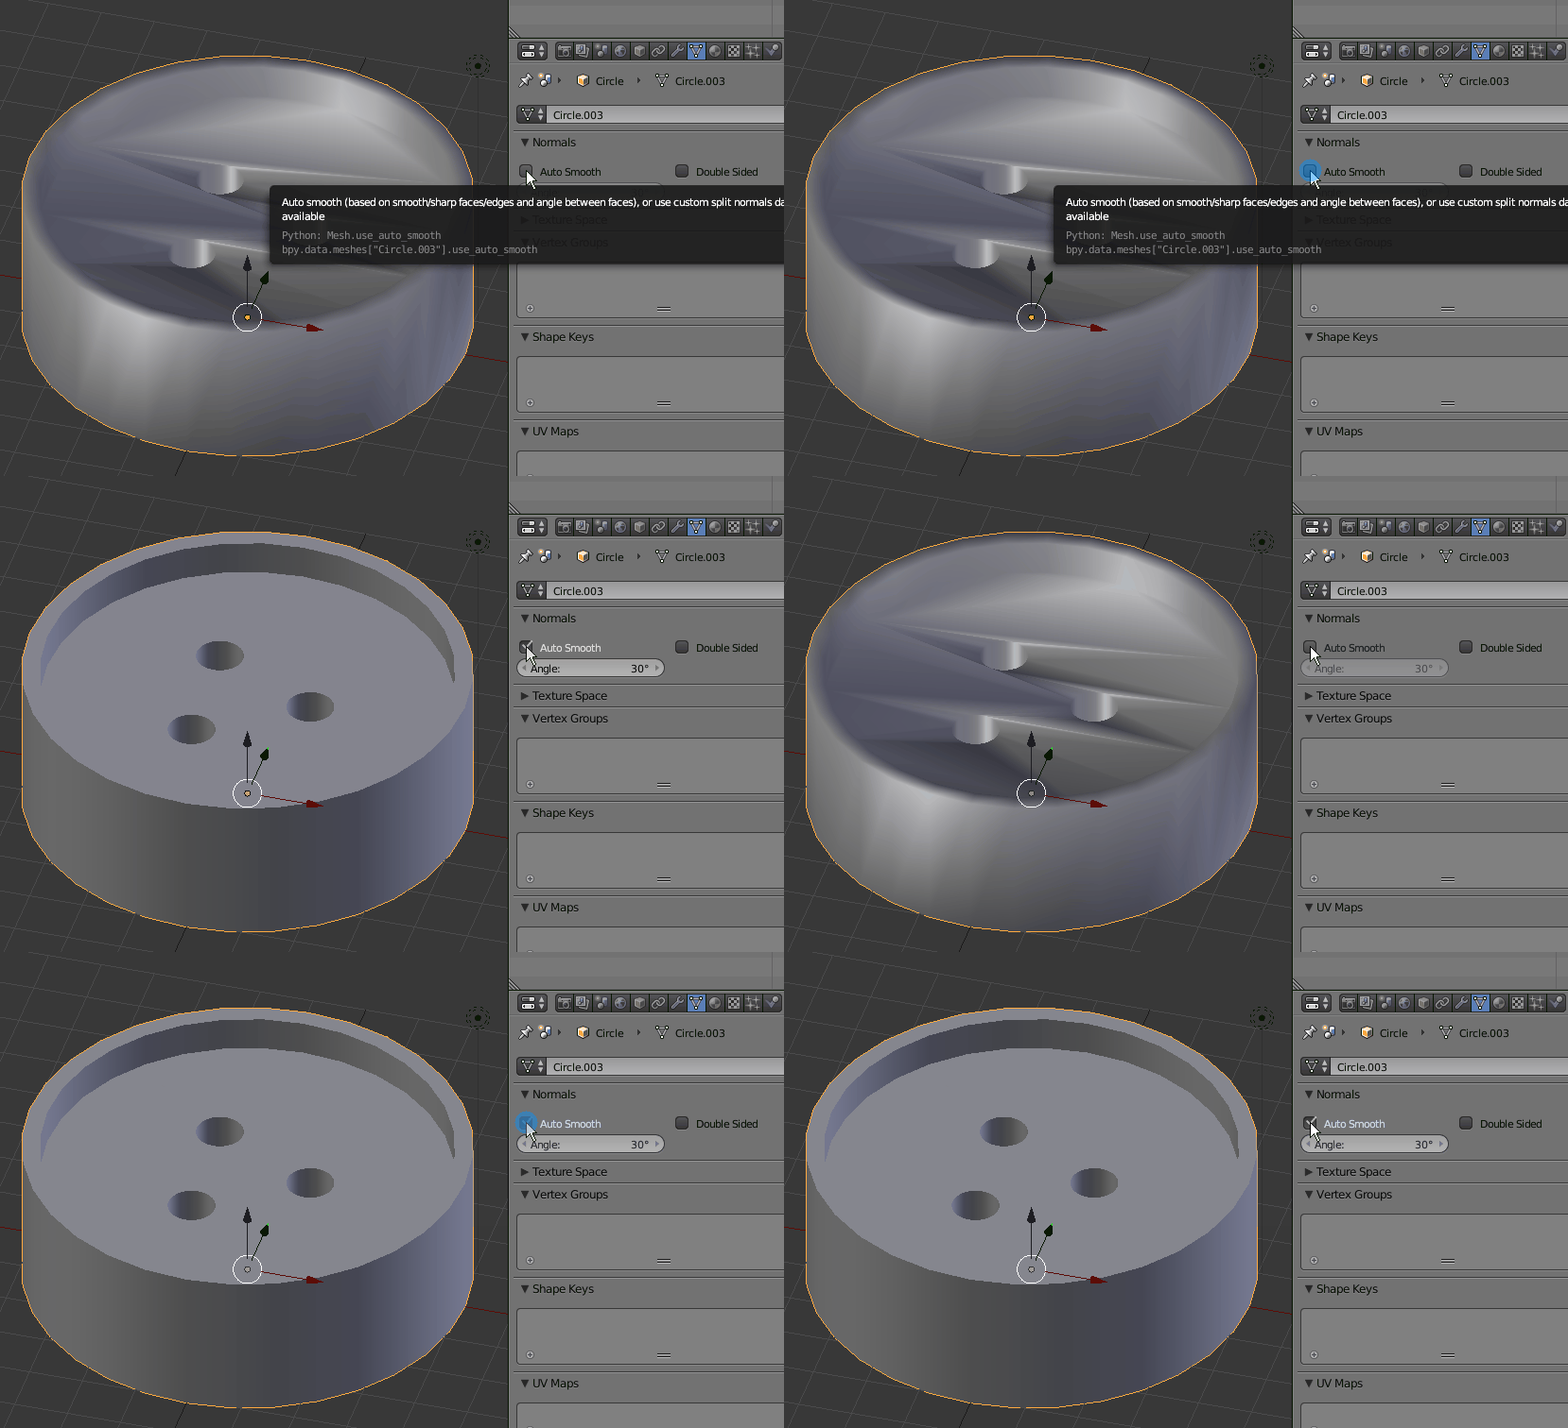
For the Smooth Shader part of the question, it's as simple as using the Auto-Smooth option. Play with the angle setting to get the effect you want: enter image description here

Essentially, though, your main question is a matter of workflow. The Remesh Modifier is a bit unpredictable, but you could try it. Other than that or doing it by hand, there's really no way of fixing the issue without redoing at least part of your mesh.

The problem with the Subdivision Surface Modifier is that it's meant to be applied to quads or tris. In your case, you have a few ngons wrapped around multiple cavities and protrusions. Ngons, at least as it applies to Blender, are faces having more than four edges. Even if it just has five edges, SubSurf still won't work correctly:

enter image description here


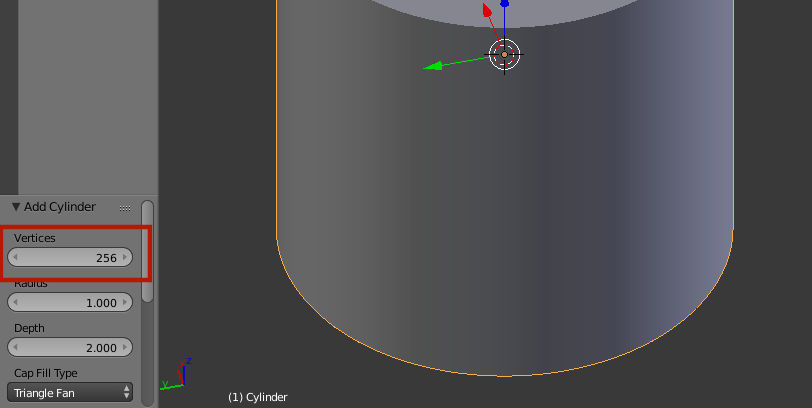
So you have a few options. Before you ever begin to design your piece, make allowance for the above if you plan on using SubSurf. You might even consider using high density meshes in place of SubSurf to begin with. That way you're not relying on an "after" algorithm to modify your mesh. Of course, the only problem with that approach is file size and complexity. If you were 3D printing something, this would be the way to go:

enter image description here

You could apply the SubSurf before you make your knife cuts, but again it's added geometry, file-size, and complexity:

enter image description here

Normally, Subsurf works great. The problem with your particular example is the cuts you made into the mesh. Once you make a cut into a quad, most of the time you're gonna be left with an ngon. So here's a solution that will keep you from having to go back to the drawing board and will also allow you to keep using SubSurf without applying it.

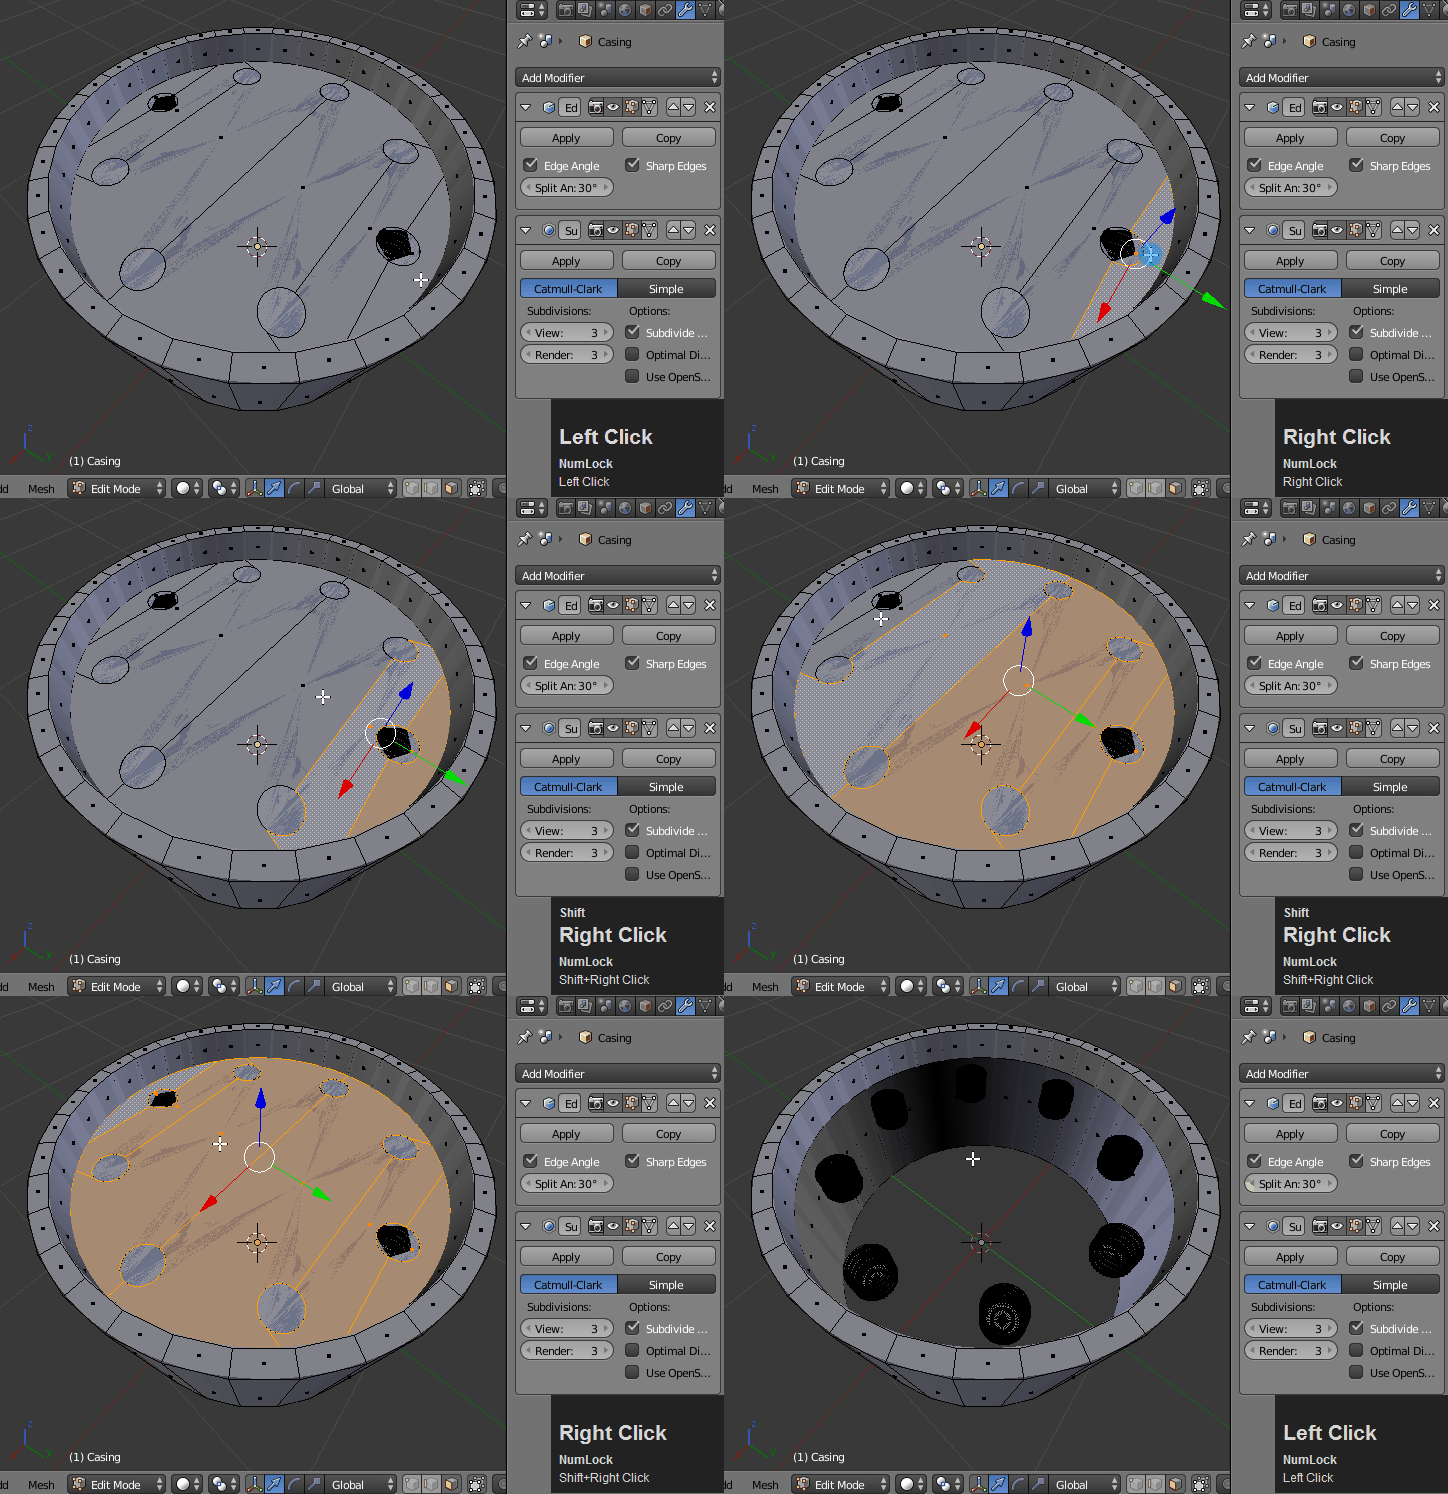
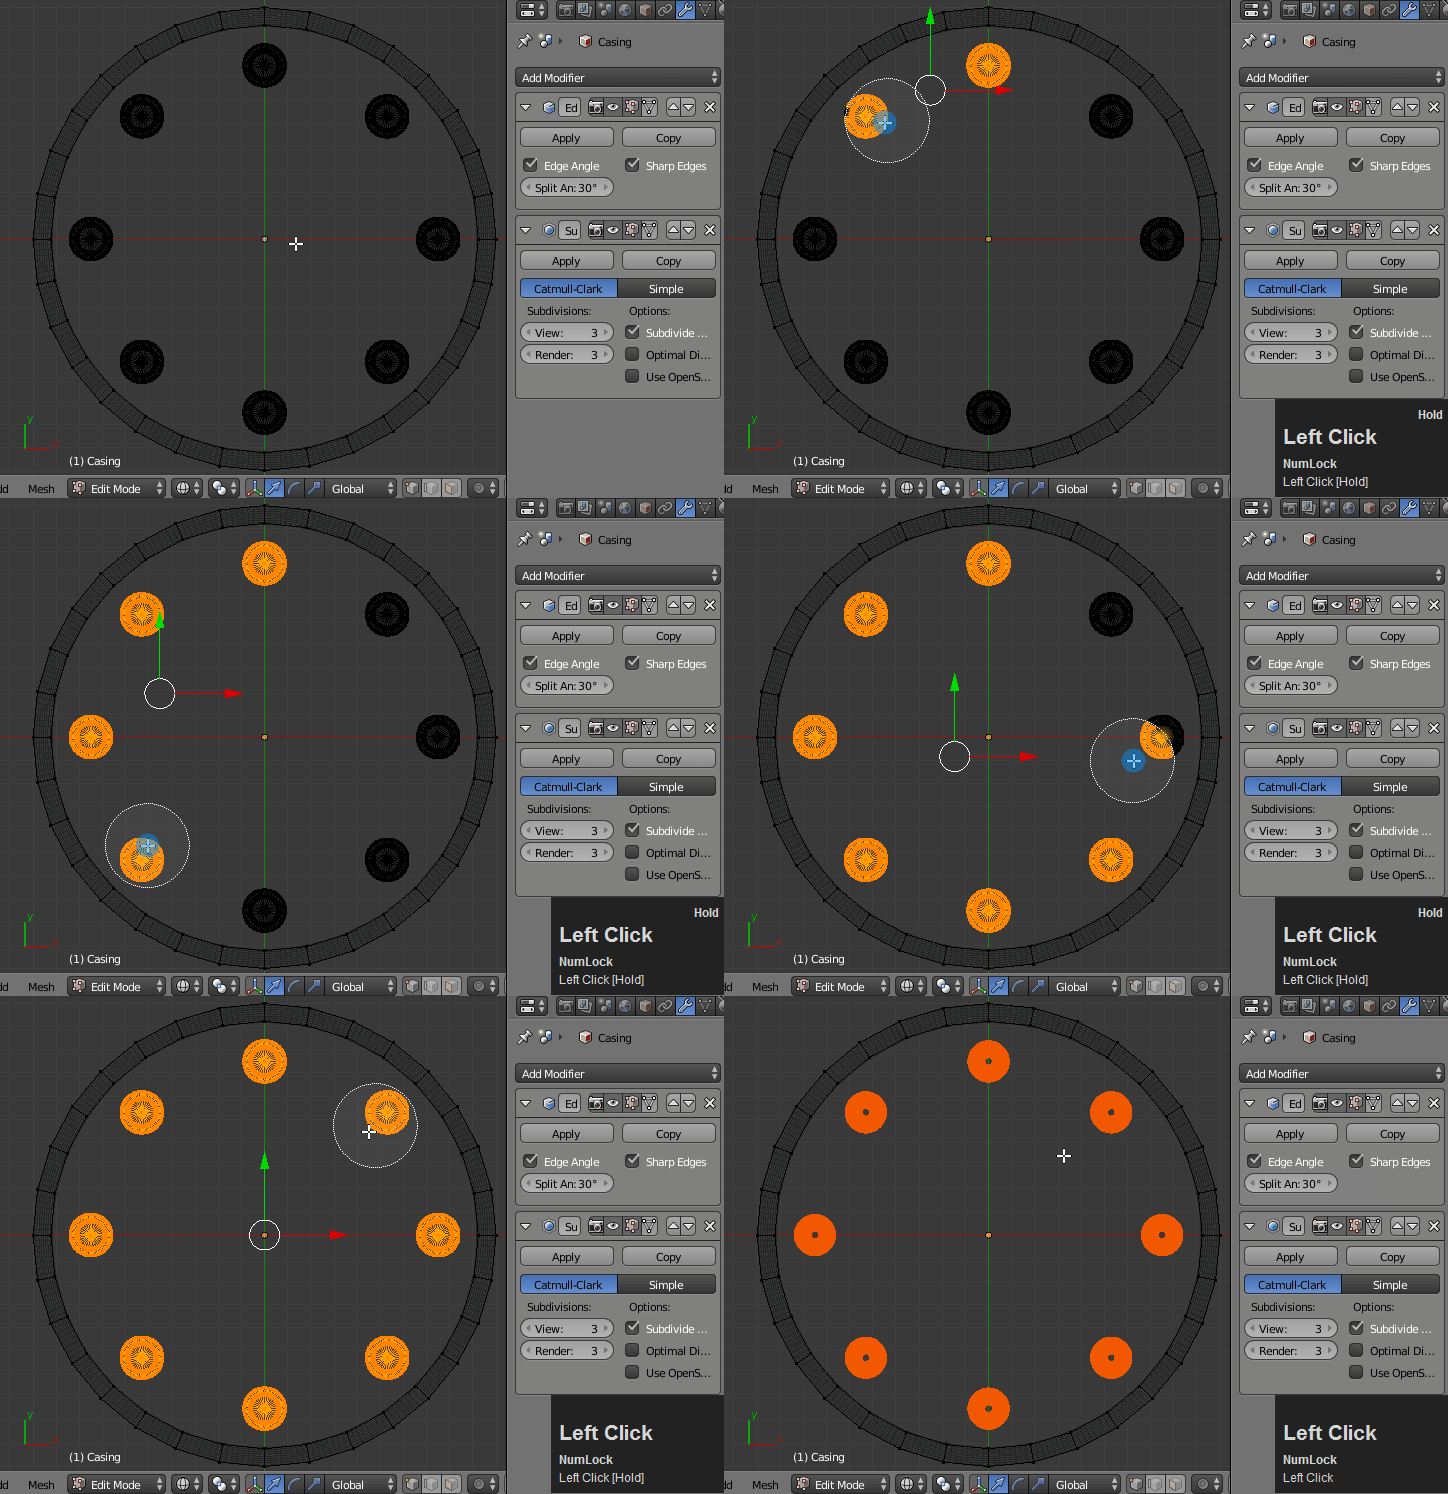
1.) Delete that whole top flat face.

enter image description here


2.) Select all the cylinders (and cones) and press P to separate them into their own object:

enter image description here


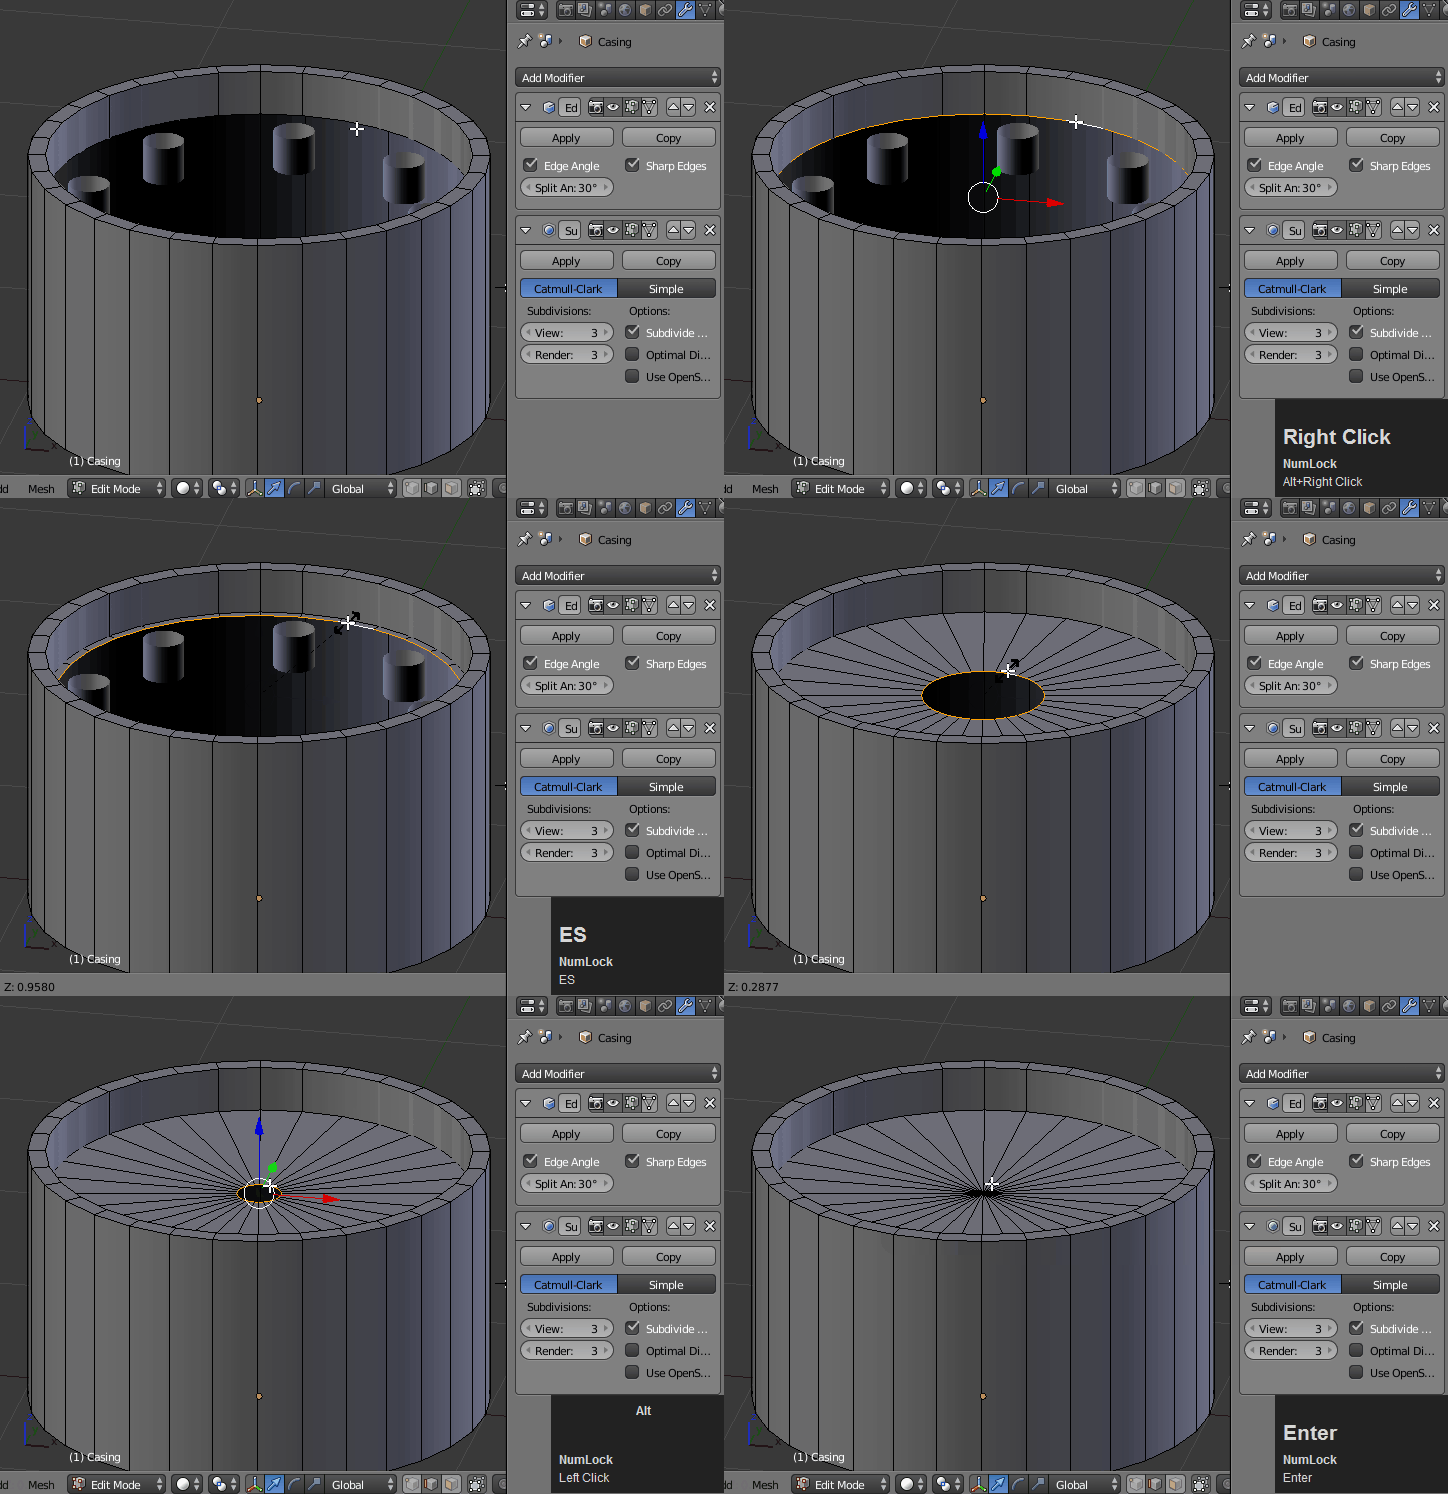
3.) Next, Alt select the inside rim and press E to extrude and S to scale toward the middle. Press Alt + M to merge the vertices at the center. You now have a triangle fan mesh:

enter image description here


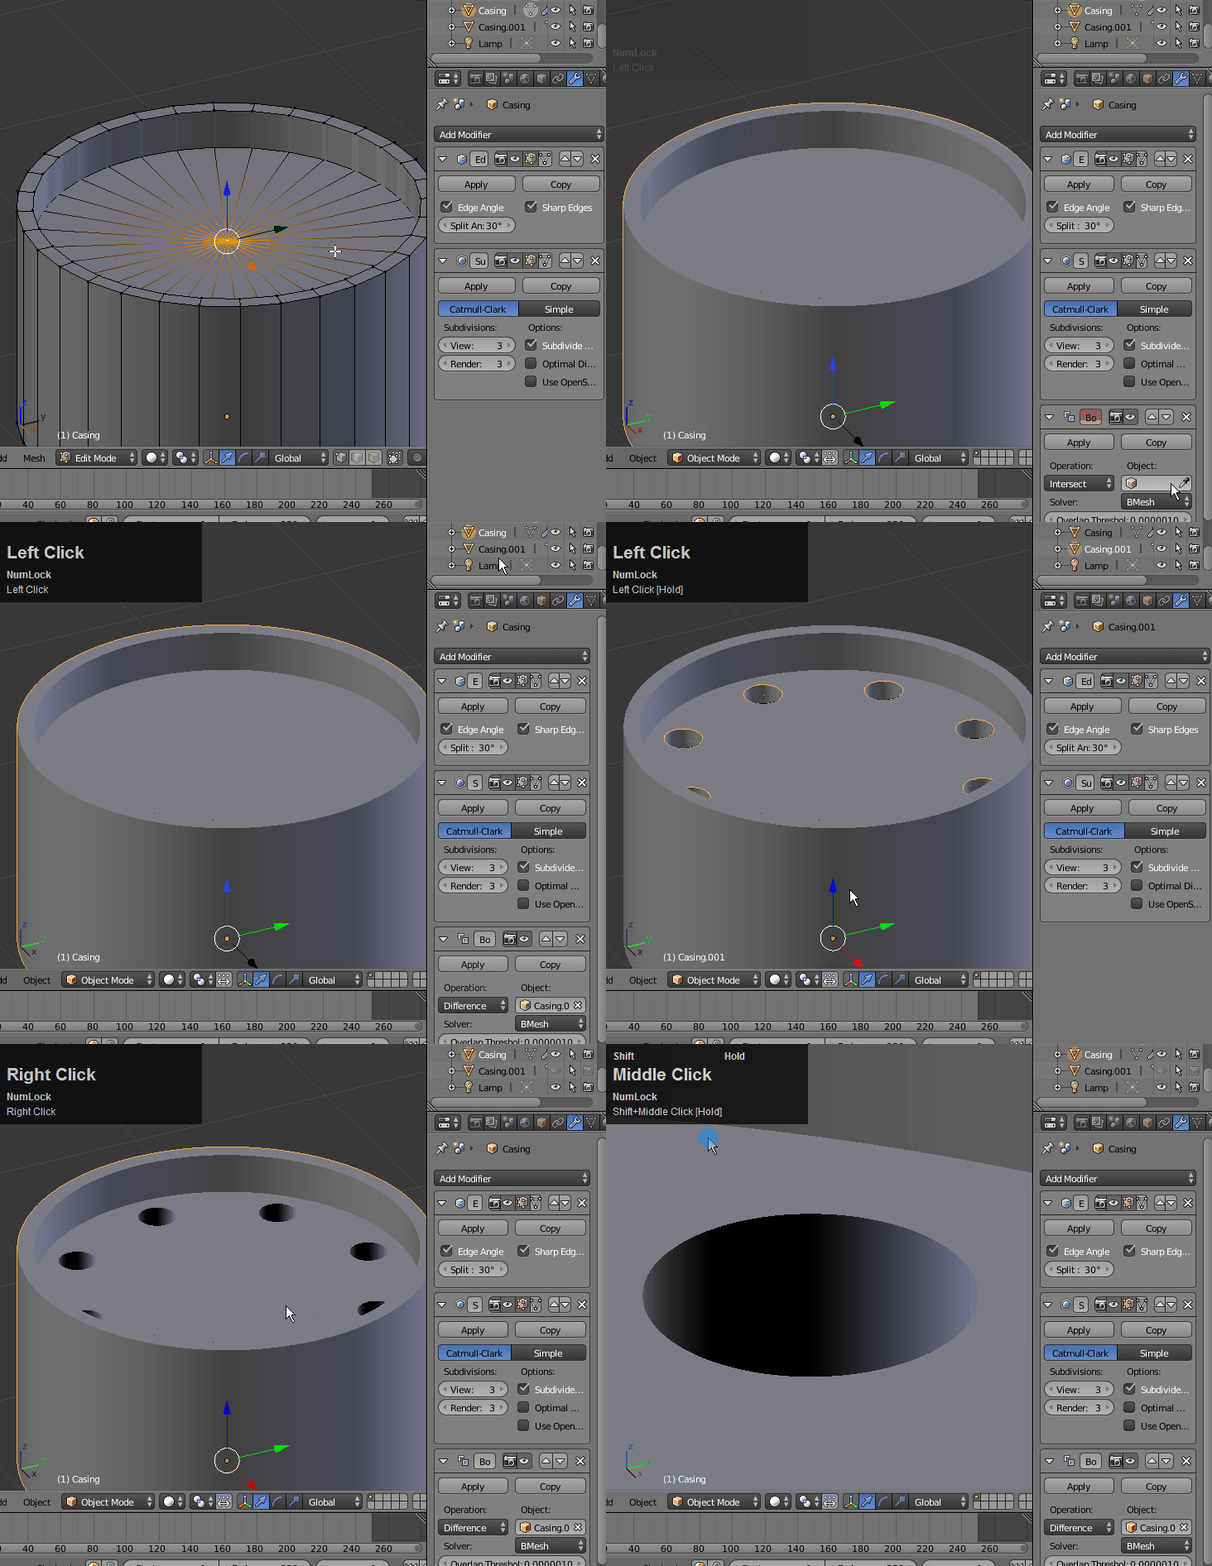
Now add the Boolean Modifier to the casing and select the cylinders that you separated in step 2. Select the Difference operation type. You may have to raise the cylinders up until they just crest the plane of the casing. Now Restrict the original cylinders from View and Render (but don't delete them).

enter image description here

The reason this works is because modifiers are applied in order starting with the top first. In this case, we're edge-splitting, sub-dividing, and then using the Boolean mod. This allows you the benefit of unapplied subdivision and Boolean simultaneously.

Finished product with no modifiers applied:

enter image description here

$\endgroup$
13
  • $\begingroup$ Thanks you so much for the detailed walk through. I'm gonna get on this right now. Very much appreciated :) $\endgroup$
    – Nebula 480
    Commented Jul 15, 2017 at 2:41
  • 1
    $\begingroup$ @Nebula480 - I'm so glad. I hope it works out for you... stick with it. $\endgroup$
    – bertmoog
    Commented Jul 15, 2017 at 3:32
  • $\begingroup$ Additionally if the Auto smooth isnt hitting the specific edges you need. You can also turn Auto smooth all the way up and then specificy the sharp edges manually as well. $\endgroup$ Commented Jul 17, 2017 at 19:01
  • 1
    $\begingroup$ @Nebula480 - See the edit to this post. I've changed to a way of having no mods applied and capability of Boolean. $\endgroup$
    – bertmoog
    Commented Jul 20, 2017 at 18:08
  • 1
    $\begingroup$ @Nebula480 - see edit to post. I attached the .blend file for you to use. Before you have it printed, you will probably have to apply the modifiers. Start with the one at the top (Edge split) then work your way down (Subsurf, then Boolean). You will need to repeat this process for the other objects. $\endgroup$
    – bertmoog
    Commented Jul 22, 2017 at 21:23

You must log in to answer this question.

Not the answer you're looking for? Browse other questions tagged .