0
$\begingroup$

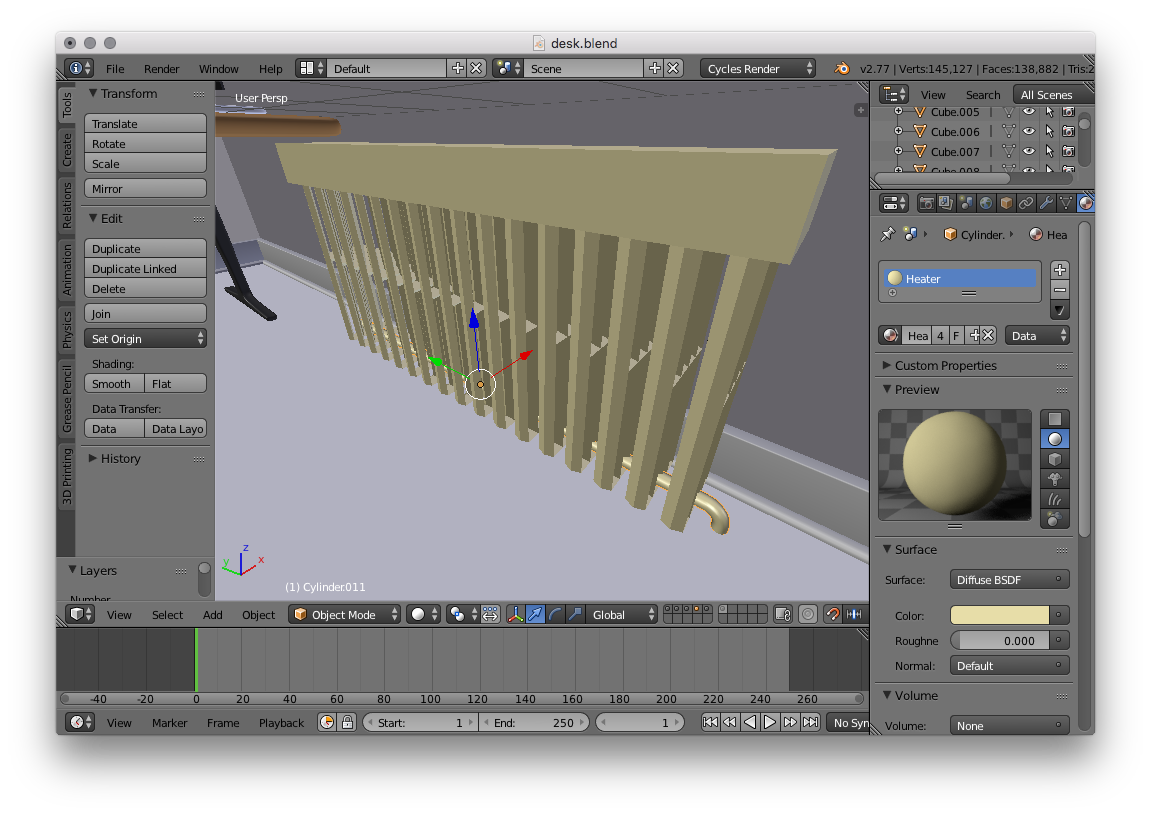
I have been attempting to model a radiator heater.

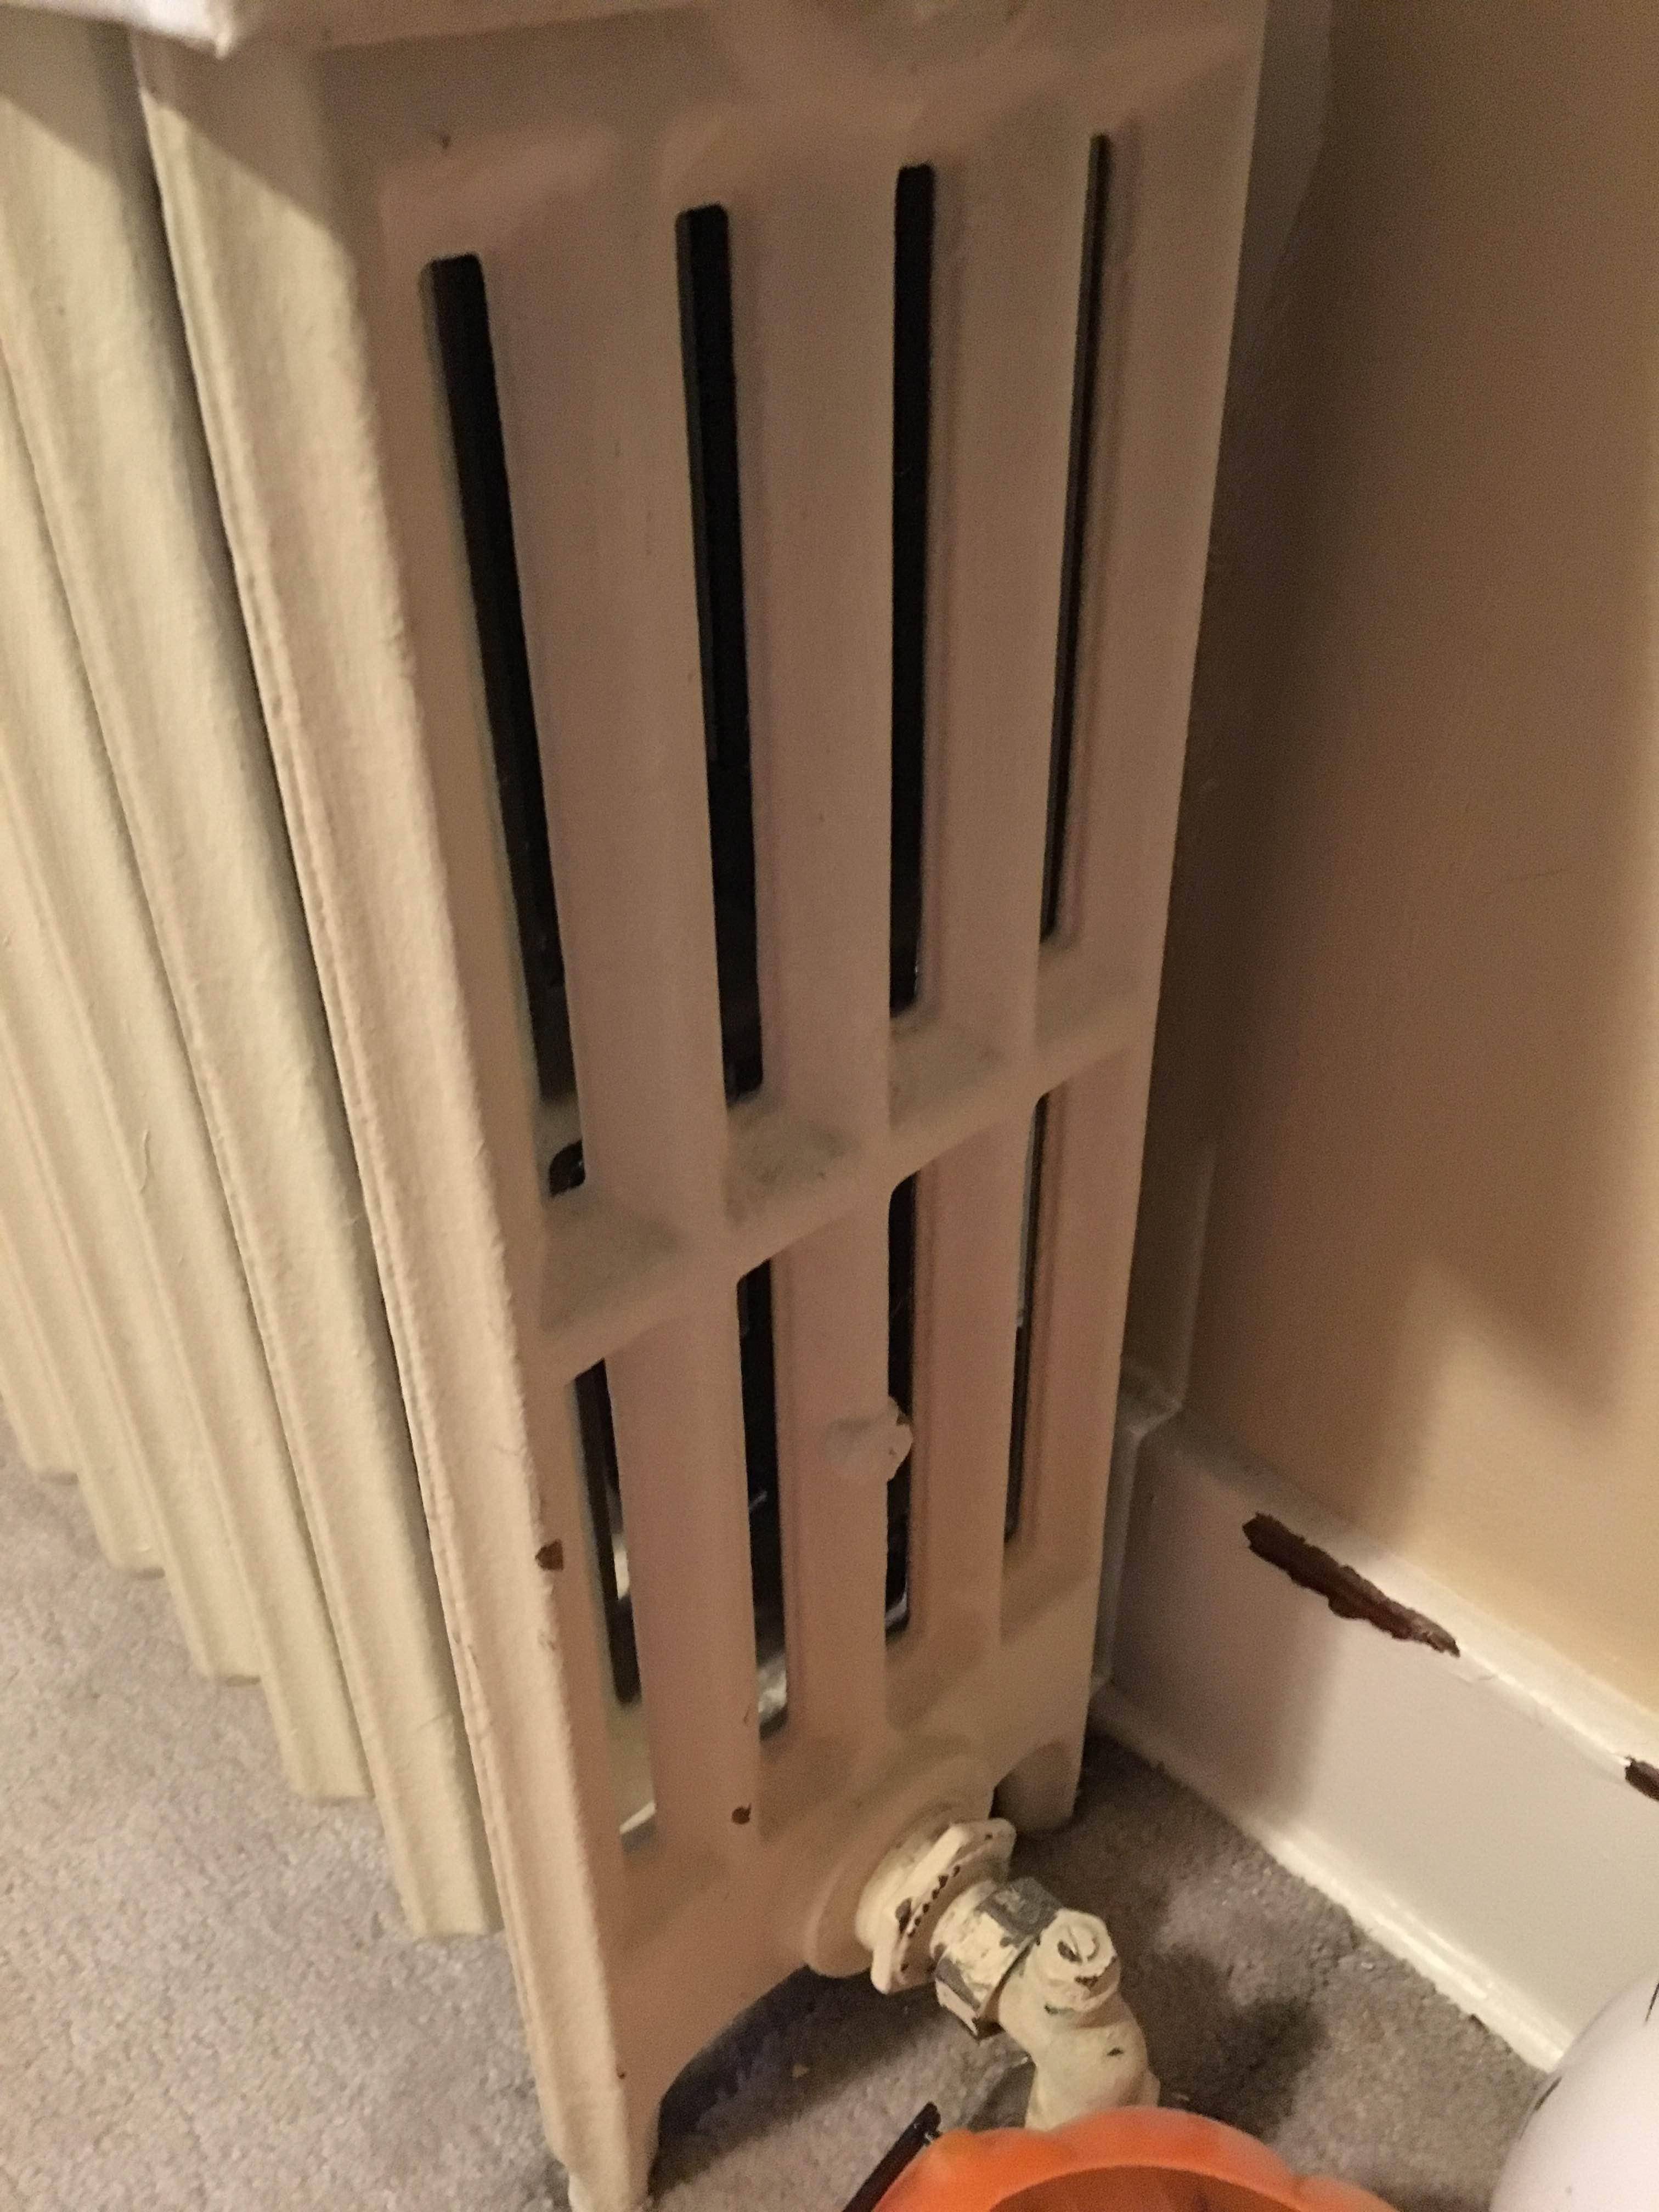
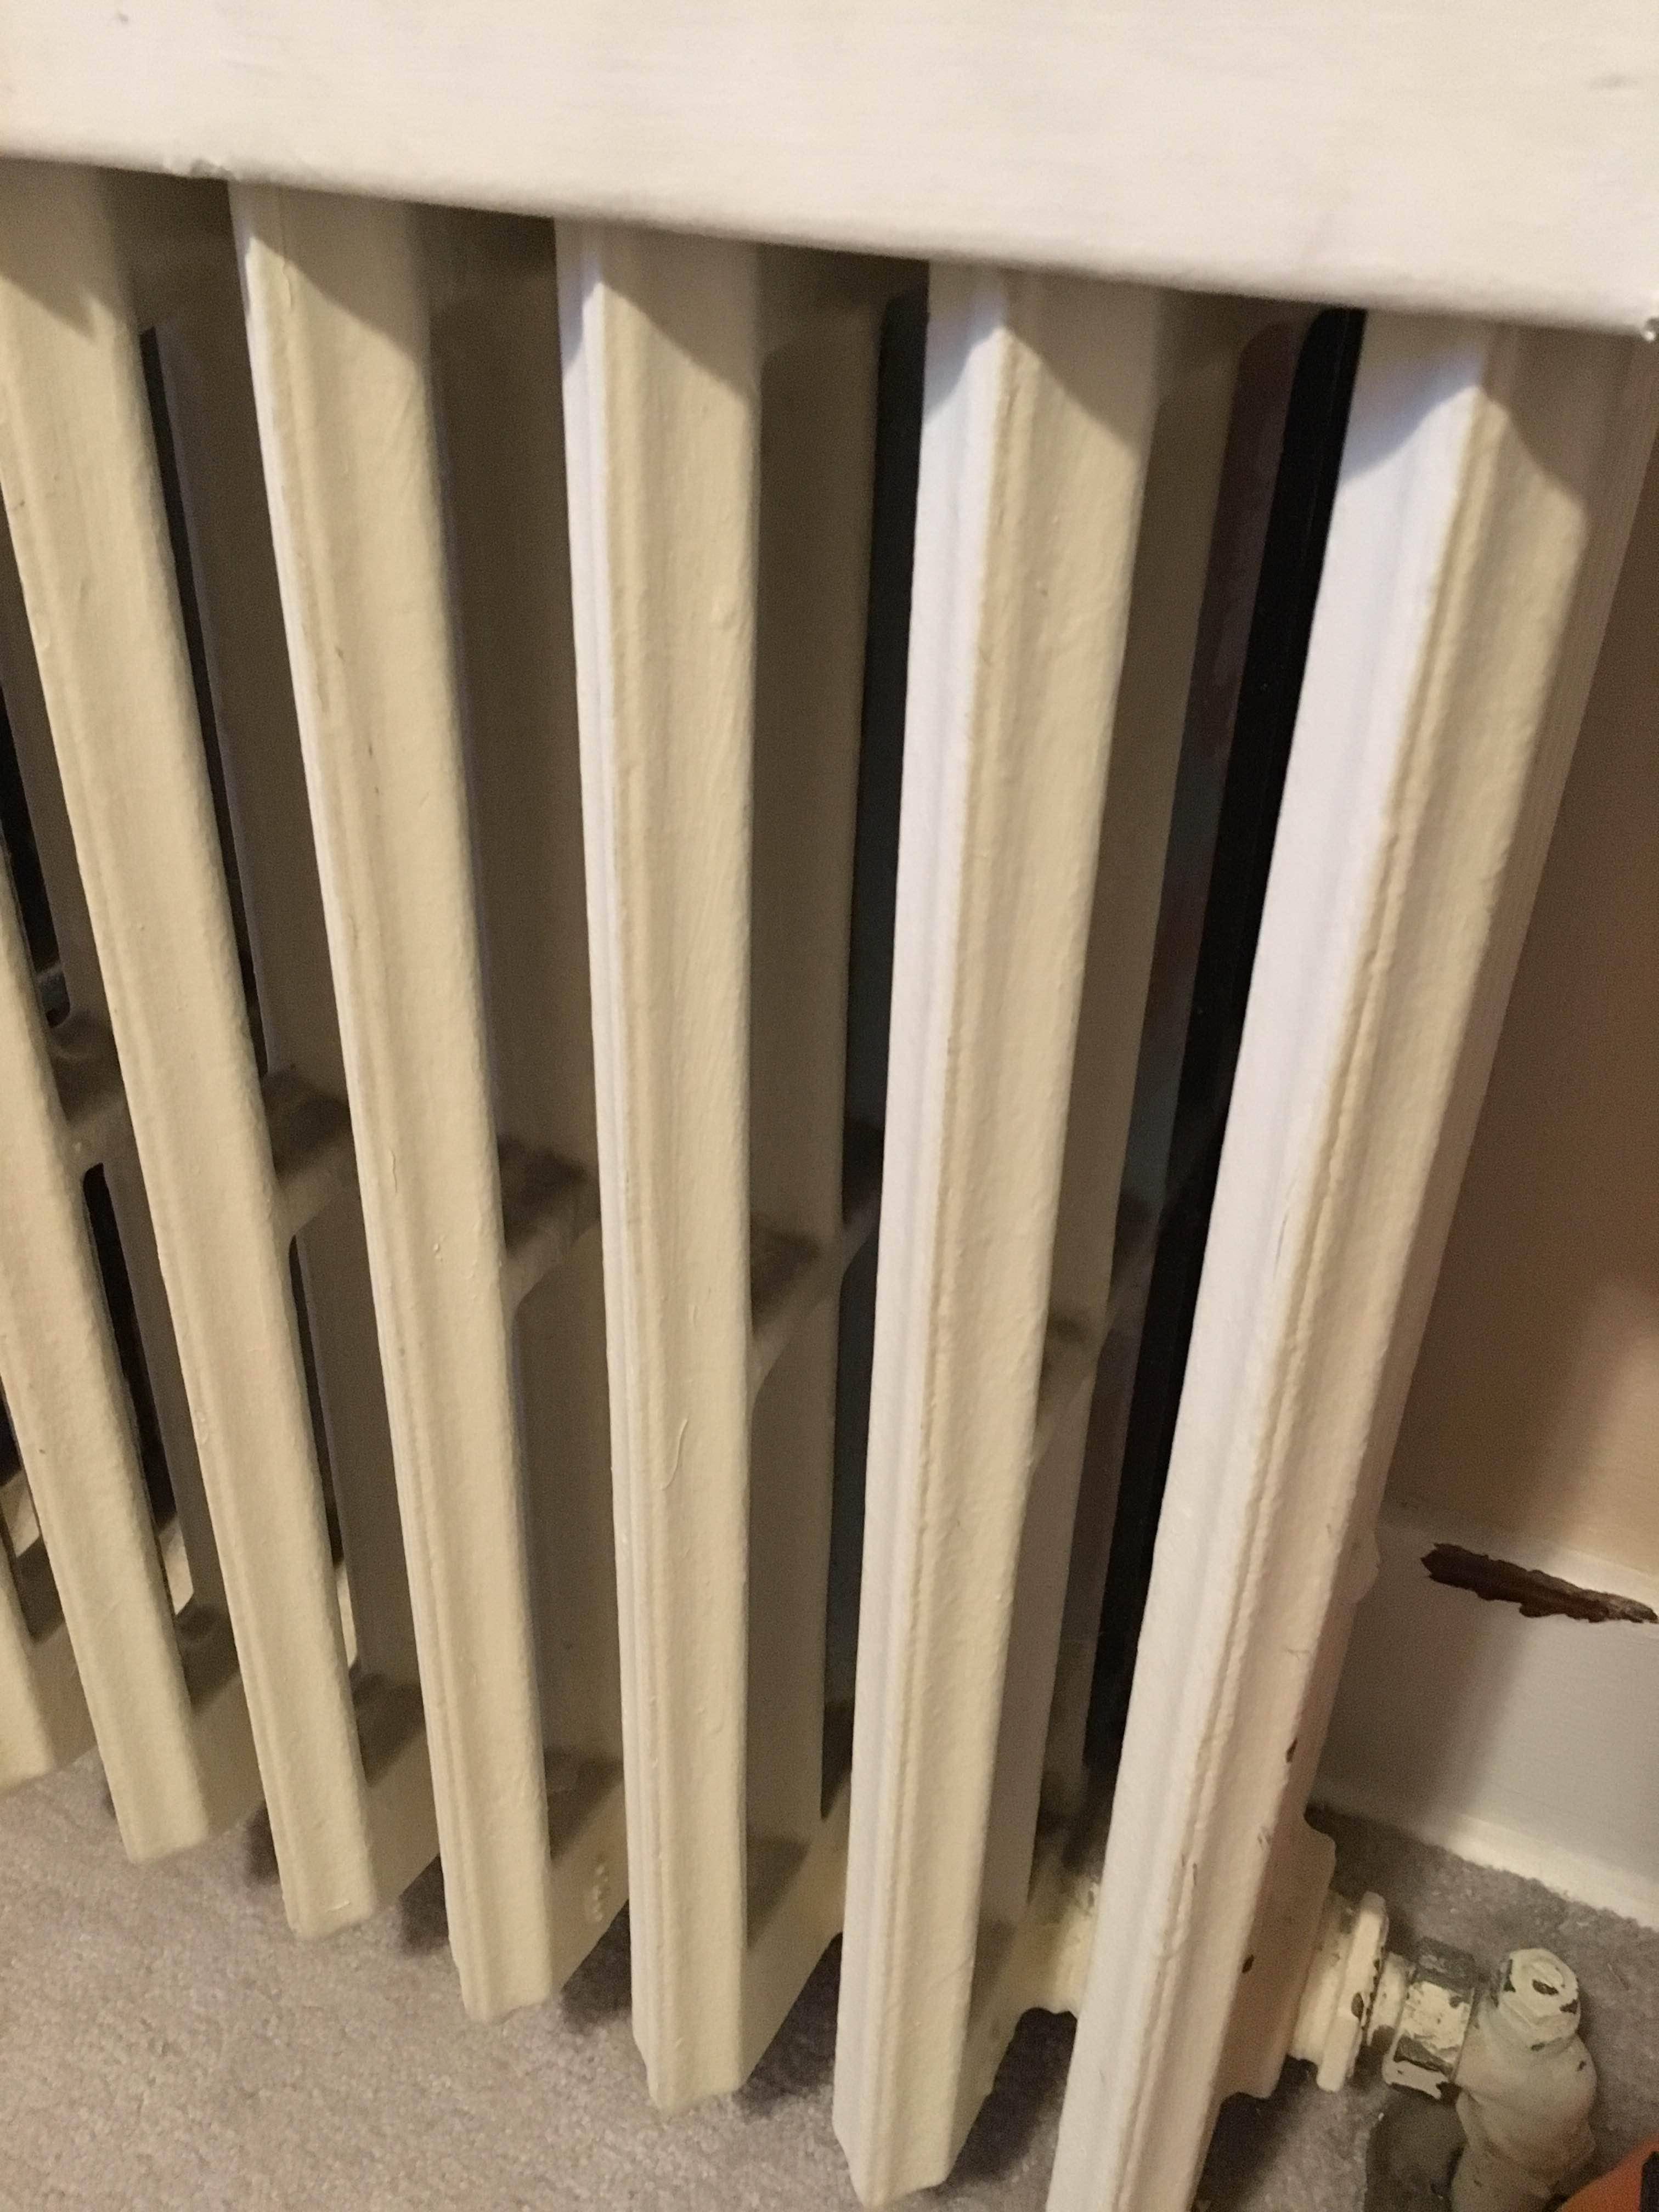
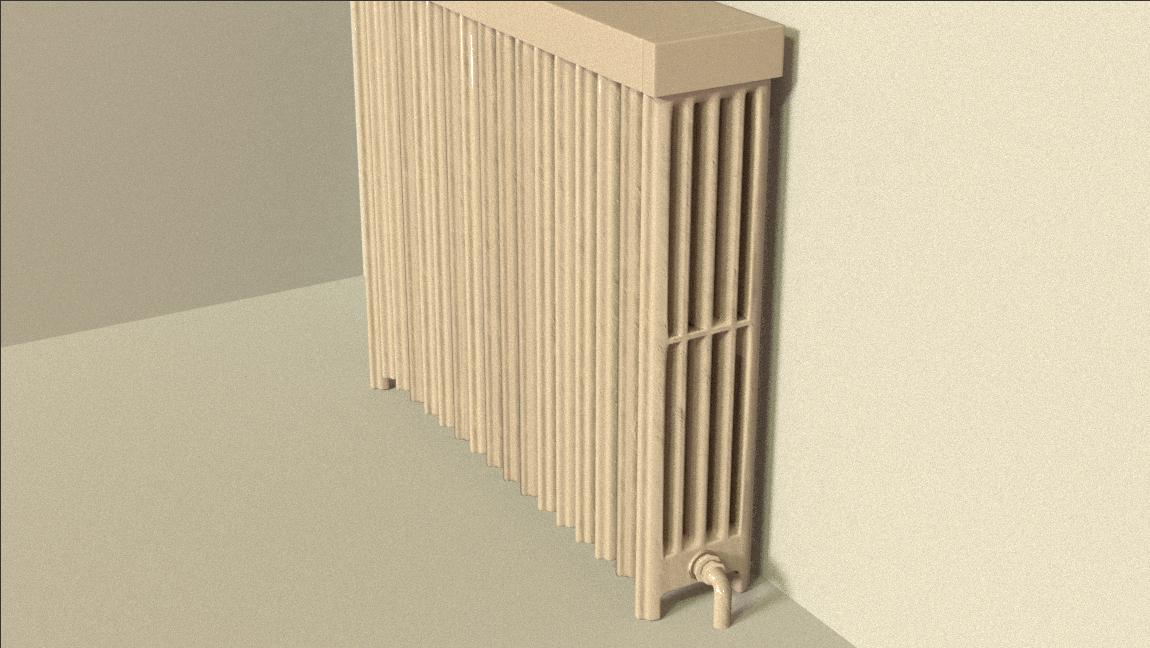
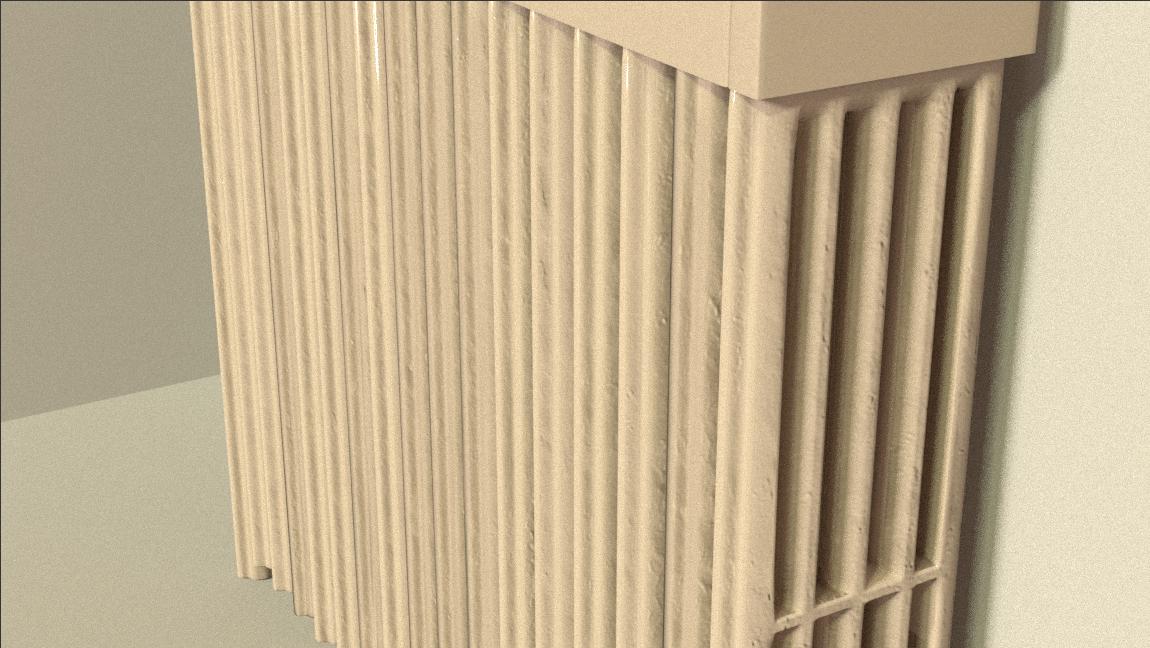
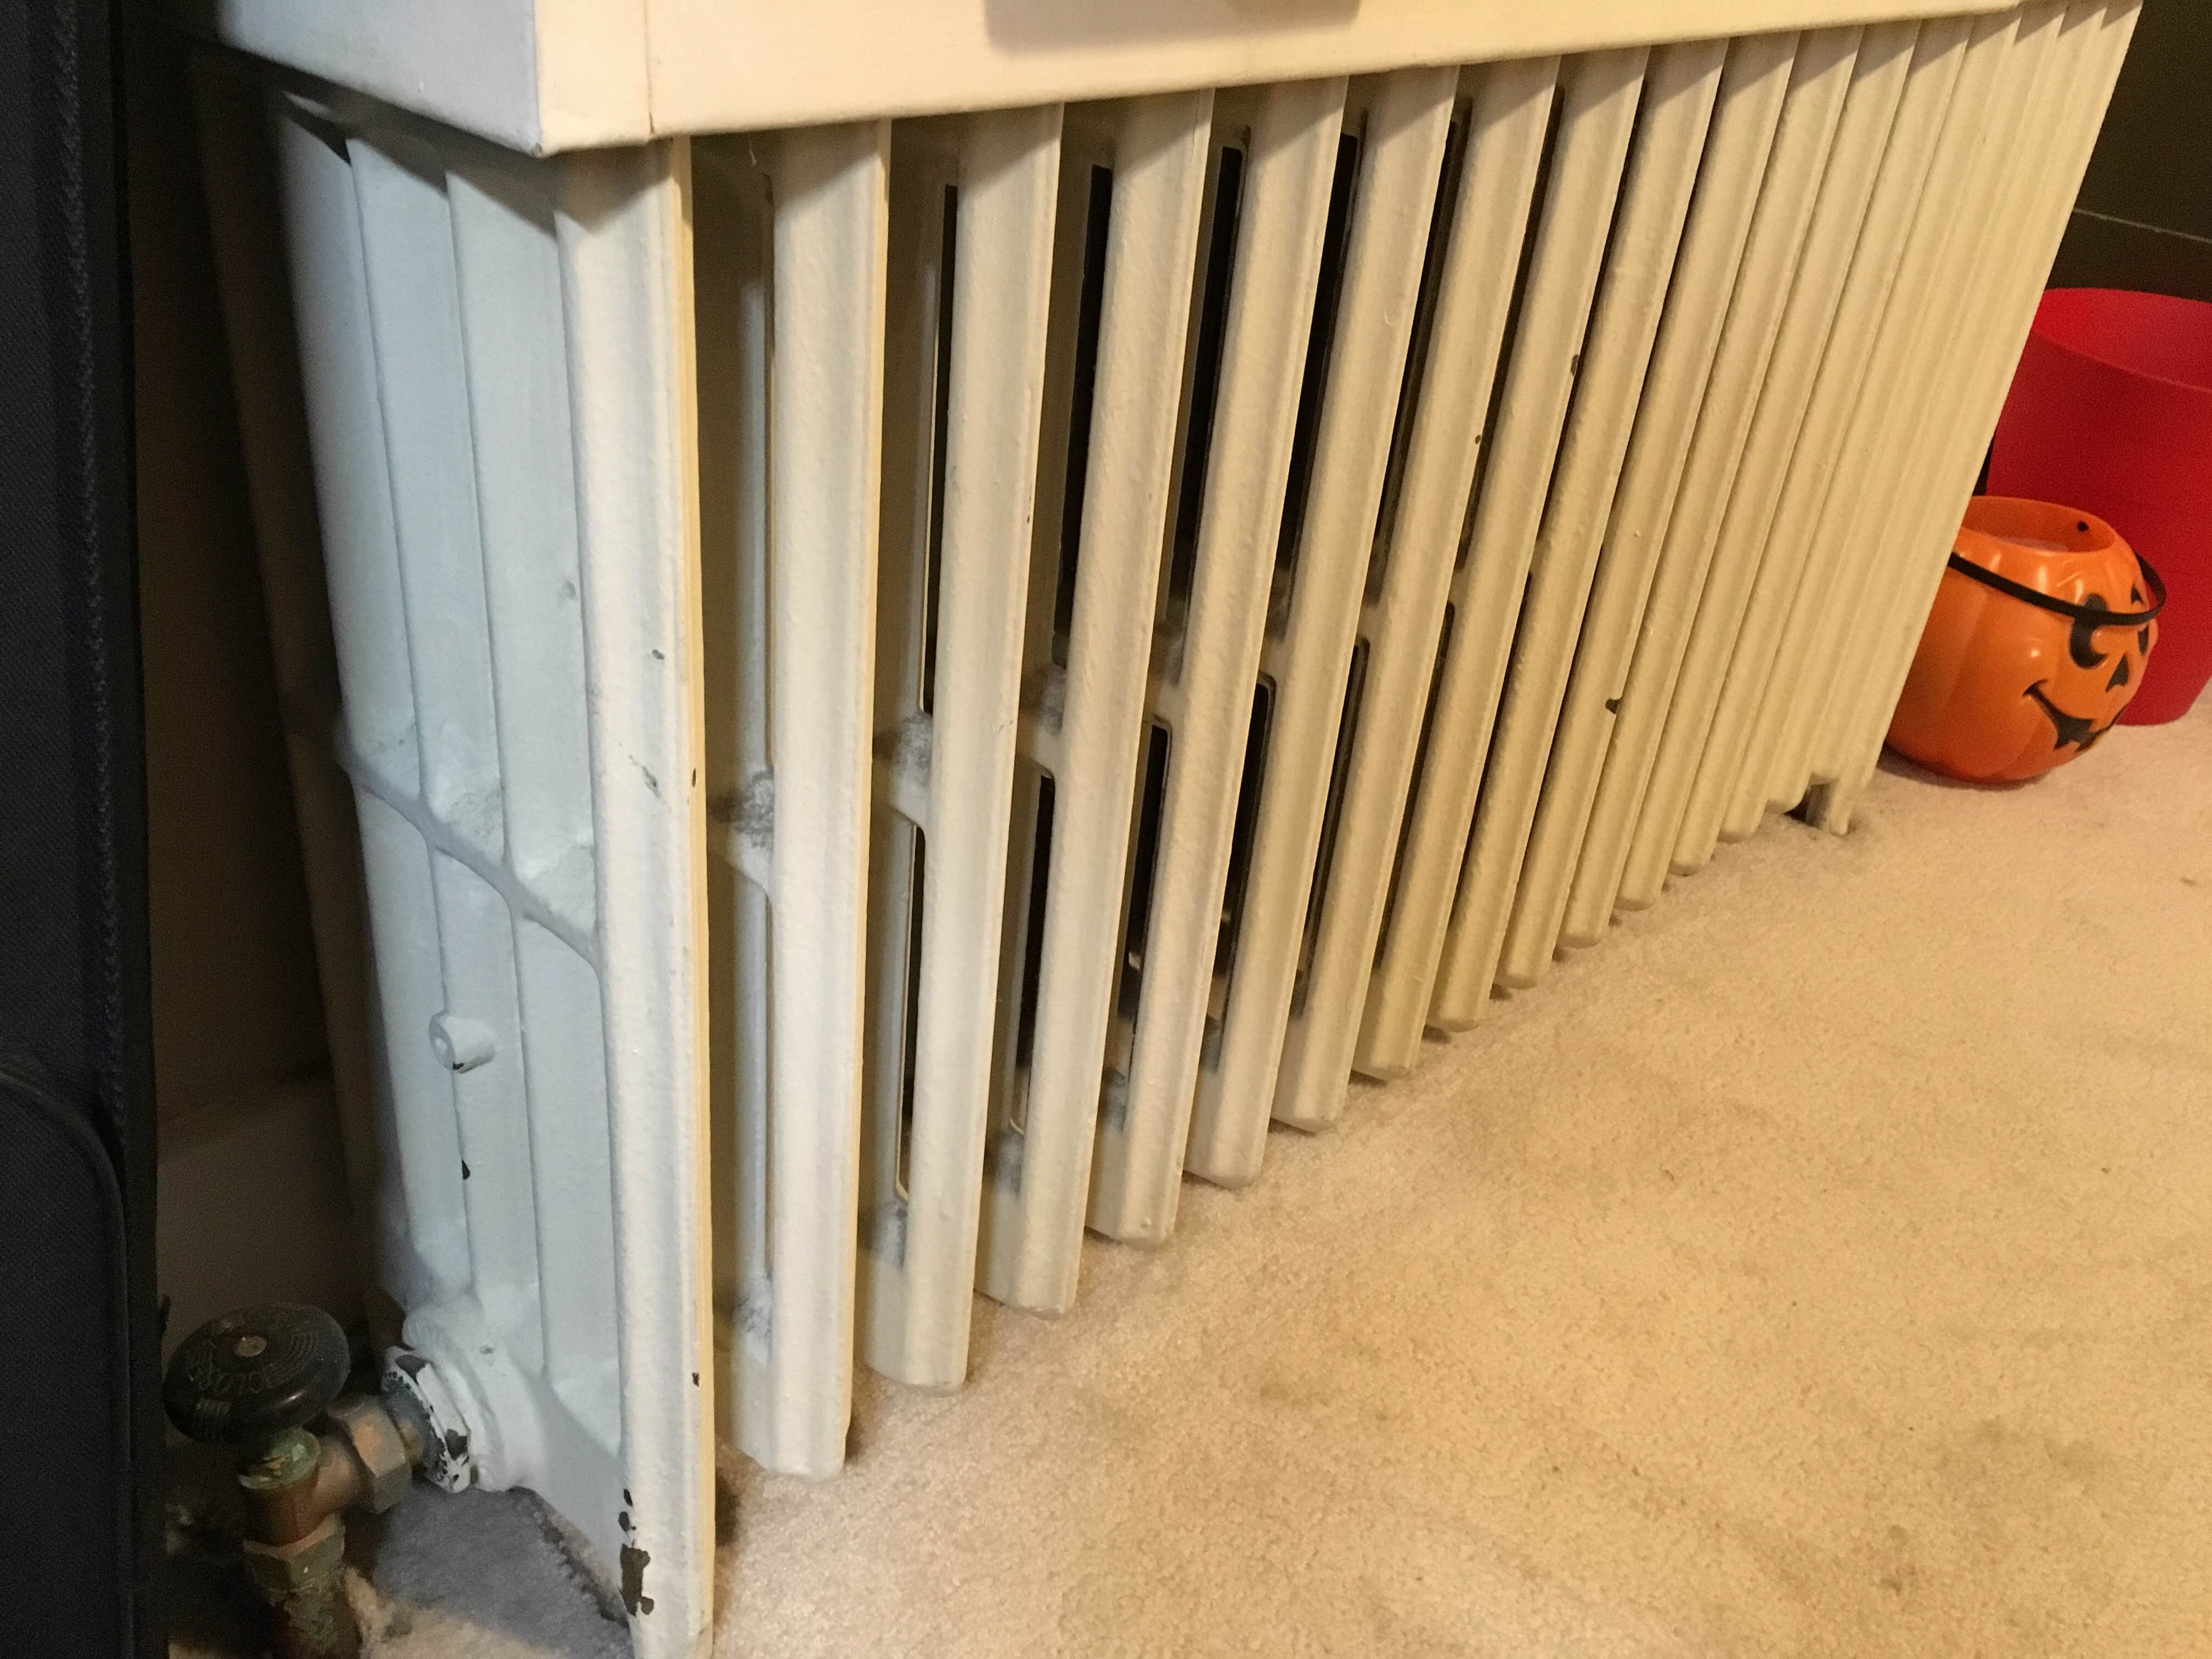
Now, my radiator in real life is made out of five vertical pipes with one cross beam arrayed seventeen times along a bottom pipe that carries the hot water through a system of pipes originating and ending at the boiler in the basement. Here are some pics of it up close:

enter image description here

enter image description here

enter image description here

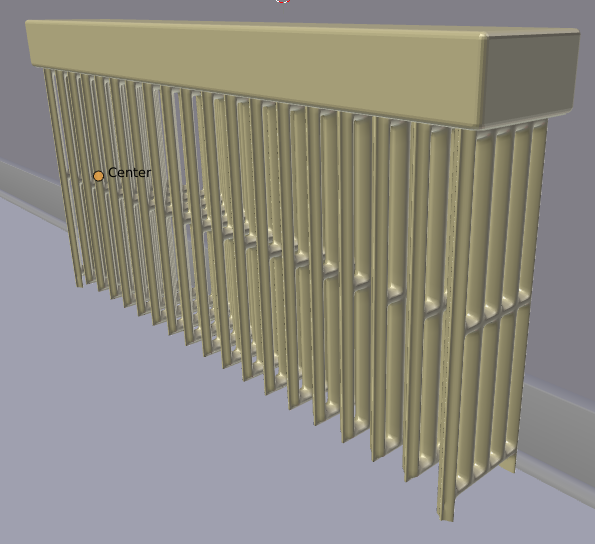
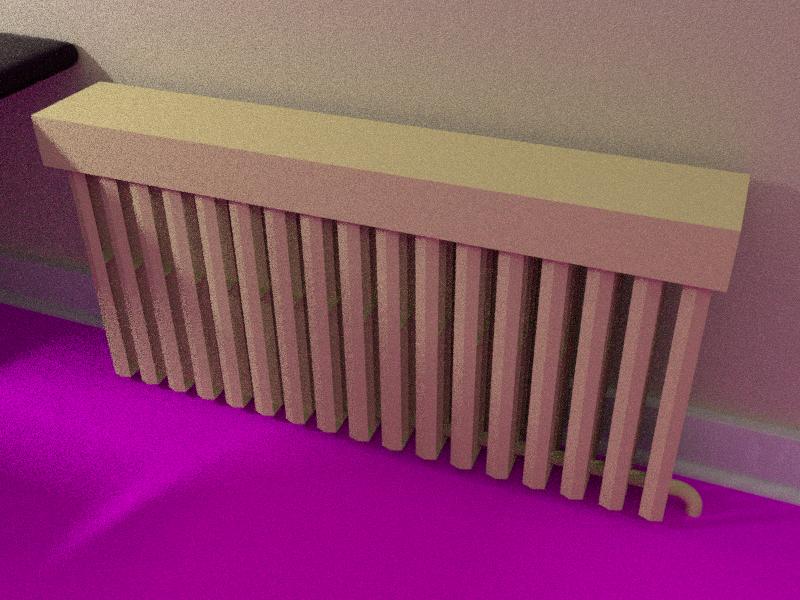
And my recreation of it in my most recent render:

enter image description here

What I did to create my Blender radiator was fairly elementary. I took a cube, added some loop cuts in both directions, and added a Wireframe modifier. This created a skeleton, but not the interior.

While I am aware that I could use the Array modifier here to repeat a wireframed section over and over again, I am wondering if there is a less choppy solution, as the ends would still have to be separate, and then I'd have to combine and remove doubles and blah-di-blah. What I would like is a short and quick way to produce a more photorealistic radiator. It does not need to be high-poly, infact low-poly would be better, because the radiator is not the focus of the image.

Thoughts?

If it wouldn't be too much trouble, a reiteration of the following .blend file with a new radiator in your answer would be great! Note that I could not pack any Image Textures, as the .blend would have been too big for Blend Exchange.

$\endgroup$
2
  • $\begingroup$ Maybe model one panel (using individual origins), and then array it over? And make a pipe with Spin on both ends? EDIT: My bad, didn't see your comment about the array. $\endgroup$
    – Gliderman
    Commented Aug 5, 2016 at 2:06
  • $\begingroup$ Your method seems pretty fast in terms of workflow. My focus is mainly on game assets, so I'd take the road of modeling one well-prepared panel for the sides and create the middle ones from that. Then I'd use the array modifier. But that's just me and my addiction to creating reusable and modifiable game assets. $\endgroup$ Commented Aug 5, 2016 at 4:20

3 Answers 3

1
$\begingroup$

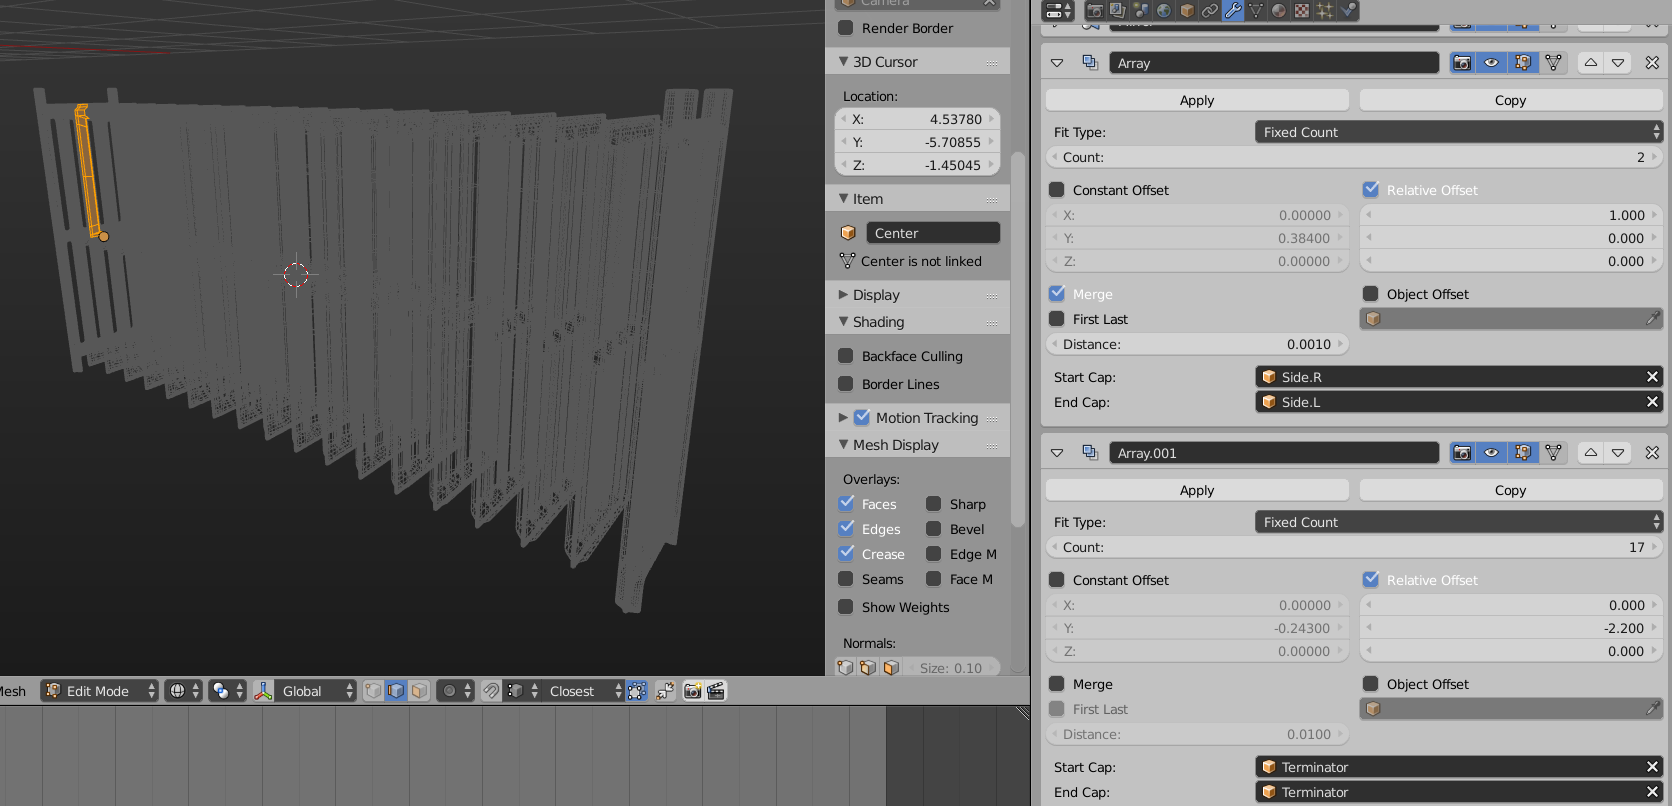
I'd still try to stick with modifiers as long as you can, but set them up in a way so removing doubles and manual fixing should not be necessary at all. Here's the blend with a modified (beware, joke) radiator:

This is the preliminary result:

prelim result

I didn't bother yet to put the pipework in, but to give you my direction, I'd use the skin modifier for the pipes in a separate mesh, or alternatively an extruded curve for that. For the connection nut, the bolt factory addon comes in handy, it ships with Blender.

What I like so much about the modifier system is, that basically you only need this:

basic mesh

Notice in the modifier stack, that I use end caps a lot. This allows to exchange the start and end mesh of the array with a different one. So all I did, was to duplicate the inner mesh that makes the ribs, and slightly modify them. You can see that procedure when you look at the layers 12 and 13 in the blend. Make sure the merge option is set in the array, with a feasible threshold. That way, the mesh is perfectly connected everywhere (hopefully, as it is quite late here now....)

$\endgroup$
1
  • $\begingroup$ Great job! Thanks very much. I love what you did with all the modifiers and the minimal modeling. $\endgroup$
    – Shady Puck
    Commented Aug 10, 2016 at 13:45
3
$\begingroup$

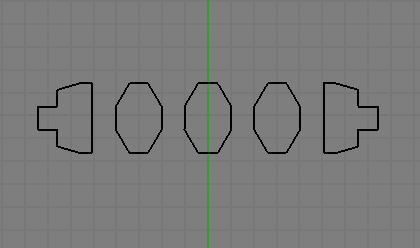
First I created this profile shape and extruded it to create the vertical pipes (CTRL + E) in Edit Mode.

Profile

Then added some loop cuts and joined them for the top, middle and bottom cross sections. Added a Subserf Modifier and some additional loop cuts to clean up some edges.

Then added an Array Modifier above the Subserf Modifier and applied it.

Then extruded the feet on the two ends and modeled the pipe to the floor.

Radiater

enter image description here

$\endgroup$
1
$\begingroup$

Okay, I pulled off what I think you were going for. It is a bit long, but here's the final result (125 samples at 800x600):

Final image

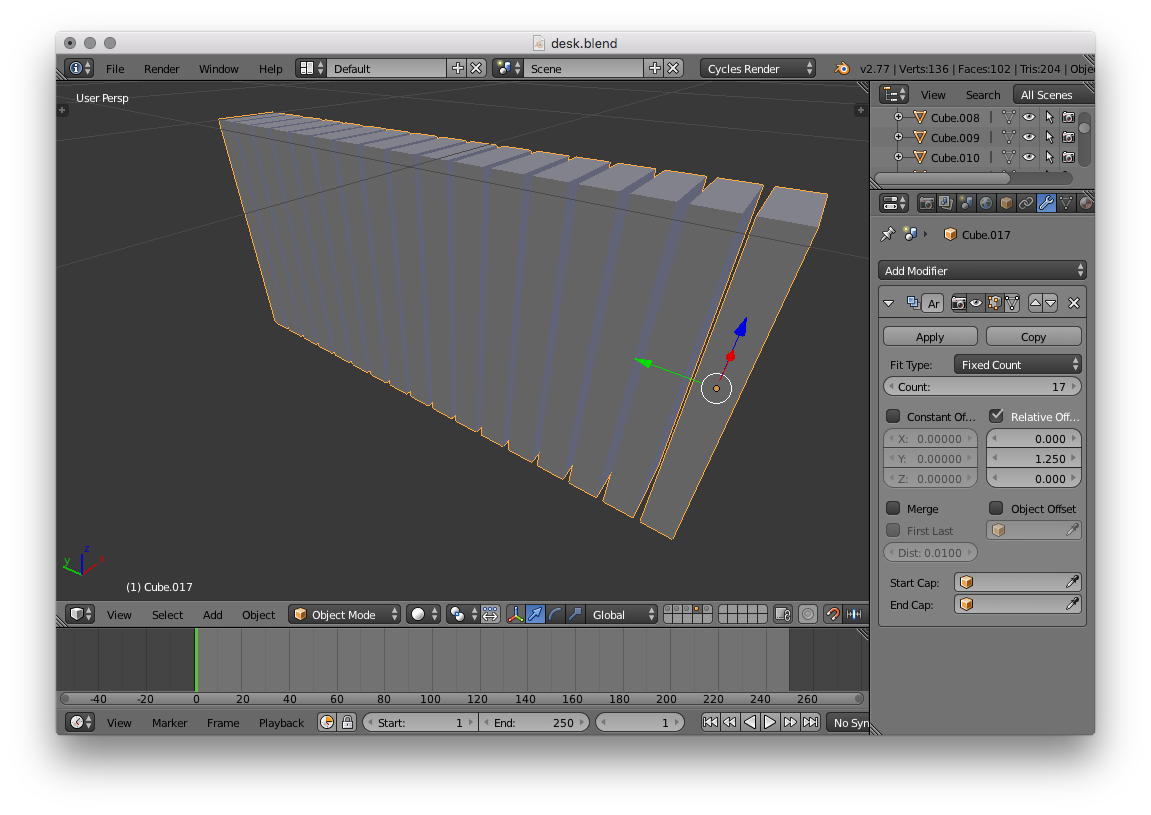
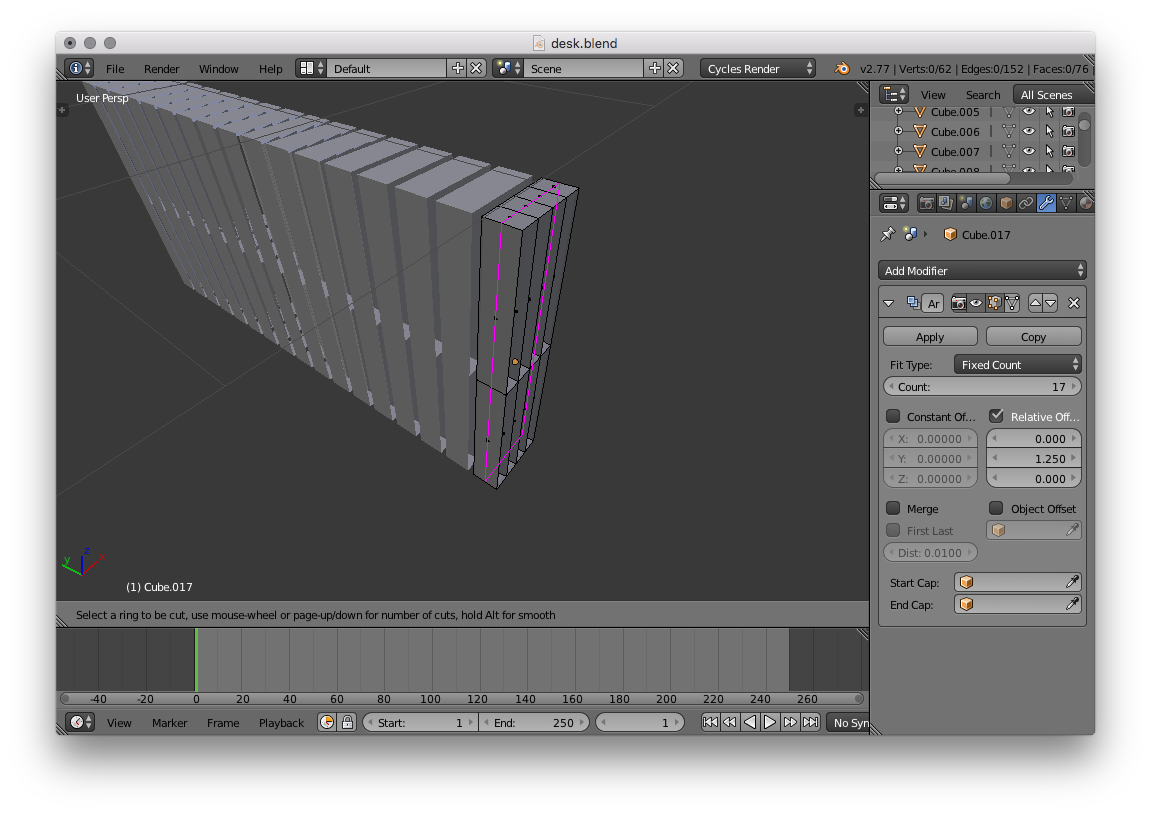
First I made a cube about the size of each panel of the radiator, and made an array (using the Array modifier) of 17 of them:

Array

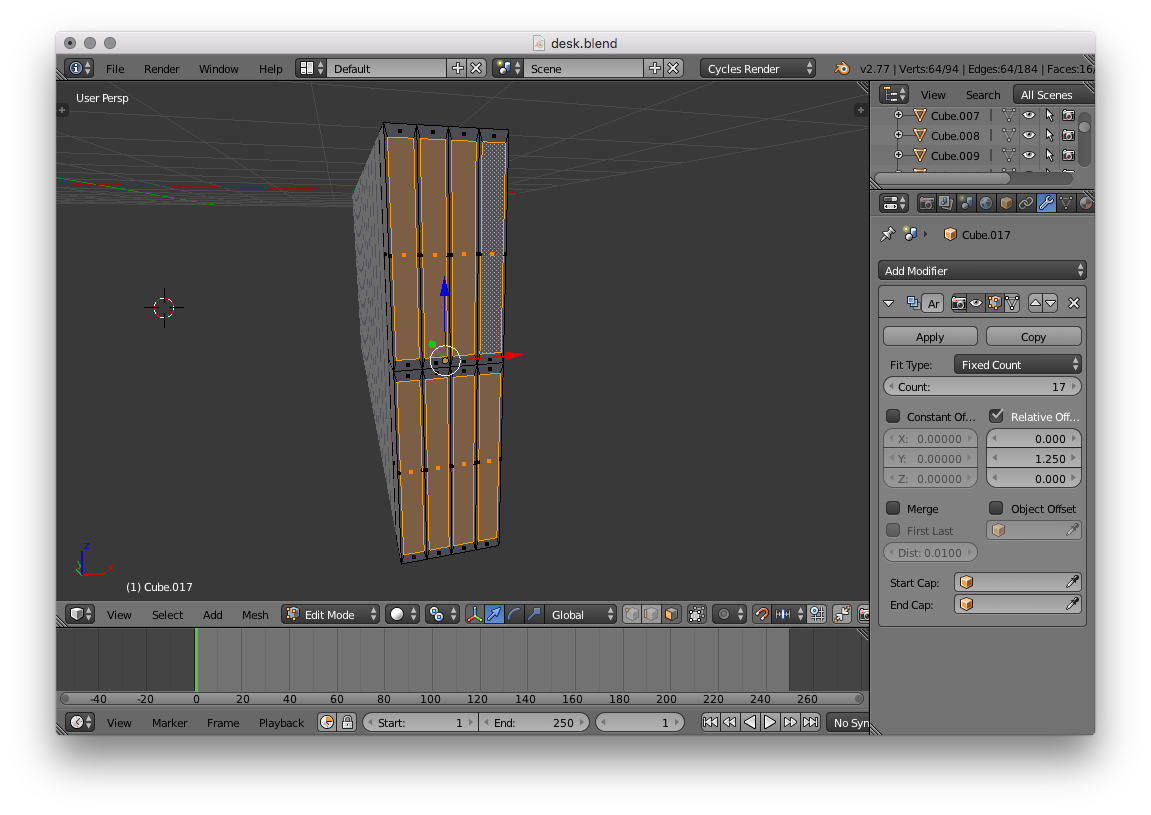
Next was Inset, using individual origins (keep in mind that edges of the Inset while doing individual origins cannot be touching, so Inset the faces in two batches):

Inset

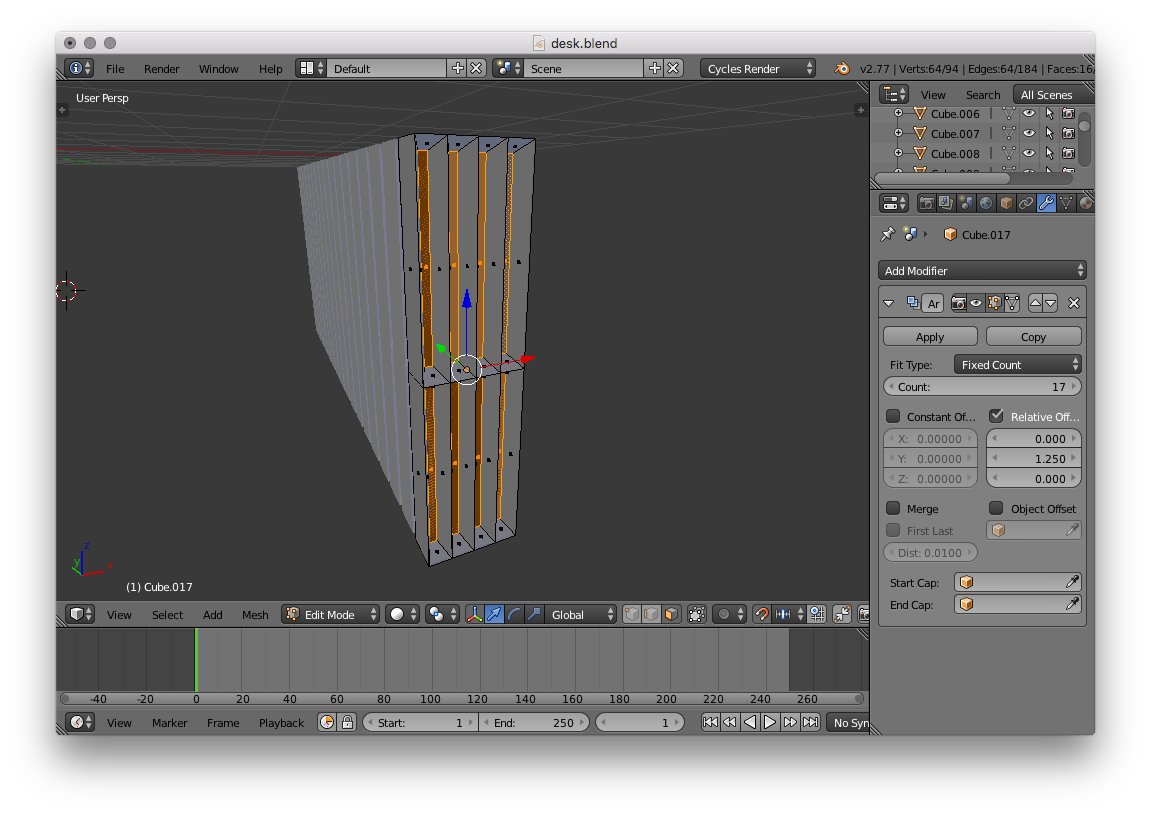
Scale them on the X in a little, and then switch to Median for the origins, and scale to 0 on the Y:

Scale

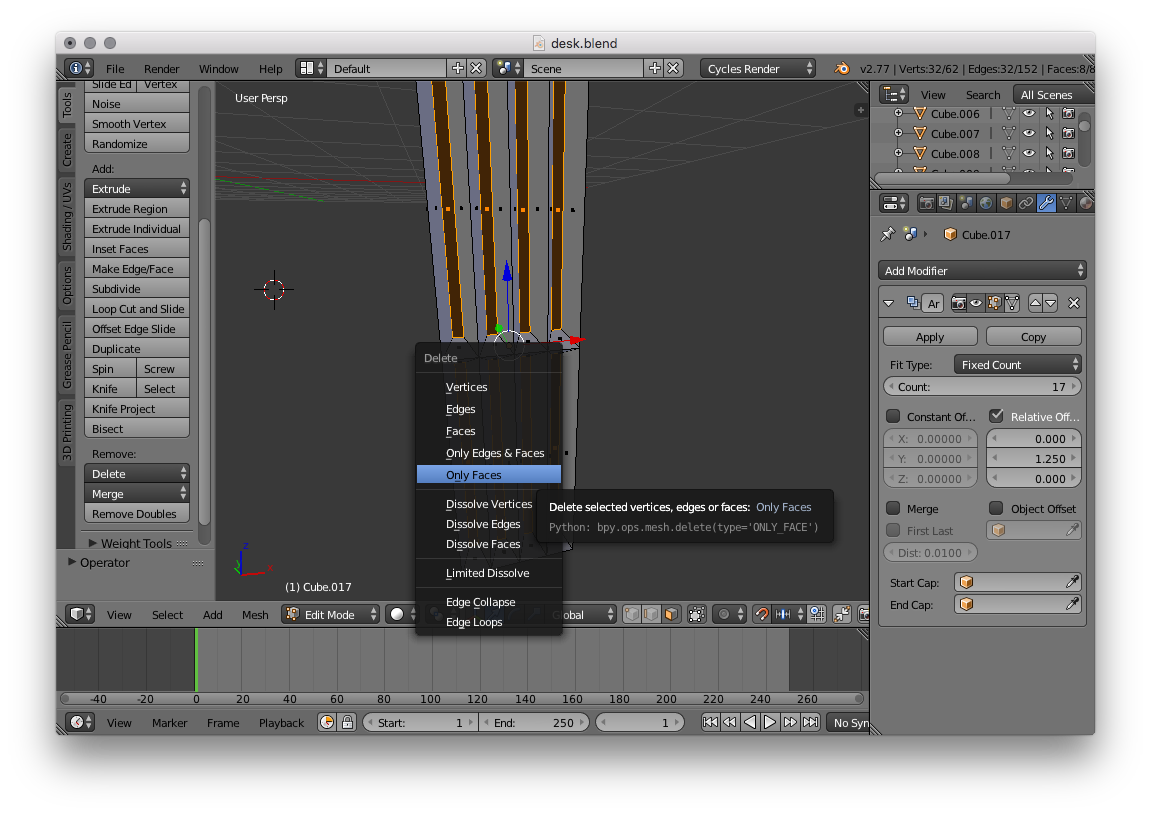
Remove doubles (no image for that). Delete only the faces:

Delete faces

Loop cut around the edge (Ctrl + R), and scale on the X a little to bump it out:

Loop cut

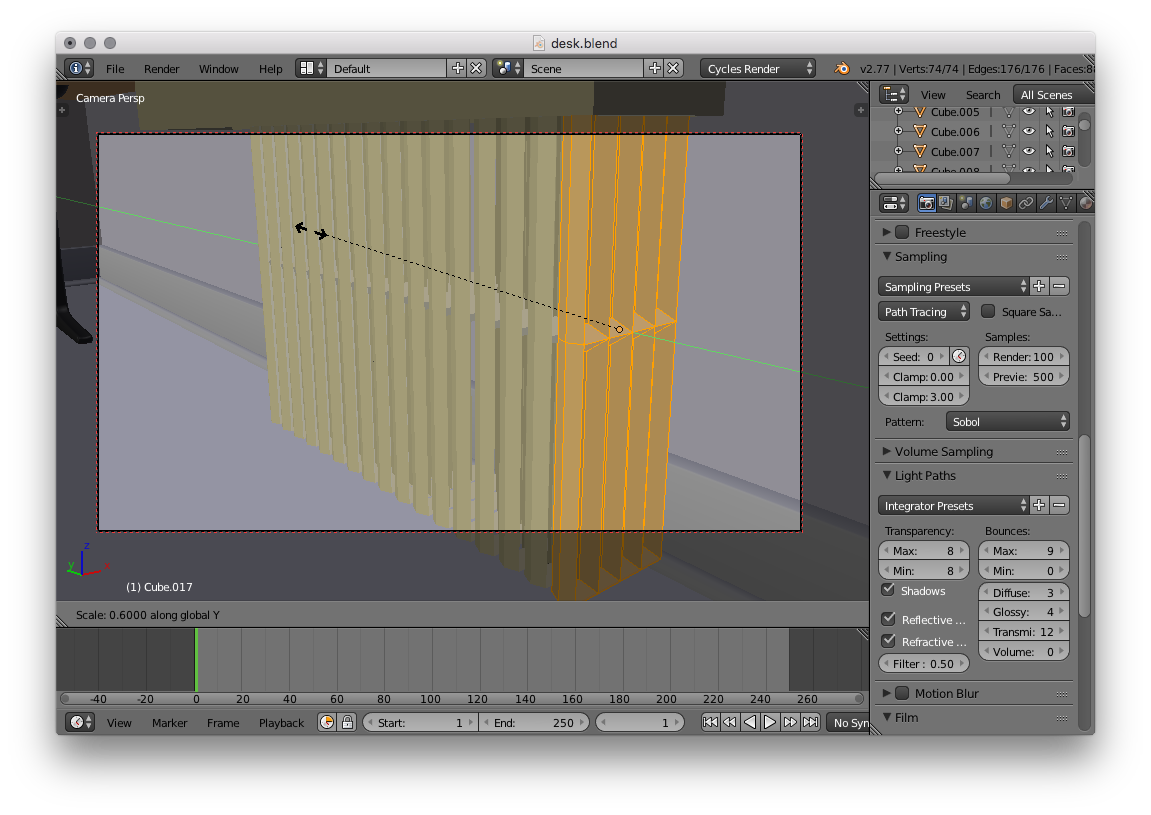
Here I set the material to your Heater material, and then scaled down on the Y a little. Adjust the array modifier so that the scale lines up with the length of the heater:

Scale

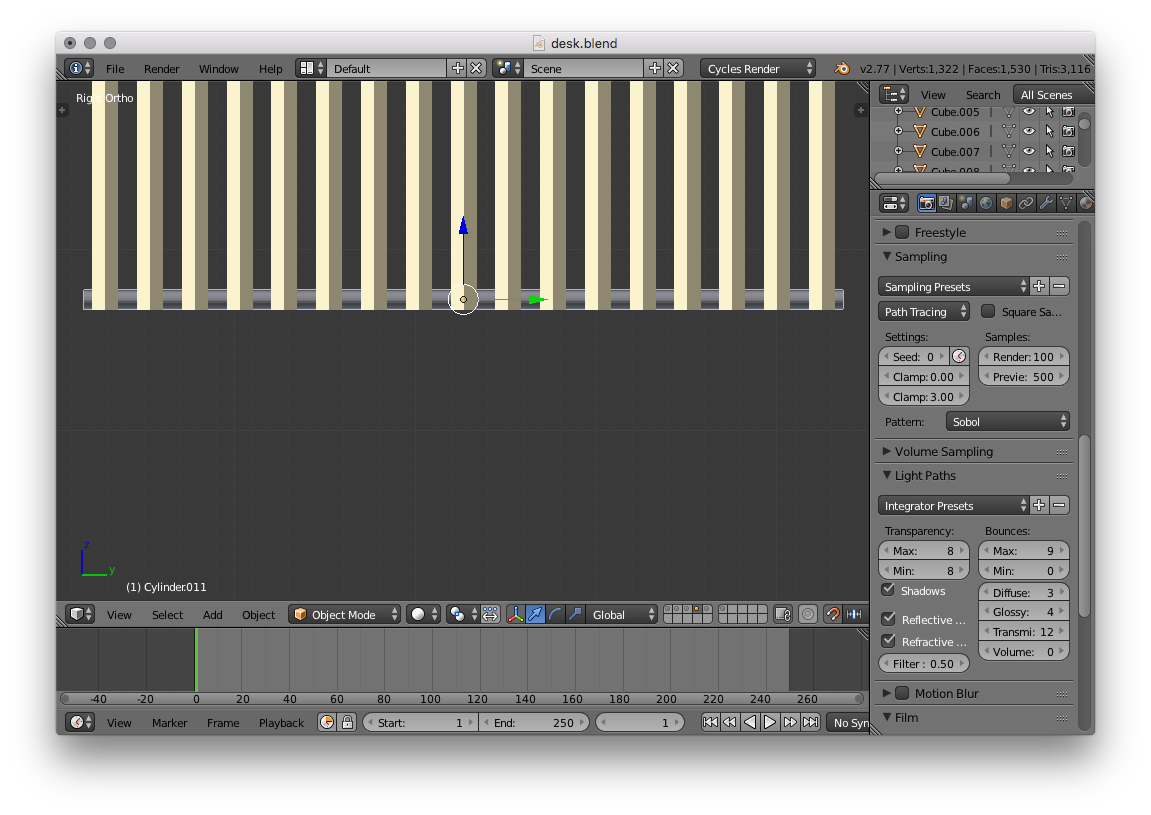
Add a cylinder for the pipe, scale and position so that it lines up roughly where it should be, and set the material:

Positioning the pipe

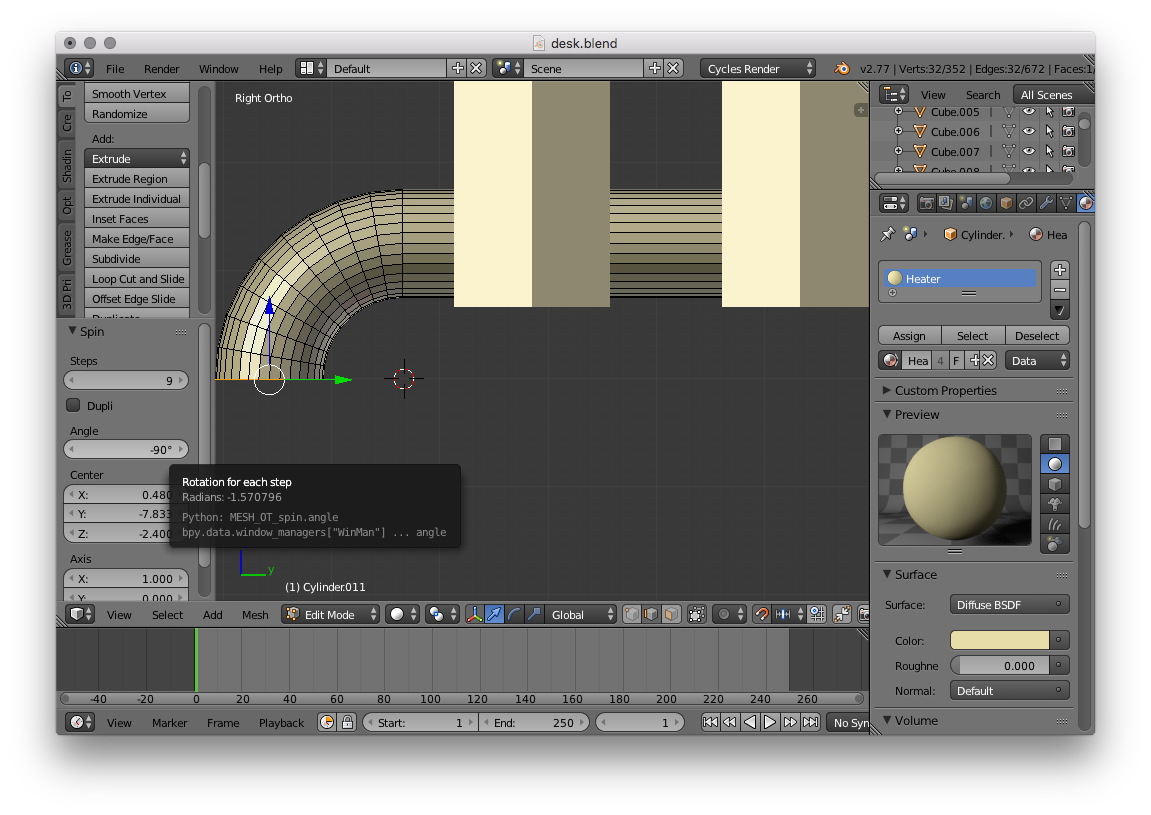
Move the 3D cursor so that it is right below one of the ends of the pipe, then spin on one end (then move to the other side, set the cursor's position, and spin there). I extended the end a bit just to make sure it went all the way though the floor:

Spin

Shade the pipe smooth, and confirm the positioning:

Positioning

And of course the .blend, I moved your original radiator to another layer (layer 6), and put my radiator in layer 4. All of this is about 2000 vertices I believe. Enjoy!

$\endgroup$

You must log in to answer this question.

Not the answer you're looking for? Browse other questions tagged .