You should add some manual weighting:
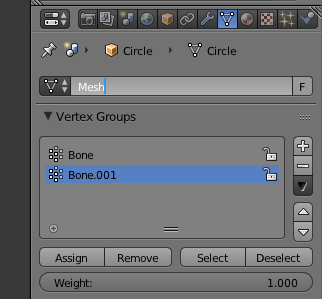
Your procedure has created two new vertex groups: one named "bone", another named "bone.001".
Every vertex of your model will have a property called "weight" (range 0.0 - 1.0) for every vertex group associated to every bone of the rig.
If a vertex is weighted 1.0 to bone and 0.0 to bone.001, it moves along with the first bone and is not influenced by the movemets of bone.001.
If the two weights are both 0.5, the vertex will be moved by both bones, in a blended way.
There are many ways to assign the weight to a vertex, i.e.you can select a group of vertex in edit mode, then assign them to a vertex group specifiing the desired weight. Another popular but a little bit tricky method is to use weight paint mode.
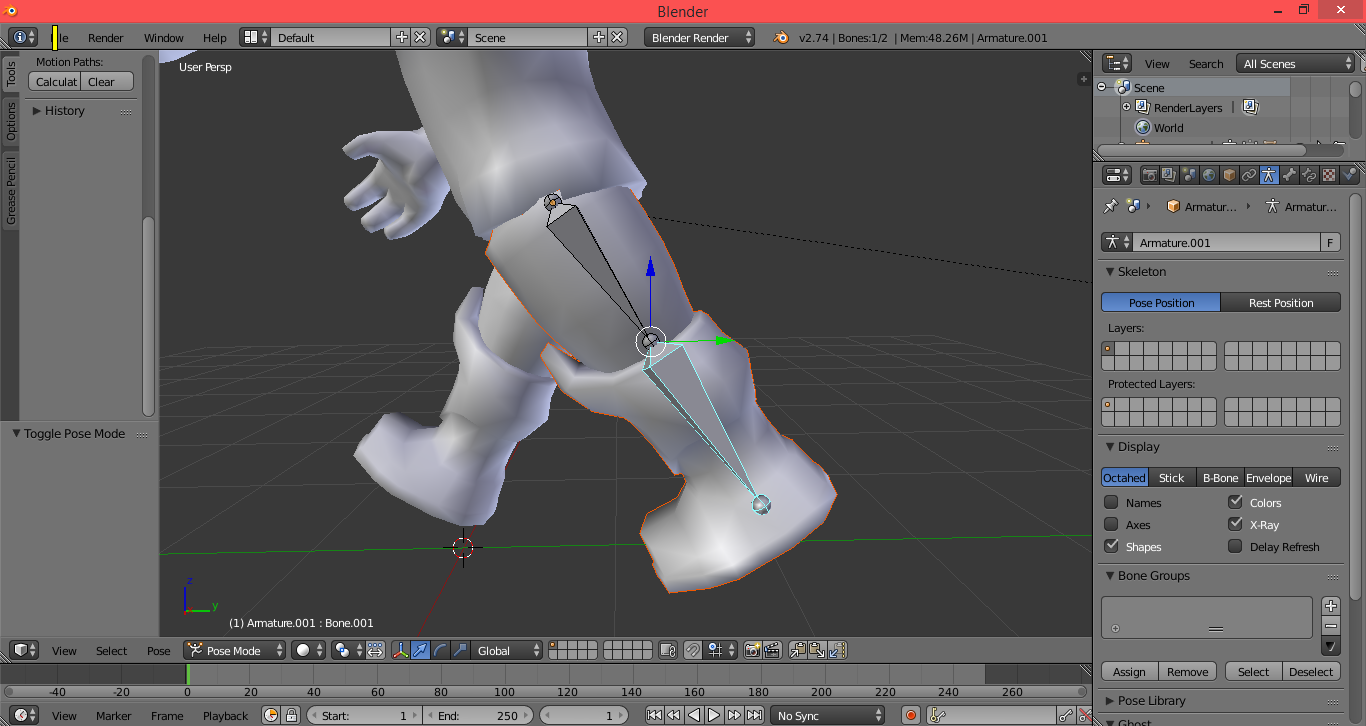
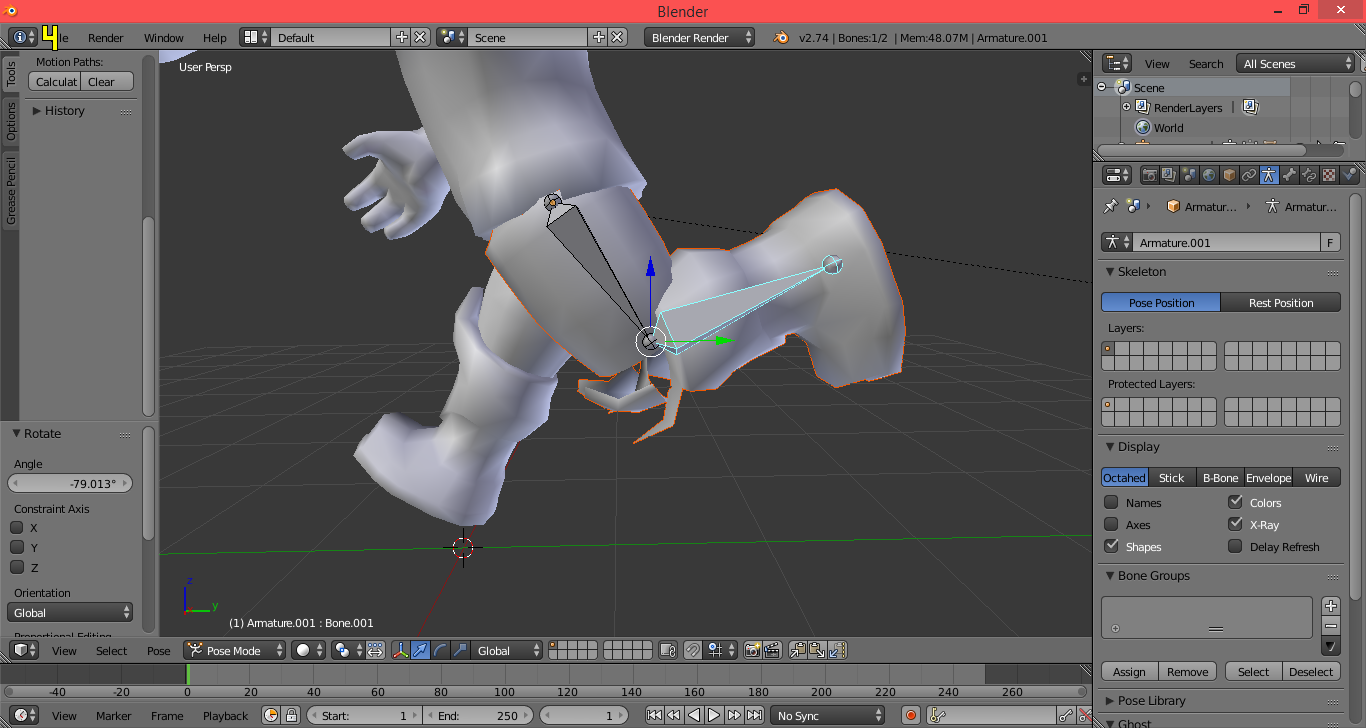
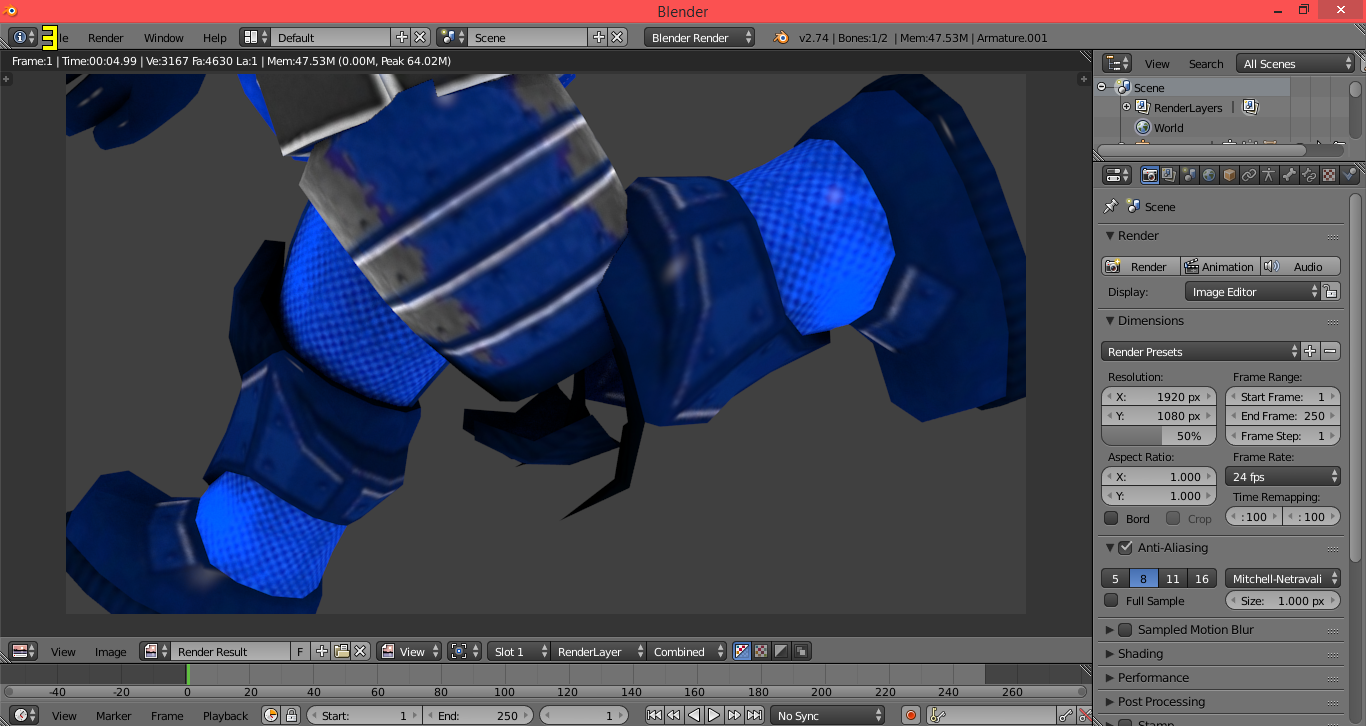
Start your manual trimming of weights by assigning the vertex of that kind of "finger" coming out fron the knee, to both bones, not only one as it seems from the picture. Try to have all vertex with a total sum of 1.0 weight (1.0 - 0.0, 0.2-0.8, 0.5-0.5, etc .....)
Search for more info about "skinning".
