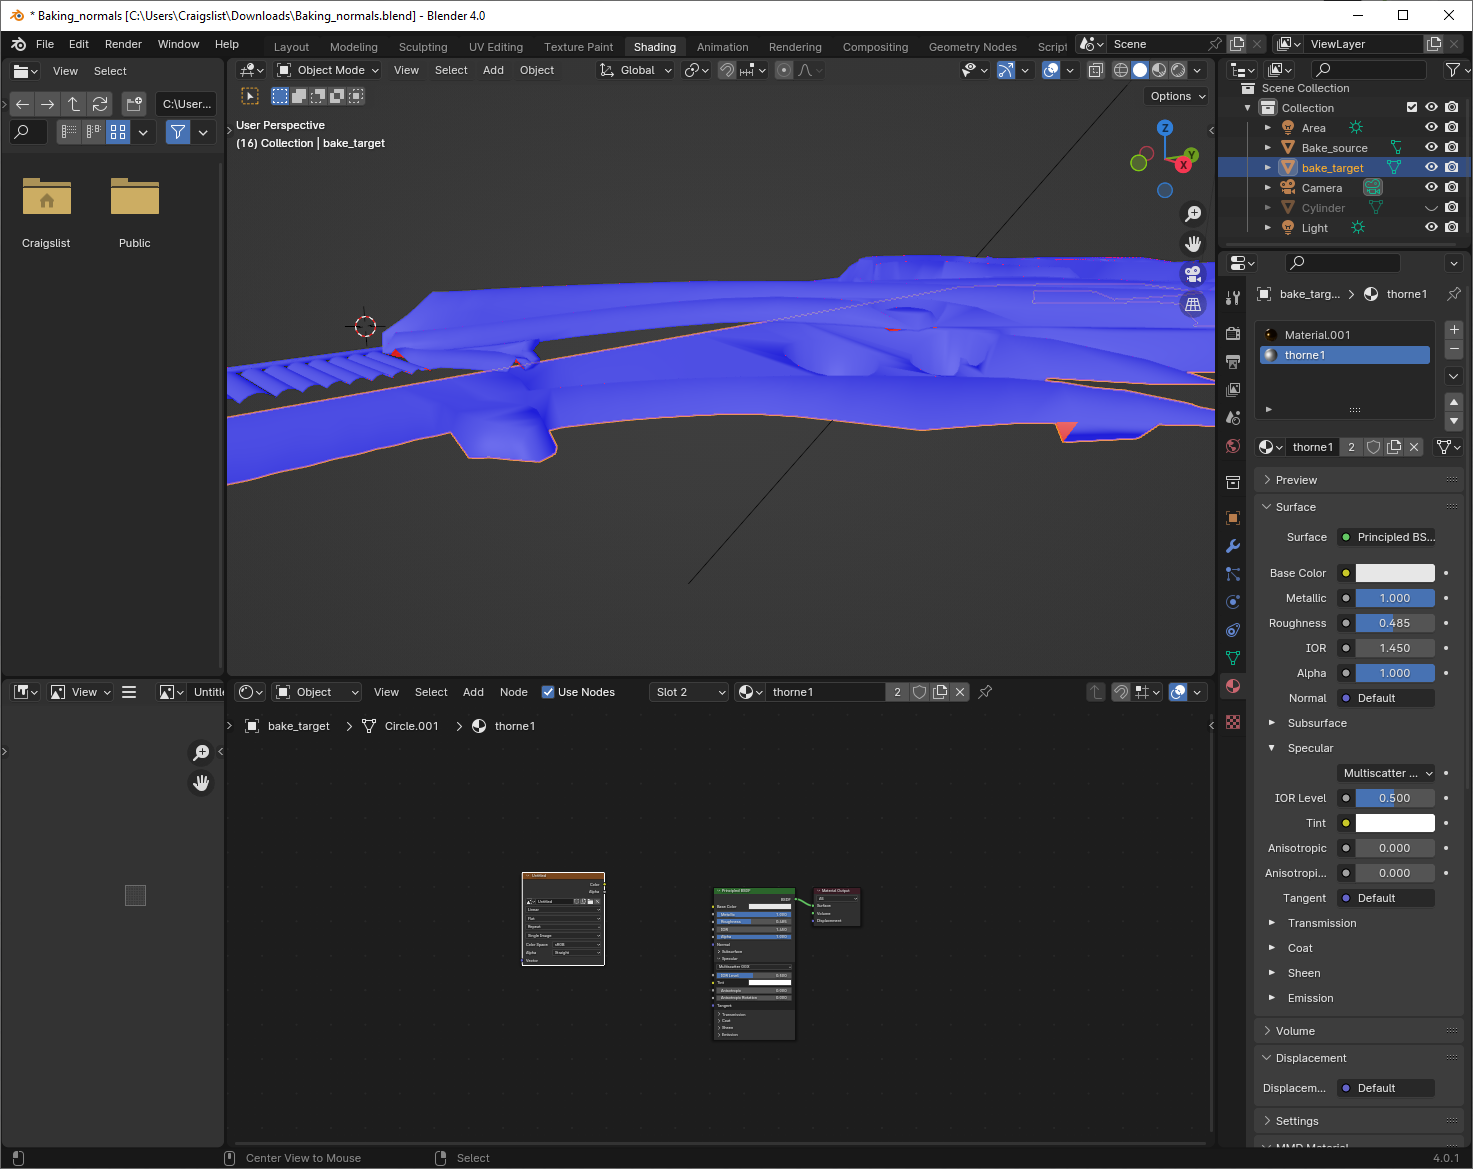
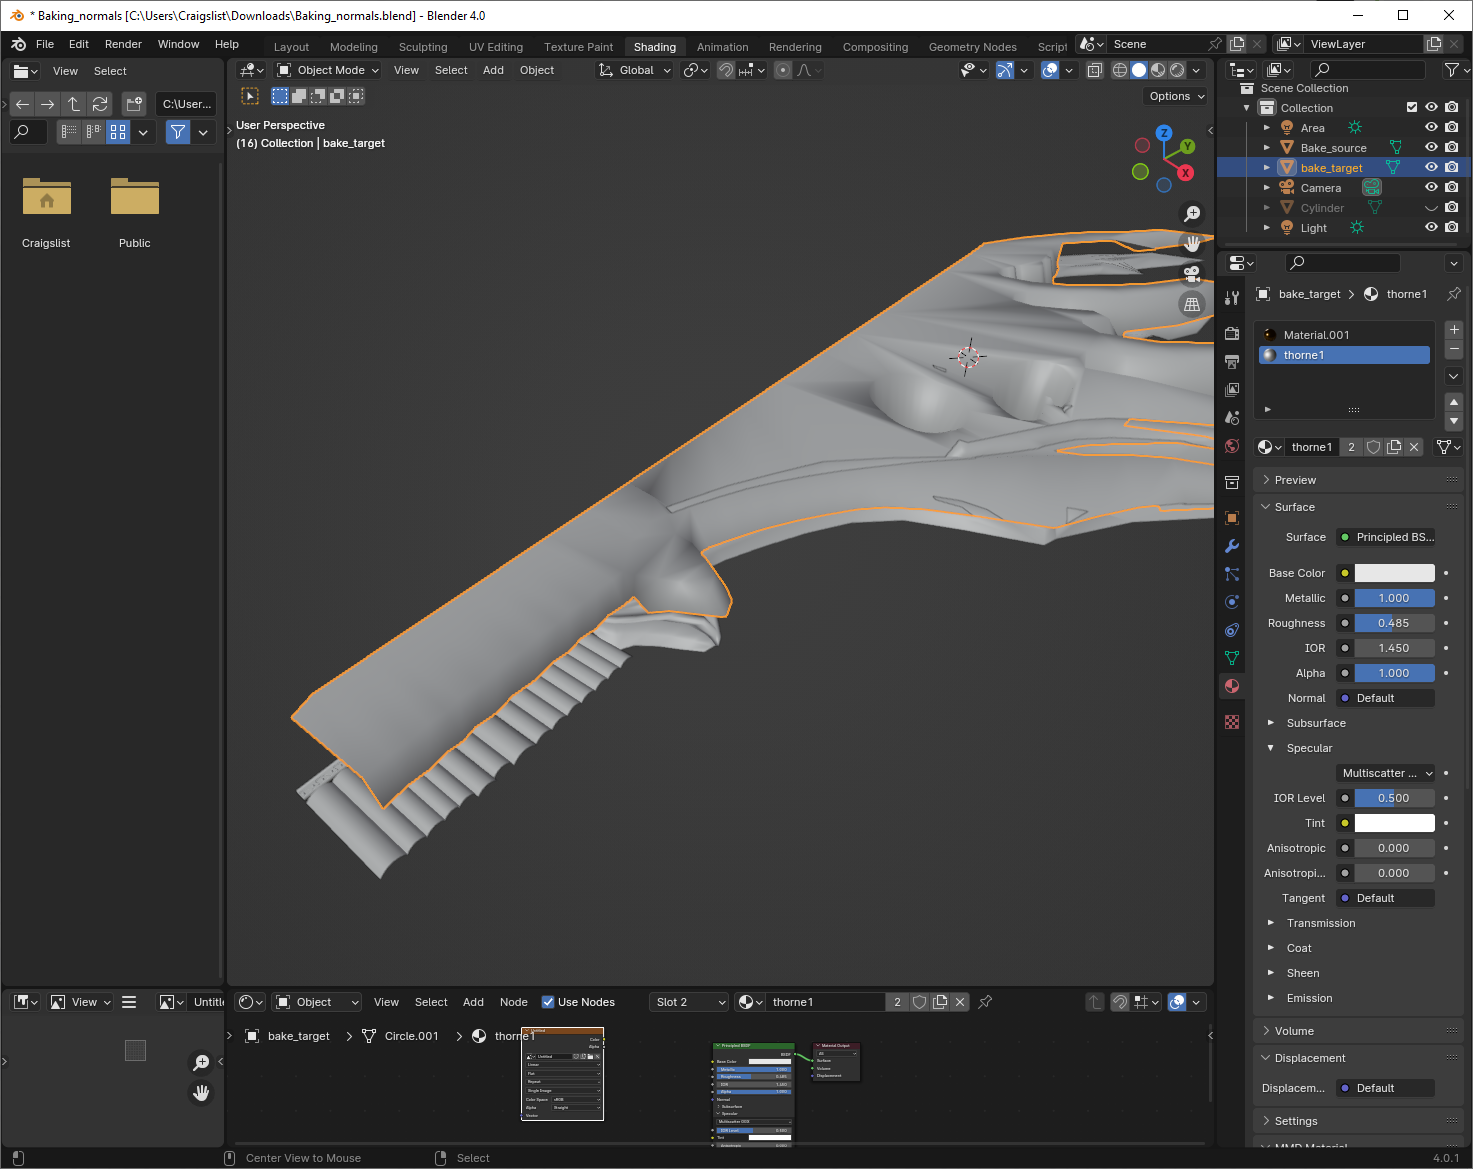
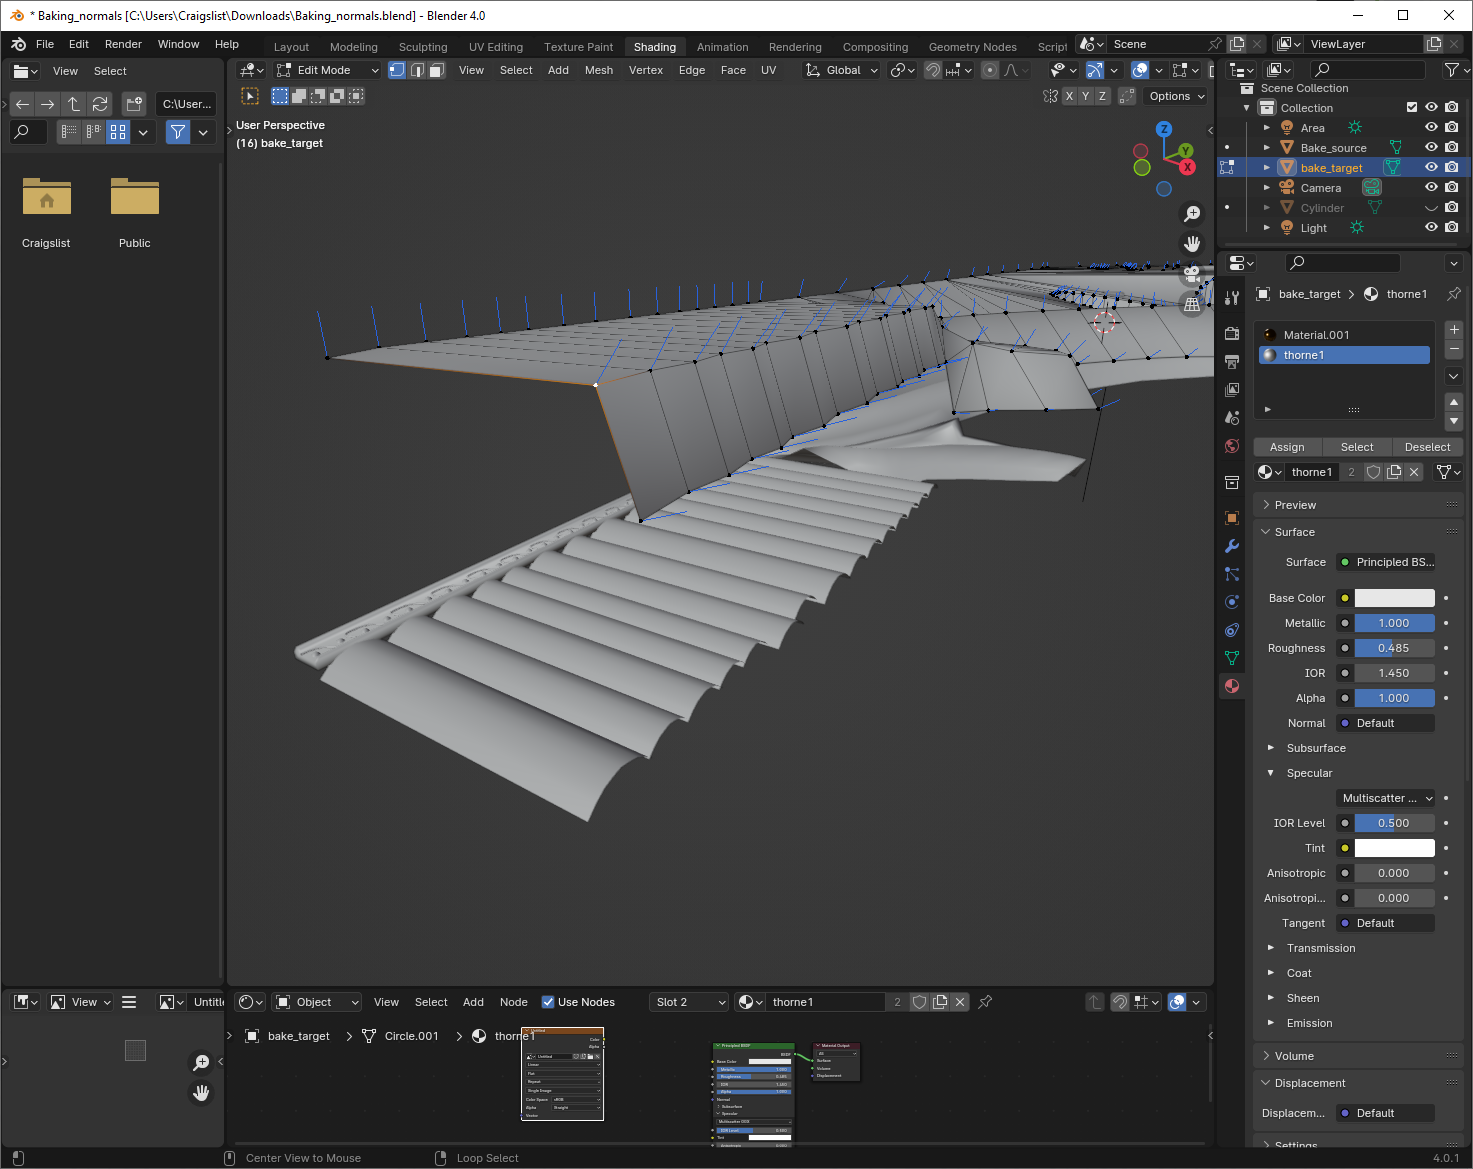
I am trying to get a Normal Texture baked from the Mesh you're seeing. It's already UV unwrapped, I've added the Image Texture Node for Baking and I hit bake. The result however is a completely blue texture. Interestingly though, when I plug a Texture Node to displacement, I'm getting a result. However, I'm only interested in having the Mesh structure turned into a Normal Texture without any combinations with texture nodes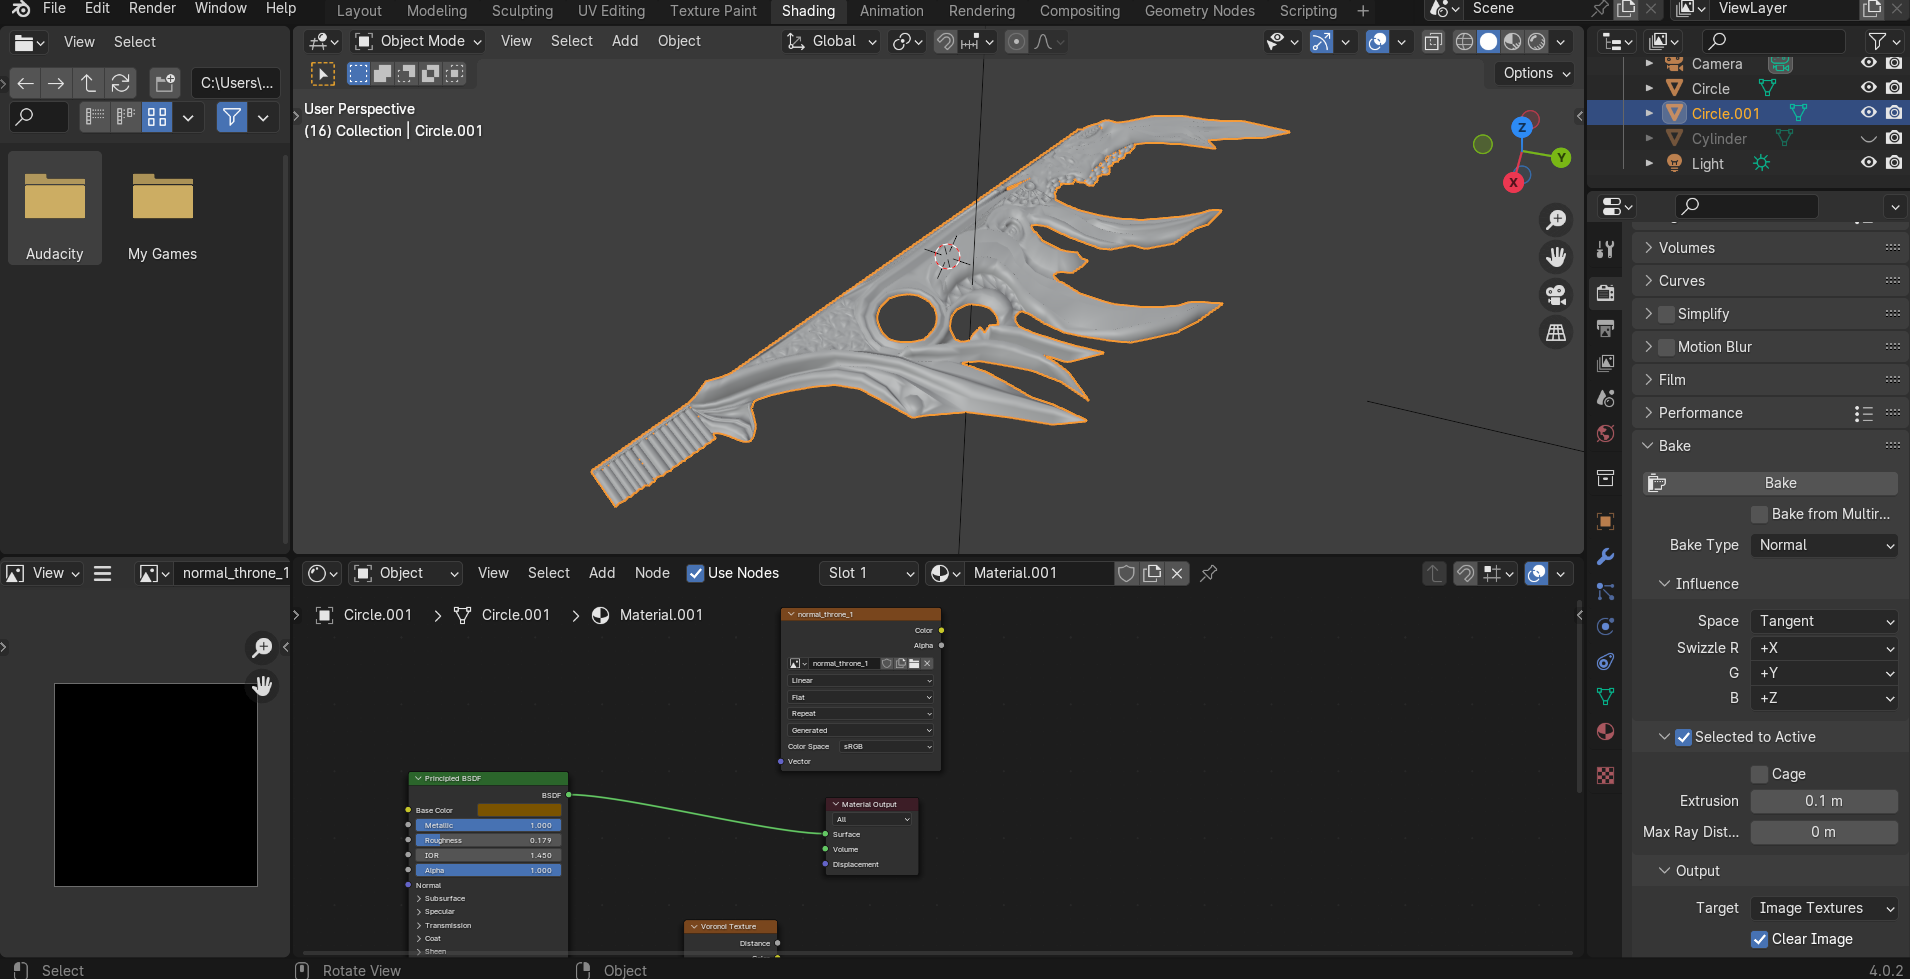 , which in my case doesn't provide me anything. What is the issue?
-
$\begingroup$ You're baking selected to active. This is for baking normals from a high poly object to a low poly object. What are you baking from and what are you baking to? It looks to me like you're not really baking from anything, in which case, yeah, the normals of this mesh are its normals, tangent space 0,0,1, blue. $\endgroup$– NathanCommented Mar 10 at 16:37
-
$\begingroup$ Alright, now I've unchecked Selected to Active. I created and outline of my detailed Mesh, which has no decoration, simply a formed, flat structure. Now I baked the detailed mesh to the flat mesh and the result is almost the same except, I have the mesh' structure outline blue and the rest is transparent. $\endgroup$– AggriseCommented Mar 10 at 16:59
-
$\begingroup$ I think you'd be best off adding a lot more details to the question. At a minimum, we need to see the bake target and the bake source, any shader nodes assigned to those, and the bake settings. The best way to provide all of this info is by providing a file. $\endgroup$– NathanCommented Mar 10 at 17:31
-
$\begingroup$ I hope it works (it's my first time sharing a file) <img src="https://blend-exchange.com/embedImage.png?bid=9nzLmv2J" /> $\endgroup$– AggriseCommented Mar 10 at 18:08
1 Answer
When I open the file, I see that the high and low poly are not in the same location. They need to be: rays will be shot from the surface of the low poly (active) to the high poly (selected). Even after clearing transforms, they're not in a proper orientation:
Rays will be shot in the direction opposite the low poly normals. I've enabled face orientation so we can see which direction those are going. As it stands, rays shot from the low poly won't hit anything.
We can reposition the low poly, but right away I see that we'll have problems. This is a position where we might have reasonable agreement, even though the low poly strongly disagrees with the high poly:
We have intersection, but maybe we could work with that. But look at the low poly normals:
The ray will be shot opposite the low poly normals. I'm displaying vertex normals, and we can see that a lot of these normals aren't going to hit anything.
The amount of disagreement between the high and low poly here is unworkable. You need a different low poly.
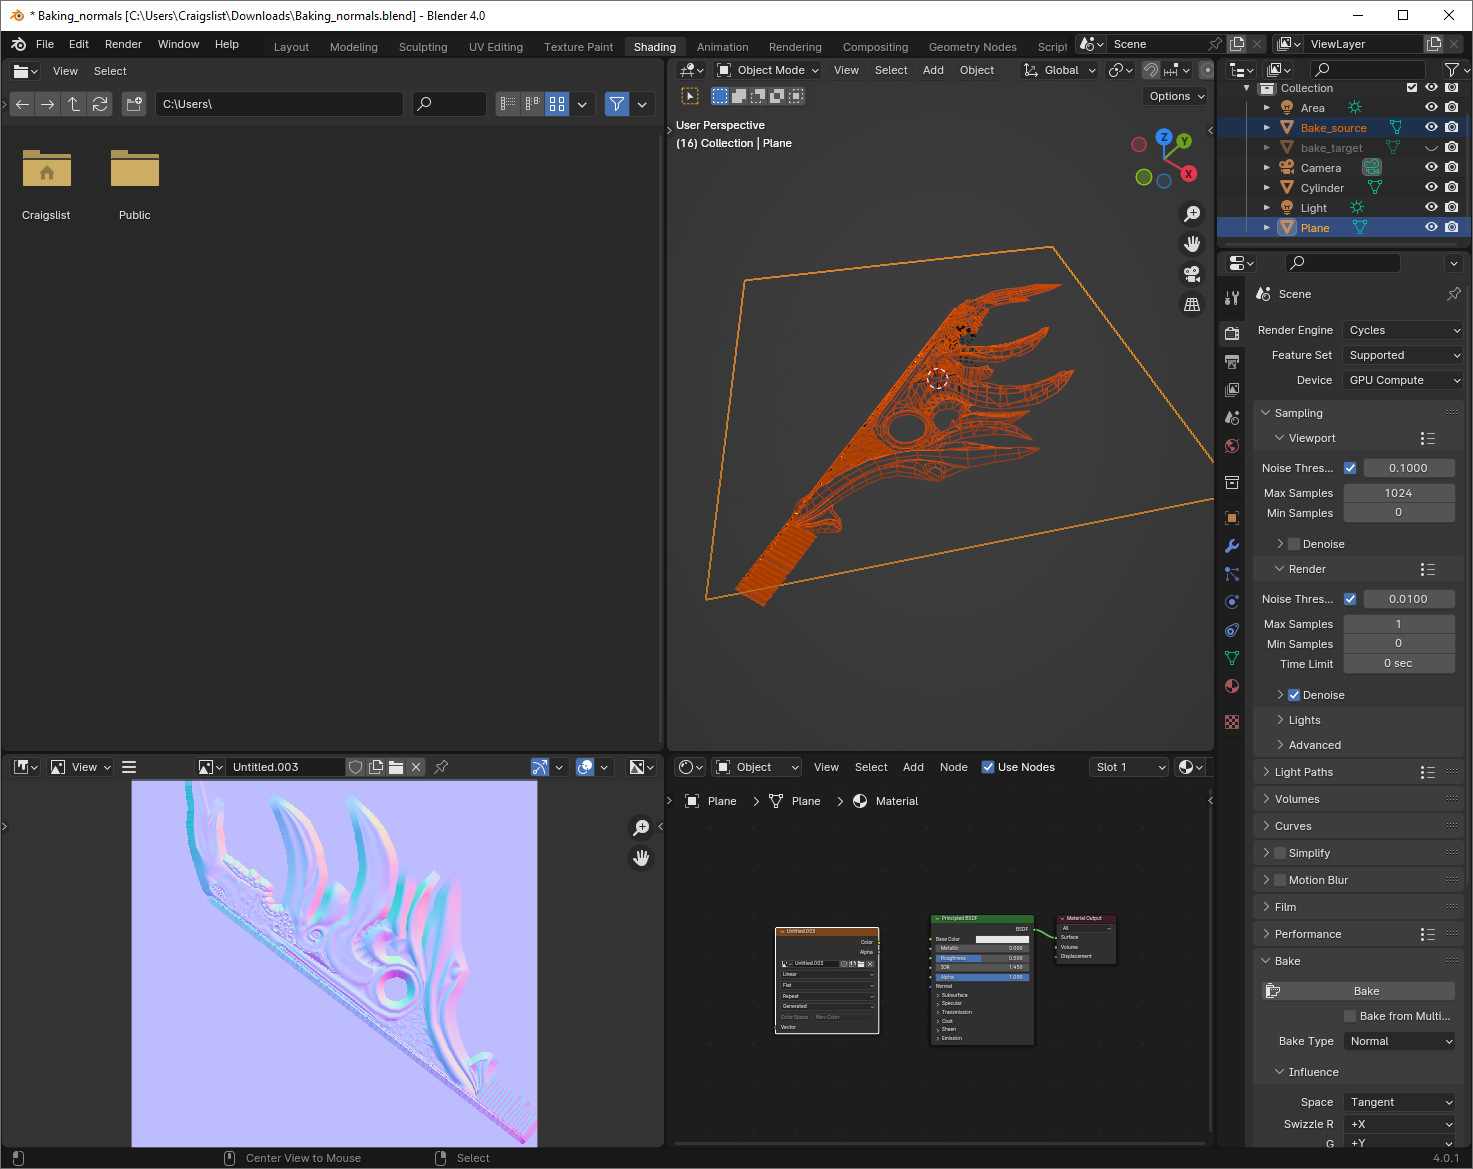
But just to prove that we could bake it, if we had a suitable low poly, we'll bake to a plane:
Yup, that's a tangent space normal map.
Note that although you didn't even get that far, you need to be using a non-color image texture (rather than sRGB) as your bake target.
-
1$\begingroup$ Thank you, it worked! Now I understand, how to use it more efficiently in the future. $\endgroup$– AggriseCommented Mar 10 at 19:38


