Normals maps (and/or bump maps) are used to 'fake' surface level height information. The rendering engine uses these maps to draw shadows (in the appropriate places, depending on the lighting), to suggest that there are differences in the height on the surface on a model, without introducing additional geometry.
Normals maps are excellent because they add lots of details to your models, with almost no impact to rendering times. However, because there is no geometry being displaced, normal maps are limited in how much 'height' they can 'fake' on the surface of an object before it looks unrealistic.
Displacement maps are used to make changes to the actual base mesh of your object. Vertices will be moved 'up' or 'down' (relative to the surface of the object), based on the white and black areas of a displacement map.
Note: At time of writing, Displacement is only availble in Cycles (not Eevee)
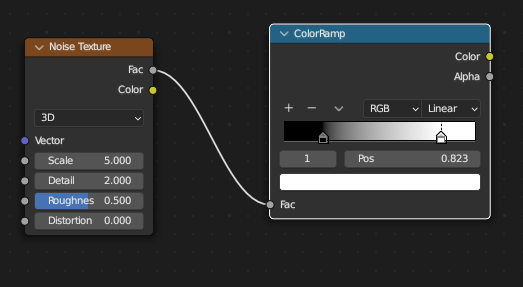
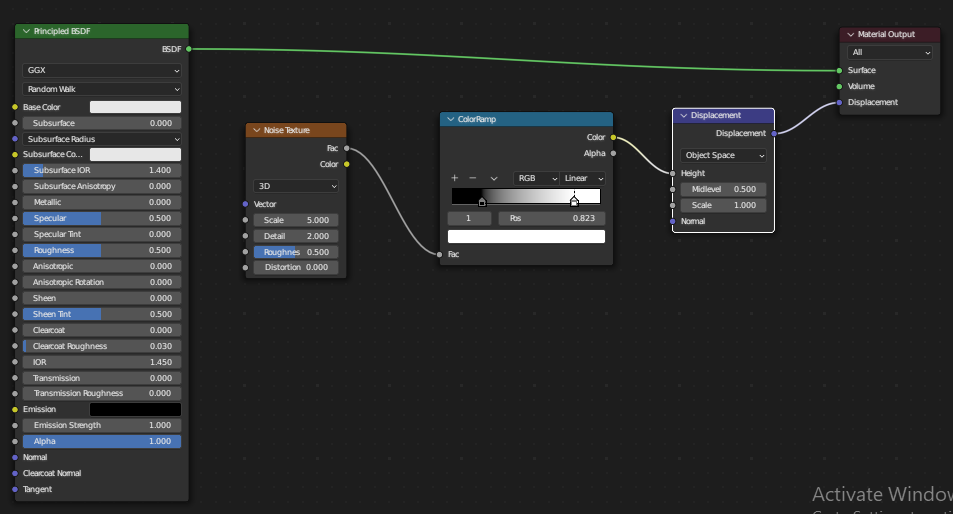
I don't have access to your normal map, so instead I will use a noise texture for demonstration.


Note: Bump maps contain height information and are black and white. Normal maps contain vector information and are purple. When plugged into the appropriate nodes, both produce a (purple) vector output that can be used with Normal inputs on shaders (such as the Principled BSDF).
If I plug my noise texture into a Vector > Bump node, it will behave very similarly to a normal map plugged into a Vector > Normal Map node.
As described above, the normal/bump node will draw shadows to suggest differences in height on the surface of the object. However it will have no effect on the actual geometry:

Solid view:

Rendered view:

Because displacement maps are used to move vertices around, it is necessary for your base mesh to have a suitable vertex density.
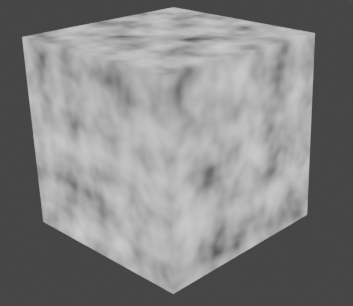
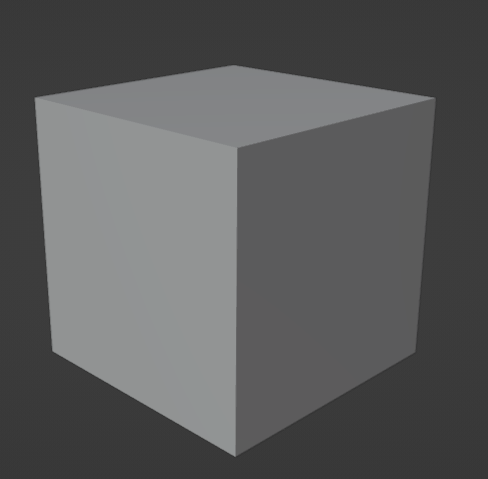
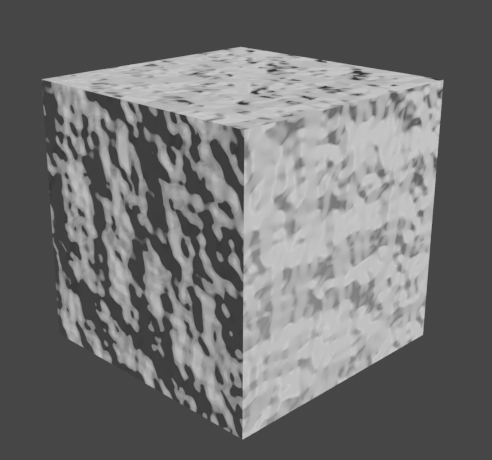
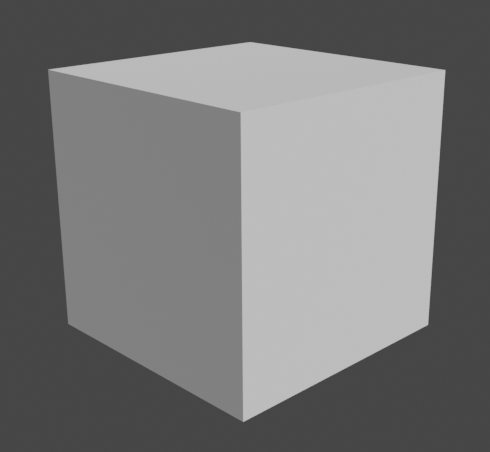
If I remove the bump map and use the same noise texture as a displacement map, you will note that there is almost no change to the model:

Solid view:

Rendered view:

I would assume that the model in the image you pasted in your question is a simple cube, which would not have nearly enough vertices to use with a displacement map.
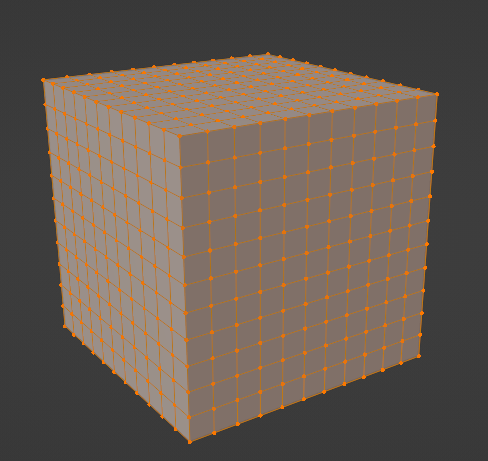
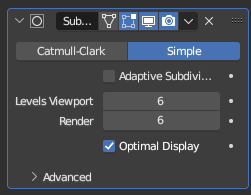
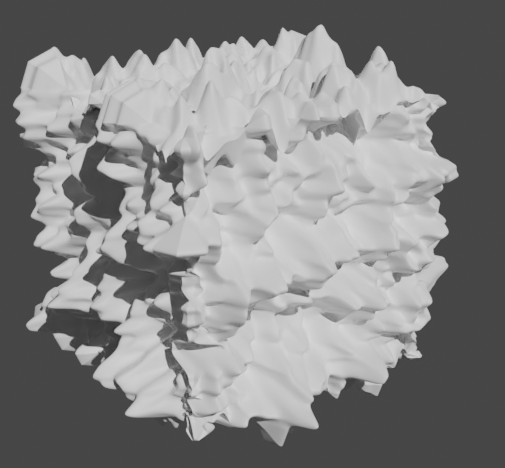
You can of course subdivide your mesh and/or add a subdivision surface modifier to your model to add more vertices. You will then start to see your displacement map having some effect:
Subdivided cube:


Rendered view:

Of course, this will result in a very dense mesh and significant impact to your render times.
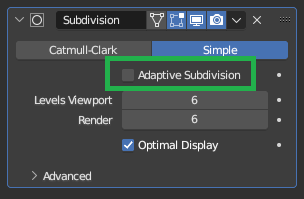
A good compromise can sometimes be to use an Adaptive Subdivision Surface Modifier.
Put simply, an adaptive subdiv will apply more subdivisions to the surface of a model the closer the surface is to the camera. This is often useful because objects/parts of objects that are closest to the camera usually require the highest level of detail, whereby objects/parts of objects that are far from the camera do not require high levels of detail.
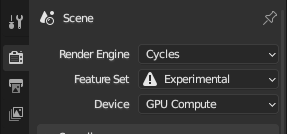
In order to use adaptive subdiv, you must first:
- Ensure you are using Cycles
- Select the Experimental Feature Set

Adaptive Subdiv will then be available on any Subdiv modifiers in your project:

You can find more information on adaptive subdiv online, but I hope the above will be enough to get you started.
You also mentioned roughness and occlusion in your question.
Roughness maps have nothing to do with adding/faking height information on your model. A roughness map determines how shiny (or 'glossy') an object is. For example, a mirror would have 0 roughness. Something like cotton, which is not very shiny, would have a relatively high roughness value (i.e. 0.7).
Ambient occlusion maps are used to add additional depth to the 'occluded' areas on your object (those areas that are in shadow, such as folds and creases). These are different to bump/normal maps because they additional shadow they add to the occluded areas of the object are not affected by the lights in the scene. The ambient occlusion is mixed with the color of the shader, and thereby becomes a permanent part of the color information.
I recommend checking out Blender Guru's tutorials around PBR materials from a few years ago. He does a great job of explaining things.
As a final thought, I don't think your object is a good candidate for using a displacement texture. You will add a huge number of vertices to your mesh before you start seeing the results you are looking for, but what you are trying to achieve would be fairly simple to model with relatively few vertices.
Edit as per comments
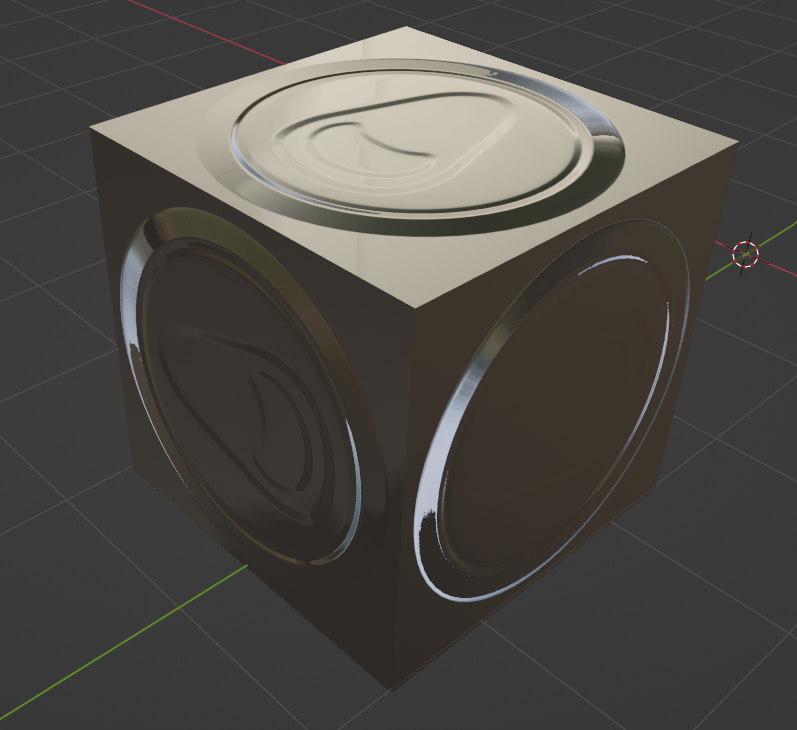
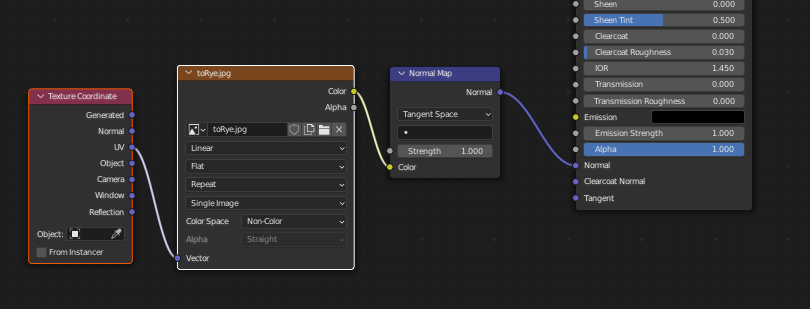
Here is the node set-up for using your normal map:

This appears to be correct in your .blend file.
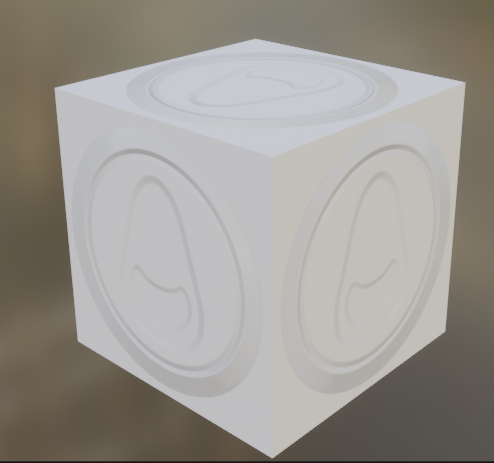
Here is the result:

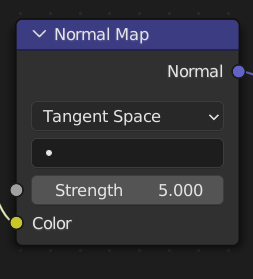
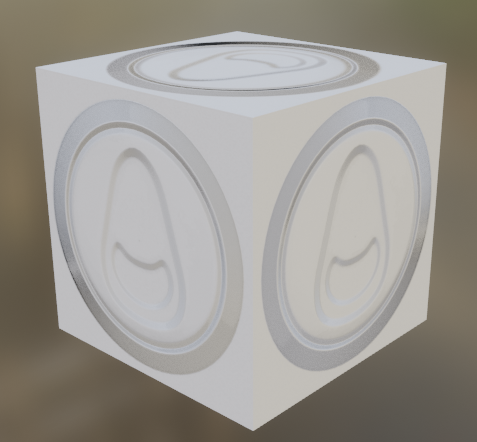
Here can increase the strength of the normal mapping:


However, as mentioned above, normal mapping can only do so much before it begins to look fake.
You've mentioned in your comment " i just want to know how to add PBR texture on my model with using normal map".
I don't exactly understand what you mean by this. There is no such thing as a PBR texture.
A PBR material is created using a combination of different texture maps (normal maps, color maps, roughness maps, metallic maps, etc.).
So in your case, the PBR material would be the output from the Principled BSDF shader. The principled BSDF shader takes your texture maps (normal, roughness etc.) and converts them into a PBR material.
Again, I would strongly advise that you watch the Blender Guru video I linked above.

