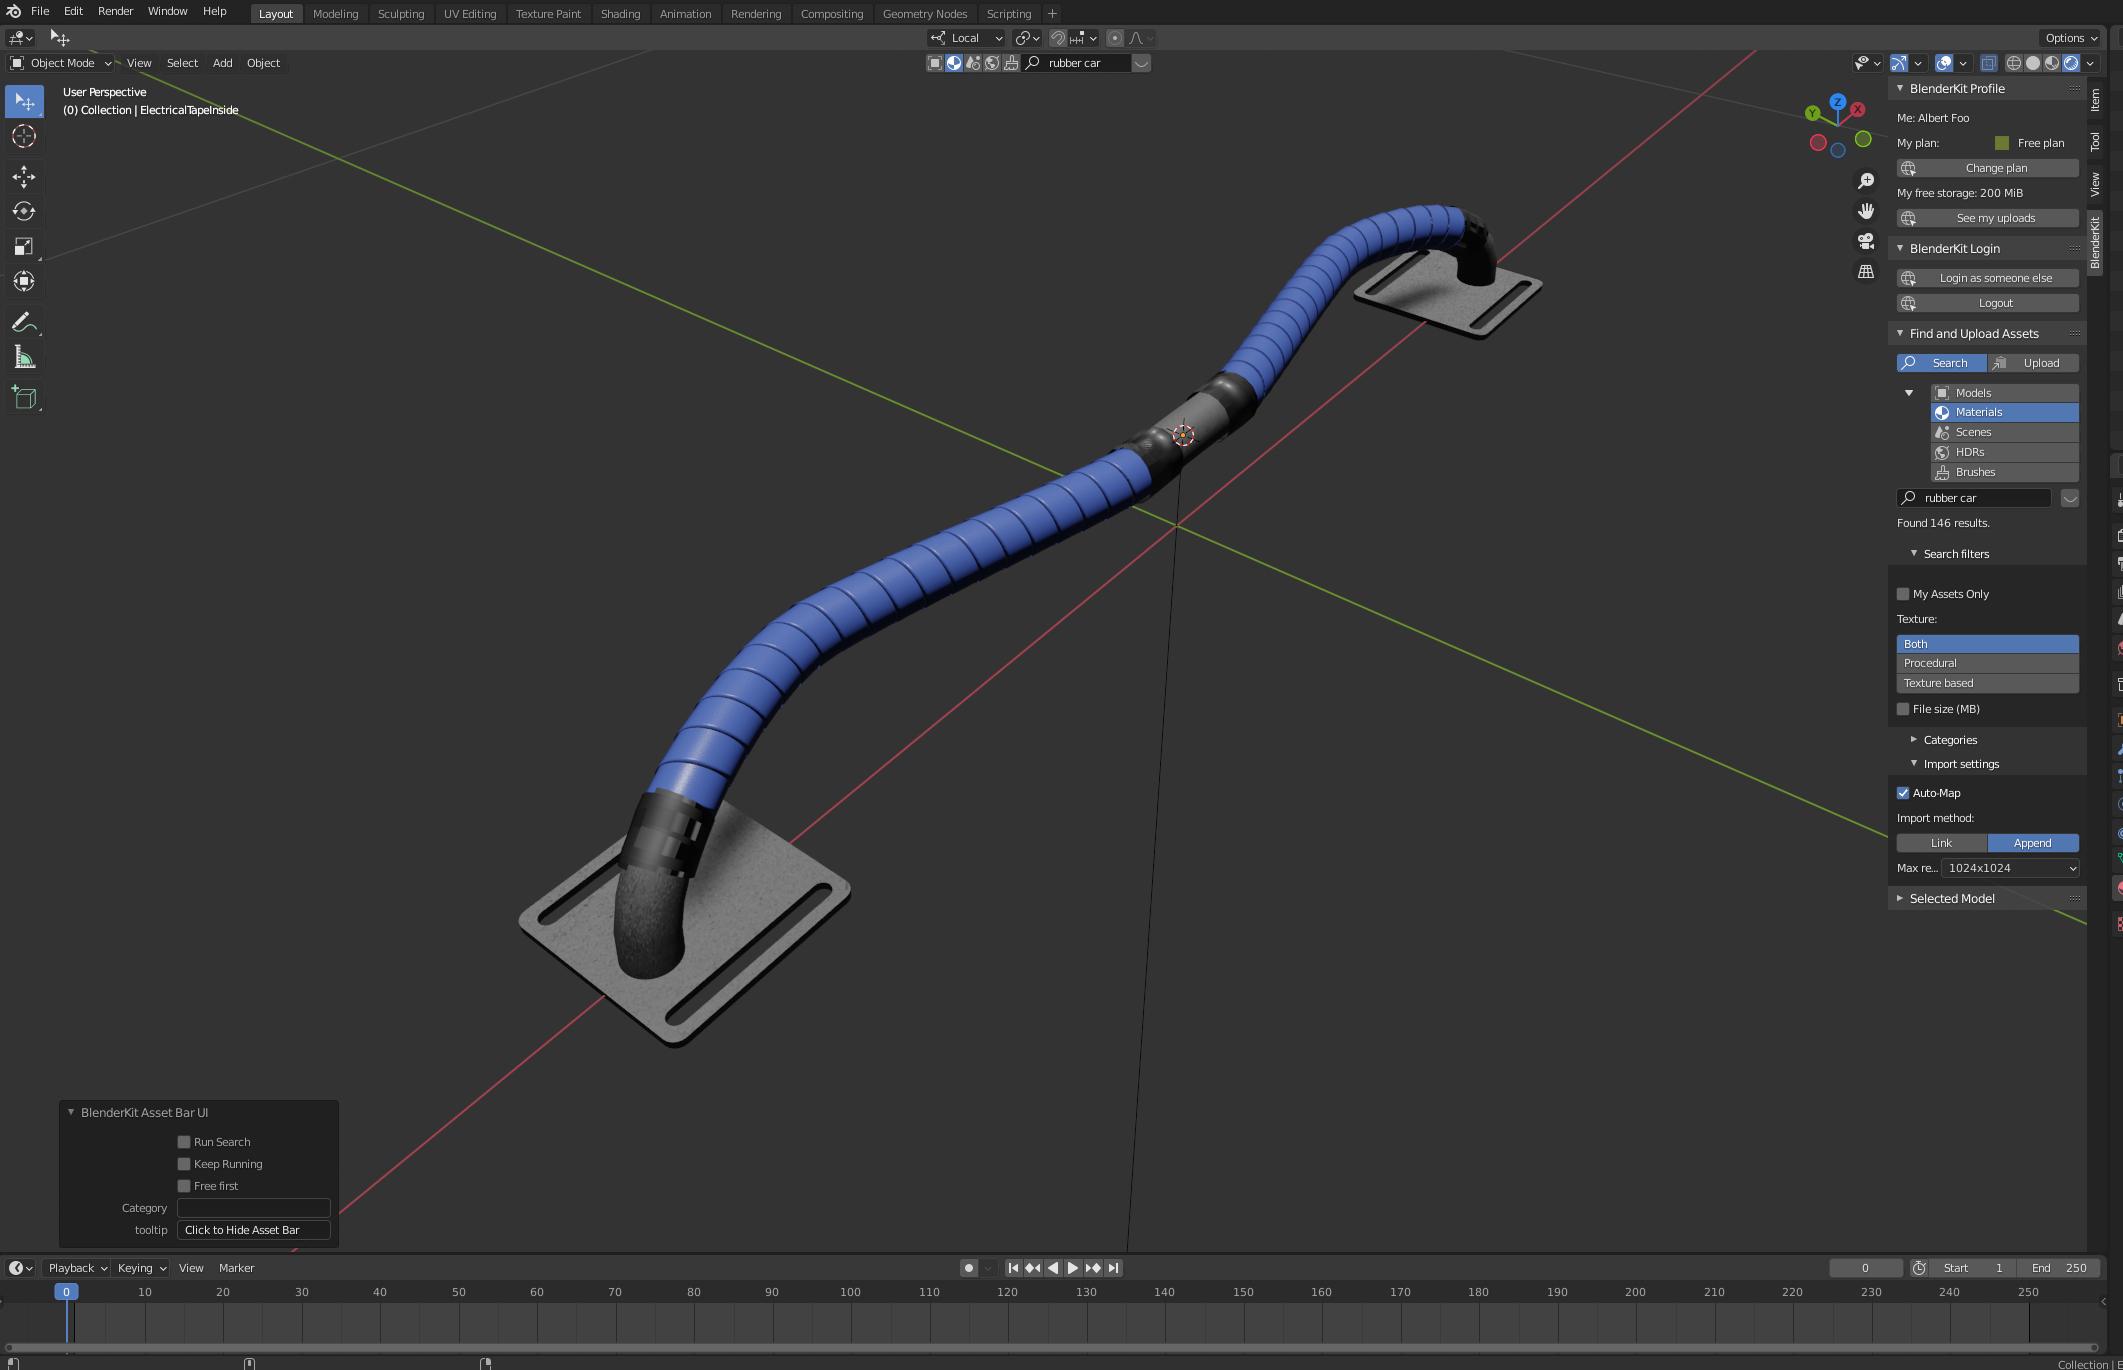
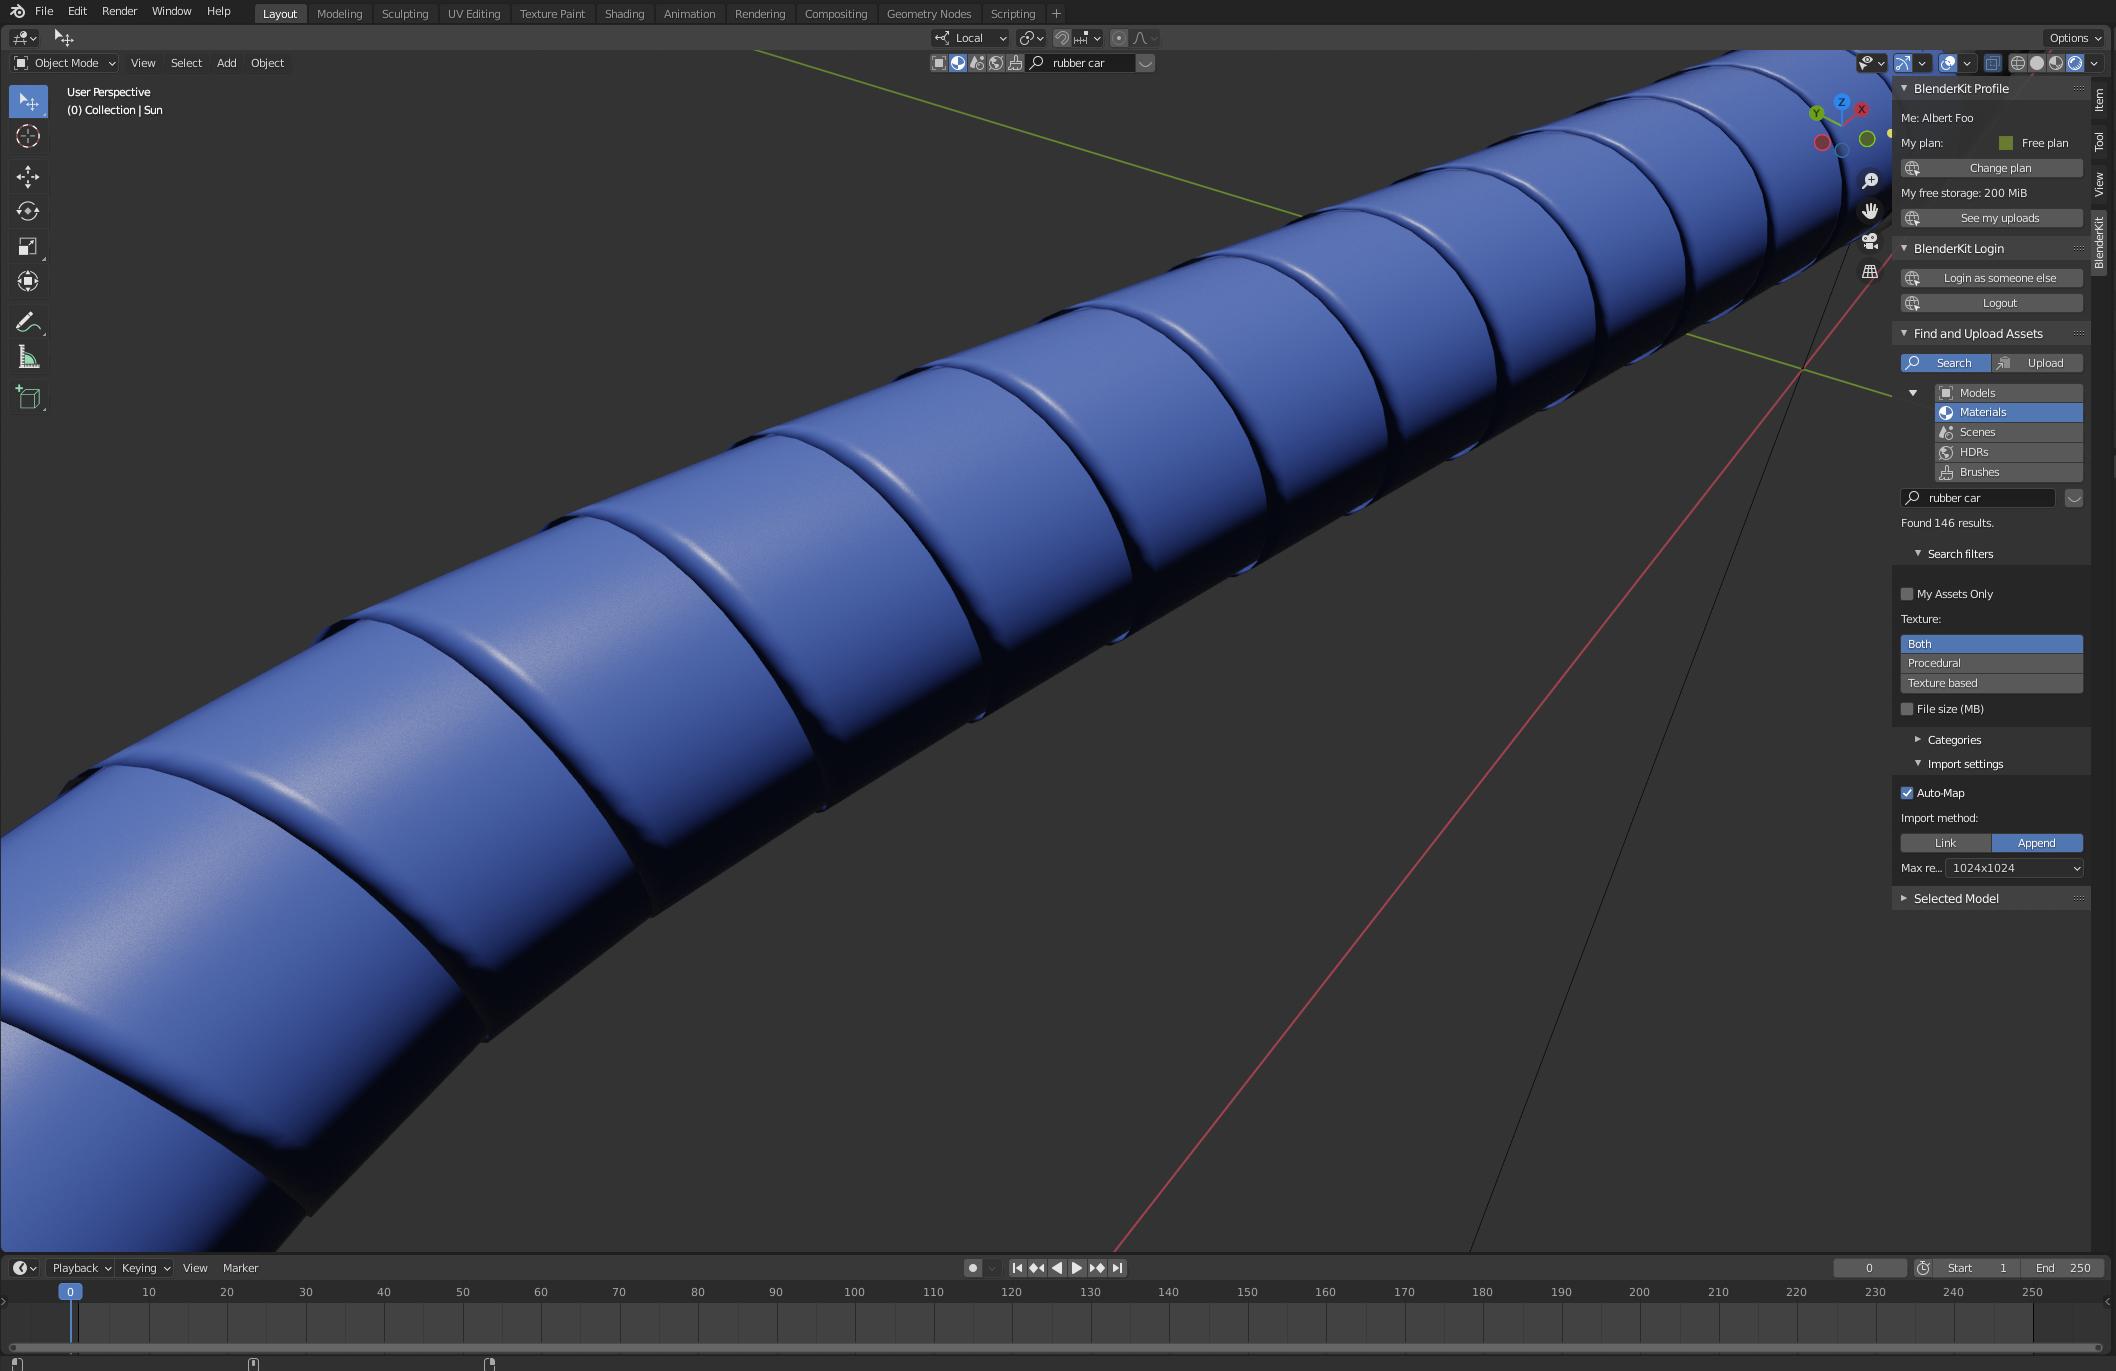
- If you construct your handlebars, at least initially, from the native
(round) 'Bevel' of a curve,set in its Data tab > Geometry panel,
you can use the same curve to deform the spiral of tape.
- If you make the spiral by using a Screw modifier on a single line of geometry, offset from its object origin, then the 'Stretch U' and 'Stretch V' settings in the modifier will give you texture coordinates to work with:
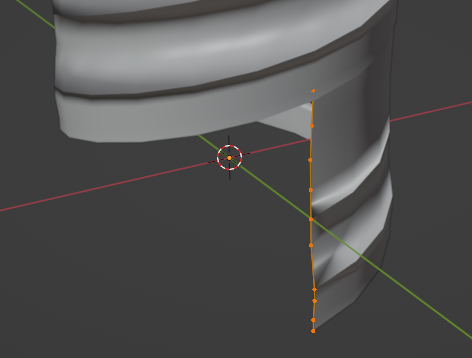
... as you can see, the positions of the vertices in the line are somewhat counter-intuitive. They have been adjusted to the scene, after the other modifiers are showing their effect. Kick off with a straight line, and tweak later.
The line is given:
- The Screw modifier, to make the tape spiral
- A Curve modifier, aimed at the handlebar-curve
- A Solidify modifier, to give it a slight thickness
- A Bevel modifier, limited by angle, to sharpen the rim generated by the Solidify.
- A Subdivision Surface modifier, to smooth out the result.
The shader is procedural. It may seem a little elaborate, but it is founded on two re-usable node-groups, not all of whose features are used in this case.
- A 'Shift-Grid' node group:

This sets up a grid of rectangular cells, giving you:
- UV coordinates centered in each cell
- The position of the center of each cell in the original texture space
- The option to scale the size of each cell in Y, without scaling its internal UV
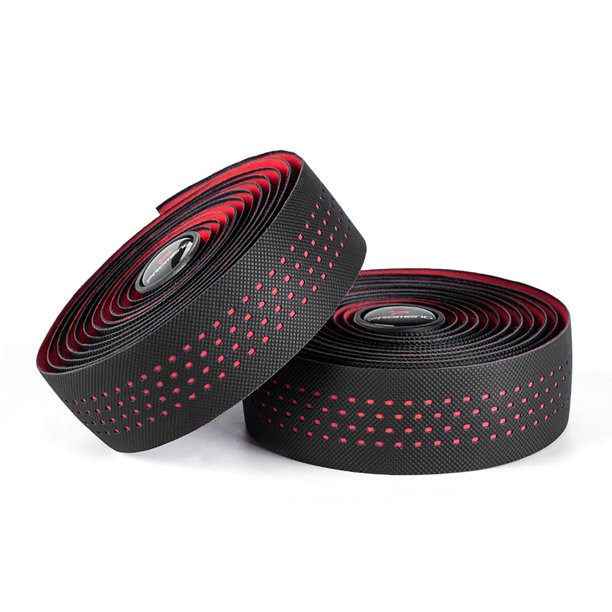
- The option to shift/stagger each column of cells,(used to make the rows of perforations diagonal, as in the reference)
- Distance from center of each cell
- Distance from edges of each cell, (used to make the knurling on the tape)
- A 'Distance from Line-Segment' group

- .. which, given 2 points, returns the distance of shading-points in the texture-space from the line-segment between them. It's used to make the capsule-shaped perforations in the tape.
They are used in this node-tree, to make the tape shader:
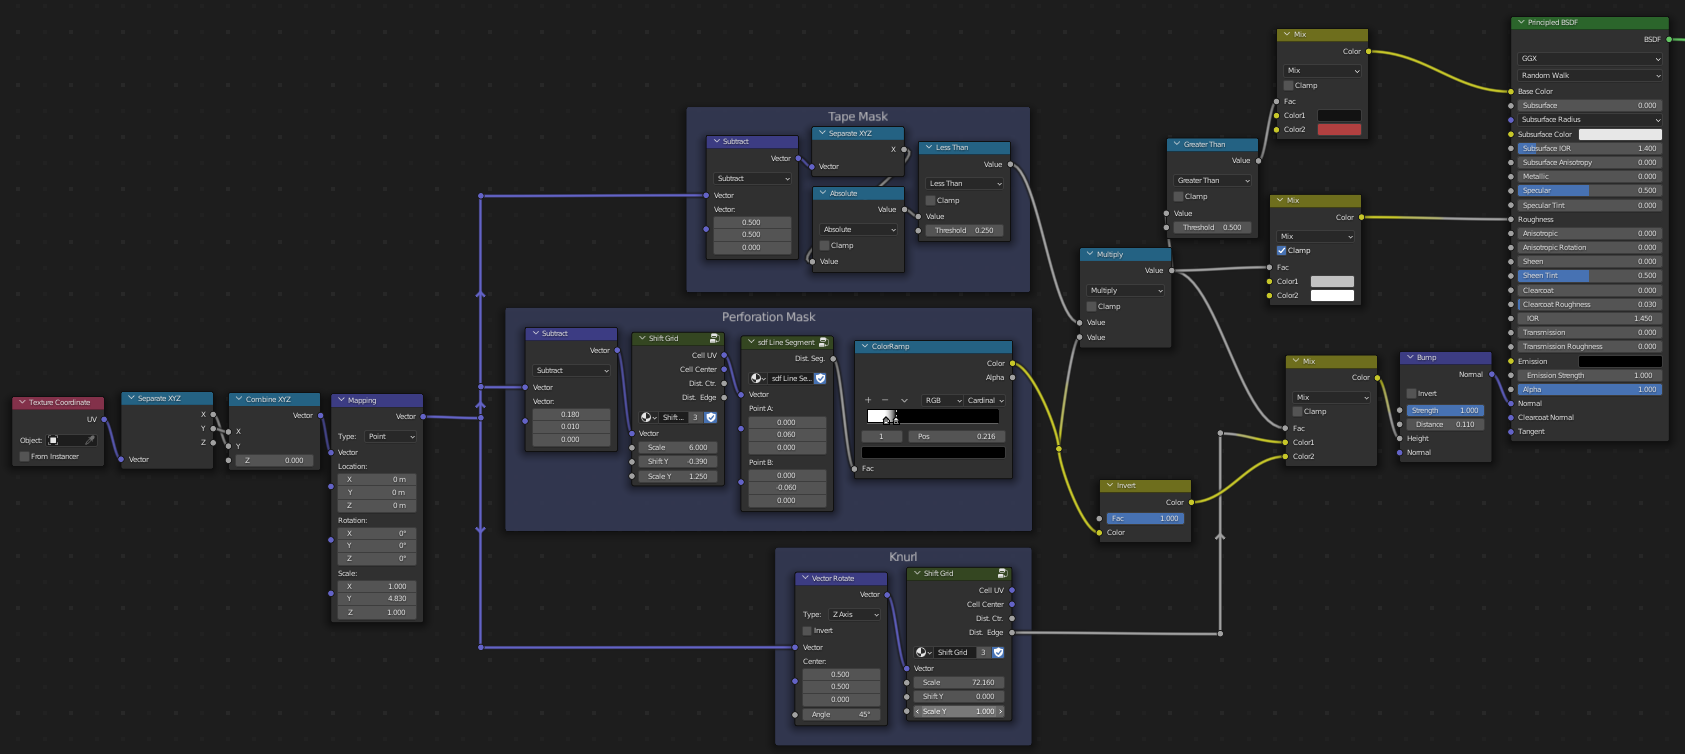
It can be assigned to the tape, using the UV coordinates provided by the Screw modifier:
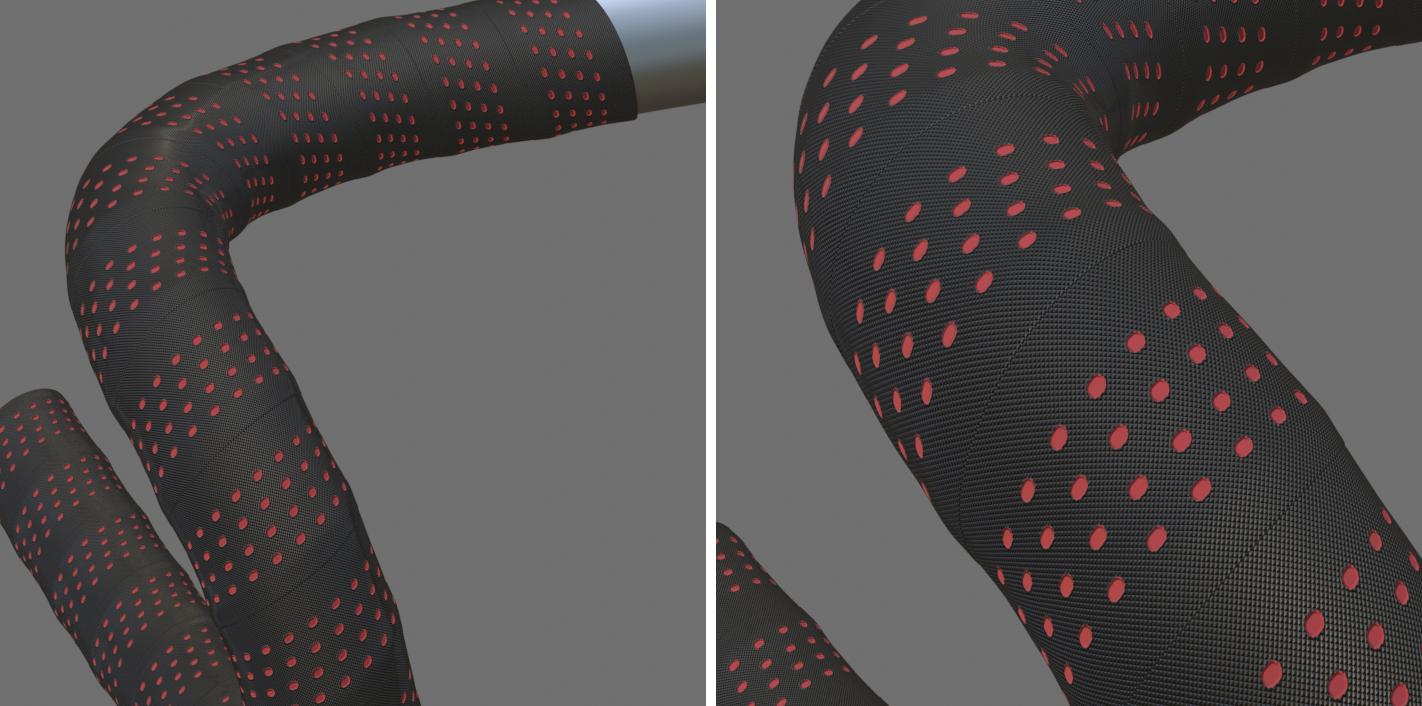

I have no idea if this is how this tape should be deployed on a real bike :)

