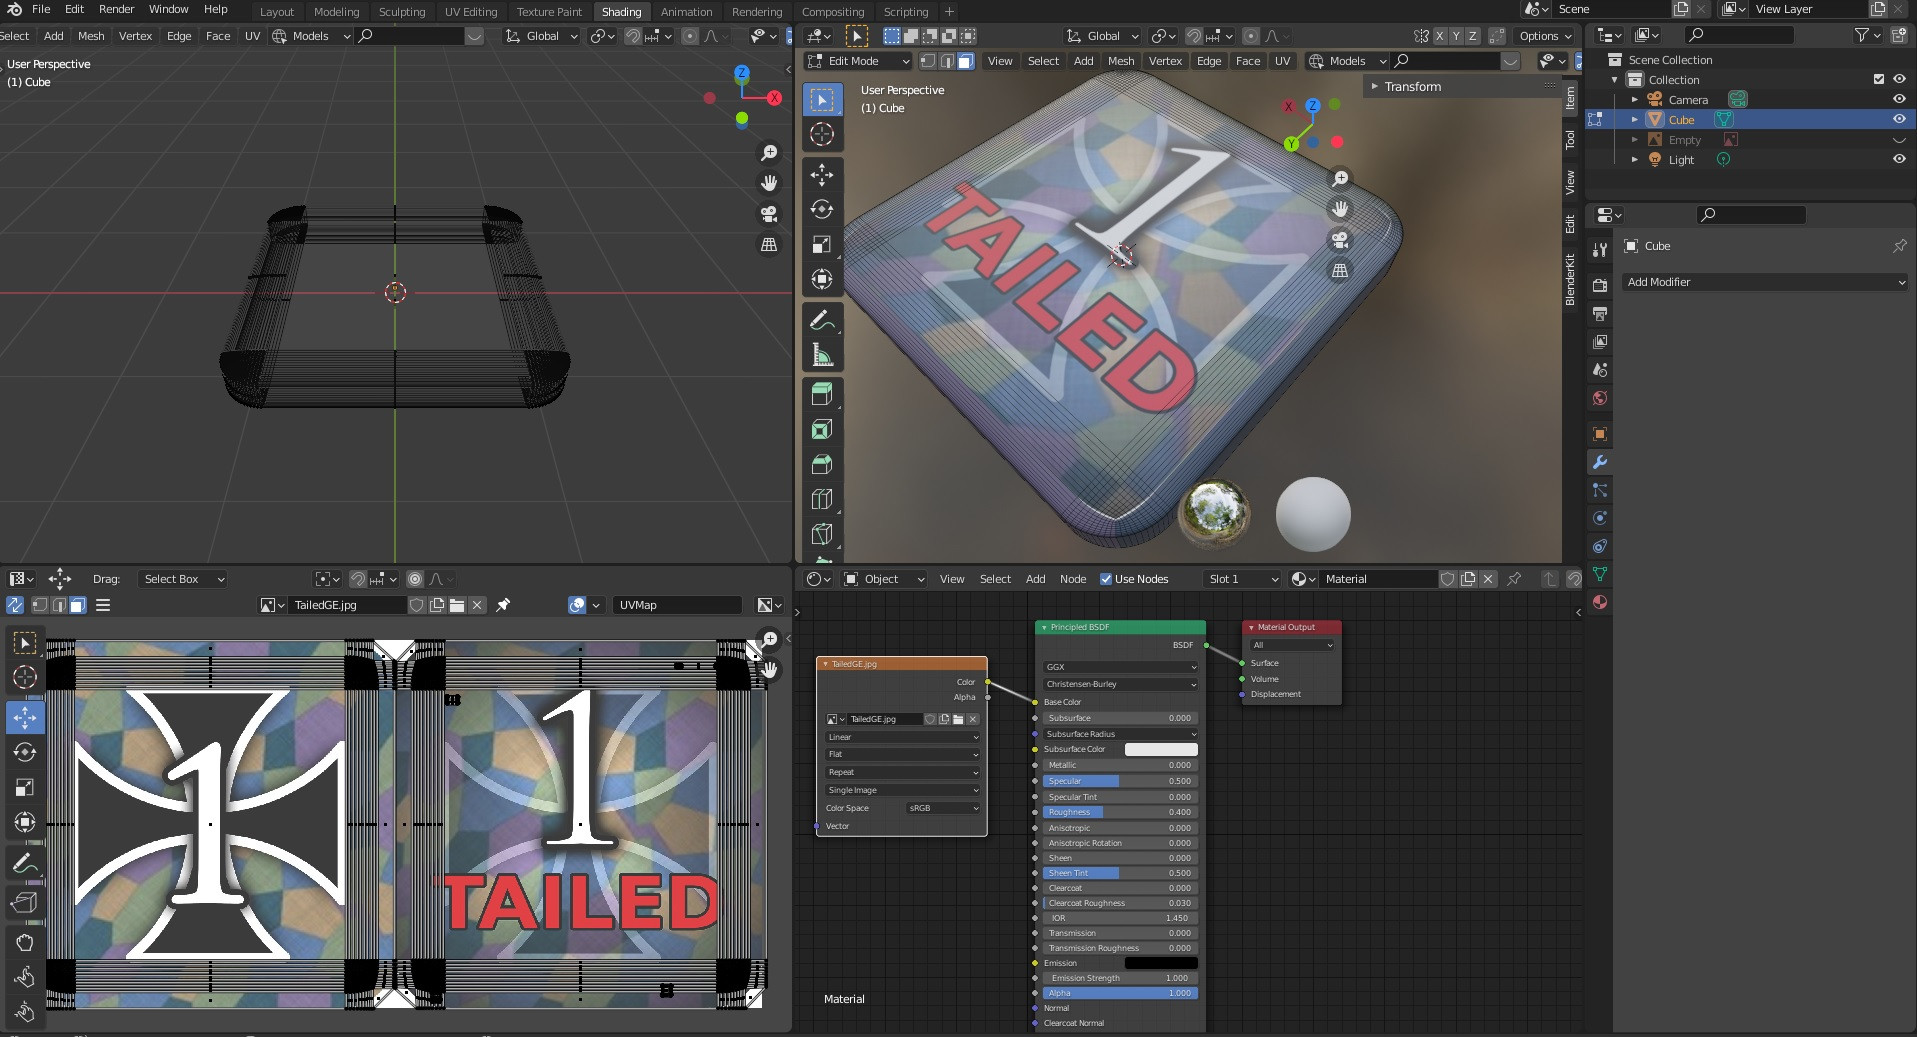
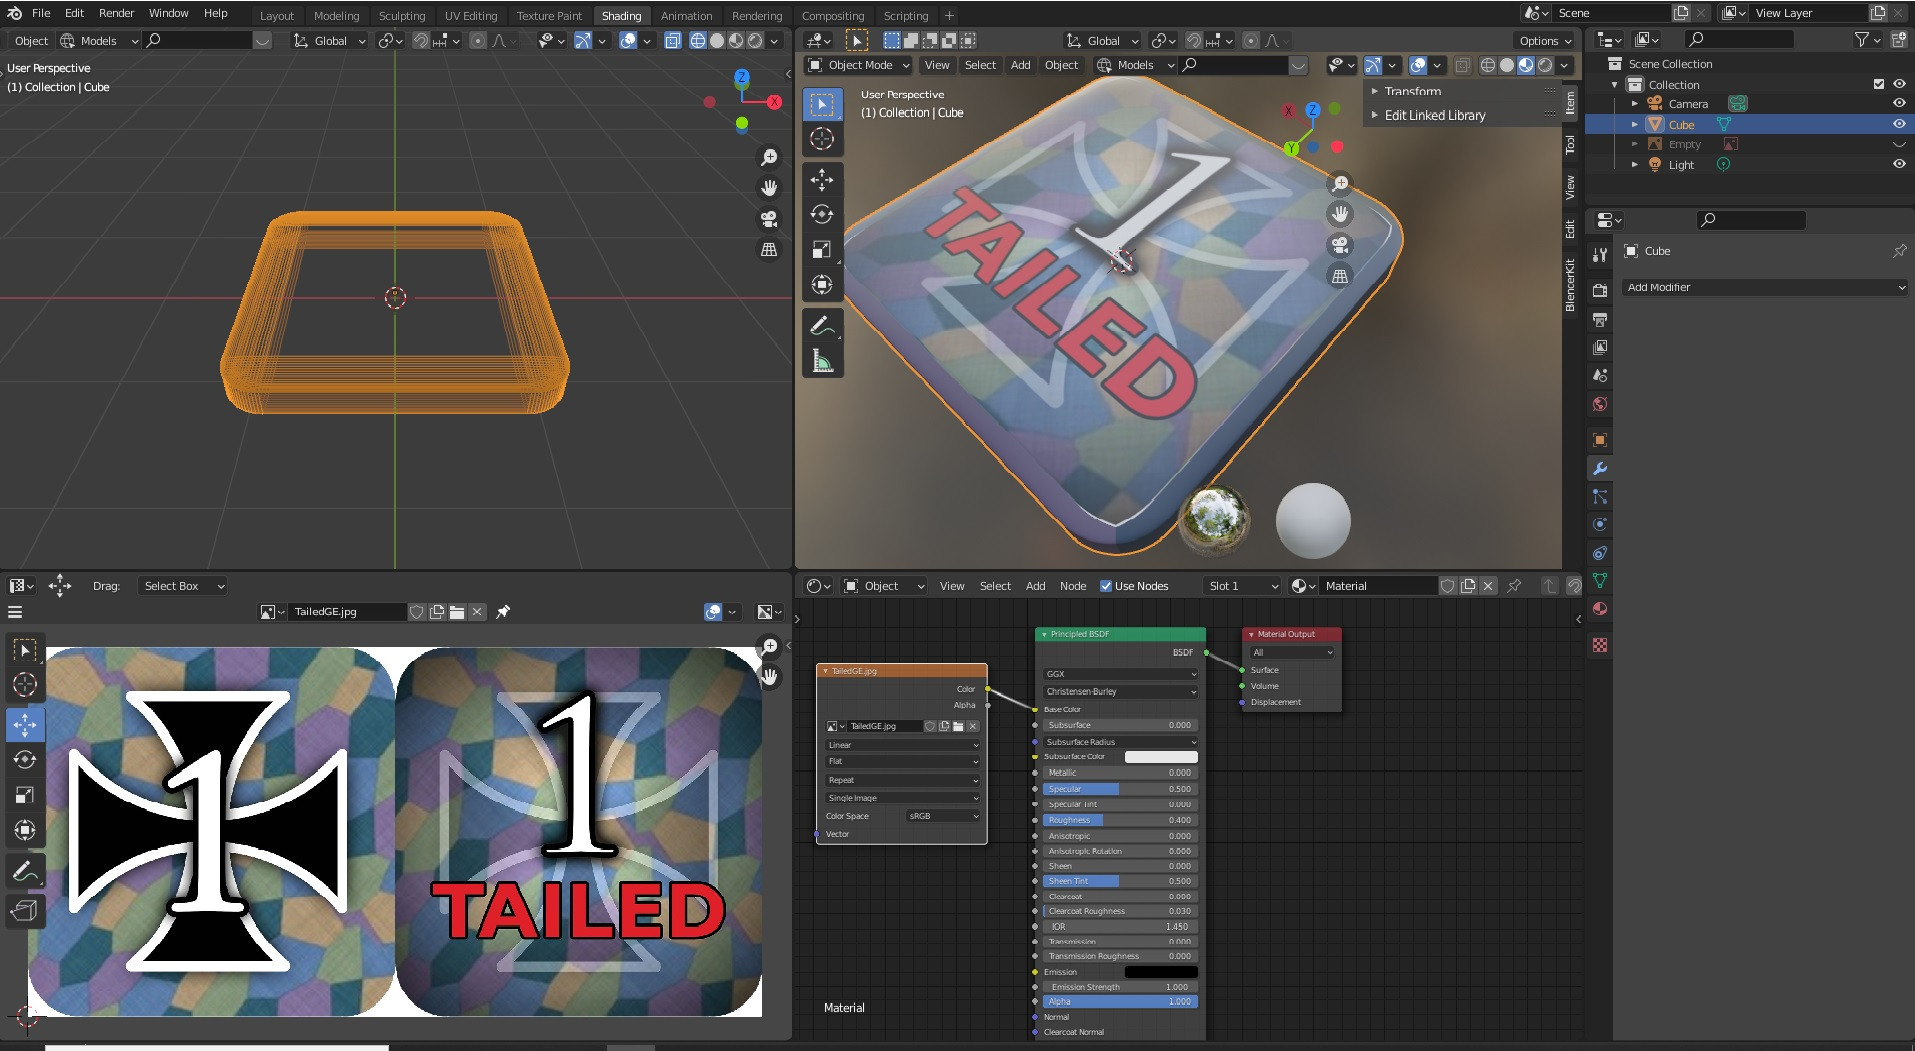
I've been trying to get a decent result with the unwrapping of a mesh representing a boardgame counter (top + bottom). I've bevelled it first, applied smooth surface and then unwrapped it in many different ways, but it seems to always get the edges wrong. As you can see in the reference picture, the camo texture should continue to the edge of the counter, instead, it stops showing a different part of the mesh. It shouldn't be that hard to do, but for some reason I always get the same result. Is there a way to have the top part of the mesh show exactly as it does in the reference pic?
-
$\begingroup$ I would make three or four separate UV islands: the top face, the bottom face and the edges would be a 'strip' (maybe two separate strips for better packing the islands). $\endgroup$– Alexandre MarcatiCommented May 21, 2021 at 13:53
-
$\begingroup$ It would be helpful if you packed the texture into your blend file and posted the blend file here. $\endgroup$– Marty FoutsCommented May 21, 2021 at 14:43
2 Answers
Thanks all for your quick replies, but it looks like the problem was that I wasn't scaling before unwrapping the mesh. I scaled and after some adjustments to make everything fit it looked great.
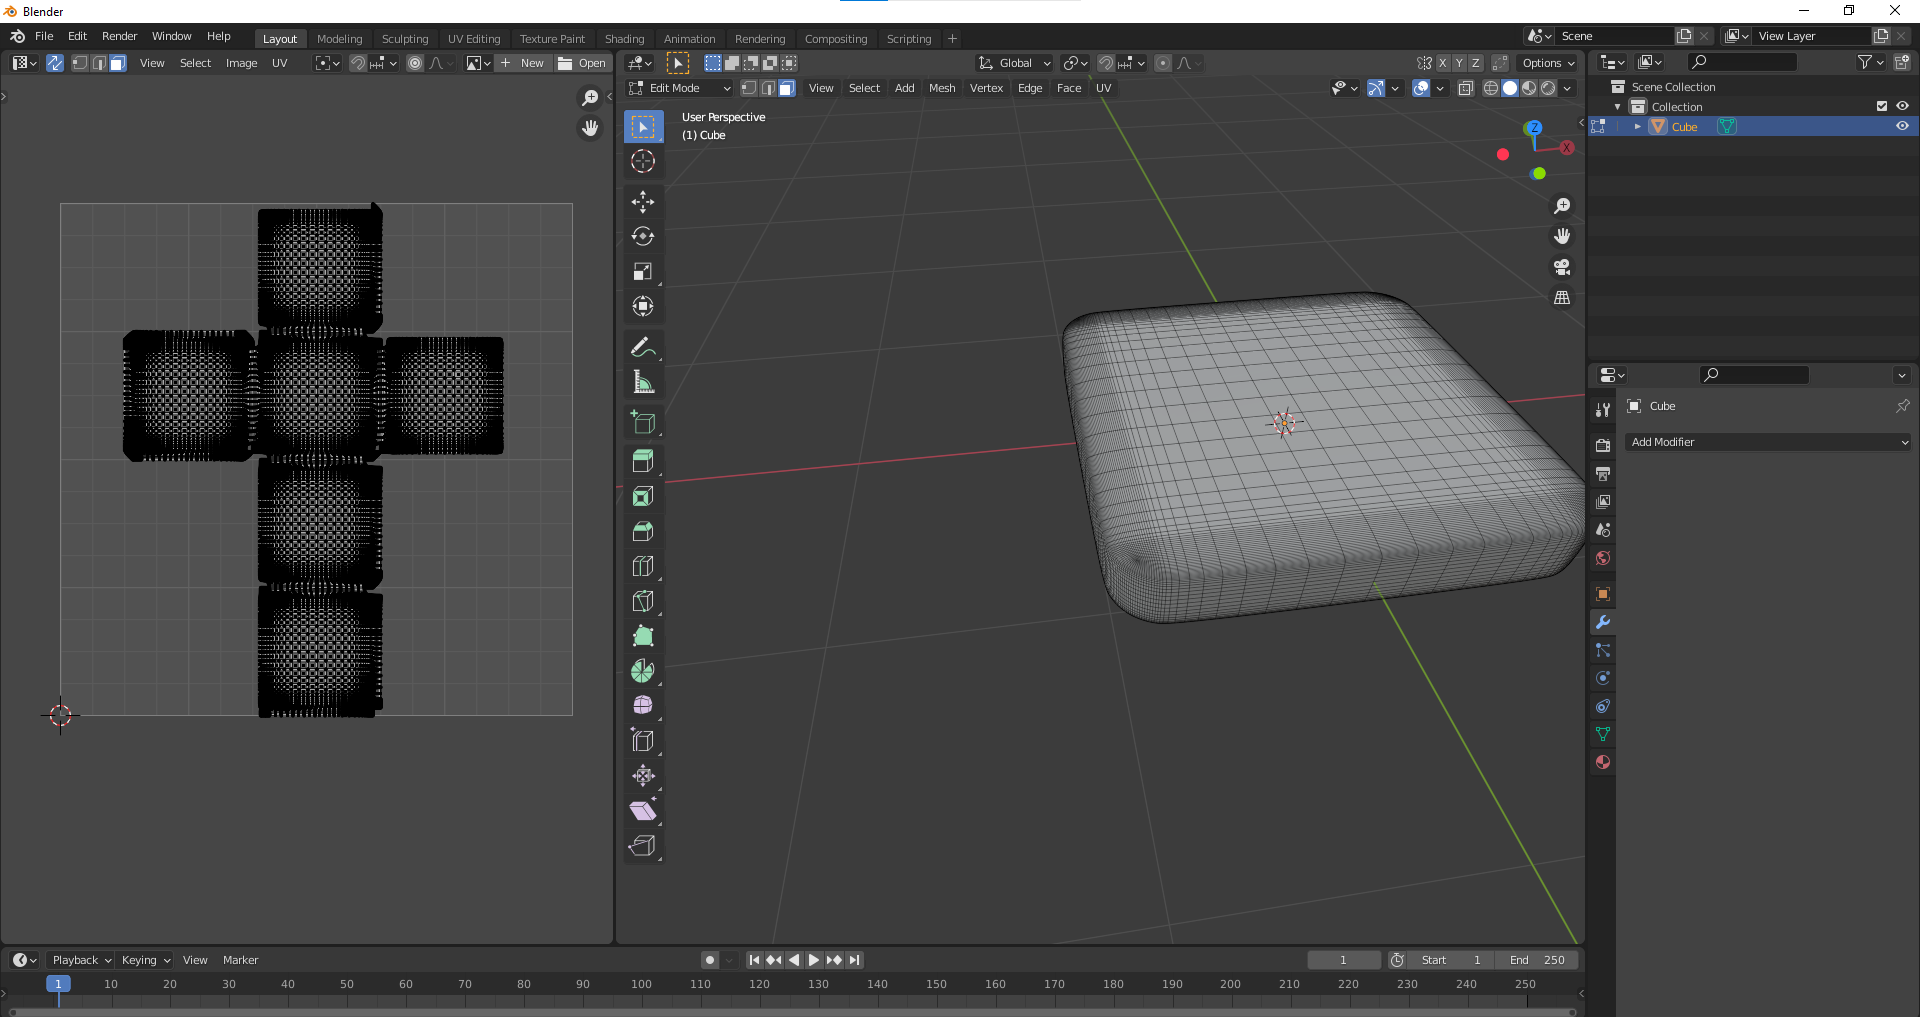
The problem with your texture isn't the way you are unwrapping the UV's, the problem is the way the UV's are automatically positioned. For example, in the picture below is approximately what the UV's of your cube look like (I know they aren't the exact same)

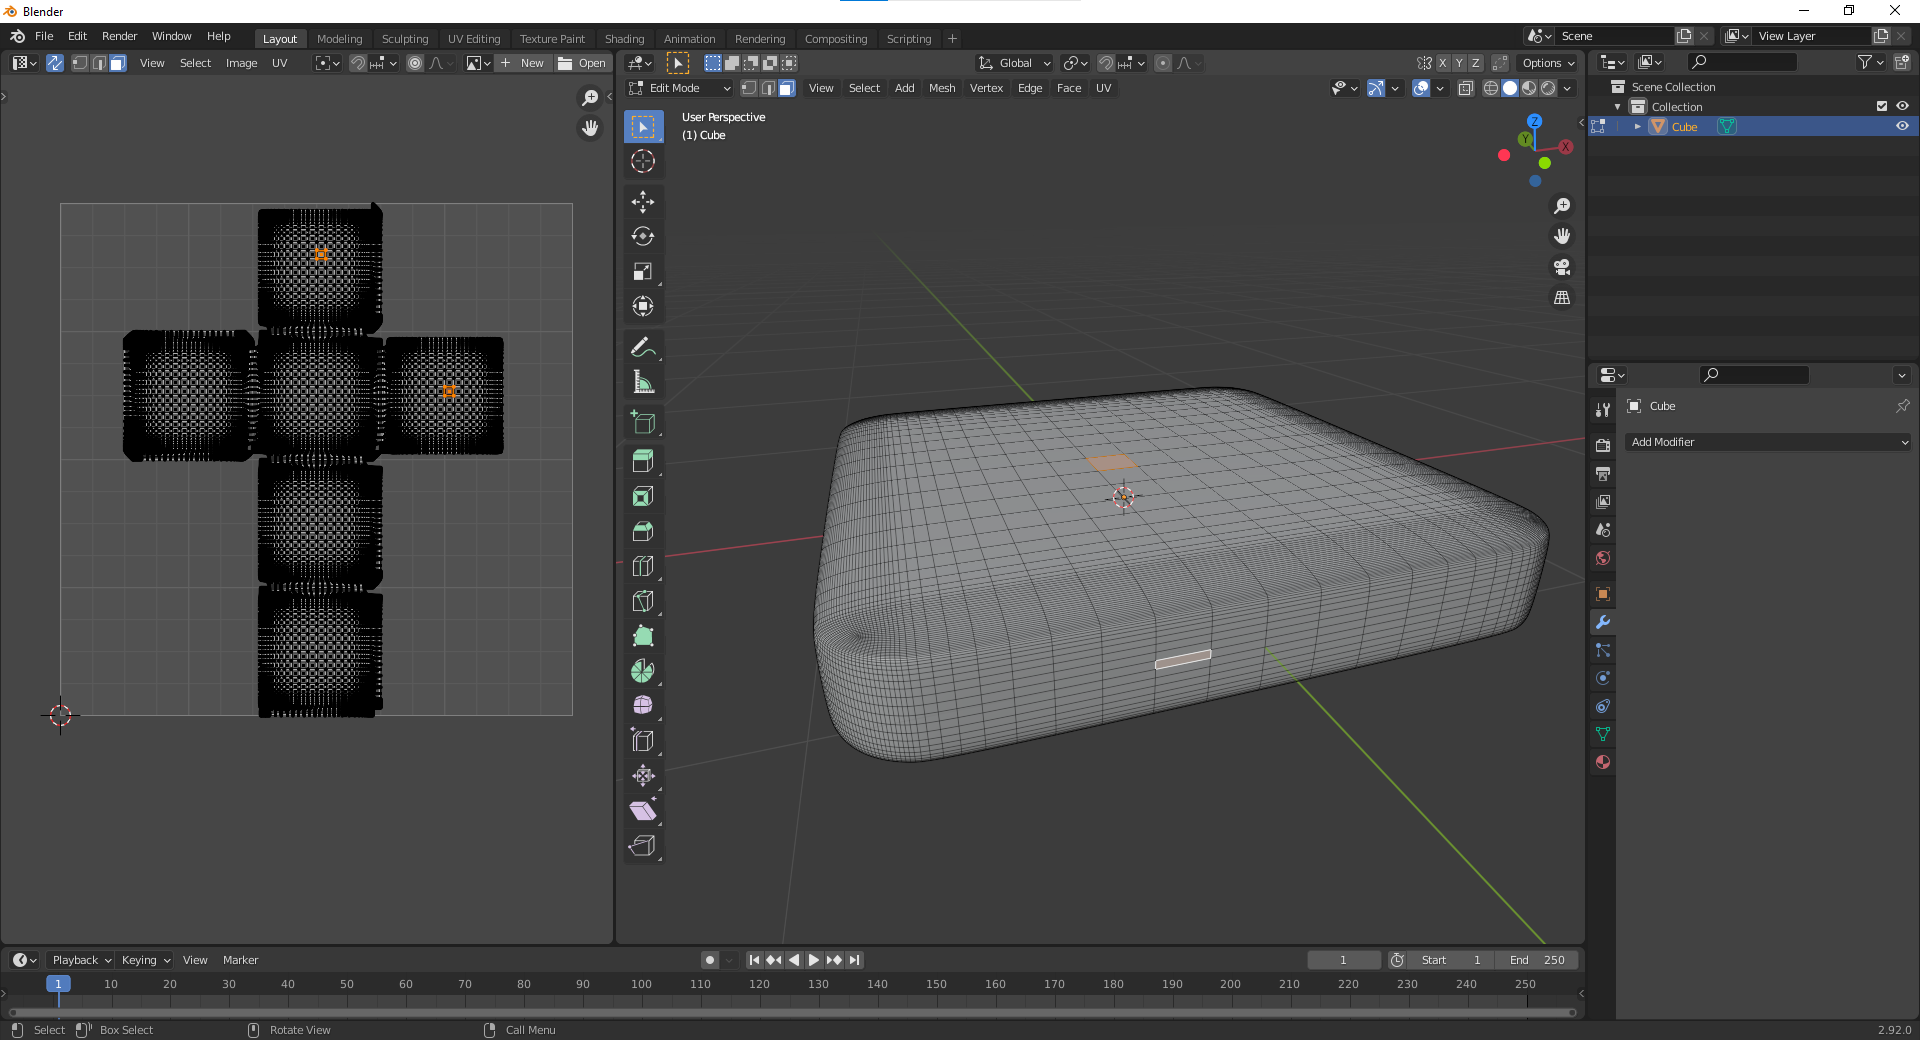
Now, if I select a face from two different sides on the cube, you will see that both islands of the UV are disconnected, and this is why your textures looks the way it does.

There's not an easy way to fix that part, that's just how a cube unwraps. What you can do however, is put a mapping node, onto your cube's image texture, and switch the texture coordinate from UV, to generated, and then you will have to scale it to get the right dimensions.

-
$\begingroup$ That's the default UV map for a cube. It's not the way to solve this problem, which will require manually adding seams $\endgroup$ Commented May 21, 2021 at 14:42

