It is possible to read an image in OSL using the 'texture(...)' call but it is not possible to write to an image directly from within OSL. For a 'life' simulation you need to be able to read the previous state while generating the new one and so the way to achieve this is to be able to read the previously rendered frame while rendering the current frame - this is possible using OSL (render the frame and use the 'texture(...)' call to read the previous frame in the render output location) as well as possible using standard nodes (render the current frame and using an Image Texture node image sequence pointing at the render output location).
To achieve this, firstly use the Output section of the Output Properties to specify a known location for the rendered output.
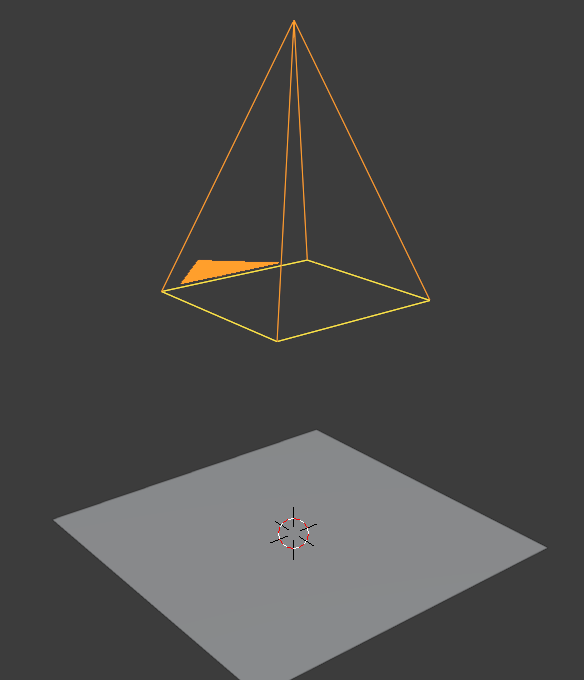
Position the camera such that the camera exactly views the plane - with no overlap. This way when we generate the new rendered frame it will exactly coincide with the plane's texture in the previous frame. For my set up I positioned a new Plane (2m x 2m) at the origin and the camera (set with square dimensions) at Z=2.8m and pointing directly down.
Render the animation - this will create the output directory and generate images as 0001.png, 0002.png, etc.
Use your favourite image editor (or use Blender) to create your initial state and save it as 0000.png so it occurs immediately before frame 1 :
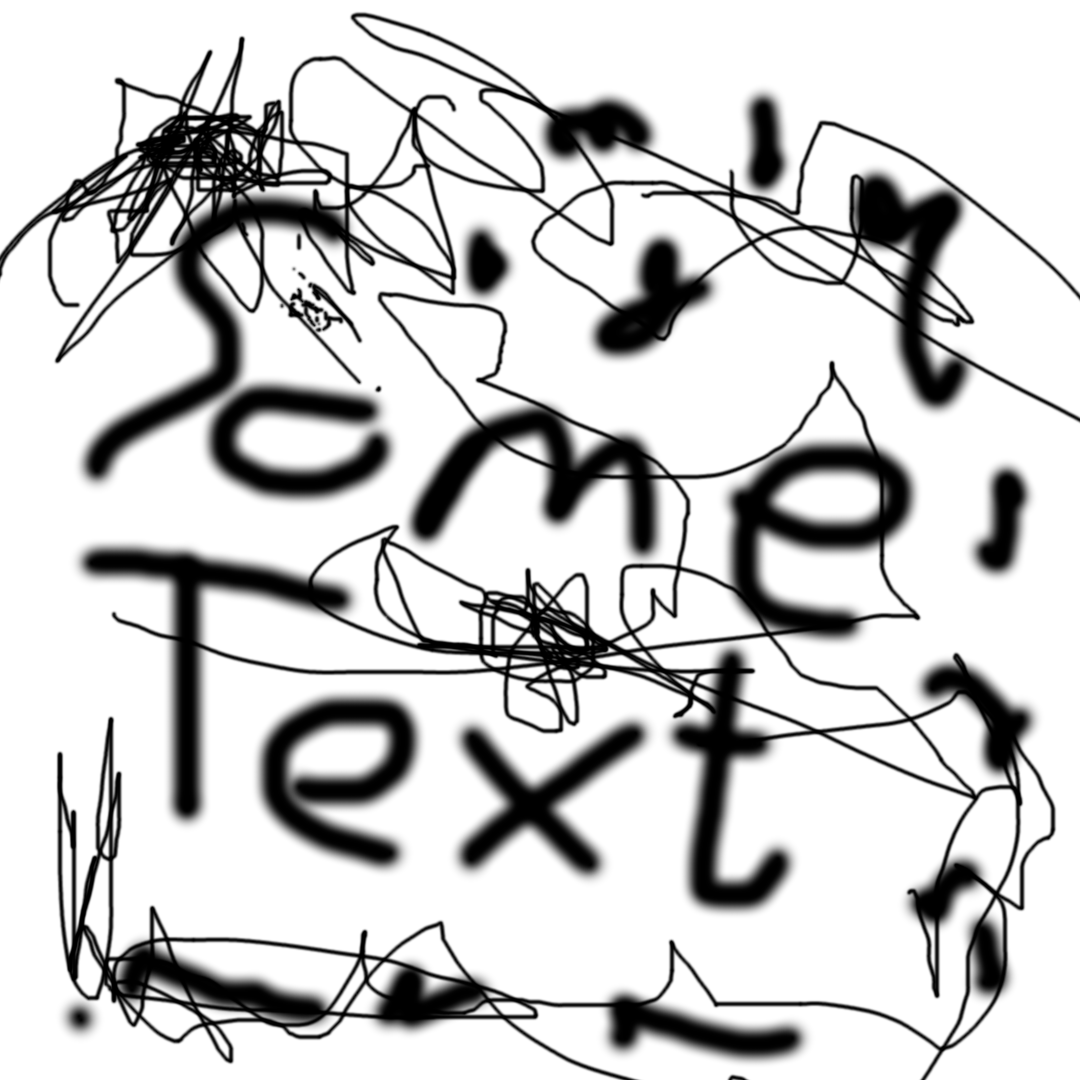
The image acts as the 'seed' of the simulation, with "set" pixels representing 'live' cells and dark pixels 'dead' cells.
Create a material to show the image on the plane :
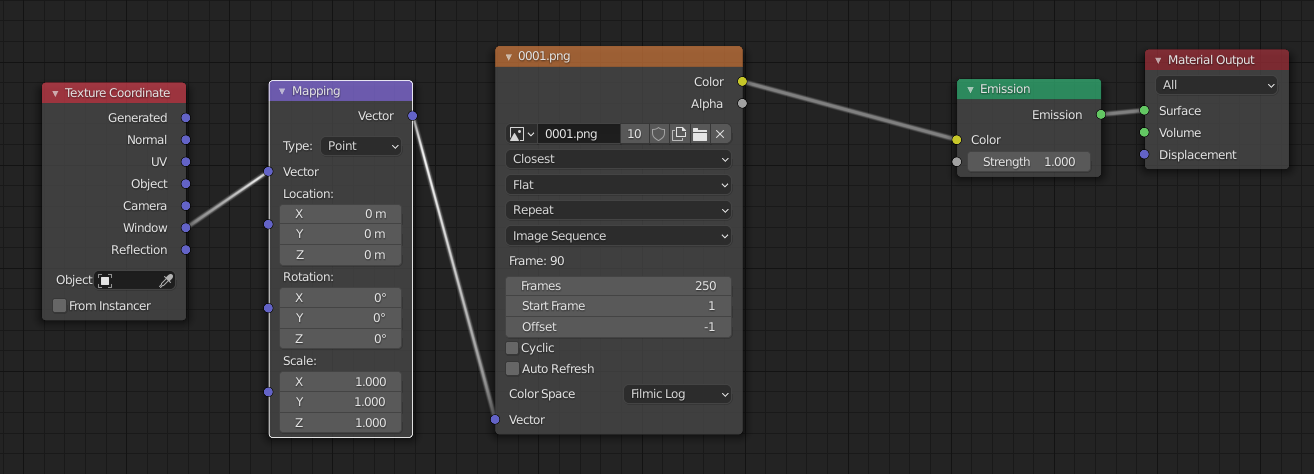
Note the Image Texture to an 'Image Sequence, set the number of frames to the total frames of the animation, Start Frame of 1 and Offset of -1 so that it will always run 1 frame behind the current frame (ie, always the previous frame).
To test it, render the animation and all frames should be identical. Adjust the Mapping node to include a slight rotation and re-render. You should get a progressive rotation on each frame - showing that it is indeed basing each frame on the previous one.
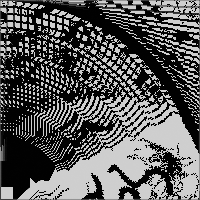
For the "life" simulation, we now just need to sample the points around each pixel in the image and determine the state of the current pixel based on the surrounding pixels in the previous frame. This can be achieved as follows :
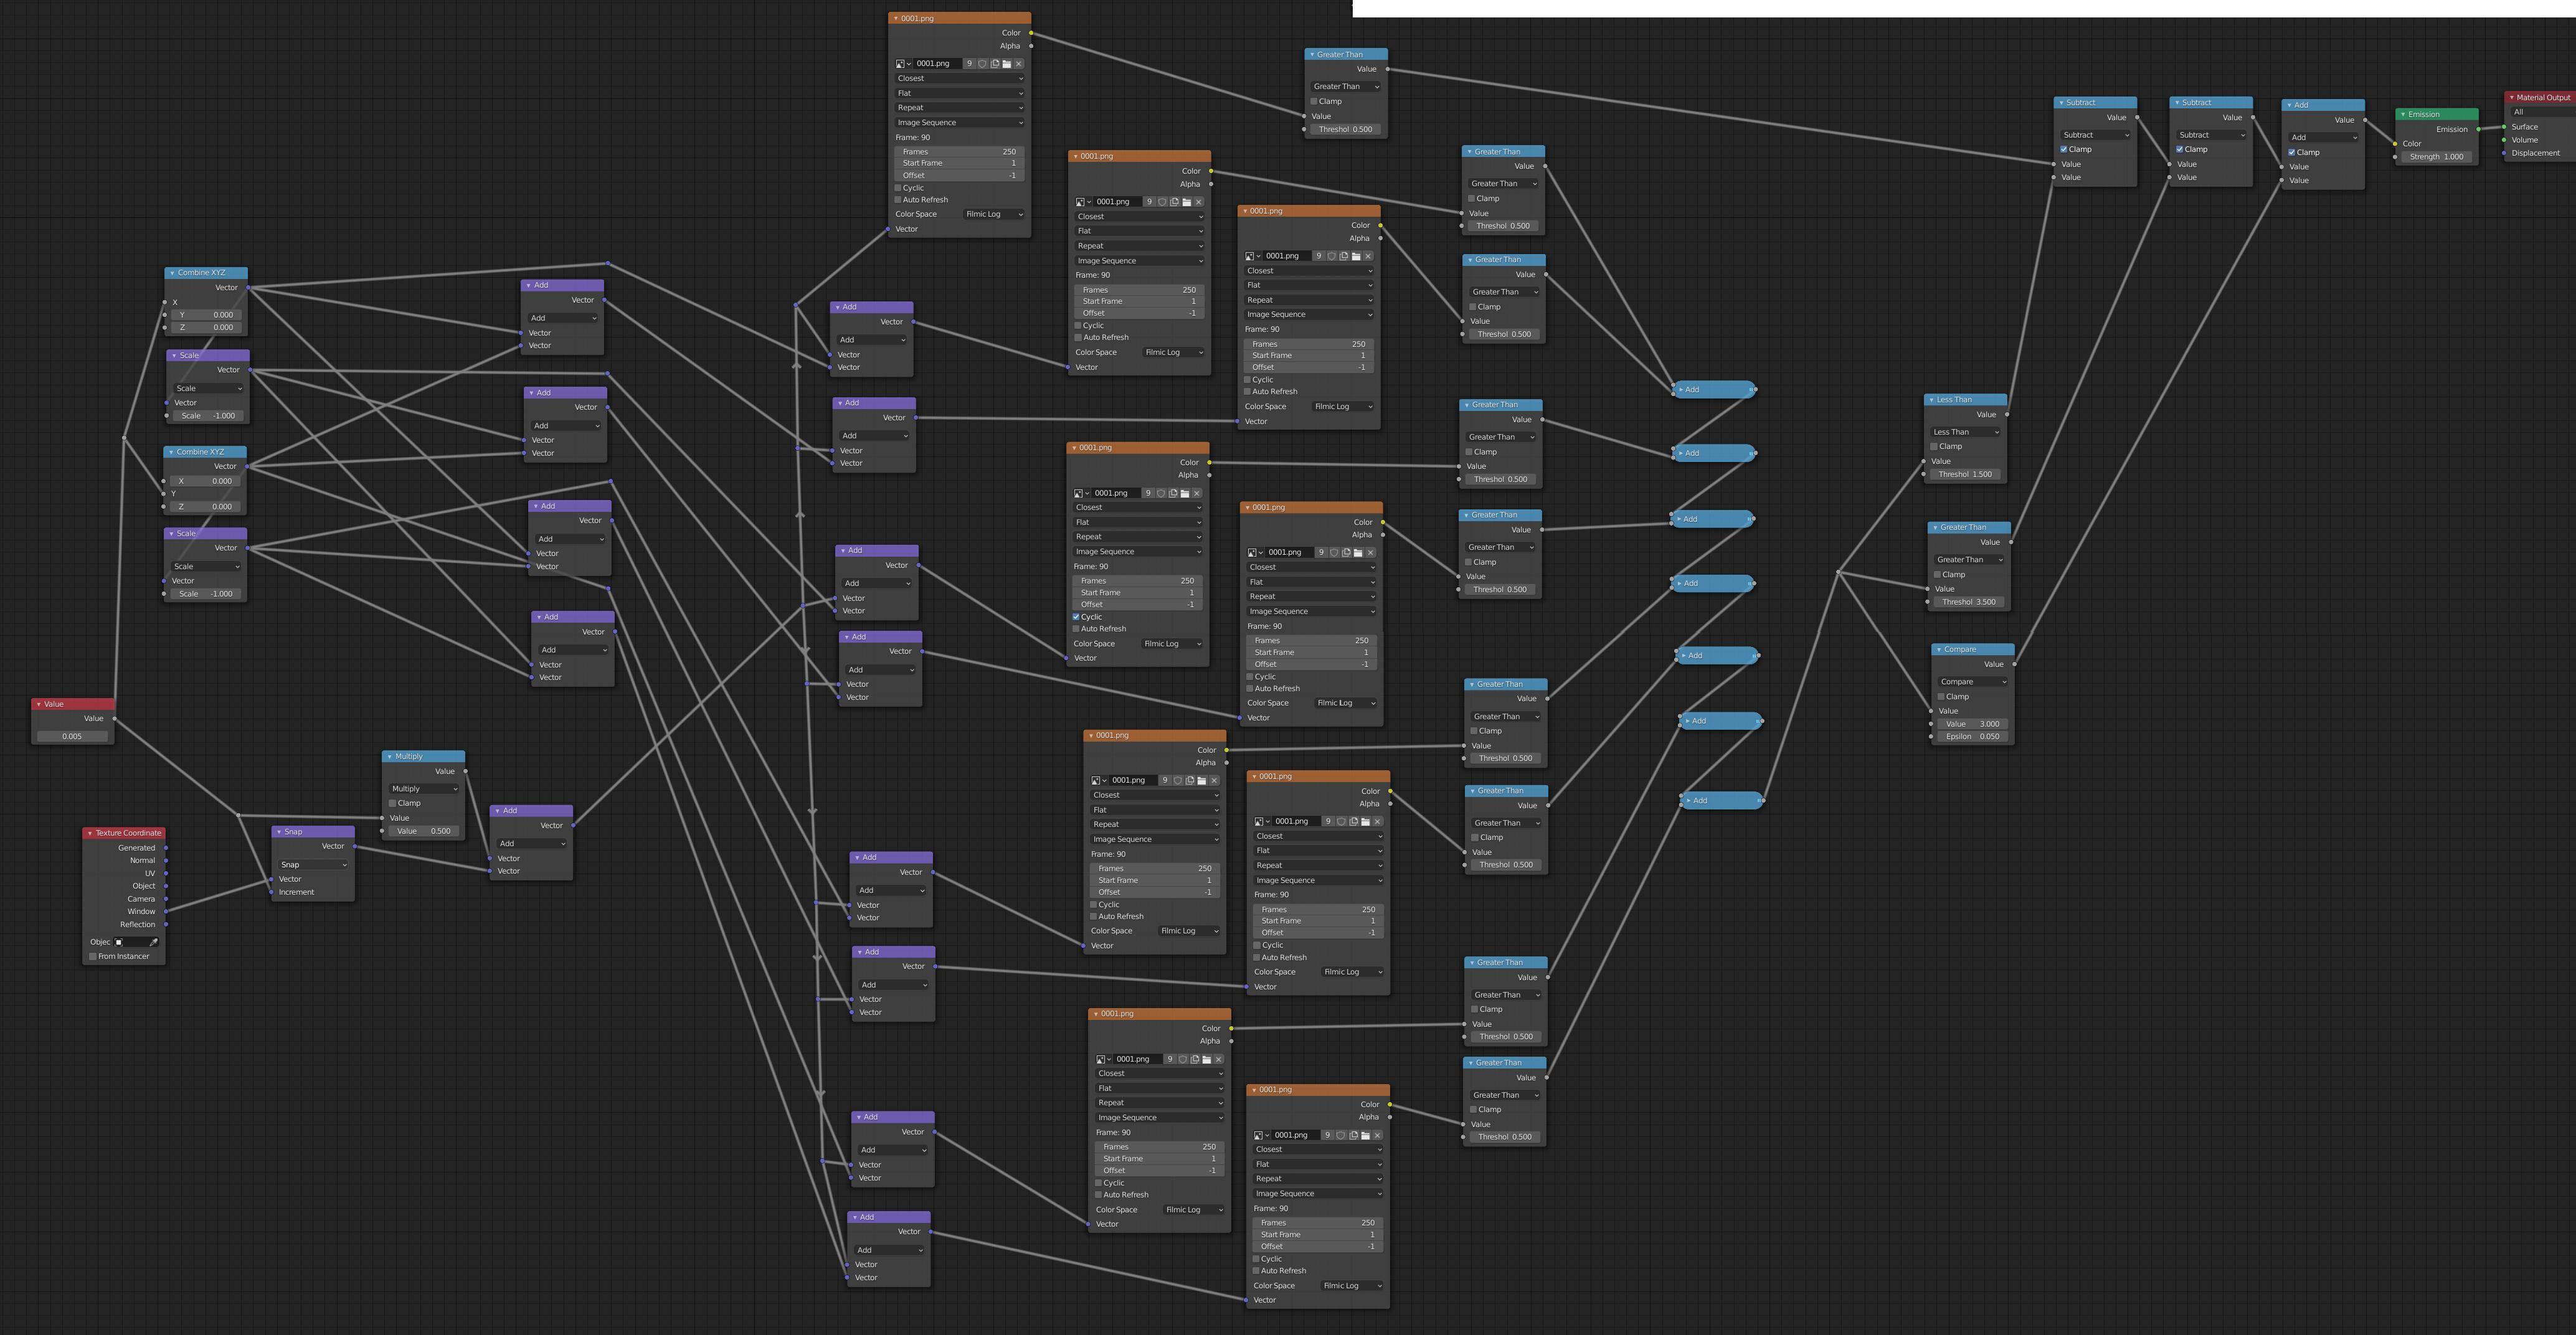
The Value node at the left controls the pixel size (as a fraction of the entire width/height) - so 0.01 splits the frame into 100x100 cells, 0.005 into 200x200, etc. 'Window' coordinates are used for simplicity to cover the whole image and this is split into cells using Snap further offset by 1/2 a cell so as to ensure we always sample the centre of the cell instead of an edge. The top-left group of nodes use Combine XYZ to create two offsets - one vertical and one horizontal to compare the adjacent cell in each direction. The offsets are negated (scaled by -1) for the opposite directions and the 4 resultant vectors combines for the coordinates of the 8 surrounding cells. The Image Texture nodes fetch the current cell (the first one) and the 8 adjacent cells. The 'live' cells are detected using Greater Than and counted (using 'Add') and the 'rules' checked as <=1 live neighbours for death, >=4 live neighbours for death, 3 live neighbours for new life (with the Clamped Addition and Subtraction combining the results of the rules) with the final result being output via the Emission shader in the rendered frame.
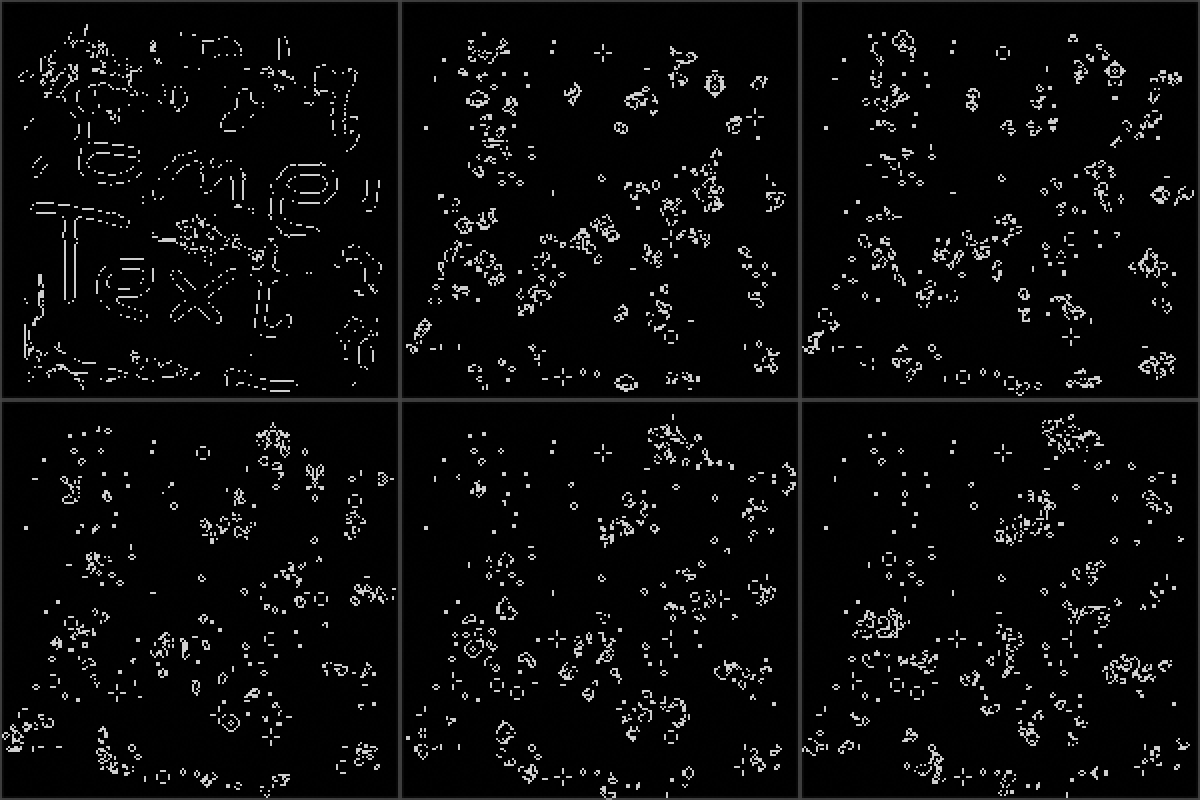
Here's the result :
Obviously the nodes can be replaced with OSL - if that's desired - but as shown it's really not necessary.
Blend file included - just add your own start image (0000.png) (see Output properties for location)


texture(...)call) but cannot write an image. However, it might be feasible to set up your scene so that you read an image and manipulate that to create a new render for the frame and the next frame picks up the results from the previous one (using ‘texture(...)’ call) and uses that to generate the next frame, etc. - even without OSL being able to write and image. $\endgroup$