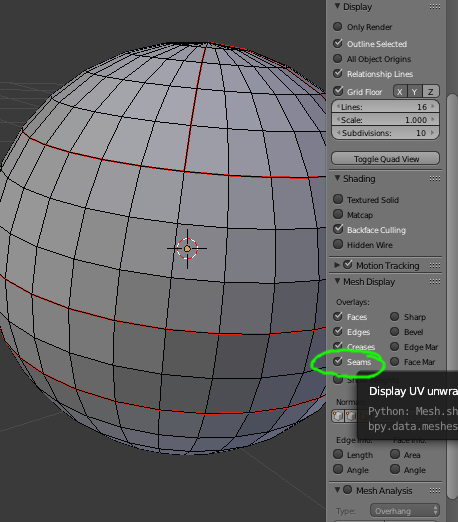
The top option of the Unwrapping dialogue is called Unwrap and is the best method to use if you want full control over the UV Island creation. For this method to work properly, you must manually add seams to your model along all edges where you want a seam.
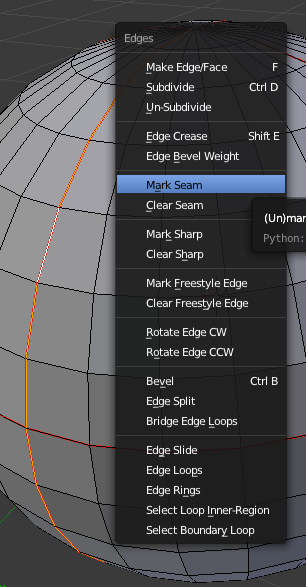
The menu shown in the image below is accessed using Ctrl+e

Using Unwrap with edges already marked with seams, you should get results something like the following. The seams show up exactly as I placed them on the model.

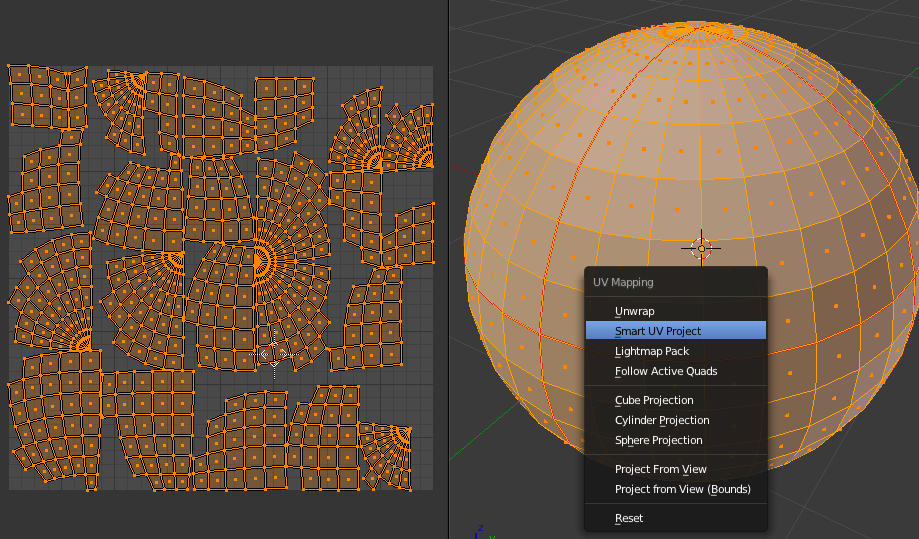
For this next unwrap, I used Smart UV Project. It's quick and easy but gives you very little control over seam placement.

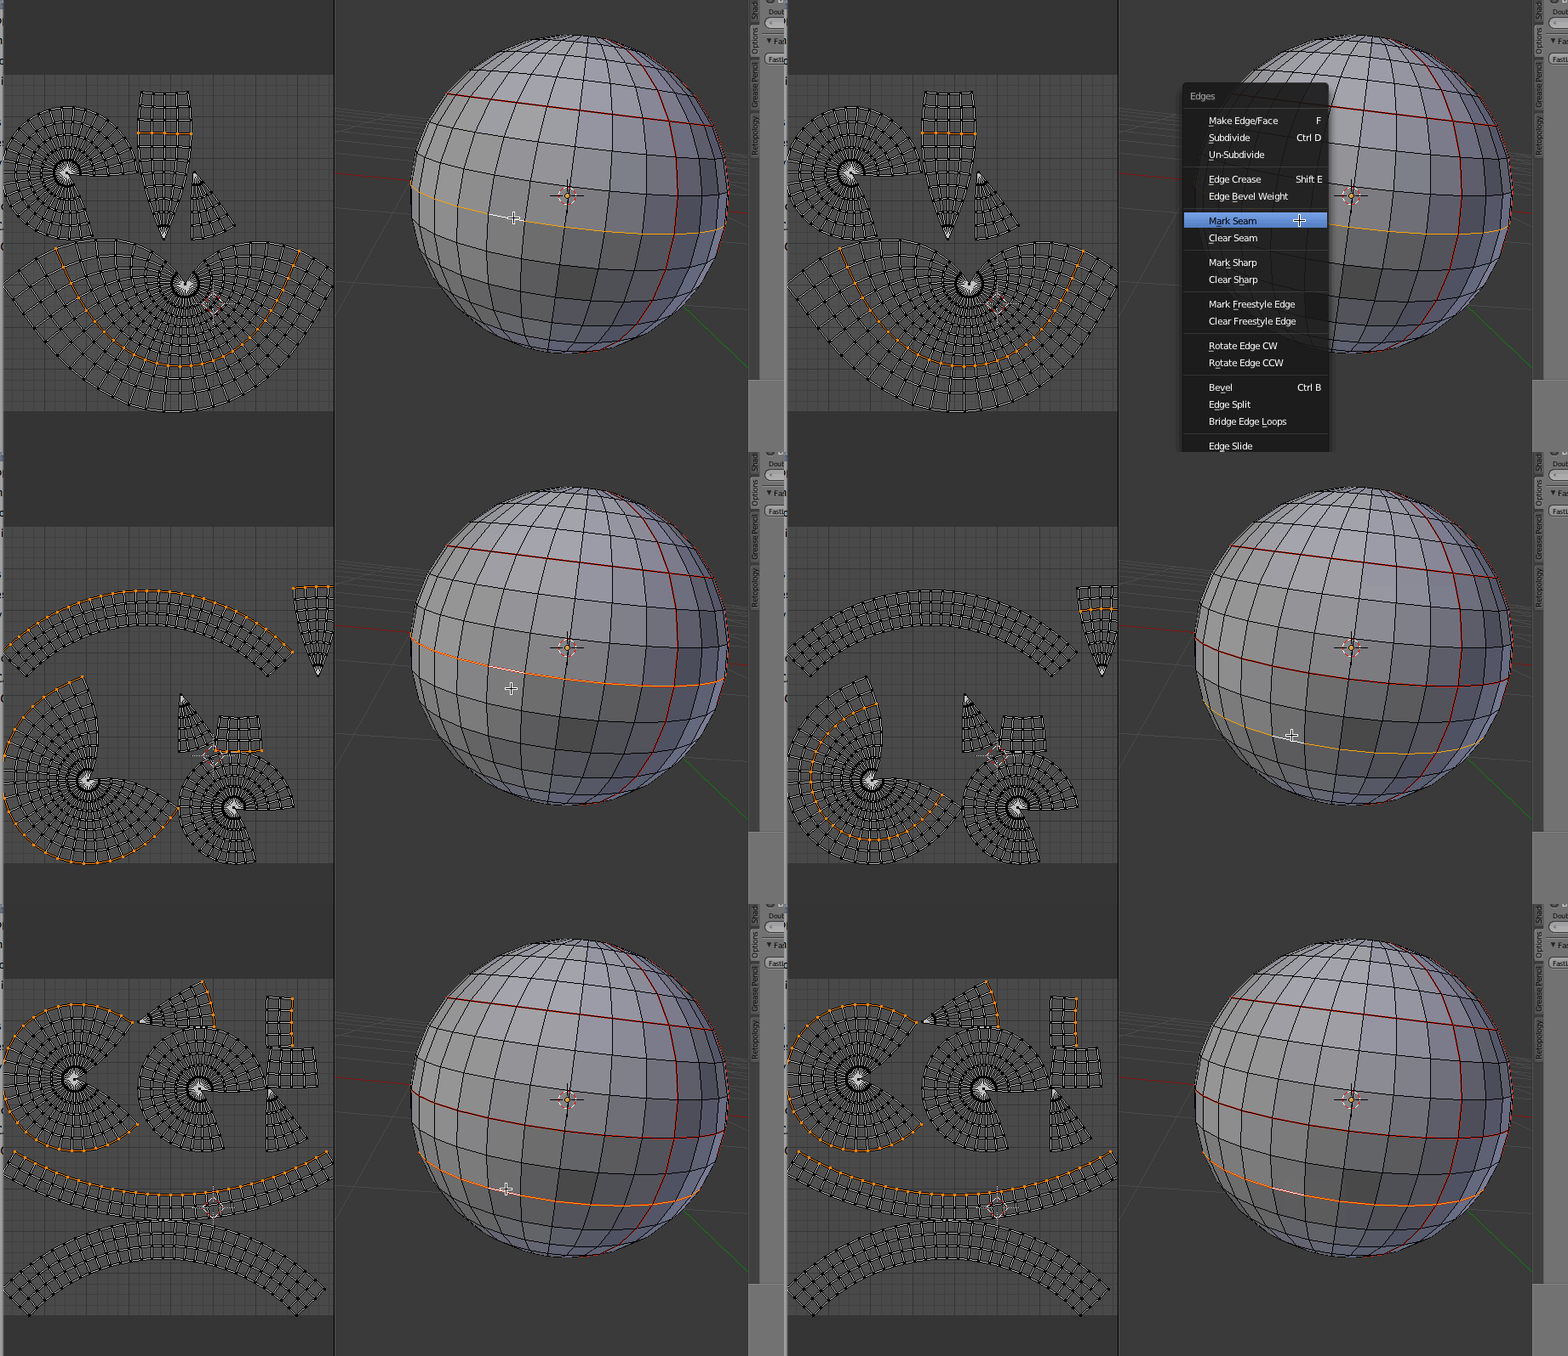
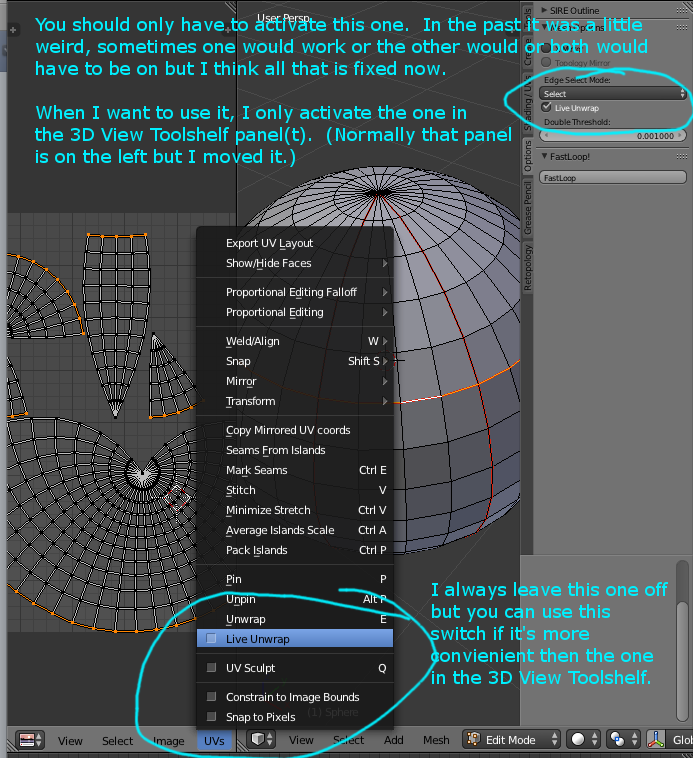
If you are using Unwrap, there is a feature called Live Unwrap which helps speed things up a bit when you are still deciding how to layout the UV islands.


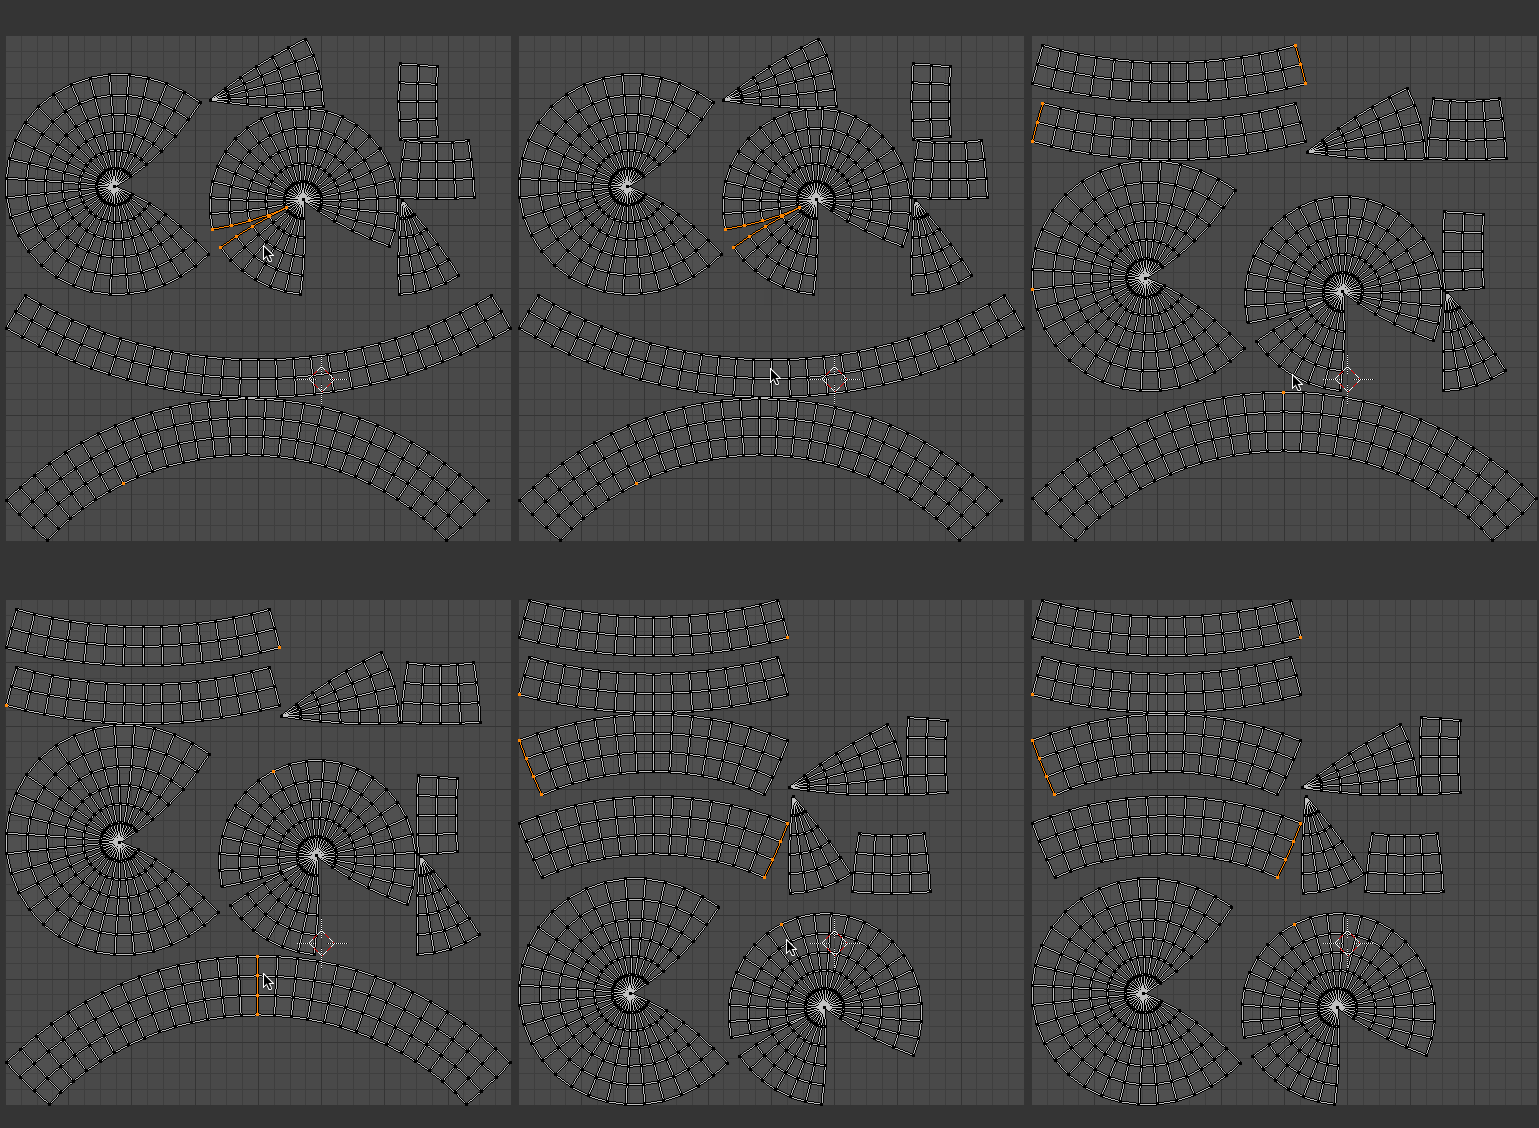
You can also work directly in the UV Image Editor when using Live Unwrap by marking new edges with Ctrl+e, this shortcut is different than it is in the 3D View. For UV's there is no menu, it will behave as if you marked a seam and the Islands will be recalculated.

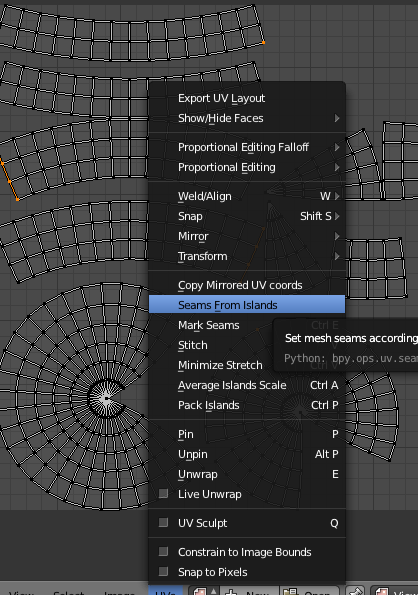
When you are finished you should disable Live Unwrap so that you don't accidentally set it off later when you are doing something else and are not paying attention to the UV Image Editor. You may also want to use -> Mark Seams From Islands after using Live Unwrap from directly within the Image Editor since Ctrl+e does not do this automatically, this way you will be able to see the seams in the 3D View highlighted in red.

Once you are finished with the seams, you can disable the visibility in the 3D Views right-side panel n.
