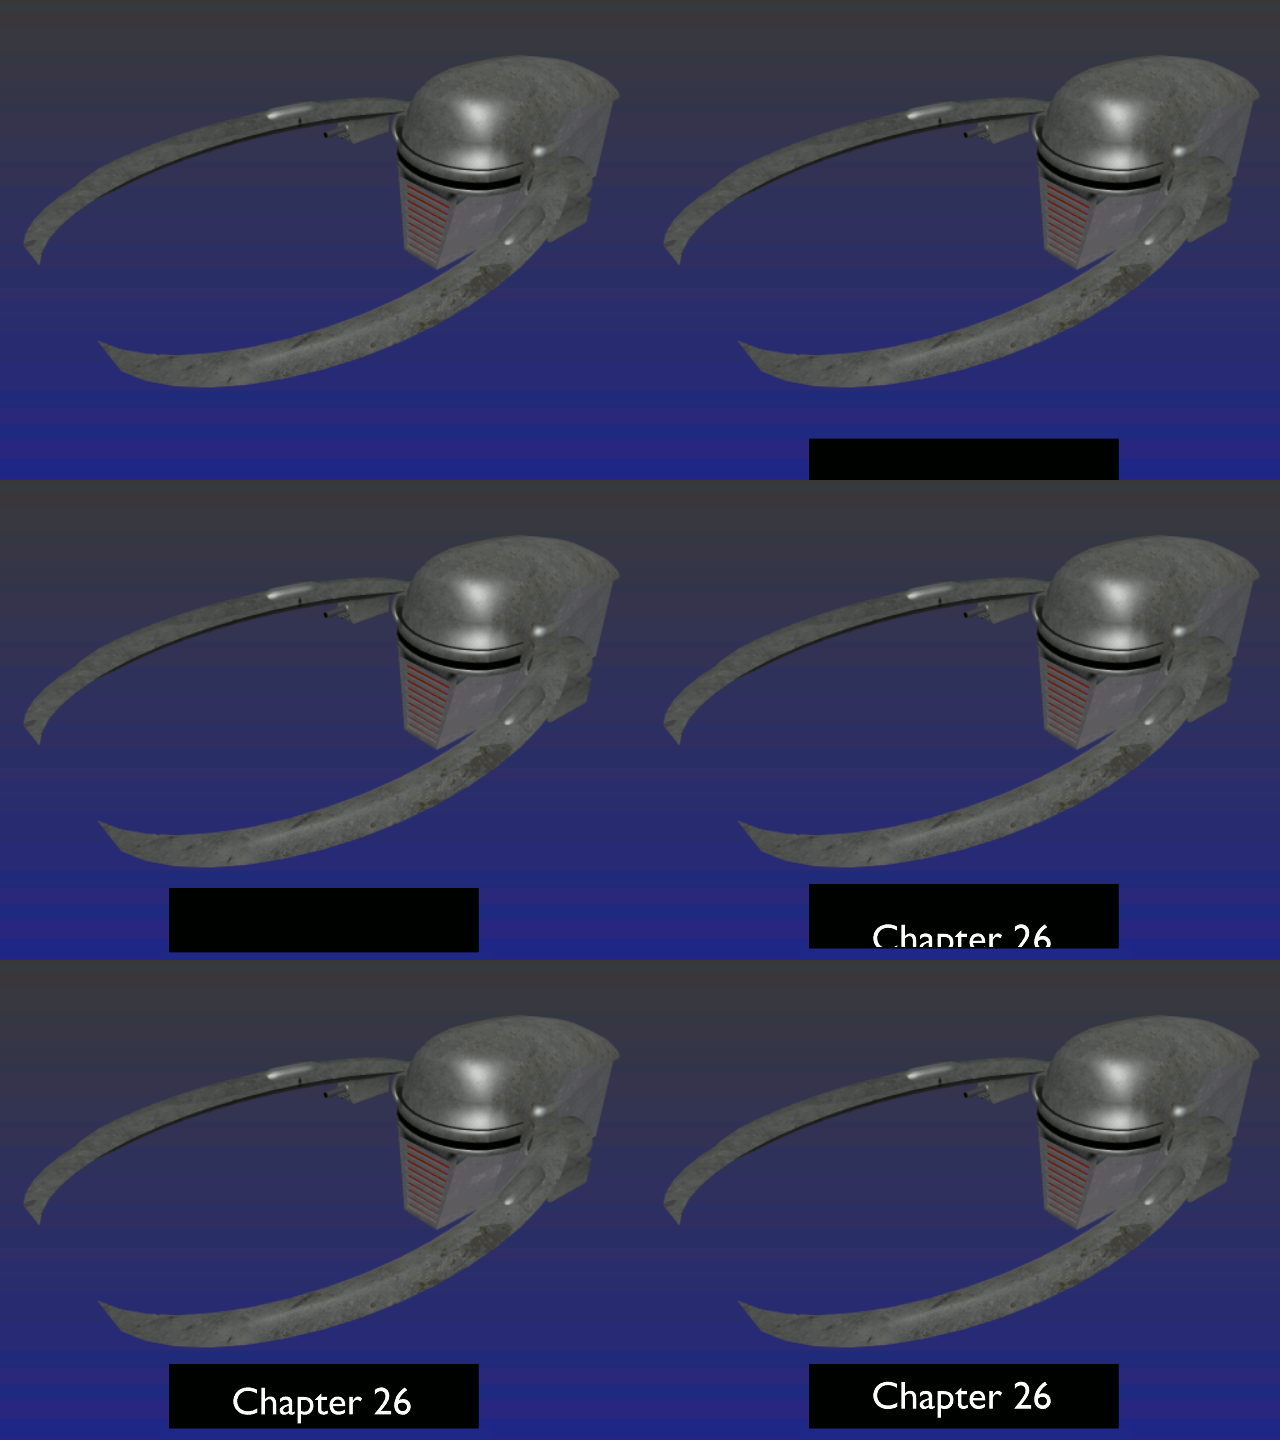
As commented above and assuming you're talking about "Chapter 26" at around the 20+ second mark -
A problem I can see with trying to do this in the VSE is coping with the text itself. It will be seen rising between the bottom edge of the video and the black box.
Doing this in Blender's 3D window/workspace would be a straight forward job with no problems. To use it again and again, simply edit the text and re-render.
Pretty much all of the elements and where they're needed have been placed into the 3D set/stage and placarded.

All settings needed to produce your overlay video have been preset prior to uploading. All you need to do is assign your own output folder and path for the output video/image sequence. DON'T RENDER BEFORE YOU DO THIS! You could end up with umpteen dozen files sitting somewhere!
To view the animation properly, get yourself into the camera view first, (numpad's Zero key) and then press CTL-A to set it going. (Don't blink)

As you're already overlaying a background video with text, we'll stick to that plan here and output the result using the "OpenGL" animation render, (top left of 3D window, under "Render")
All settings as setup in the Blend file should work straight off, except for the output folder and your own background video.
The main settings -
In the rendering properties panel at extreme right, set the "Shading" tab to "Transparent". The Post processing tab's boxes should be unticked for safety until actually using the VSE.
The output folder should be set to one created for this job because there's going to be a host of single-frame files. You don't want extras in there, causing mayhem!
Set the ouput format to "PNG" and make sure to press the RGBA button at hard right. You won't have a transparent overlay video otherwise.
What should end up being produced is a sequence of alpha layered video frames in the form of PNG files, ready to import as an "Image Sequence" in a seperate instance of Blender, and it's VSE. This time the "Sequencer" box should be ticked in the "Post Processing" tab. This is normally the default anyway on a newly fired up instance of Blender.
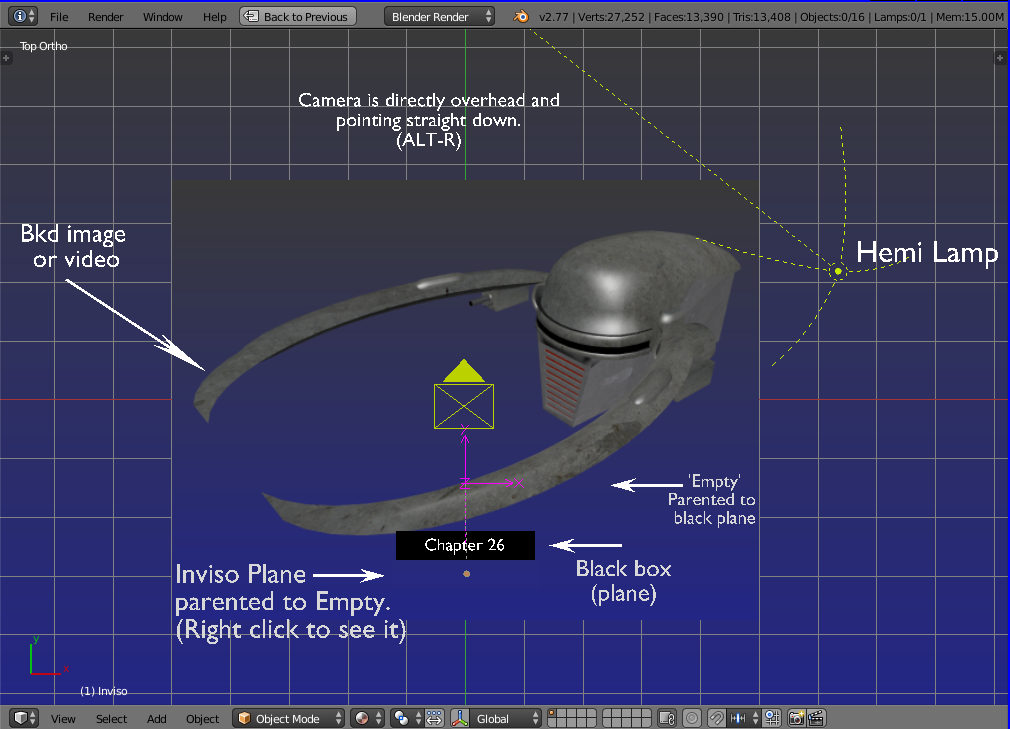
Explanatory - Have a look at the Blender file to see that I've simply laid text, mask, and solid black plane flat near the 'ground', the camera directly overhead and looking down.
An "Inviso" mask moves in unison with the black box/plane and used to conceal the text ascending in the Y axis. Only those parts that are higher in the Y axis than the mask will be visible. The text is also placed higher in the Z axis than the solid black rectangle and will be seen to slide up 'inside' the black area.
If desired it can slide down to be concealed again, or using the same
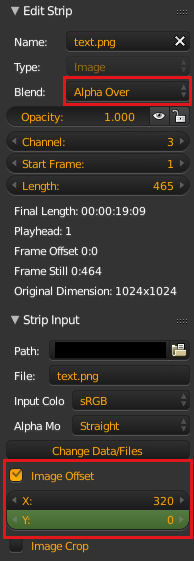
video sequence but within an additional strip in the VSE, the video can be reversed with that button in the strip's properties. (Press N)
As far as dispensing with the text and black box, you're only limited by your imagination. A simple fade in the VSE would do!
-=============-
'Inviso mask' - This is a term I've adopted for the effect we get in Blender when rendering using OpenGL and giving a 2D plane a material slot with Transparency set to 0.008, Specular set to zero.
When the effect is active, objects and parts thereof that end up behind the mask can be -->selectively<-- rendered invisible. This is most useful for a variety of applications.
One example -
https://i.sstatic.net/mP991.jpg
The smaller cube whilst physically in front of the image can be placed behind some item within the photo by using an Inviso mask fashioned to match the exact shape of that item, such as the tree trunk above.
Another -
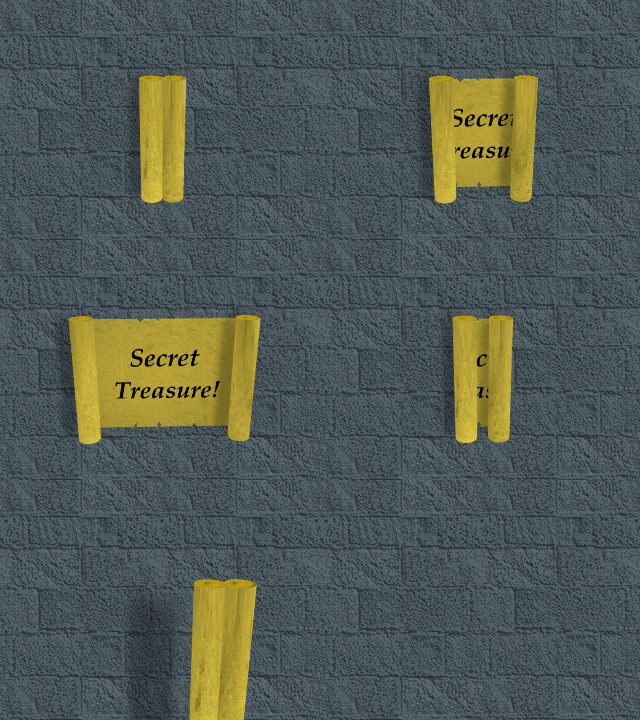
 This uses inviso masks to hide the outer portions of the 'open parchment'.
A detailed explanation is here -
Reduce Curve Deformation
(scroll down to the post describing a simple 'Parchment Scroll' opening and closing)...
-================-
If you find the mask not working on your hardware, go to the black box/plane's (not the mask) material panel, open it's shading tab, and tick the "Shadeless" box, just for a second or so, untick it again. For some reason Blender needs a slight kick, get it talking to the graphics card(?).
Run it again and it should be ok
The Blend file -


