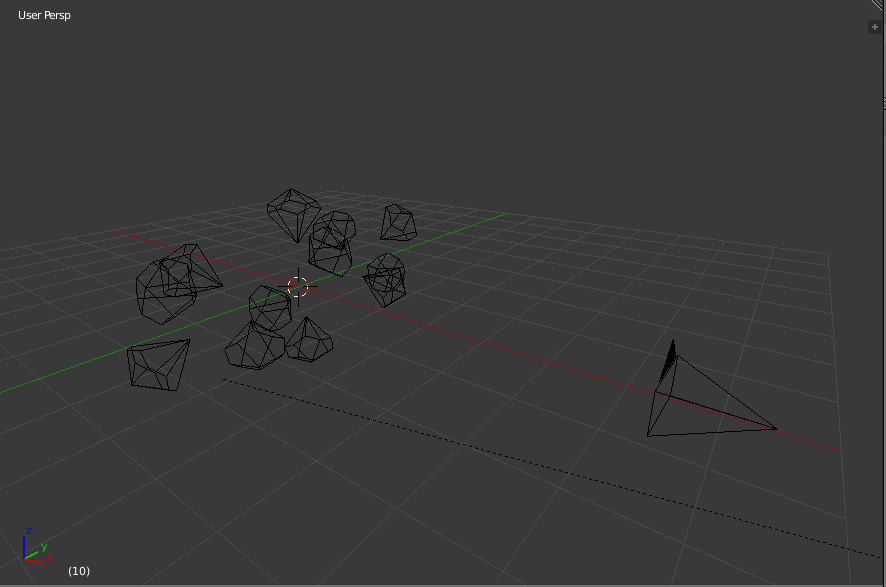
I've got a tracking scene with some glass and glossy materials involved. I want to render the background footage along with the glass, but no reflections or refractions are appearing. It's just gray. Im using cycles
1 Answer
It is not possible to render the viewport background, I've tried, and failed.
What I ended up doing is just adding in the background in post-processing, like using After Effects (Though this is possible with Blender)
If your scene uses refraction like glass or glossy layers, it might be a good idea to create a plane as the background.
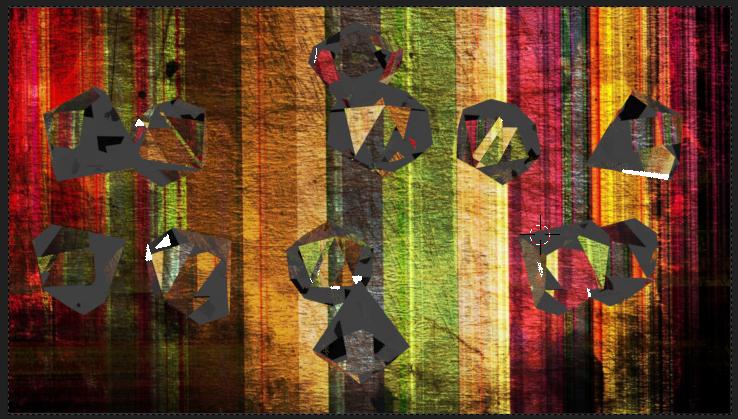
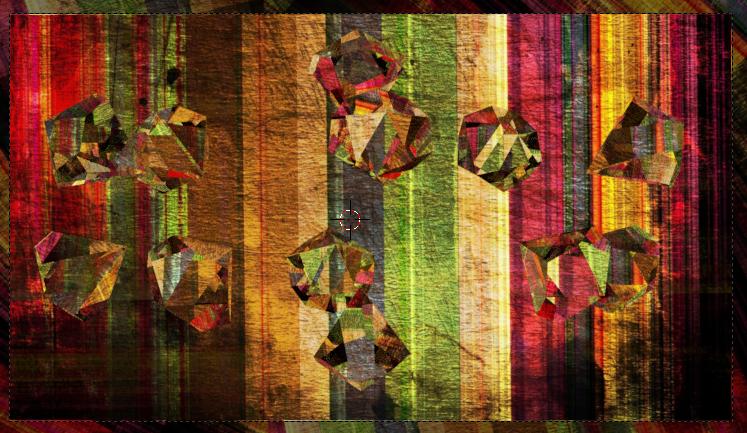
So, for example purposes, I composed a scene with shards of glass, a camera, and a light.
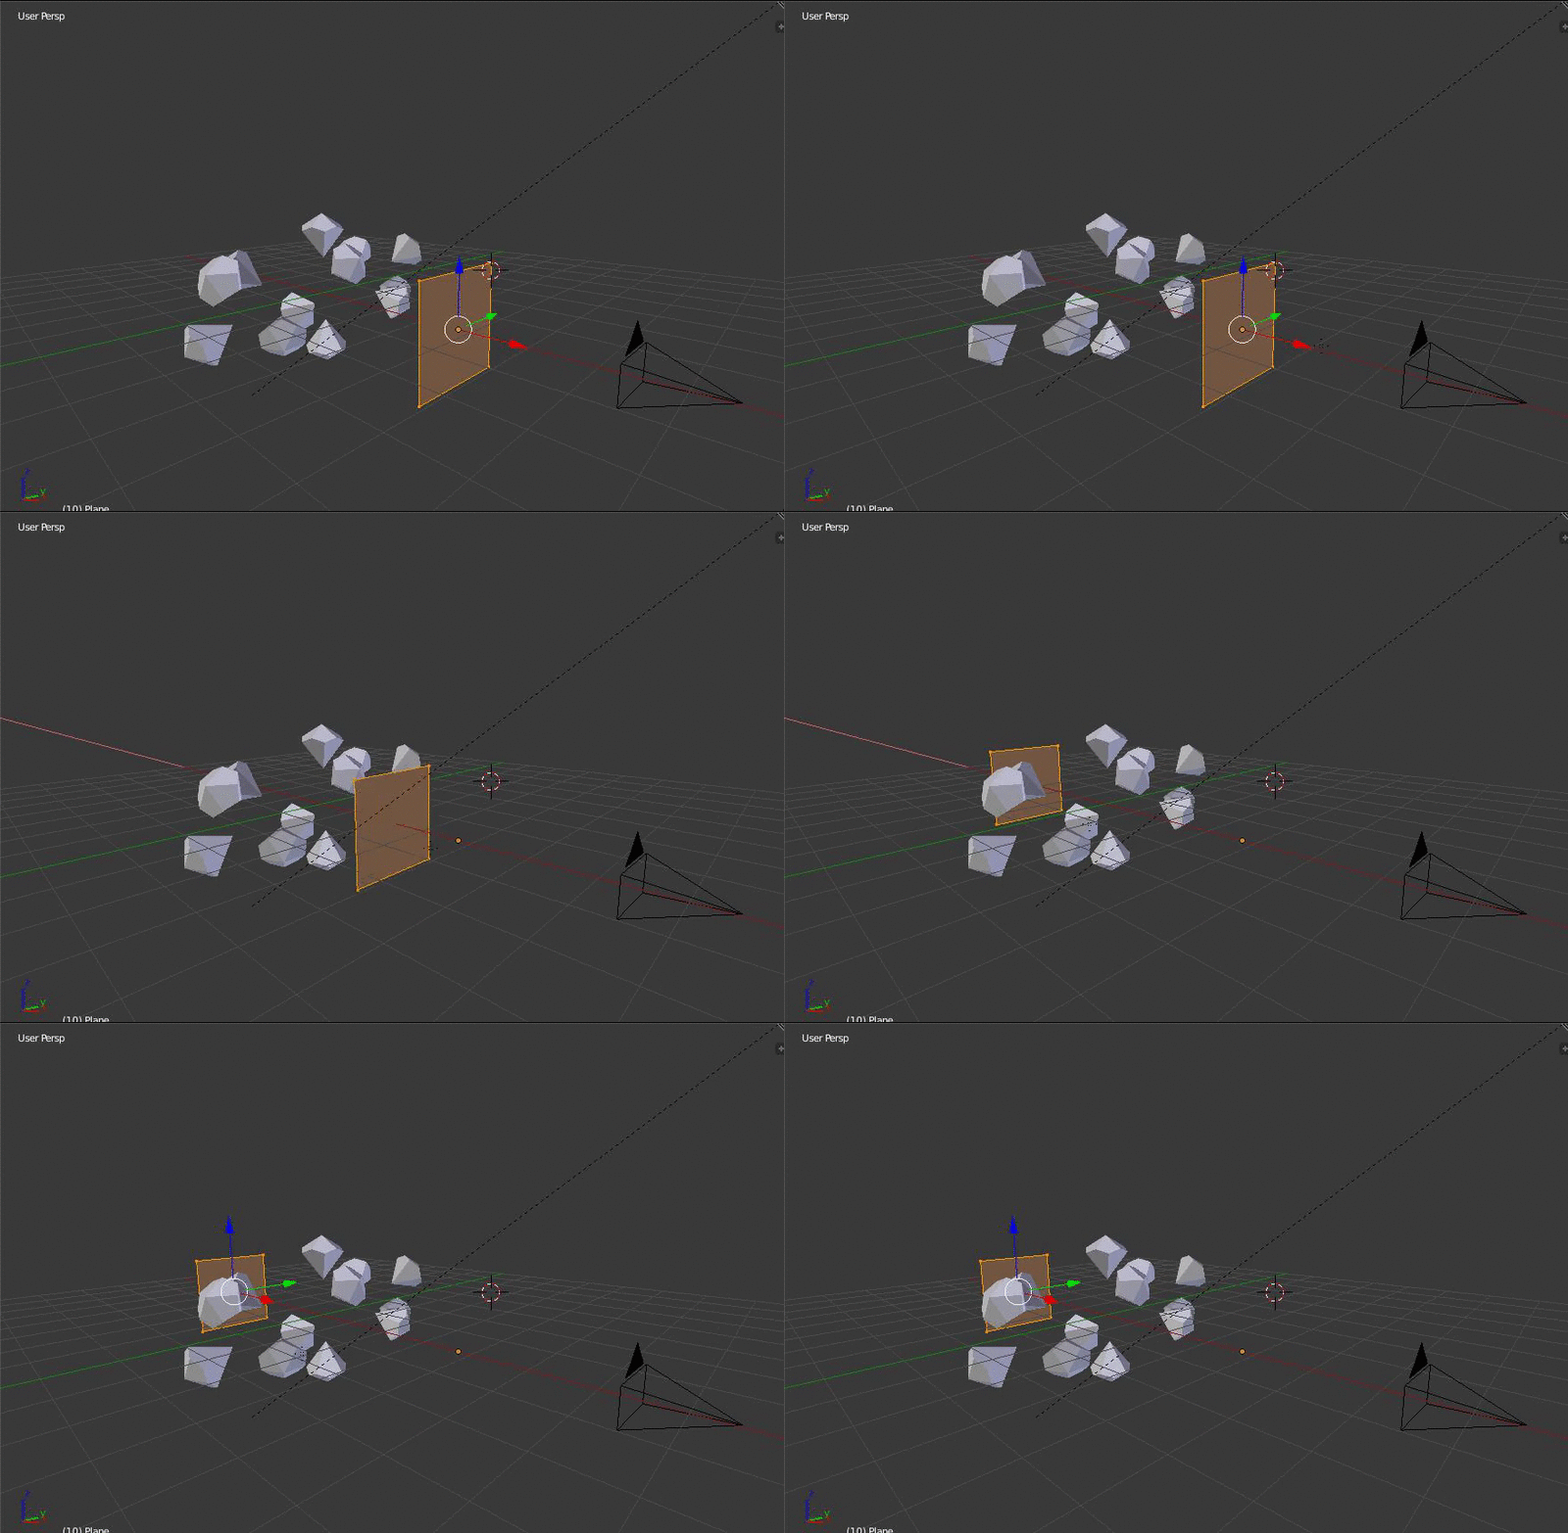
The first thing you should do is create a plane. Then rotate the plane so that it is parallel with the camera, then move it backwards so it is behind everything else.
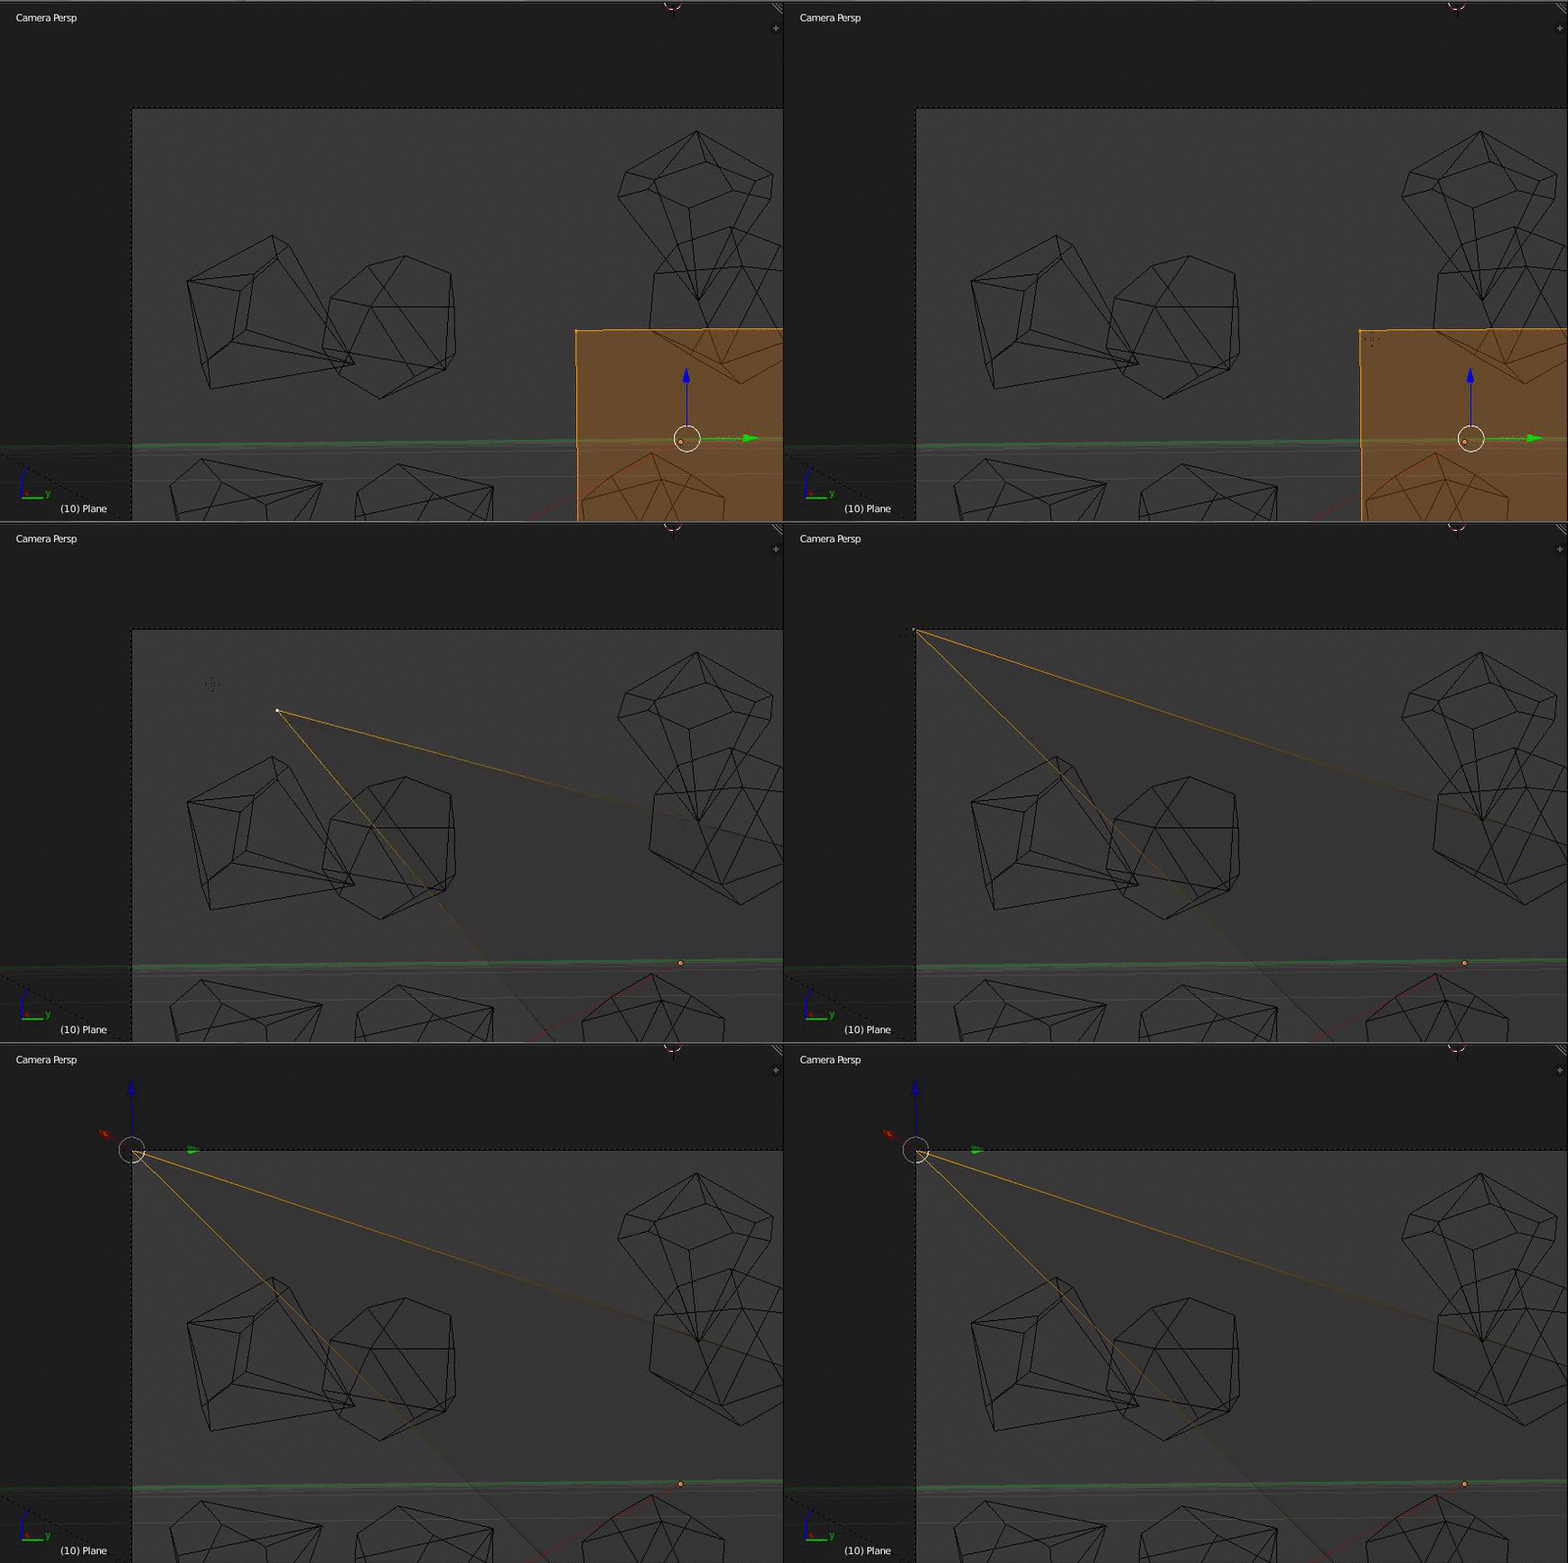
Then, go into the Camera by pressing 0 and go into edit mode by pressing Tab.
Then, you'll move each of the edge vertices of the plane as accurately into the corners of the camera scene as possible.
So you should end up with something like this:
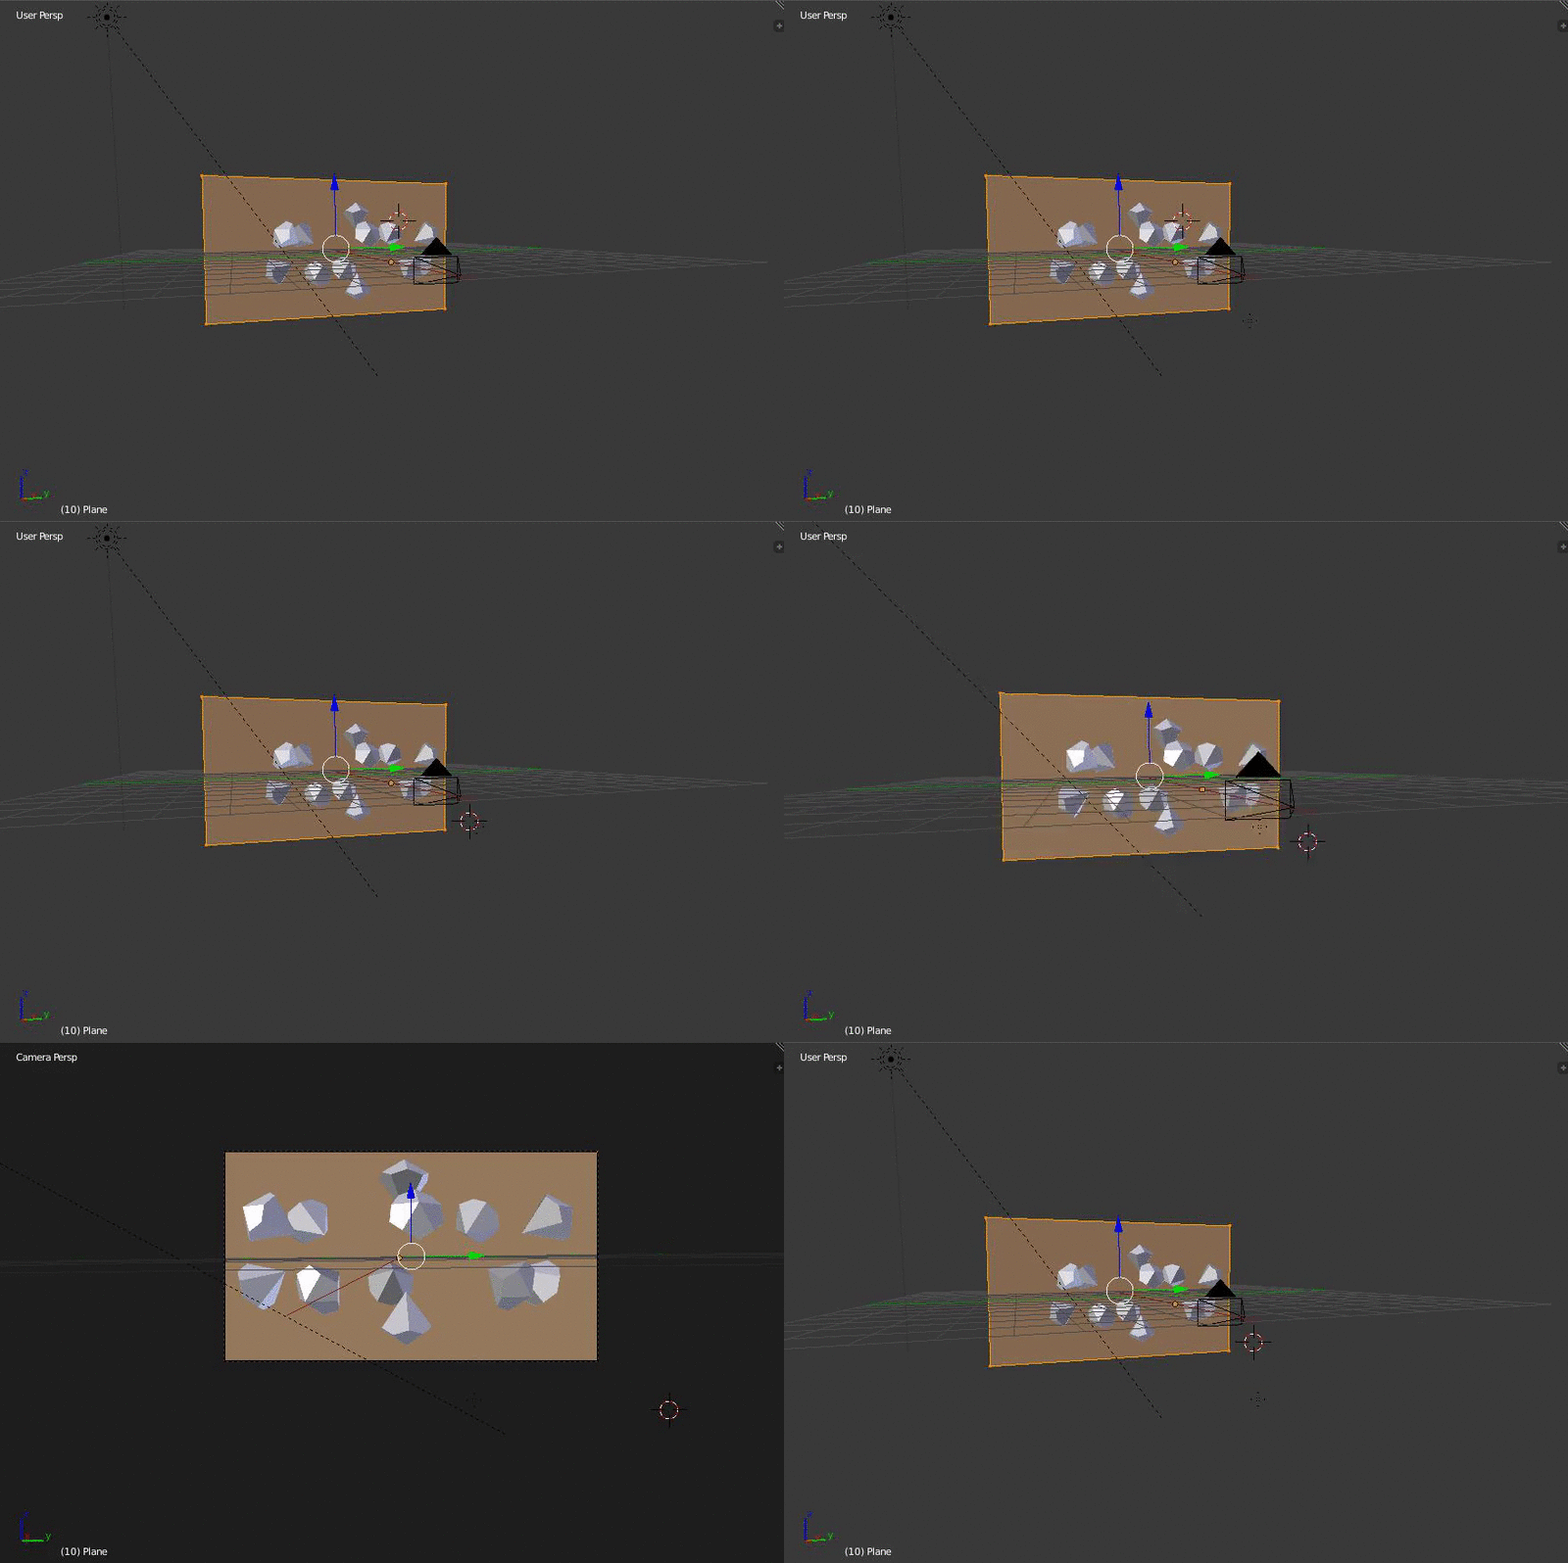
Then go to the Materials tab for the plane, and add (+) a material. Change it from Diffuse BSDF to Emission. Then Press the Circle next to Color and change it to Image Texture You should get something similar to this:
If the texture appears out of scale, try changing Flat to Box.
You'll notice there is gray in the refraction of the glass. This is because it is picking up light (Or should I say, a lack of light) from the rest of the scene outside of the textured file. To fix this...
Create a sphere and scale it up so that it overlaps the entire scene. Then, add the Emission texture to it the same as with the plane. You'll notice the texture doesn't show up properly, probably is just a solid color. This is because you haven't UV unwrapped it.
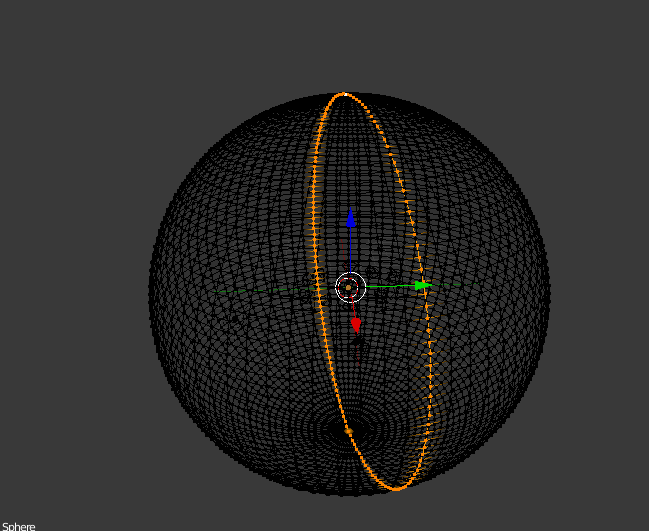
To unwrap it, go into edit mode with Tab Select a ring that goes through the center of the sphere.
Then hit CTRL+E and choose mark seam. Then hit U and choose Unwrap.
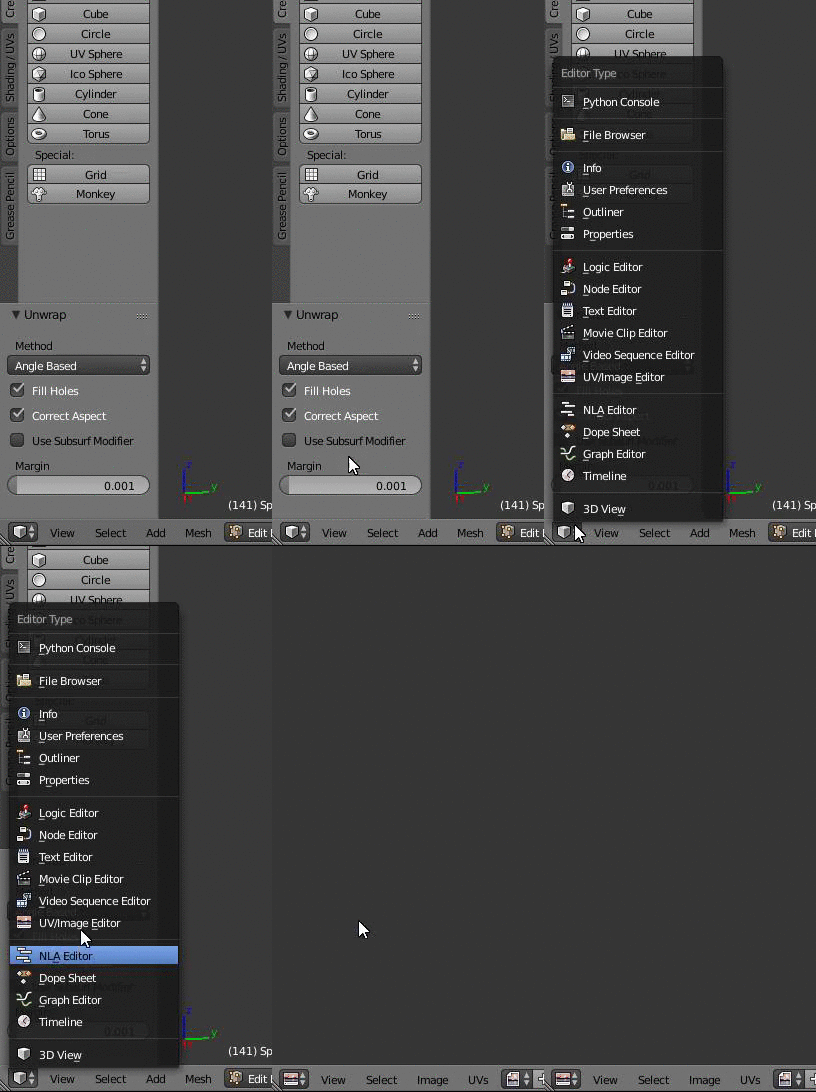
Then switch the panel to the UV image editor
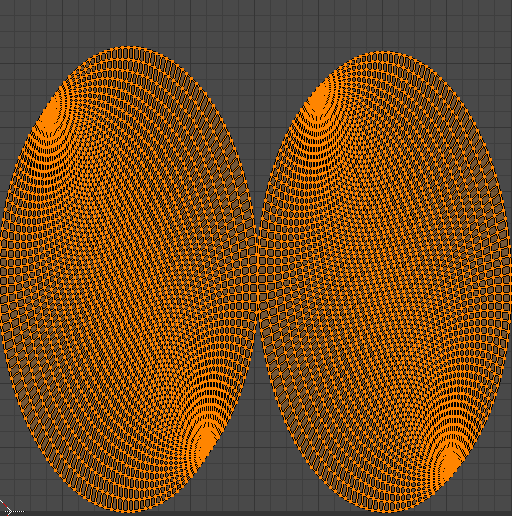
It should look like two ovals.
Now you'll want to scale these up and down with s. If you open 3D View and do Shift+Z to do a makeshift realtime render, you can see as you scale up and down that the texture formatting on the sphere changes. Scale it so that a single texture on the sphere is around the size of the plane, then you can close the UV editor, like this:
Click here for image, it was too big to upload
Then if we go back to the camera and render, you will see that there are no more gray spots.
This works because the aphere is providing the refraction textures. Sure, it might not be exactly realistic, but it's good use of what you have available to you.
If there are any problems, I'm willing to help. Sorry if this answer seems unorganized. I'm still new to Stack-Exchange and am currently trying to find an answer format I like.

