1
$\begingroup$

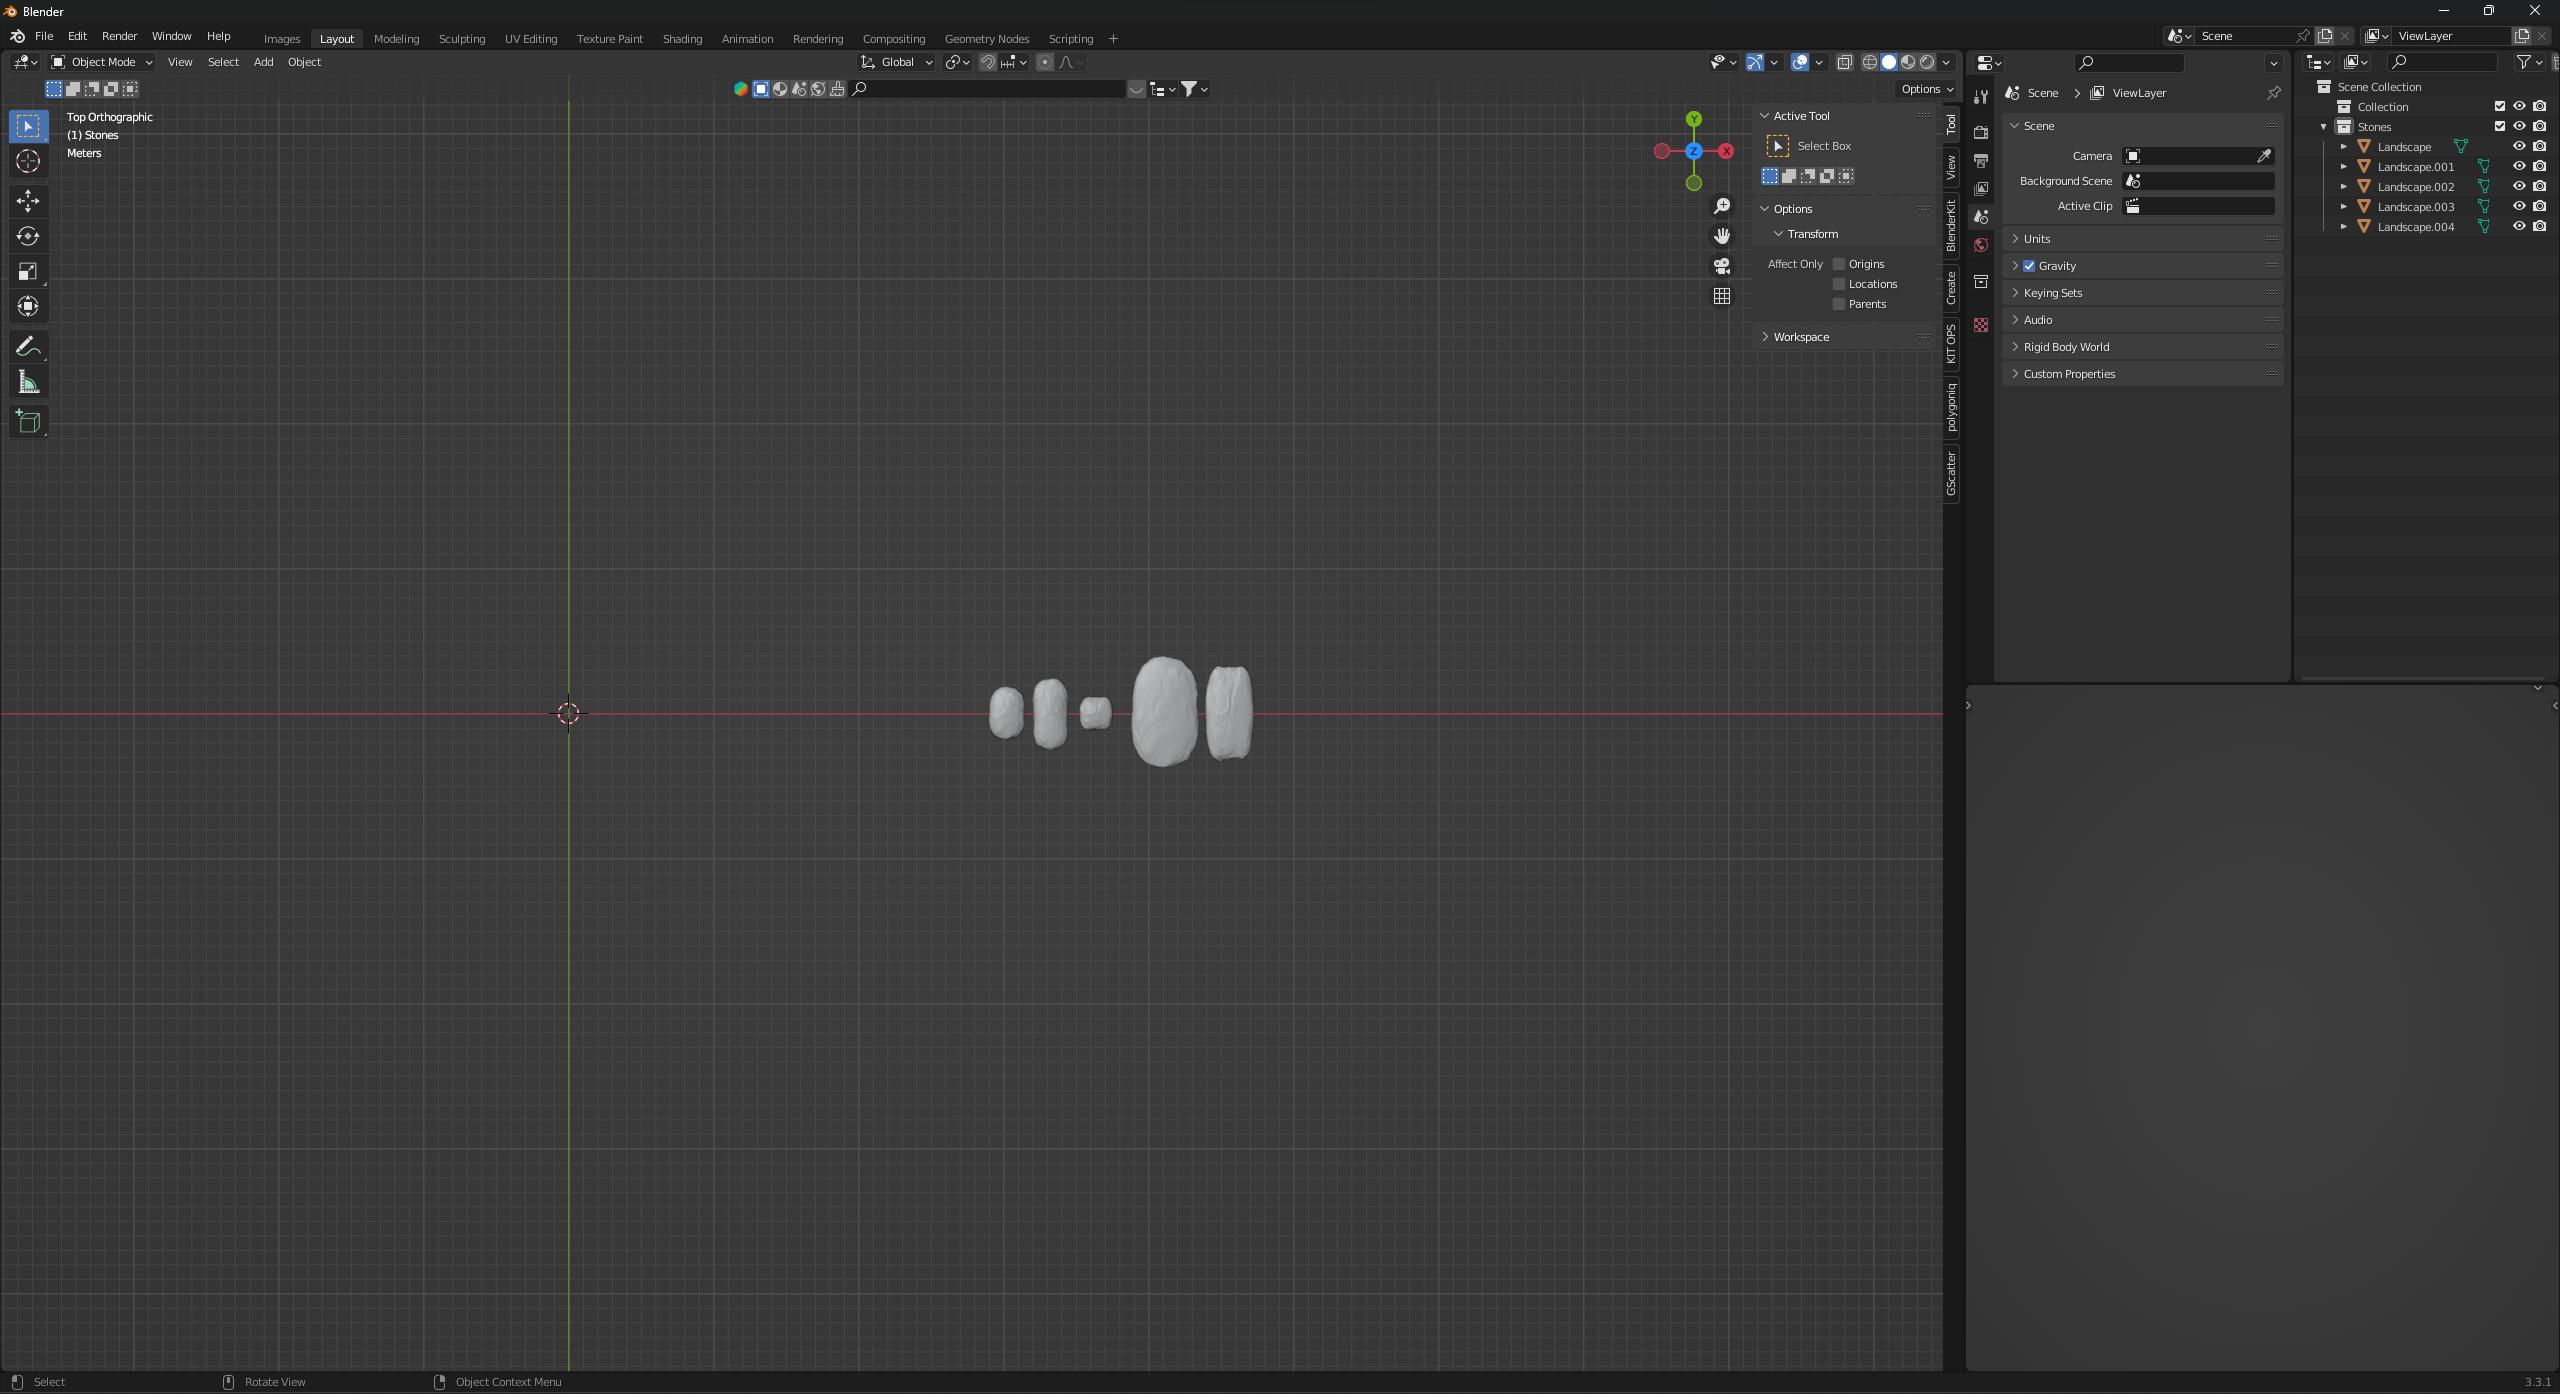
What Im Going forStones I have

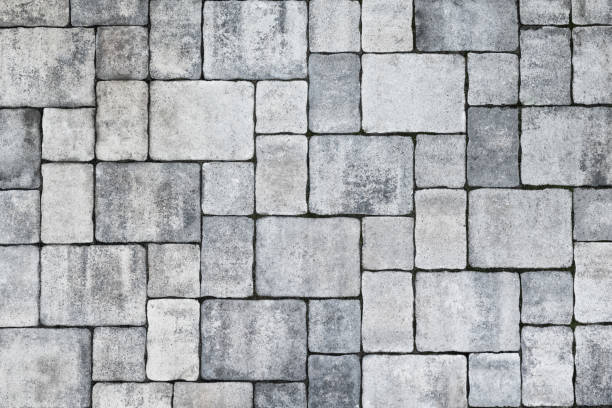
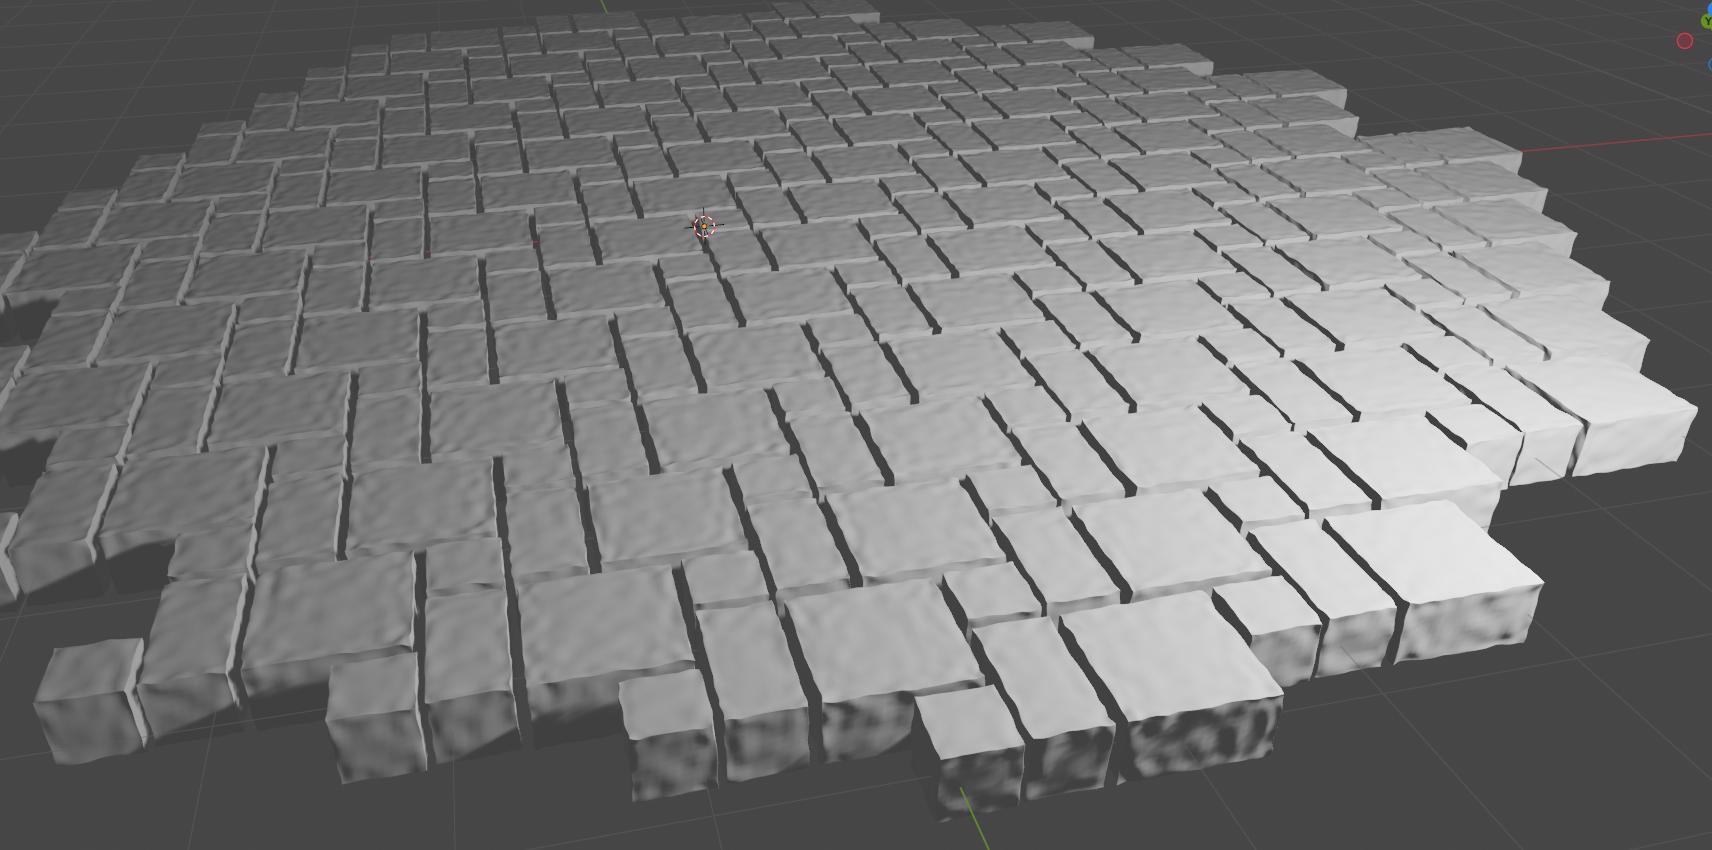
I'm trying to make a stone brick floor, but I can't seem to figure out a way to do it other than manually. I don't know much about geometry nodes, but I've tried messing around with them to get something to work, but maybe I missed something. What would be the best way to go about this? (The floor in question will just be a simple square/rectangle and I'm trying to get a somewhat uniform look so that it looks like an old man-made floor) The top image is sort of what I'm going for, but I'm using rounder stones so it won't be as neat and aligned.

Any help is much appreciated.

$\endgroup$
3
  • 2
    $\begingroup$ Hi Eric :). Could you please add some images to illustrate what you're after? $\endgroup$ Commented Jun 29, 2023 at 14:36
  • $\begingroup$ I've added a reference image for those asking :) $\endgroup$
    – Eric
    Commented Jun 29, 2023 at 17:29
  • $\begingroup$ Even though it doesn't incorporate the half-square offset seen in your example, you might check out "recursive subdivision" bbbn19.gumroad.com/l/rvxmtd?layout=profile $\endgroup$ Commented Jun 30, 2023 at 16:23

2 Answers 2

1
$\begingroup$

Well even though Blender has a 'brick texture' node, its not very powerful because it doesn't exposes the mortar vector in way it can be manipulated.

However, people usually mix two different textures to create what they want. Here is a good tutorial that walks you through something similar https://youtu.be/9Tq-6HReNEk

Remember the technique can be used to make any brick/cobblestone texture you want.

$\endgroup$
2
  • $\begingroup$ Thank you to Ahmad Bilal for answering this. I don't why I was trying to make it harder on myself by using geometry nodes instead of making a shader. Sometimes the better way to do something just slips my mind. $\endgroup$
    – Eric
    Commented Jun 30, 2023 at 18:05
  • $\begingroup$ Remember, to look at the workflow/tutorial videos for Substance. Even if you are not using that, it helps you understand the workflow. Take care bro $\endgroup$ Commented Jun 30, 2023 at 19:30
4
$\begingroup$

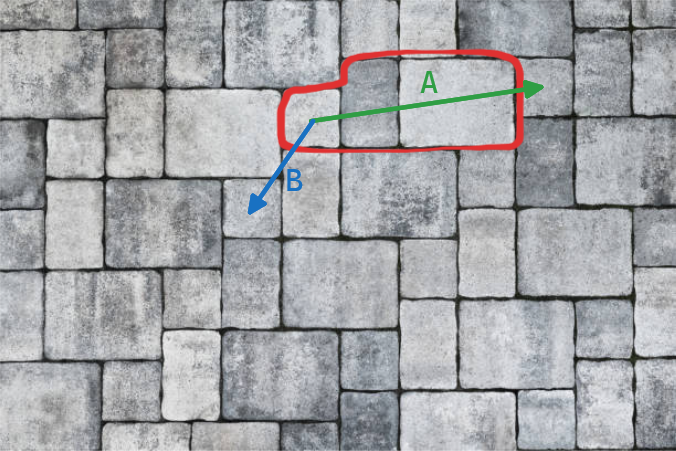
For tilings like this, all you need to do is recognize the repeating group (I called it the "pattern" and marked red), and how this group offsets when it repeats:

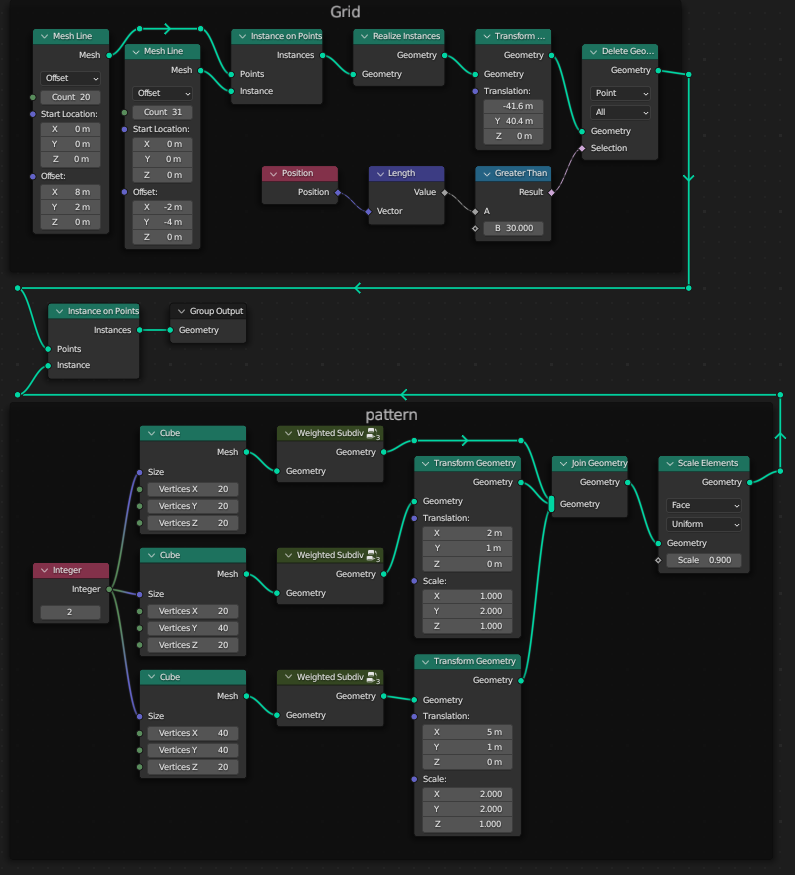
Assuming for simplicity (but the setup will work without this assumption if you adjust dimensions) the bricks are of sizes $2×2$, $2×4$ and $4×4$, the $A$ offset is $<8, 2>$, and $B$ is $<-2, -4>$, and you can see these numbers in the node tree below:

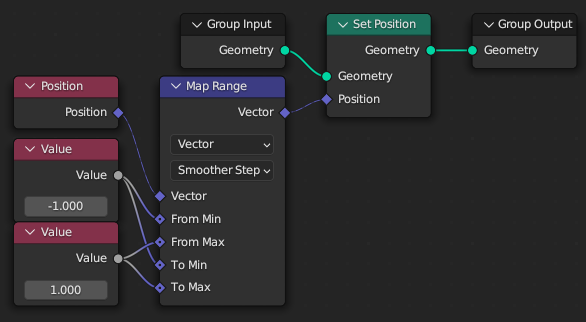
I got a little bit ahead of myself and subdivided the cuboids with this group:

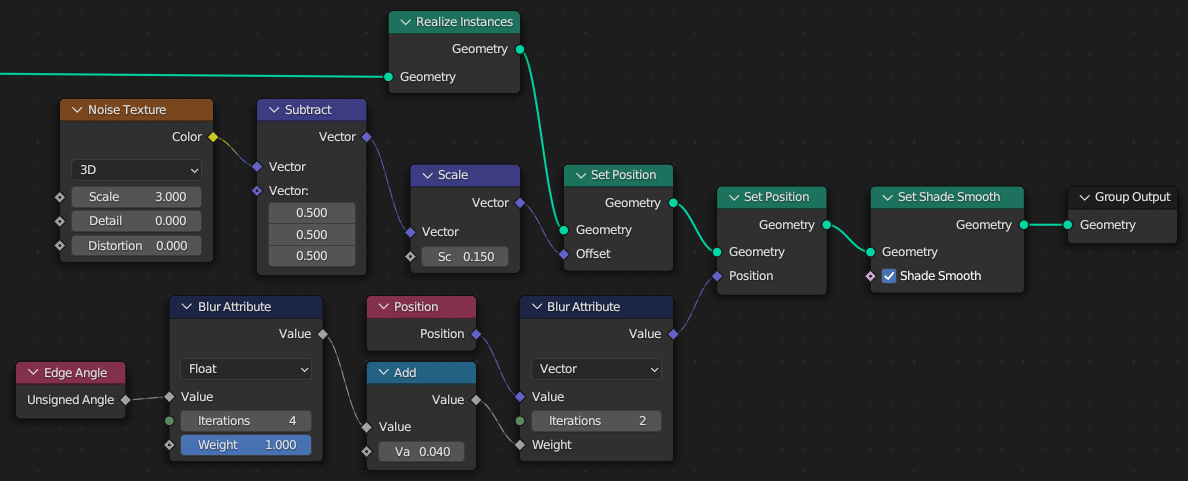
So that either inside the "Pattern" zone (if you don't care about repetitiveness) or at the very end (after realizing instances, if you don't care about performance) you can randomly displace the bricks for some artistic effect:

$\endgroup$
1
  • 1
    $\begingroup$ I love this answer, and it shows very clearly how repeating patterns can be realized with Geometry Nodes. But strictly speaking the example is $2×2$, $2×3$ and $4×3$ ;-) $\endgroup$
    – quellenform
    Commented Jun 30, 2023 at 22:17

You must log in to answer this question.

Not the answer you're looking for? Browse other questions tagged .