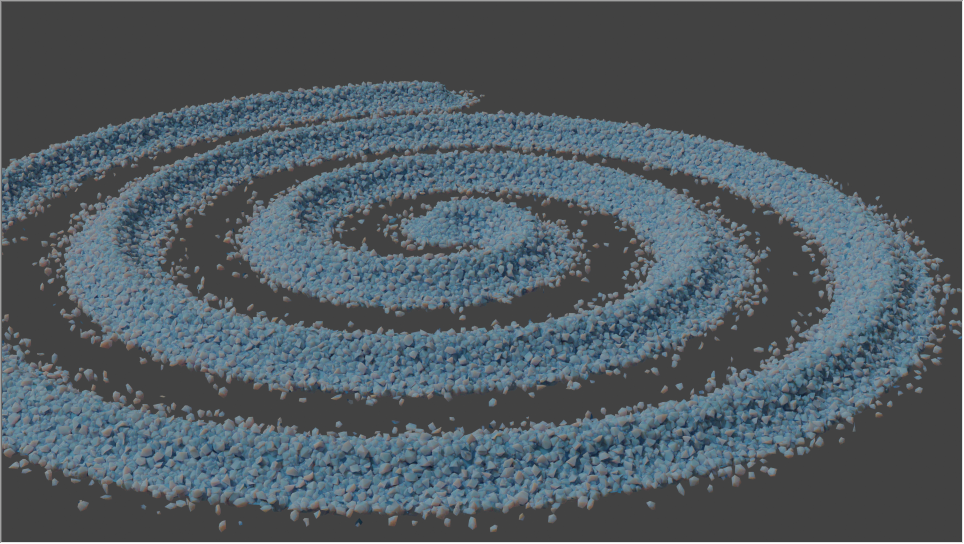
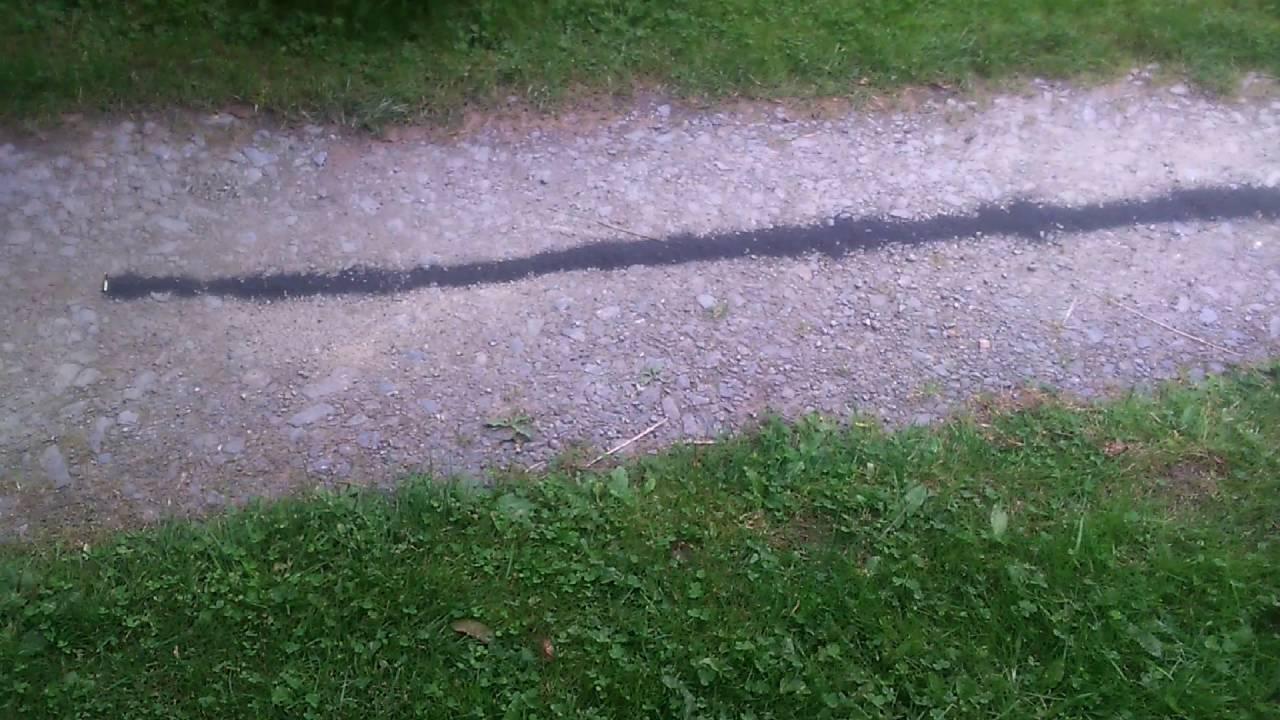
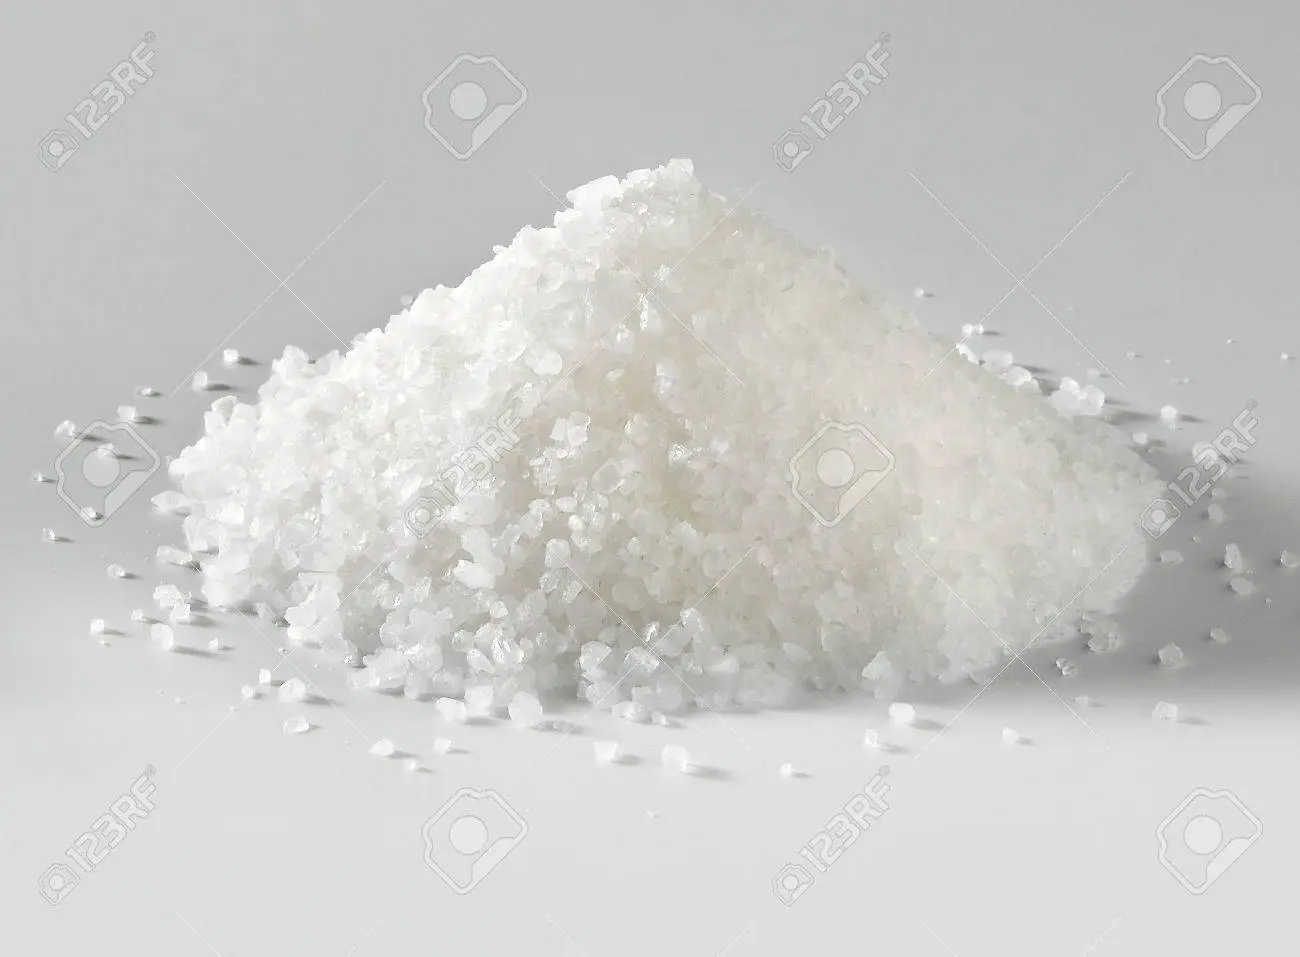
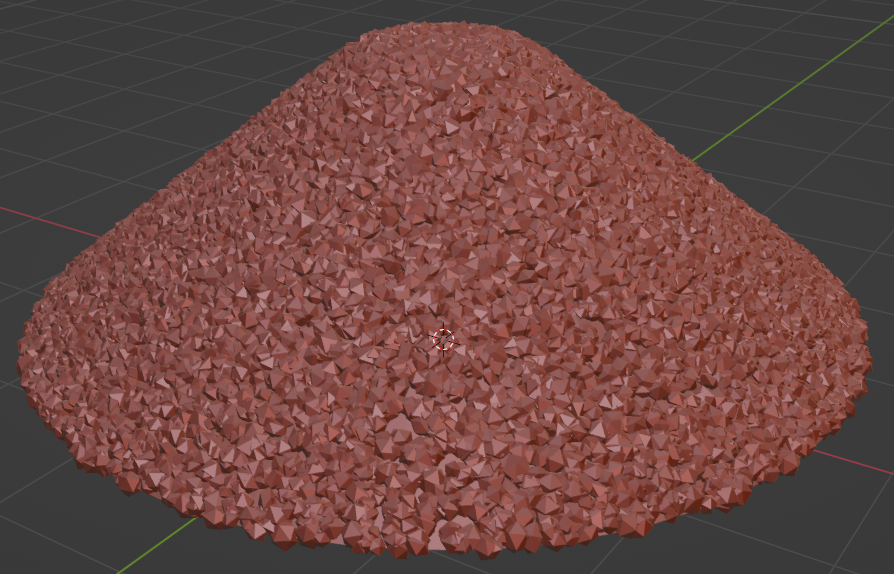
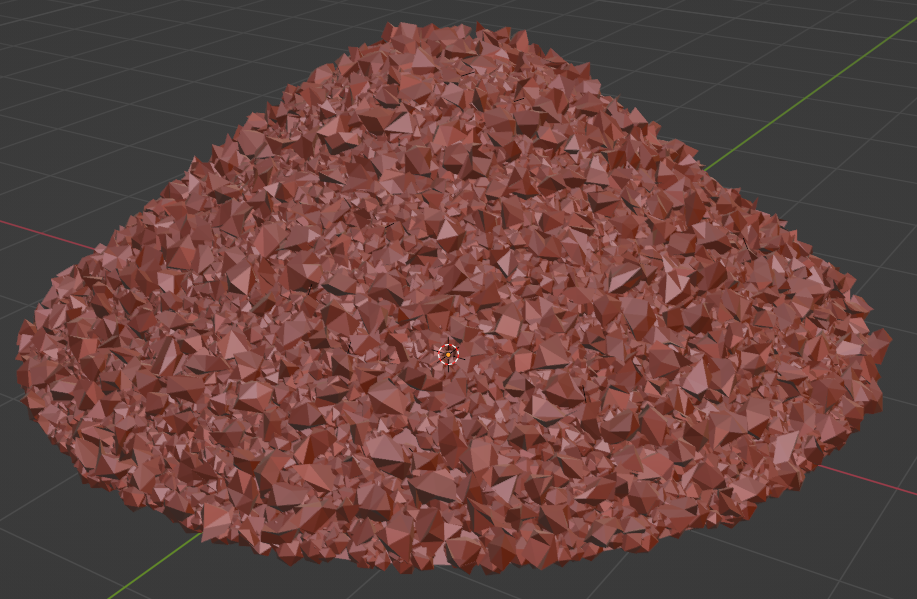
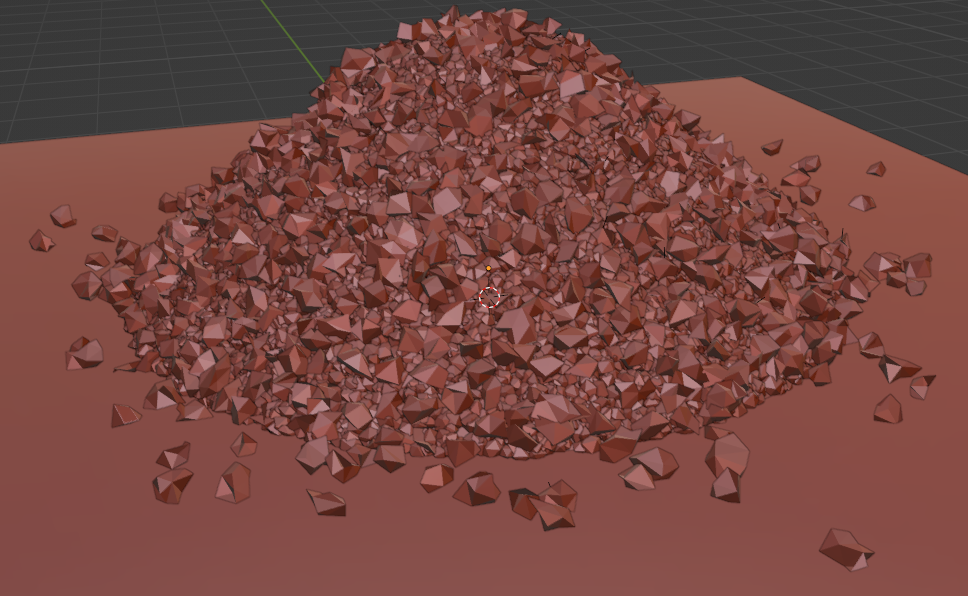
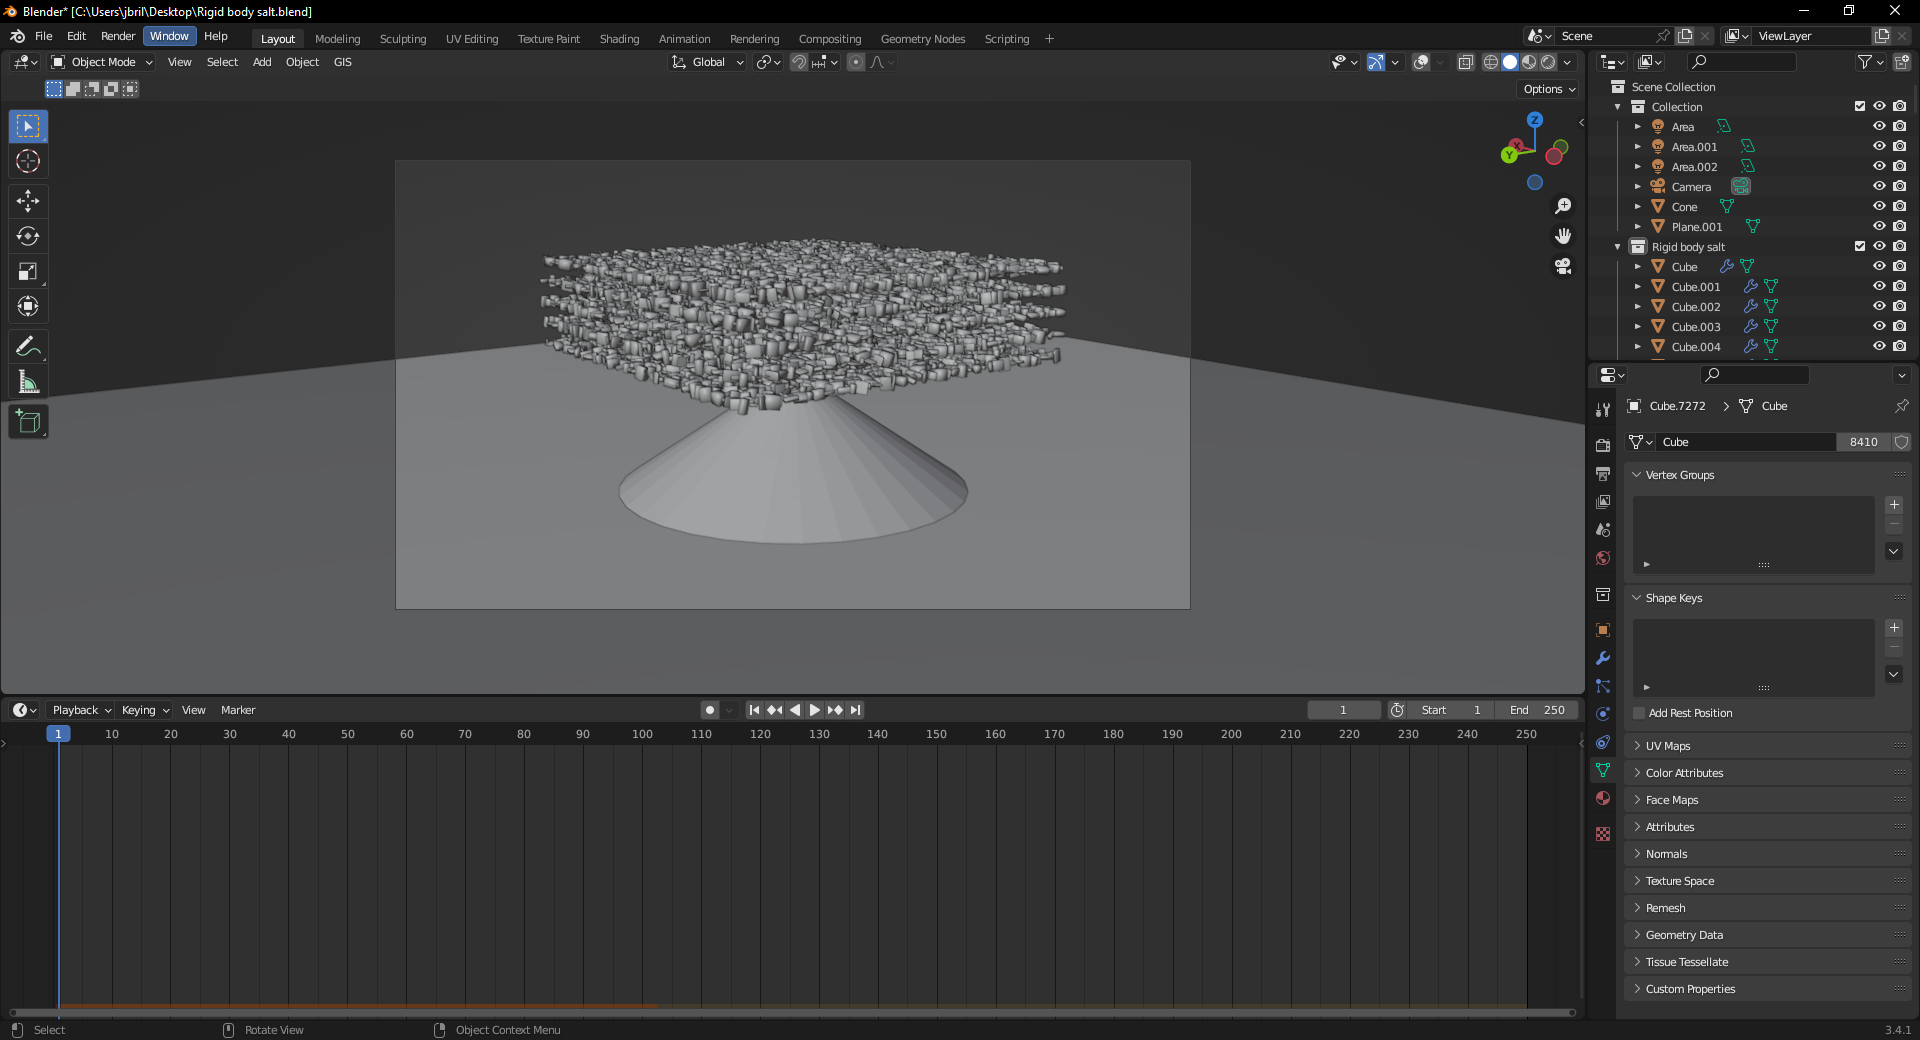
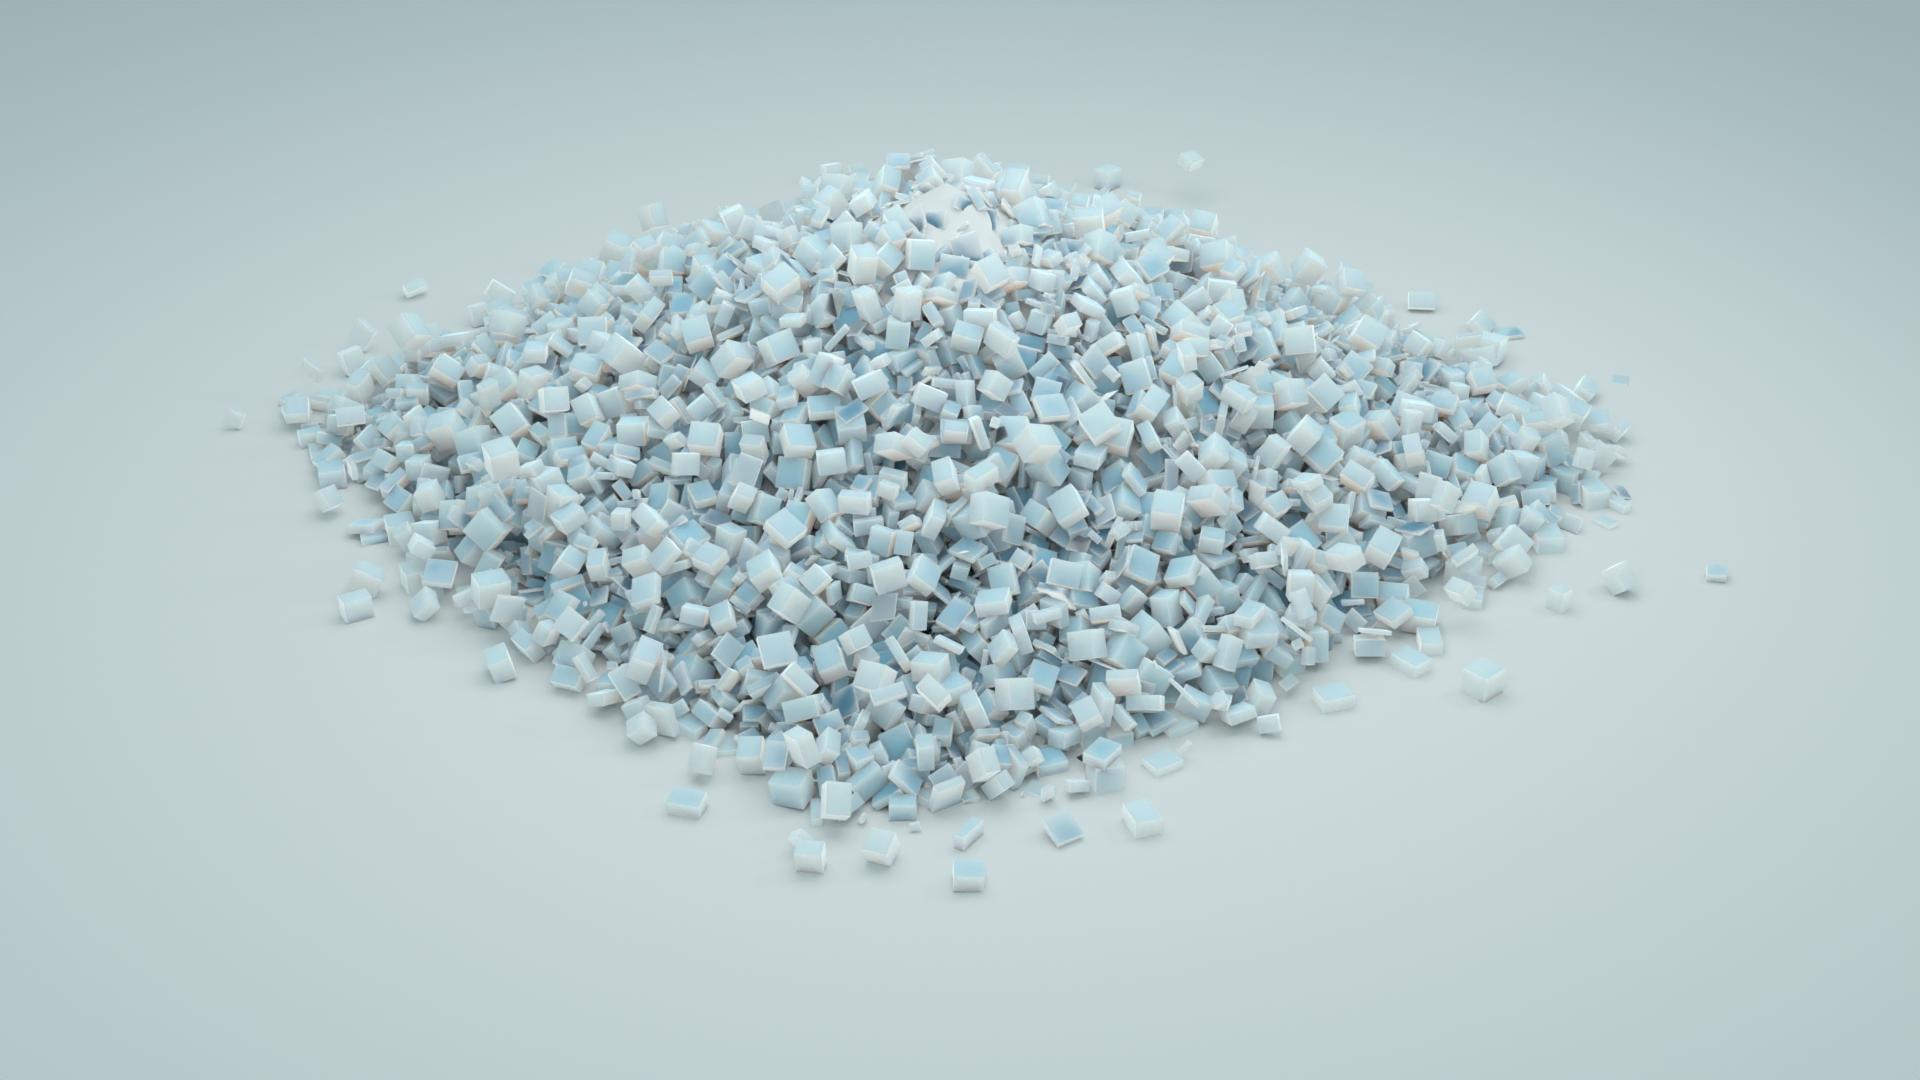
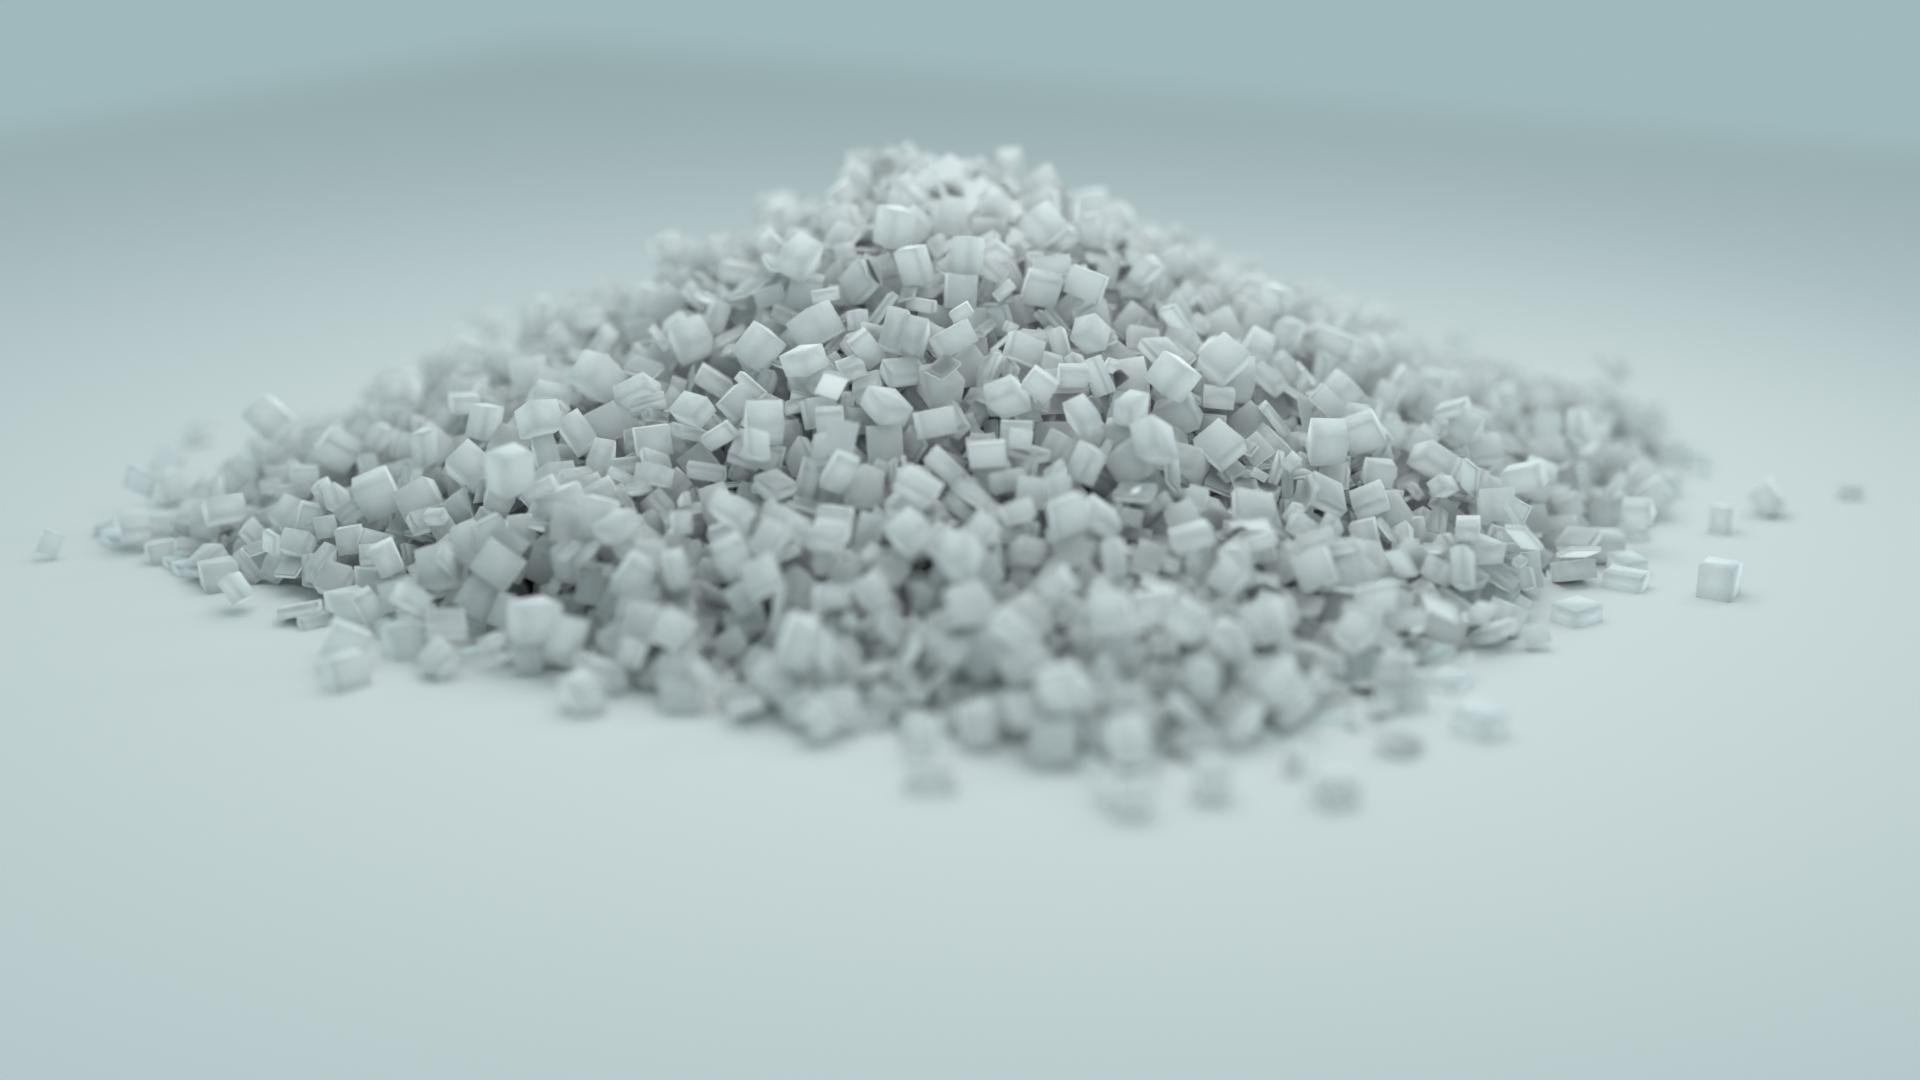
You could use Geometry Nodes:


You could then duplicate the object, duplicate the node tree, and modify it slightly to add another layer:


- Duplicate the object to create a 3rd layer.
- Apply the Geometry Nodes modifier of the 2nd layer, add rigid body physics: passive, mesh shape, full friction (could increase it over 1 manually, but I tried with 1).
- Modify the 3rd layer increasing min Poisson distance, so the particles don't overlap. Apply this modifier as well.
- Move the 3rd layer a little up, maybe rotate around Z 180° if they look to similar to underlying particles, in such case remember to apply rotation.
- Set Physics: active, convex hull shape, full friction (1.0), mass 100 kg.
- ⭾ Tab, A, P, L Separate By Loose Parts.
- ⭾ Tab, F3 "Set Origin to Center of Mass (Volume)".
- Add a plane, move it a little up (I was sloppy with removing the bottom of the cone), add passive physics, also full friction.
That's about it. Could repeat or tune this process but you get the idea.

Path
For a short path, just bevel a curve and use that as the geometry to spawn particles. For a longer path you probably want to resign from a simulation altogether - it was just a lazy way to get some particles outside of the geometry. Instead you can just spawn some particles on a plane, using "Geometry Proximity" to the curve to control the density of points.

