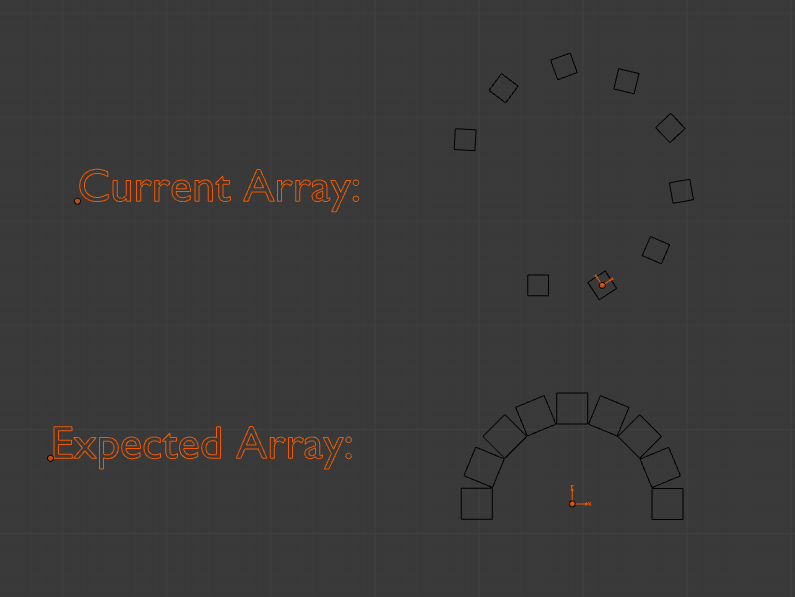
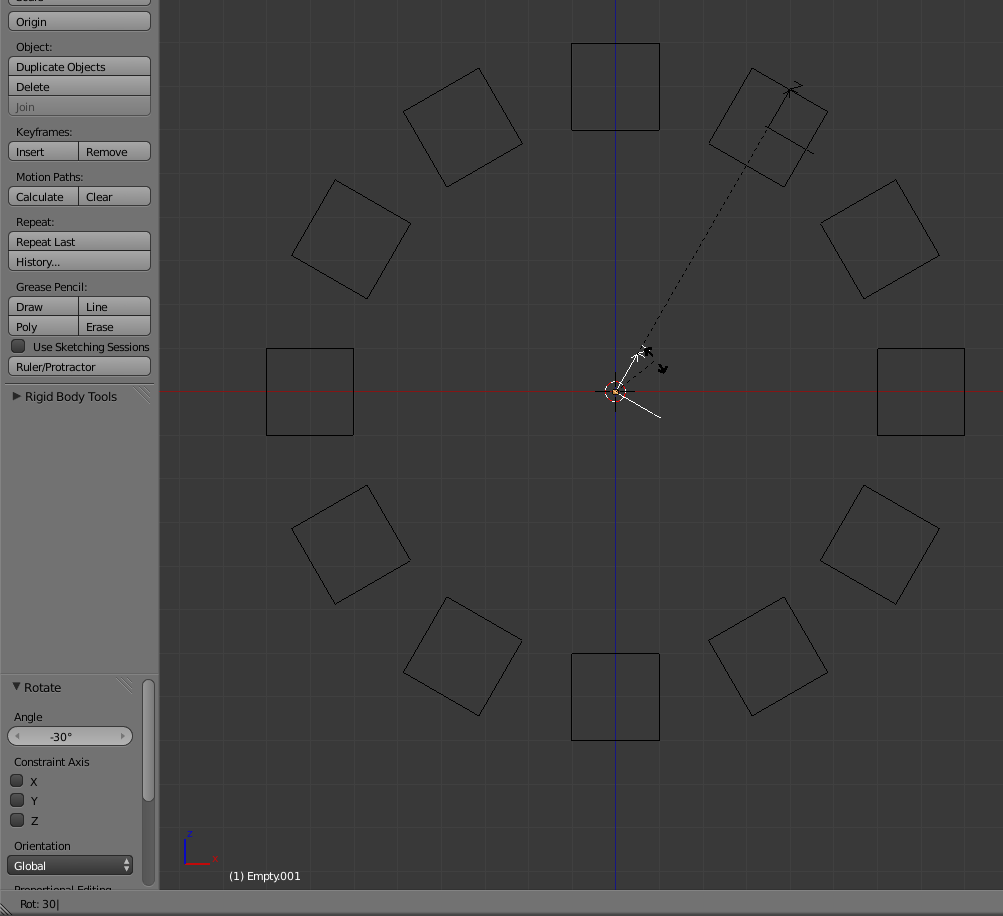
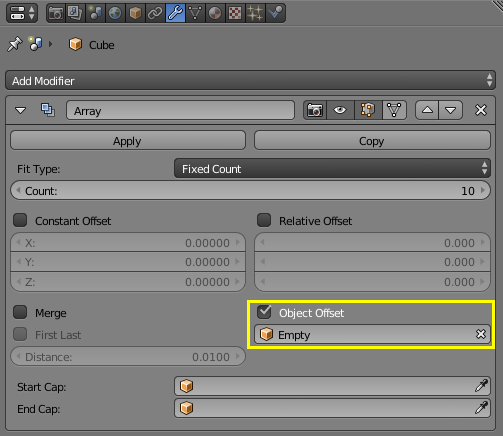
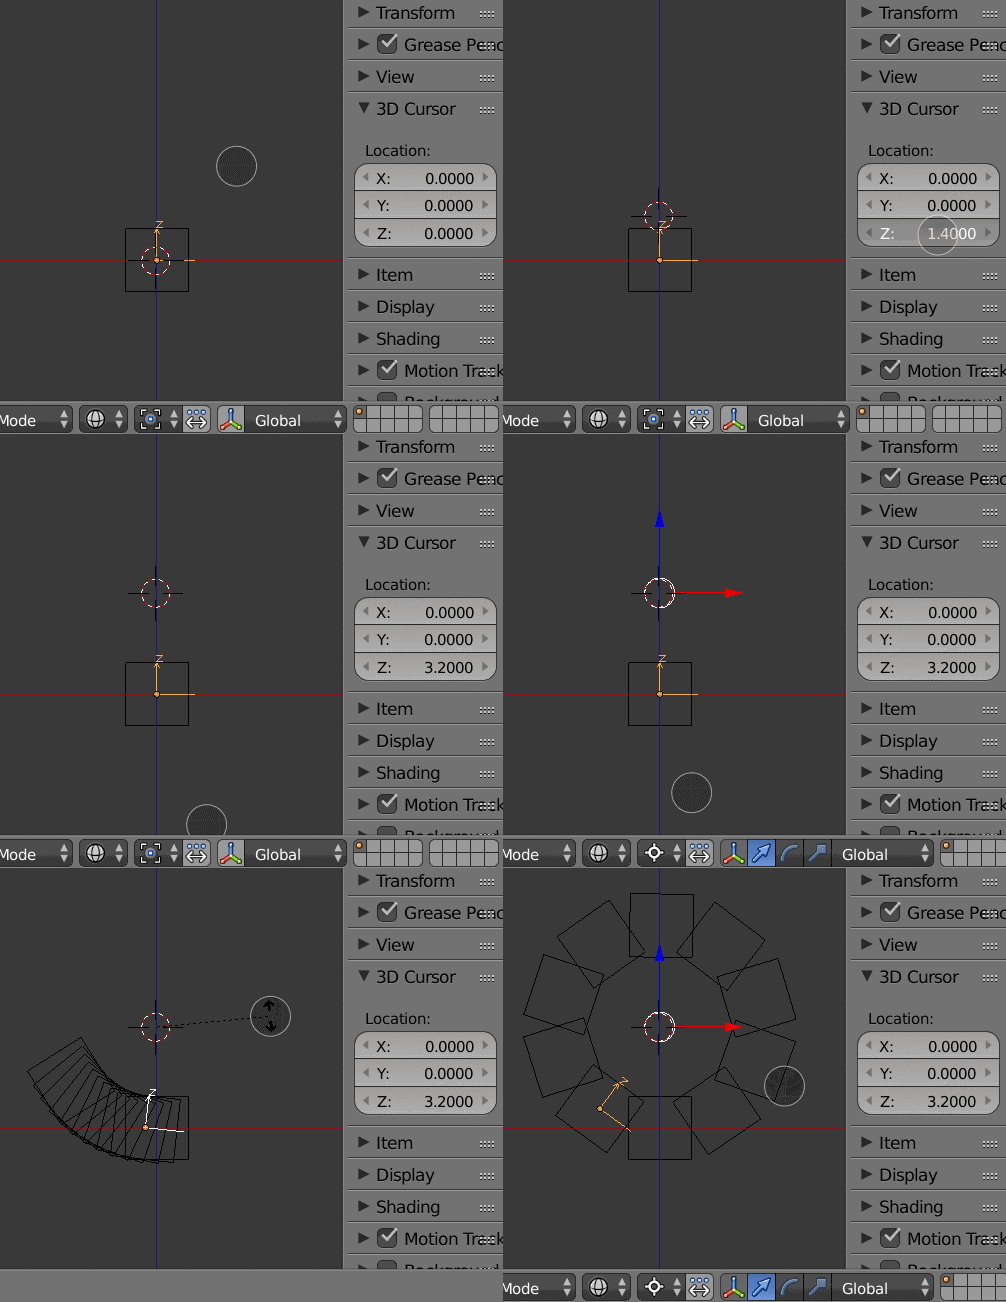
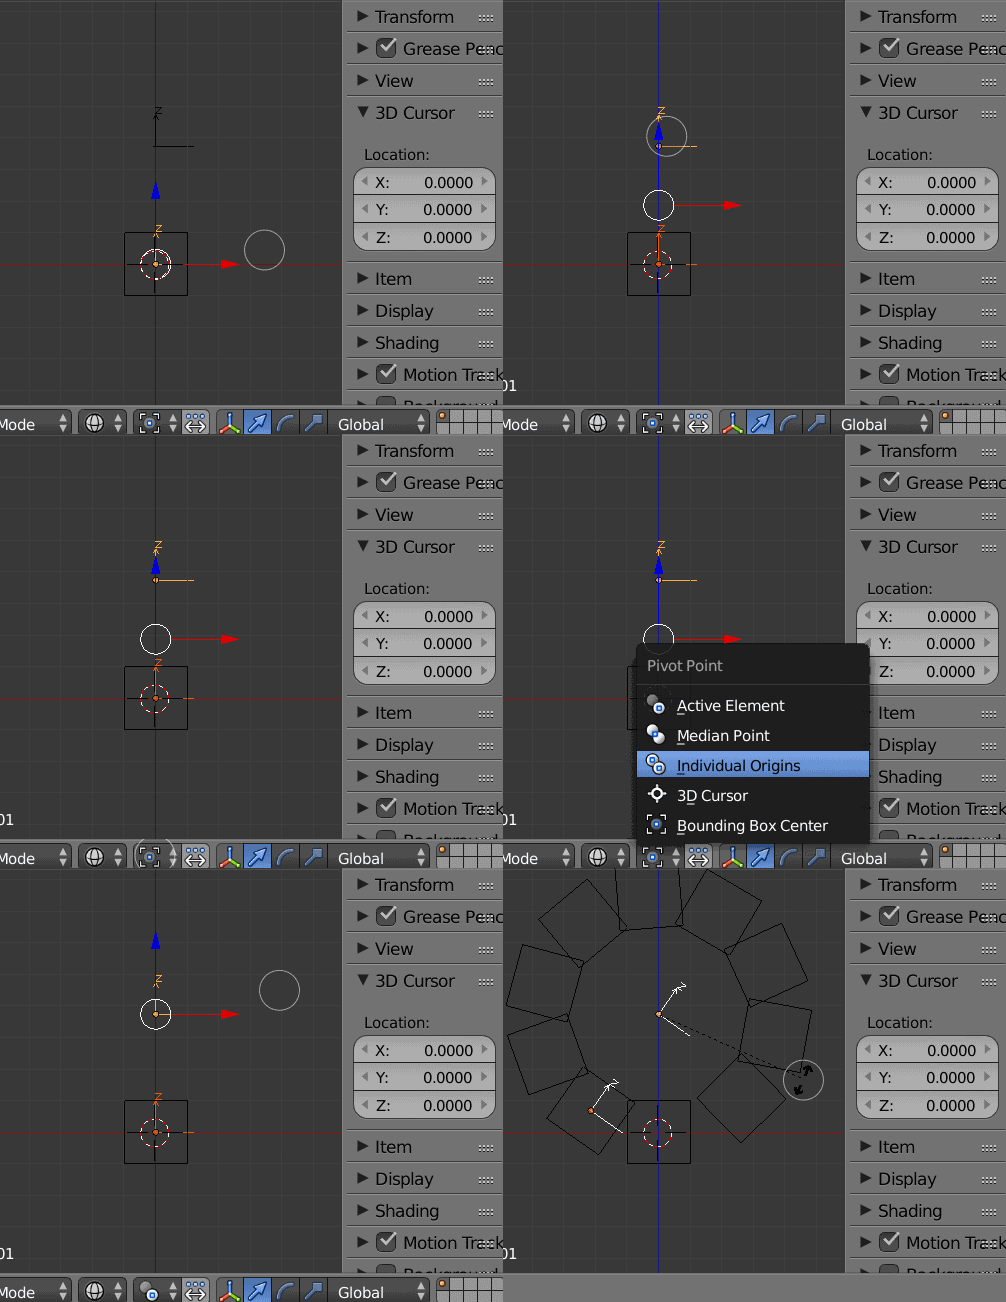
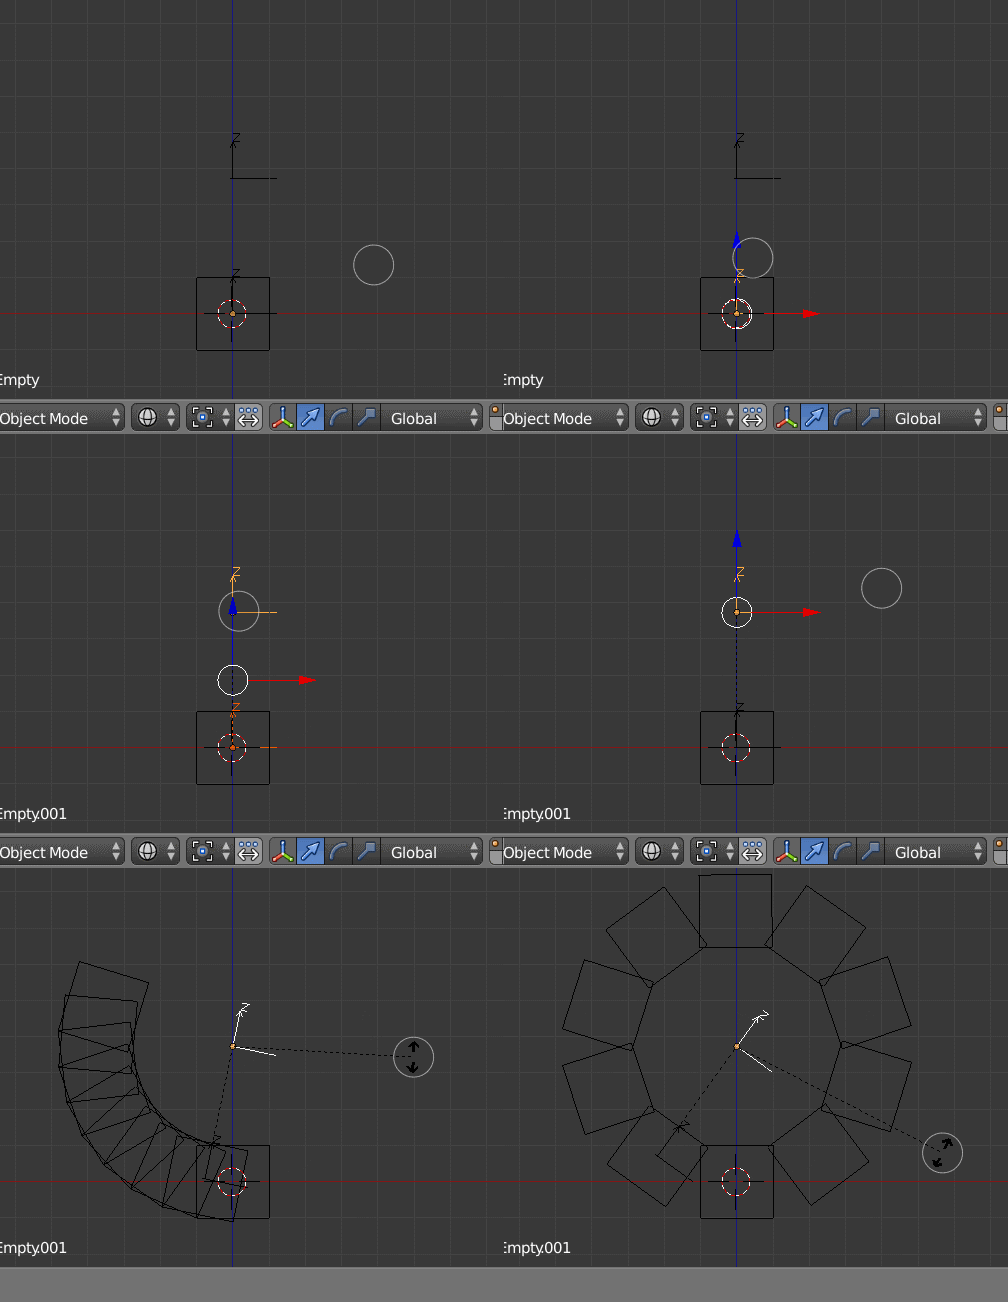
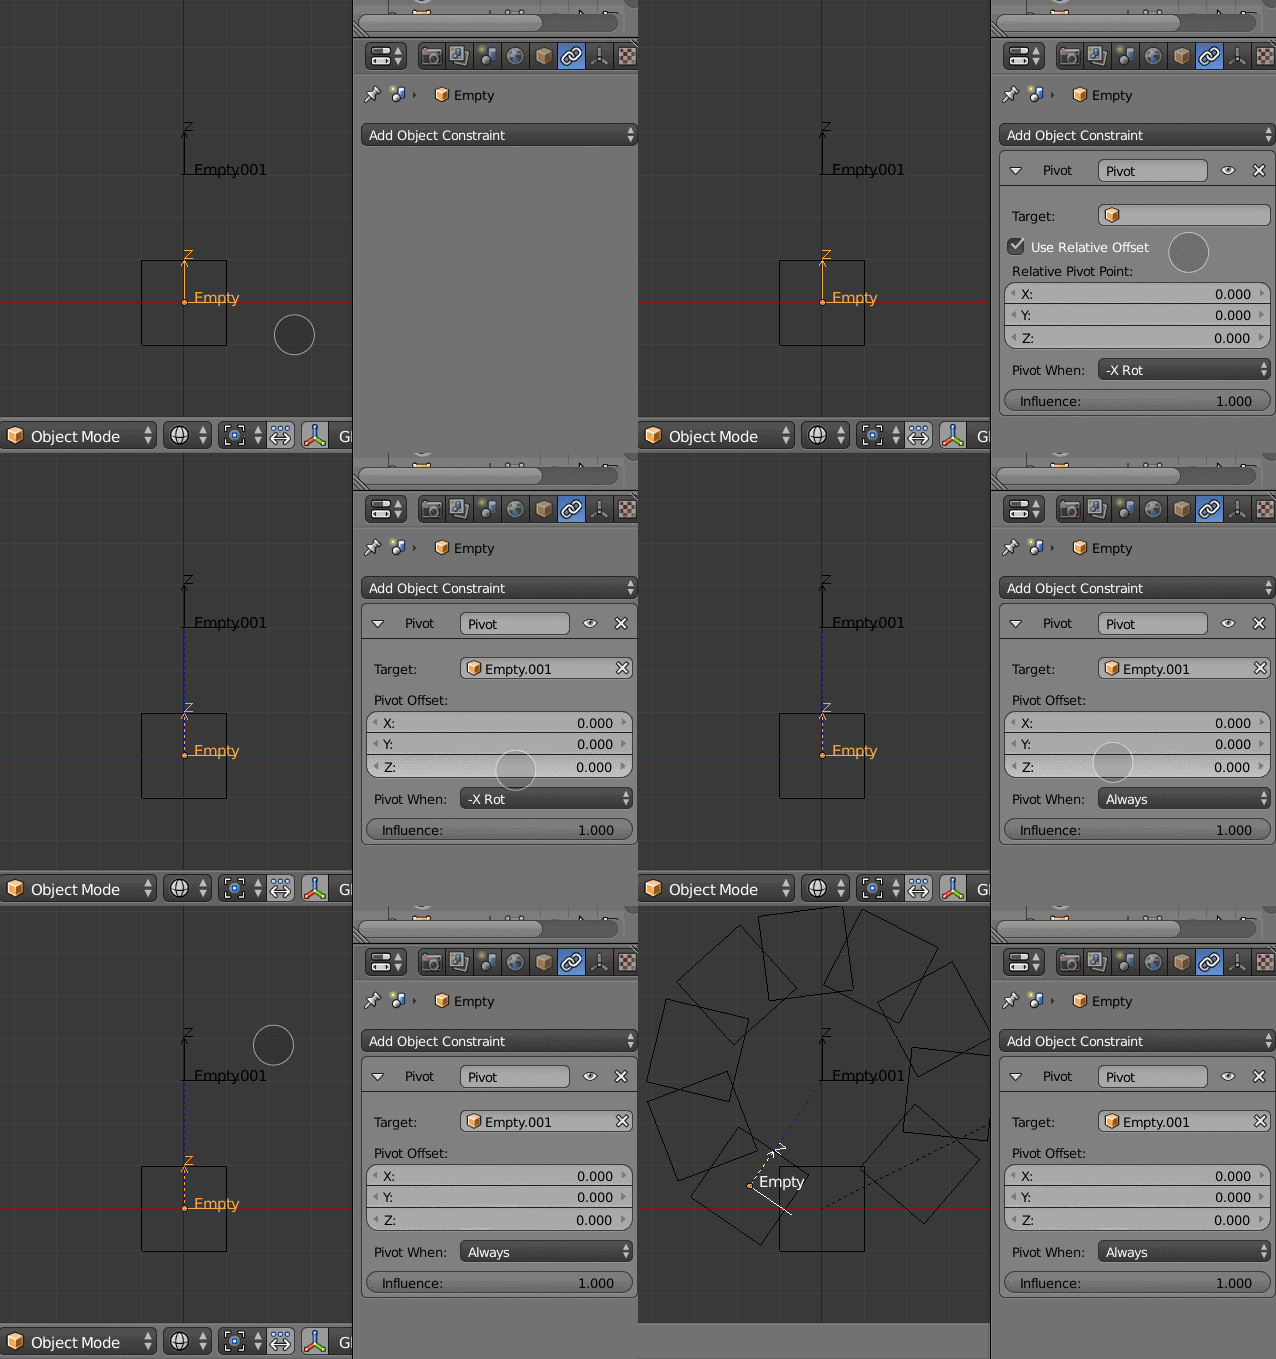
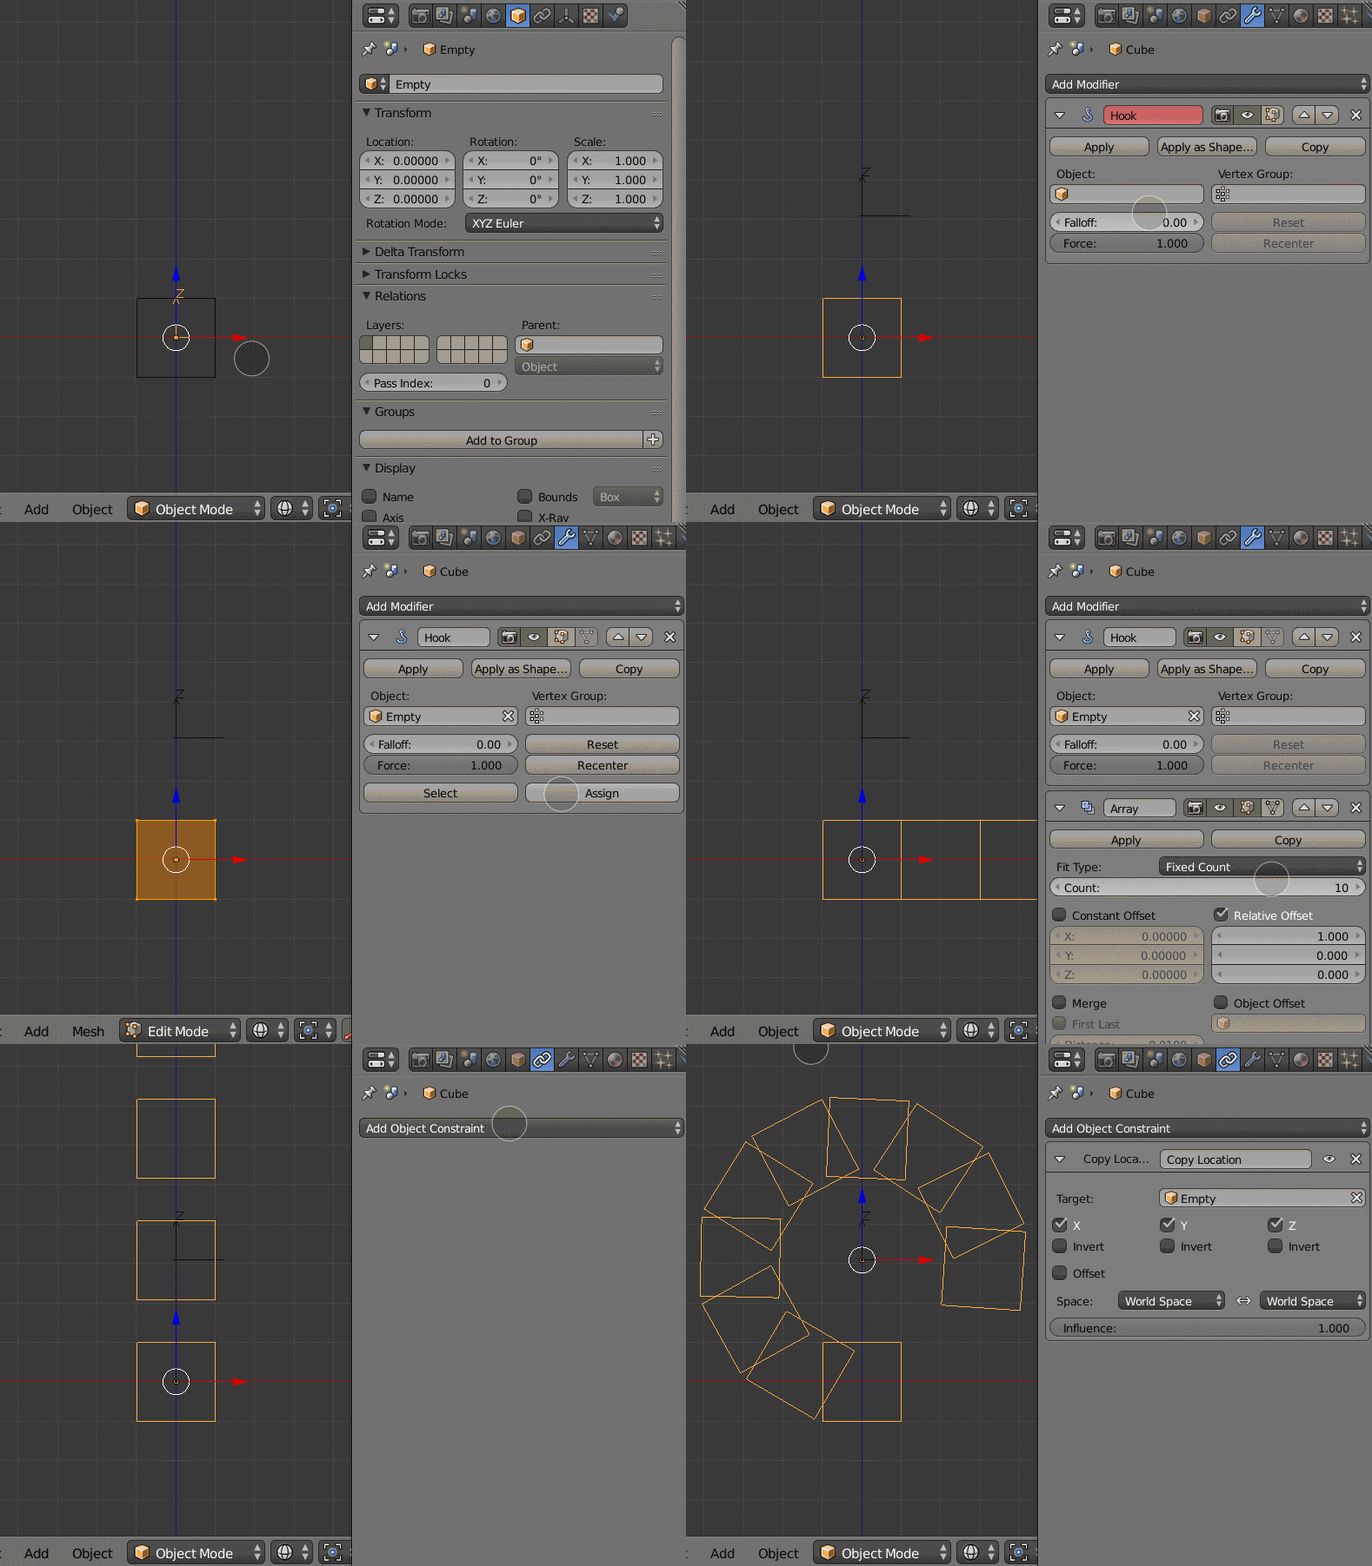
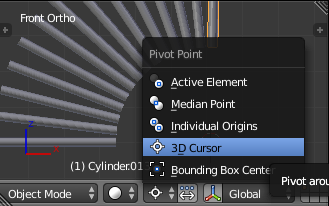
On recent versions of Blender (I'm using 3.0, the name of the node will change on earlier versions), it is possible to obtain a circular array, centered around the original object without creating any empty with Geometry Nodes.
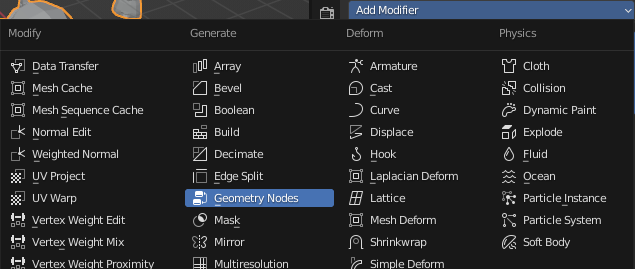
First, add a Geometry Node modifier to your object:

Then go in the Geometry Nodes tab:

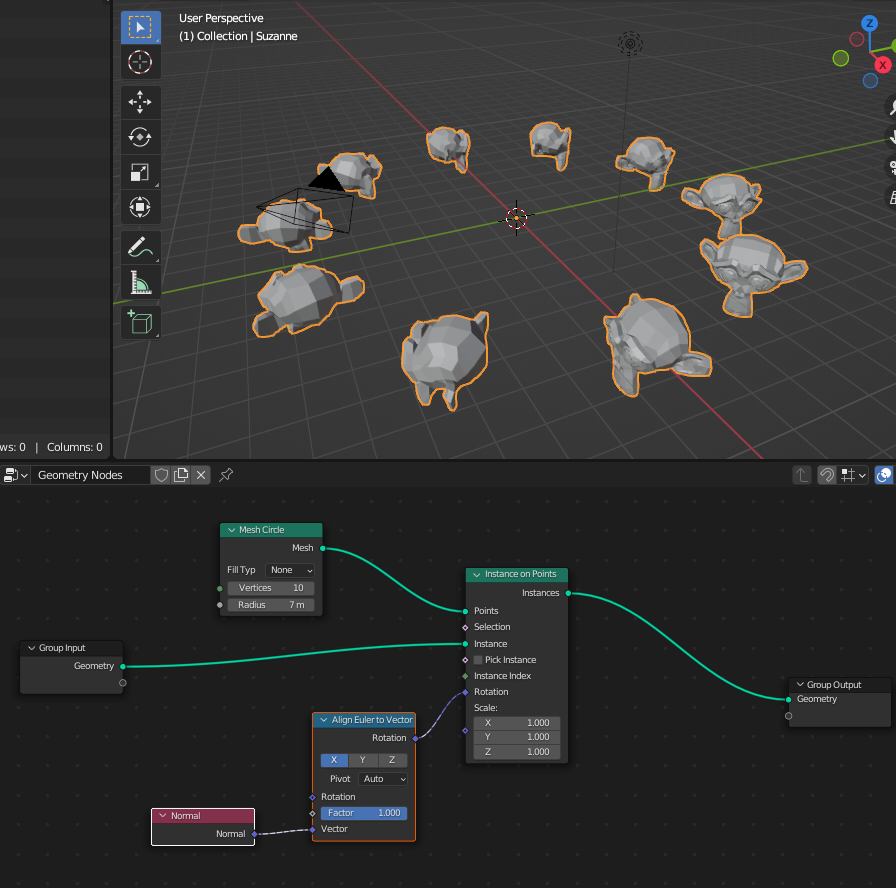
Finally, create (using Add/Search) the following nodes (if you don't care about the rotation of your object, you don't even need to specify the Rotation field):

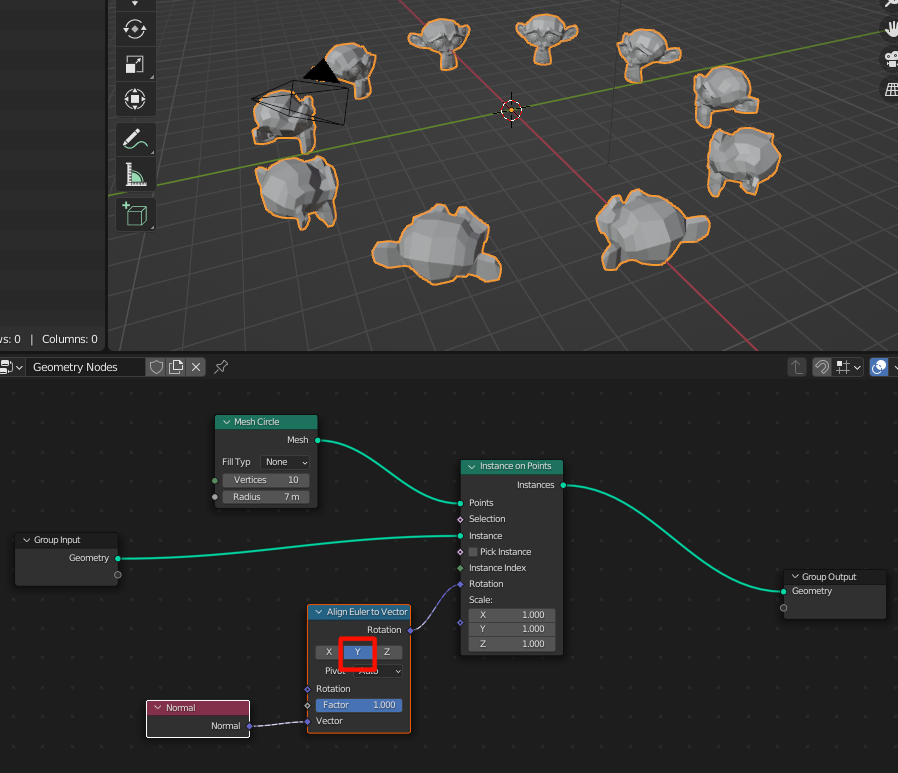
You can then change the number of vertices and radius by changing the properties of the Mesh circle, or change the rotation by tweaking the Align Euler to Vector. The good thing is that you can also save this node and reuse it in multiple places without recreating this graph (in the modifier, simply choose the appropriate Geometry Node in the drop down). For instance, you can change the rotation this way:

What's happening?
Basically, the Mesh Circle creates a "circle" made of N segments centered on the current object. Then Instance on Points will copy the Instance (here our original object) on all the point contained in our Mesh Circle. What is trickier to understand is maybe the rotation. The diamond shape of the Rotation plug means that it is a Field, which means that it waits for a kind of Function (to provide a different rotation for each point). The red nodes (here Normal) are inputs of this function, and this function is evaluated for any point in Points (so basically, here we loop over the points in the circle, and for all of them we take the normal). The Align Euler to Vector part will return the appropriate rotation to ensure that the local X/Y/Z axis of the object (depending on what you choose on the first line) will point towards the Vector field, here the normal of each node.
