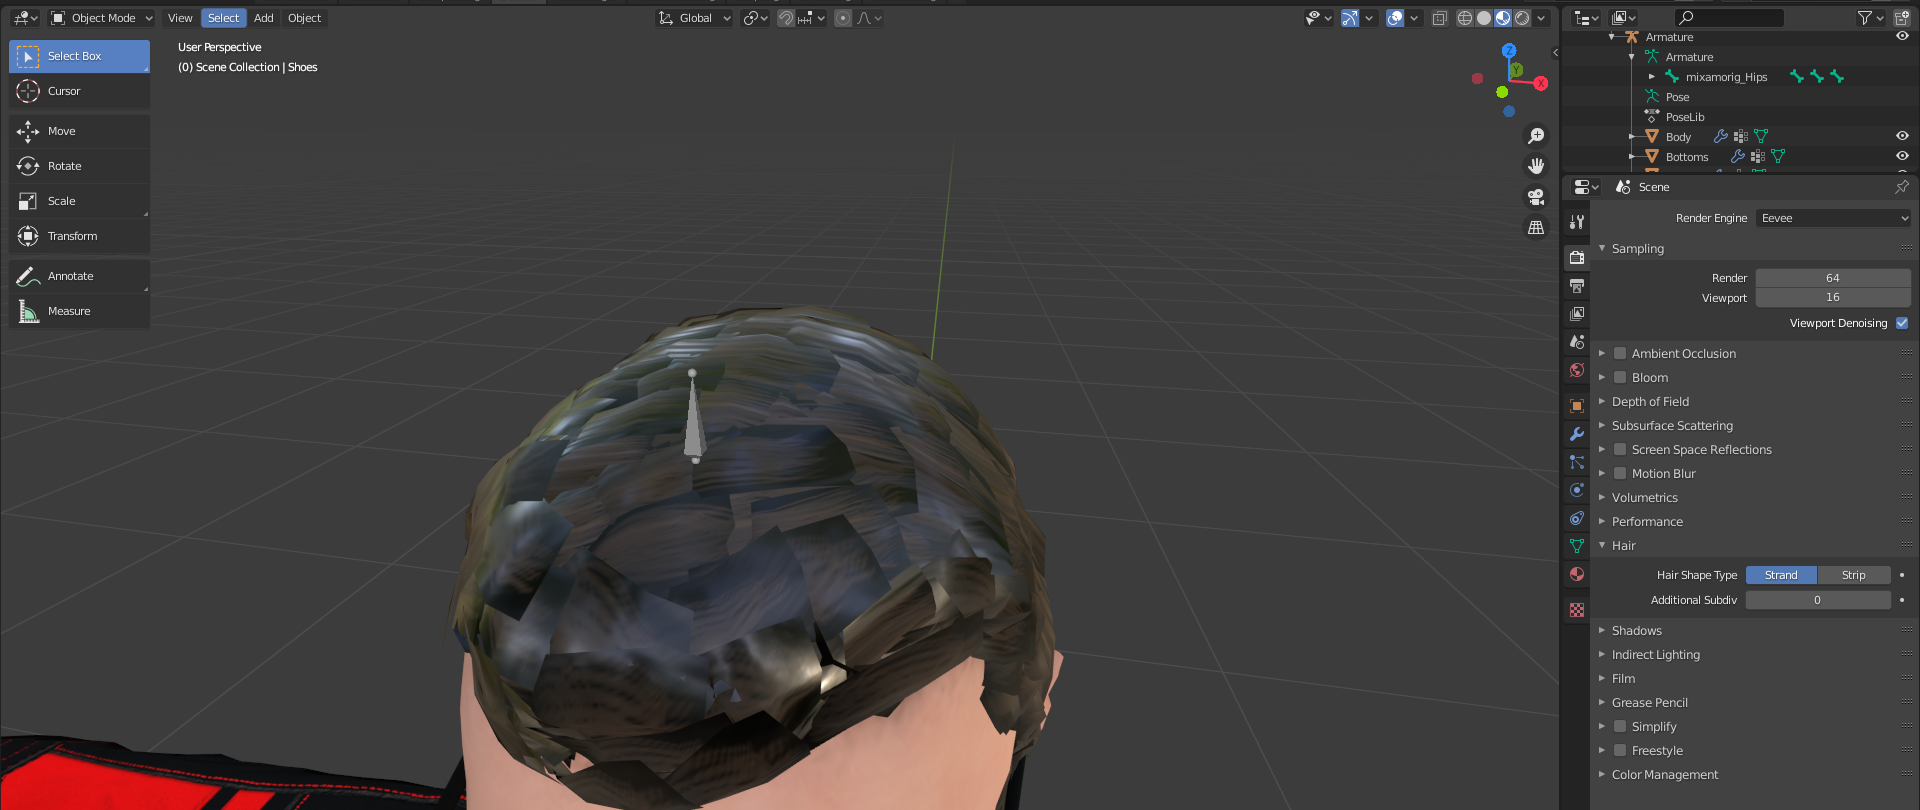
A while back (could have been 2 summers ago at this point), I discovered this great piece of software on Steam called Fuse. It's a piece of software that allows you to create custom 3D characters. This was interesting to me because I'd always wanted to make my own characters, but I didn't know how to model. Fuse took care of that. I found a great tutorial that showed me how to put a character that I made in Fuse into a Blender workspace. It really introduced me to texturing and how to plug in things using material shaders, mainly because Fuse just took the textures of the model and exported them as high-resolution PNG files in a easy-to-use folder along with the object for me to plug into the website to have the model automatically rigged for me. However, there has been one thing that I think is missing. The textures work great on the body, the clothes, and the eyes, mainly due to them including many different textures that fit in nicely. However, one piece was seemingly hard to do, and that was hair. I should mention that the hair and clothes and basically everything is established as it's own object, but they are tied to one singe armature. Anyways, I was wondering if anyone has any idea how to set up the hair for a character model I already have with the textures, or if it's better to try and figure out how to do emissions. Details:
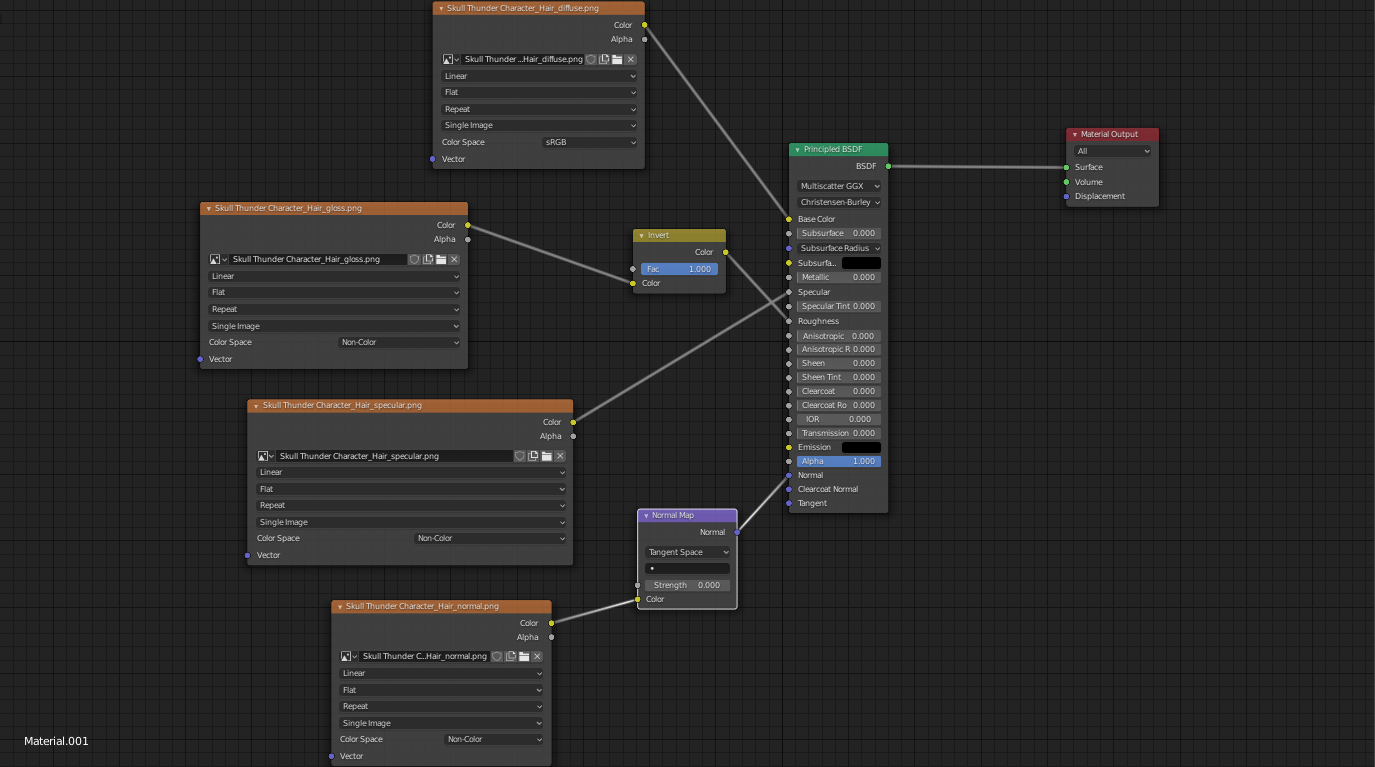
-I have 4 different textures for the hair: Diffuse, Specular, Gloss and Normal.
-The screenshot of the shader layout shows how I have it set up for each of the parts of the character (Shoes, pants, shirt, etc.) but obviously with different textures.
-I am comfortable with working with either Cycles or Eevee, and do not have a preference. I will take what I can as long as it works.
-I am just looking for a way to have the hair look as natural as possible. Physics are not my concern. I'm just concerned with the look for the moment.
-Also, I'm fairly inexperienced with many different types of lingo, so I'd prefer a somewhat simpler answer rather than a massive spew of information that wouldn't make sense to someone who isn't a professional modeler or texture designer.
Any help that anyone can give me is appreciated.


