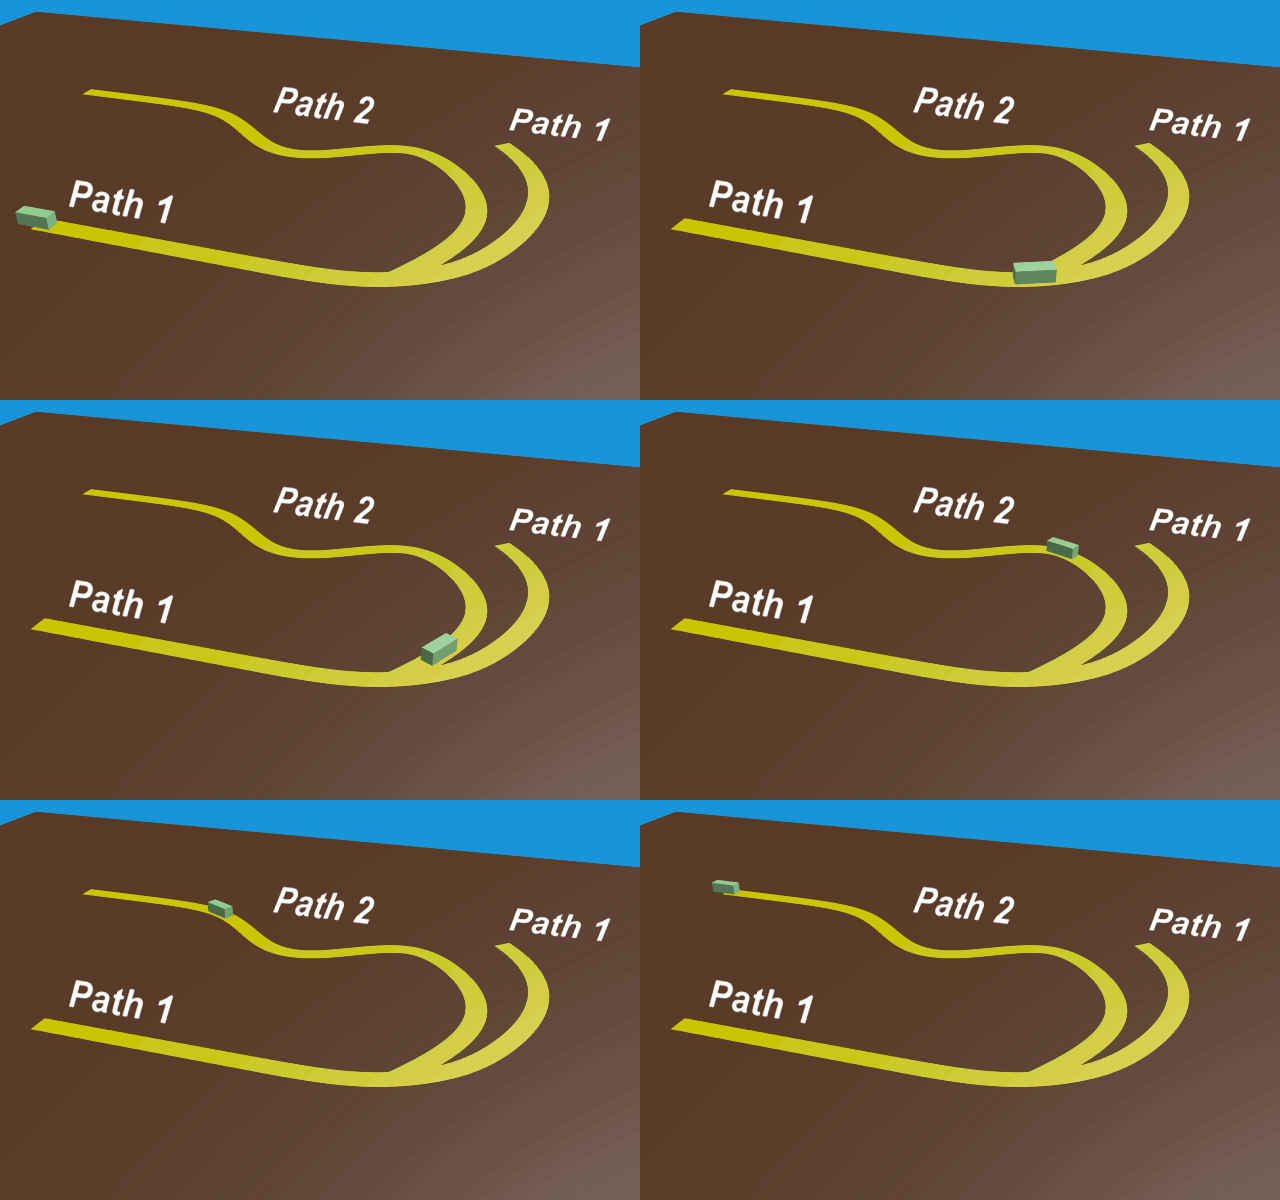
See Blend file below...

By far the cleanest and easiest way to switch an object from one path to another is to set up your two paths with an empty to follow each. Get those working properly before introducing your model.
Method 1
- using a duplicate model for the 2nd path - See Layers 1+10
Once the paths & empties are working right, parent the model to path 1's empty and check that it's moving as required.
Take the timeline cursor to frame 50 and slide the path's 'Evaluation slider' back and forth to position the model at the intersection of the two paths.
Keyframe the path's evaluation slot there, and also keyframe this slot with 'zero' at frame 1.
With path 1 still selected go into the Dopesheet and you'll see the two evaluation keyframes.
Select frame 50's keyframe, duplicate it with SH-D and slide that along to the right for say 20 or 25 frames.
This will force the empty & model to slow to a stop at the intersection and pause a little before moving on.
--> POINT A <--
Take the timeline cursor back to frame 50 and duplicate the model. You'll then have two models that are precisely aligned.
At frame 50, go into the Outliner and keyframe the original model to invisible, the duplicate to visible.
(Both the eye and camera icons)
The aim being to switch to the clone at frame 50. The original will still do it's thing but won't be seen or affect anything.
The duplicate will have inherited both animation and parentage, so these MUST first be cleared from the Outliner and using ALT-P to clear the parent link. (choose "Keep Transformation")
With the clone clear of constraints you can then keyframe it's location & rotation where it sits. Go back to frame 1 and keyframe them again.
From here it's only a matter of parenting the duplicate to the 2nd path's Empty and at frame 50, begin it's gentle rotation to align it with the new path.
-==============-
Many would point out it's better to use 'Child-of' Constraints' on a single model, one for each path empty and certainly you can do things that way. An example of this method is described below and can be seen in Layer 3+10. In your own case it could well be a more practical solution if e.g. the model was very high poly.
Experience has taught me however to steer clear of redundant constraints where practical, particularly when that model is to be further animated or placed under new constraints, such as the physics engine etc.
-===============-
Method 2
- acknowledgement and thanks to an as yet unlocated contributor who provided this procedure. (might be @Moonboots ?)
The 'Child-of' method - This is in layers 3+10
Do as above down to (not lower) than "POINT A". Your paths and respective empties should be moving as required and path 1's Evaluation slider adjusted so it's empty slows to a stop at the paths' intersection at frame 50, pauses, then continues on it's way.
From here we diverge from the duplication method...
Instead of parenting the model to Path 1's empty we instead use the "Child-of" constraint.
Move the model to the path's empty at frame 1.
Place a Child Of Constraint on the model. The target will be Path 1's empty.
Press 'Set Inverse' button - now the model is parented to the empty.
At frame 50 where both reach the intersection, insert a keyframe for the object (LocRot) and another for the influence slider. (still at 100%).
Move 1 frame forward
Select the model and open the Object menu at the bottom of the window, choose Object -> Apply -> Visual Transform, do not move the timeline cursor!
Keyframe the Child Of Constraint's influence to 0%
keyframe the model again. (LocRot)
You can now move the timeline. The model is again free and unconstrained.
Still at frame 51 place a 2nd 'Child-of' constraint on the model, the target this time, Path 2's Empty.
Press the "Set Inverse" button and the model is now parented to the 2nd empty where it will follow path 2.
The model can also be rotated gently (and keyframed) to align it to the 2nd path as it begins it's trek.
Note that the 1st 'Child-of' must be above the 2nd in the constraints list.
-===============-
As can be seen in Layer 3+10, the Child-of switching does work well. But as the contraints are always there and in my experience, can be upset by as yet unknown factors that once in play, seem irrepairable no matter what is tried and requiring a return to an earlier saved version, or a manual redo.
To date with my own projects this has never happened when cloned switch-overs are used. Their respective constraints (if any) are local to themselves and don't interfere with their 'siblings'.
-===============-
A point that could be useful - Once a parent or path's transformations are done, (i.e. no longer moving) those constraints cease to affect the model and you can exploit this, animating freely as you wish.
The Blend file (vers 2.77a) - Mix Layers 1 & 10 or 3 & 10 for each method.


