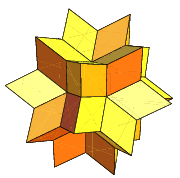
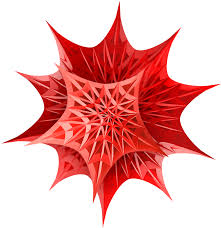
You can try to use the Subdivision Surface modifier with a high edge crease on the sharp edges to achieve this effect. This will probably not be the mathematically correct surface, but it will give a good visual result.
To make it work, first you have to make sure your Rhex is one single mesh, consisting only of the shell of the volume and make sure there are no double vertices in the mesh (go into edit mode, select everything, press W and select Remove Doubles).
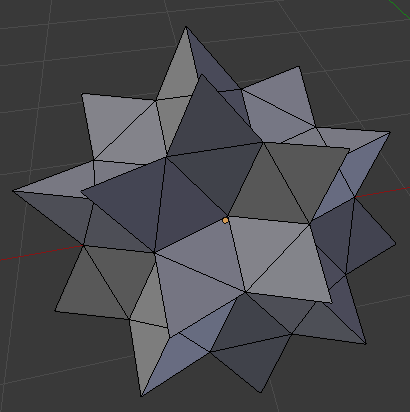
For testing I modeled the mesh by eye. This is what I started with:

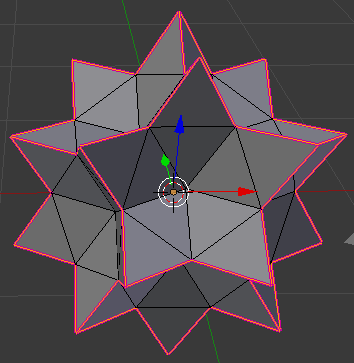
Now you need to give the edges you want to make sharp a high edge crease. Select them and press ShiftE to change their Edge Crease. Press 1 on your keyboard and then Enter to give the edges a Crease of 1.0 whih will make them completely sharp when using the Subdivision Surface later. The edges should turn pink:

Tip for easy selection: If you are in edge selection mode (press CtrlTab and select 'Edge' to get there) you can select one of the sharp edges and press ShiftG to bring up the 'Select Similar' menu, and choosing 'Face Angles'. Now all edges with a similar angle between the connected faces are selected. This should be all your sharp edges.
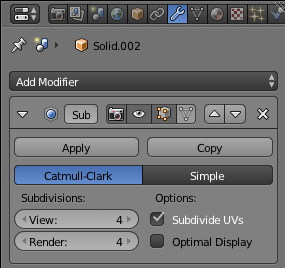
Now that your mesh is set up, you can add the Subdivision Surface modifier. Go to the Modifier tab in the properties panel, click on 'Add Modifier' and select 'Subdivision Surface' (third from the bottom in the second column). Set the subdivision level to something like 4.

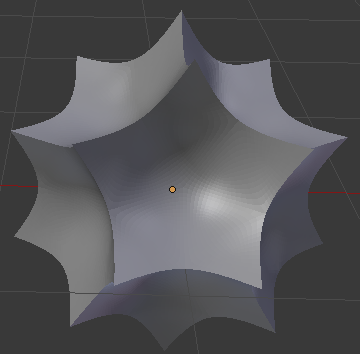
The result should look something like this:

One final note: The modifiers are only changing the visual appearance of the mesh, not the underlying mesh itself. If you want the mesh to be altered, click the 'Apply' button of the modifier. But after that you can not make any changes to the modifier anymore, so keep a copy of your unapplied object.
I have uploaded my version of the rhex here for reference.
Edit: For even better visual results you should enable smooth shading and also add an 'Edge Split' modifier to your model.
