8
$\begingroup$

I want to build a clock and I need to generate the cogs and pinions. I have seen a great tutorial here, but I want to do something slightly different than fiddleware. For example I want to round the teeth ends slightly to reduce the grinding and also reduce the tooth width while increasing the gap the teeth go into.

Although I forget where it is at this exact moment, I noticed there is a screw creator script in Blender (I'm currently using 2.7) and I was wondering if there was any kind of script that would generate a cog given some of it's defining characteristics?

$\endgroup$
4
  • 1
    $\begingroup$ For creating a good gear simply, my advice is to create a little part of your gear an then use an arraw with an object offset wich is rotated. With that you can simply change the size or the form of your cogs $\endgroup$
    – lucblender
    Commented May 9, 2014 at 9:24
  • $\begingroup$ I found this to do it like you suggest, not sure how current it is. rab3d.com/tut_blen_gear-1.php $\endgroup$ Commented May 9, 2014 at 11:36
  • $\begingroup$ The plugin is too old (2.42 version) for the current version of blender. I'm preparing an answer for explaining my methode but it is a bit like with this old addon. $\endgroup$
    – lucblender
    Commented May 9, 2014 at 13:13
  • $\begingroup$ Related: blender.stackexchange.com/questions/36675/… $\endgroup$
    – Mentalist
    Commented Oct 3, 2015 at 4:10

2 Answers 2

18
$\begingroup$

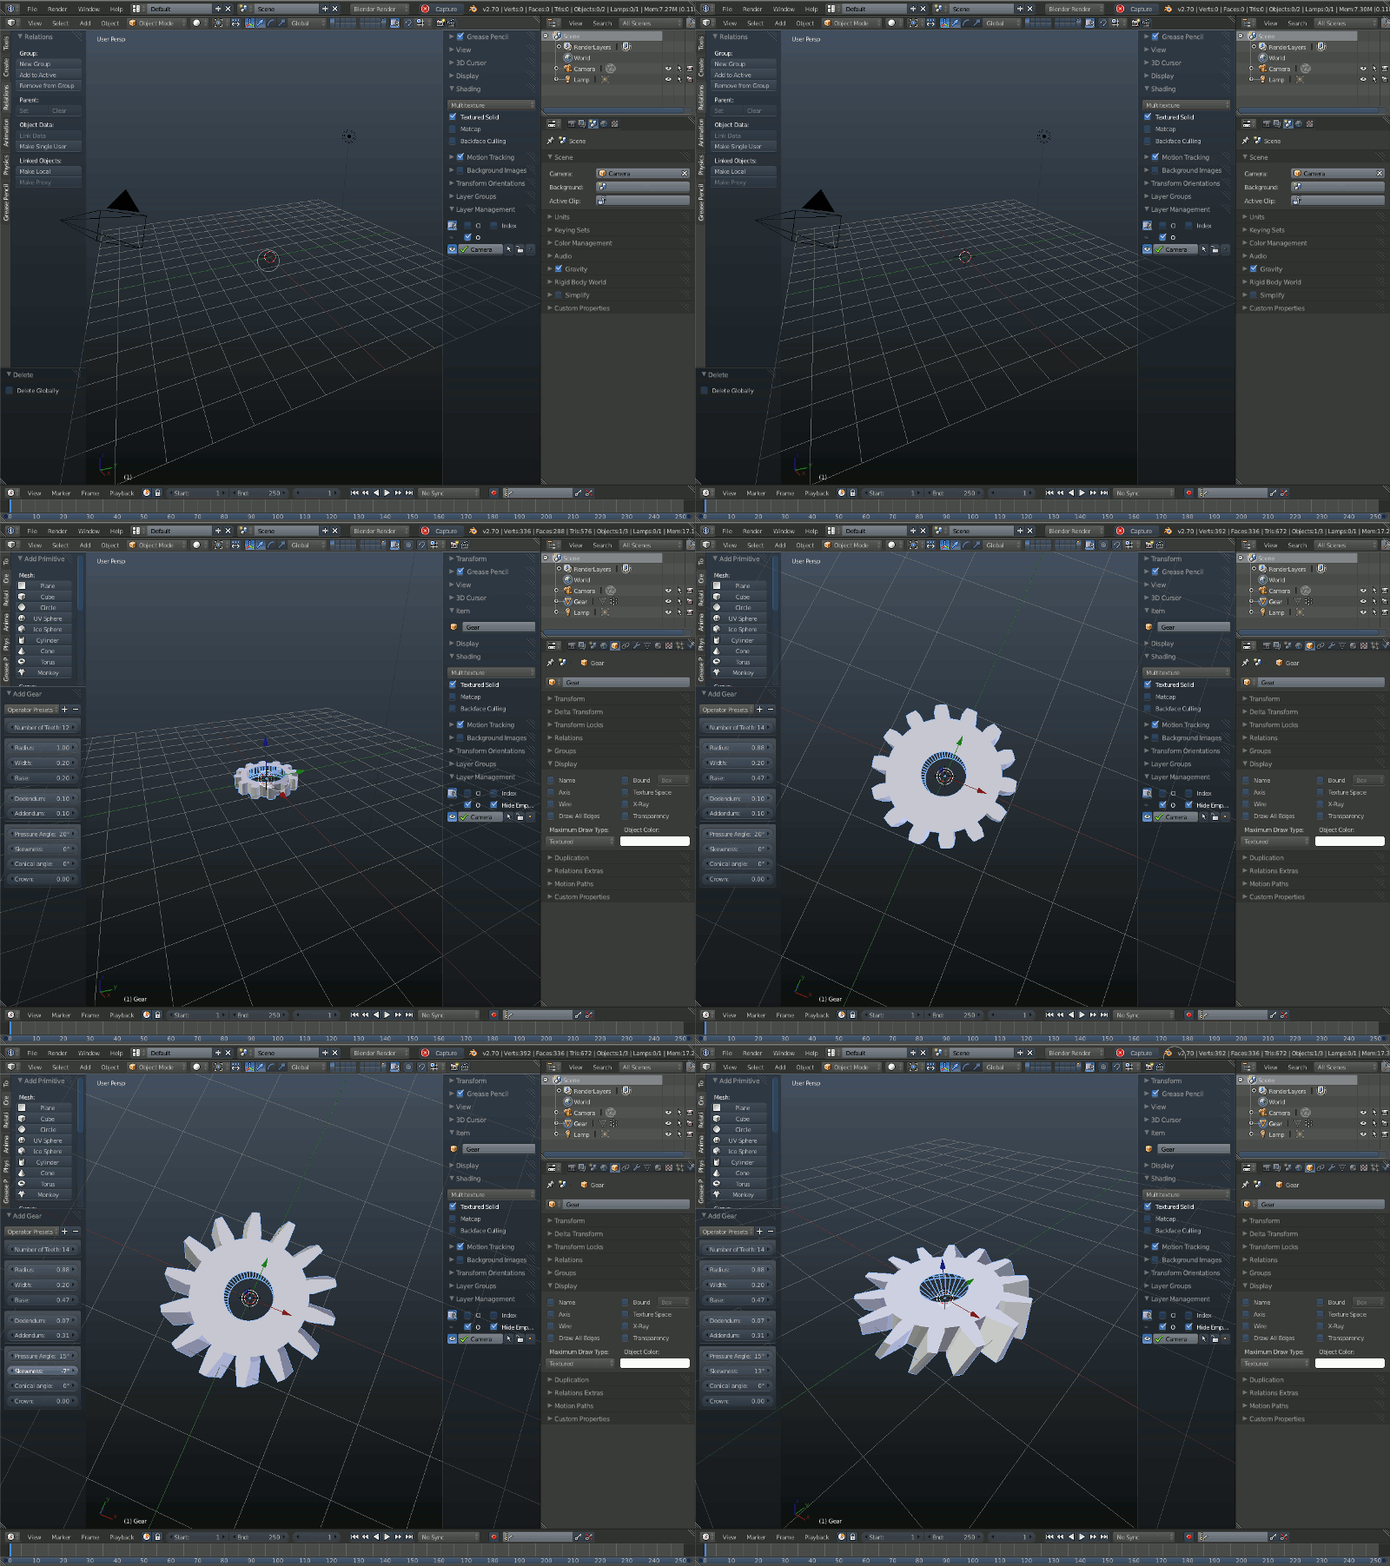
Use Mesh Extra Object addon to create gears.

Gears and extra objects are added from Shift+A menu

The Addon adds the following;

Gears , Worms , Diamond , Gem , Star , Polysphere , Torus Knot and many More.

Here is a simple usage gif.

Gears Animation

$\endgroup$
5
  • $\begingroup$ Perfect, thanks. Any idea how I can close the inner hole that it leaves? (Without selecting each 4 vertices and adding a face. $\endgroup$ Commented May 9, 2014 at 10:52
  • $\begingroup$ Sorry, I mean the gap between the top and bottom faces, not the hole in the top face and the hole in the bottom face. Hopefully that makes more sense? $\endgroup$ Commented May 9, 2014 at 11:22
  • $\begingroup$ @NigelJohnson Select the two loops at the rims of the holes and press [Alt+F] to connect them. This will give you triangular faces, but you can try to convert them to quads by pressing [Alt+J]. This does not always work perfectly, but it did a good job on the gear I tested. $\endgroup$
    – maddin45
    Commented May 9, 2014 at 11:43
  • $\begingroup$ @NigelJohnson Select the upper hole edges and lower hole edges, Press W for specials menu and select, Bridge Edge Loops. $\endgroup$
    – Ali Jibran
    Commented May 9, 2014 at 12:32
  • $\begingroup$ @dukejib - perfect exactly what I needed, a bit of a mission for a 64 tooth gear, but MUCH better than the alternative :) maddin45 - thanks, but that fills the hole in the top surface. Thanks guys. $\endgroup$ Commented May 9, 2014 at 13:08
5
$\begingroup$

For creating a good gear simply, my advice is to create a little part of your gear and then use an array modifier with an object offset which is rotated. With that you can simply change the size or the form of your cogs.

You can easily do this if you follow this step:

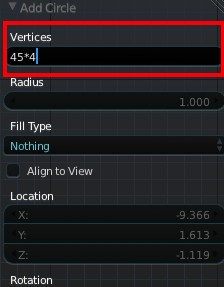
First you need to fix the number of cog that you want. For the example I choose 45 cogs. Then add a circle with 4*numbers of cog vertices. 4*45 in my case. So now we have a circle with 180 vertices. enter image description here

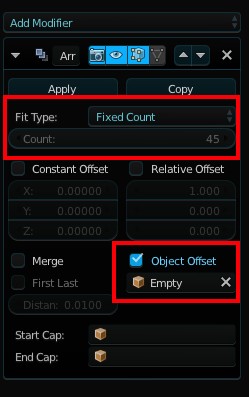
Add an empty at the exact place of your circle. Rotate your empty of 360/number of cogs degrees in the Z axis enter image description here

Now add an array modifier on your circle. Put the number of cogs in the count parameter and put your empty in the object offset.

enter image description here

Now, in edit mode, you can extrude all your circle and delete all the faces except 4 of them.

Now put your 3d cursor in the origin of your object, change the pivot point to 3D cursor, select to vertices on the top of your 4 faces and scale them. You should have this: enter image description here If you pass to object mode, you have your full gear.
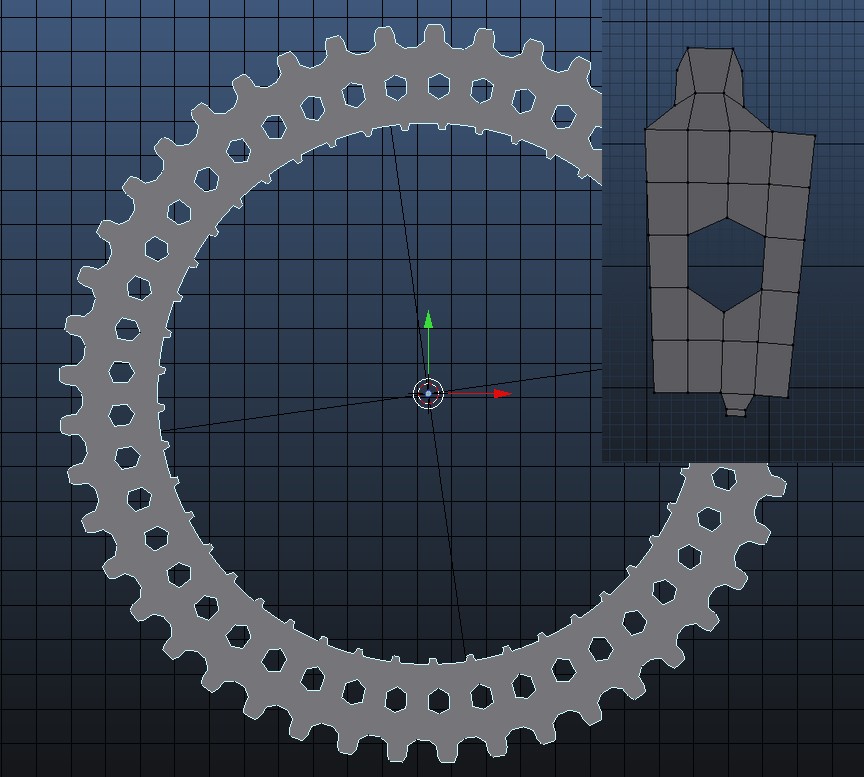
Now you can edit your cog and all the gear will be like the cog that you have done. Here is a little example: enter image description here

$\endgroup$

You must log in to answer this question.

Not the answer you're looking for? Browse other questions tagged .