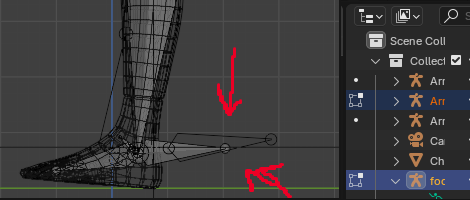
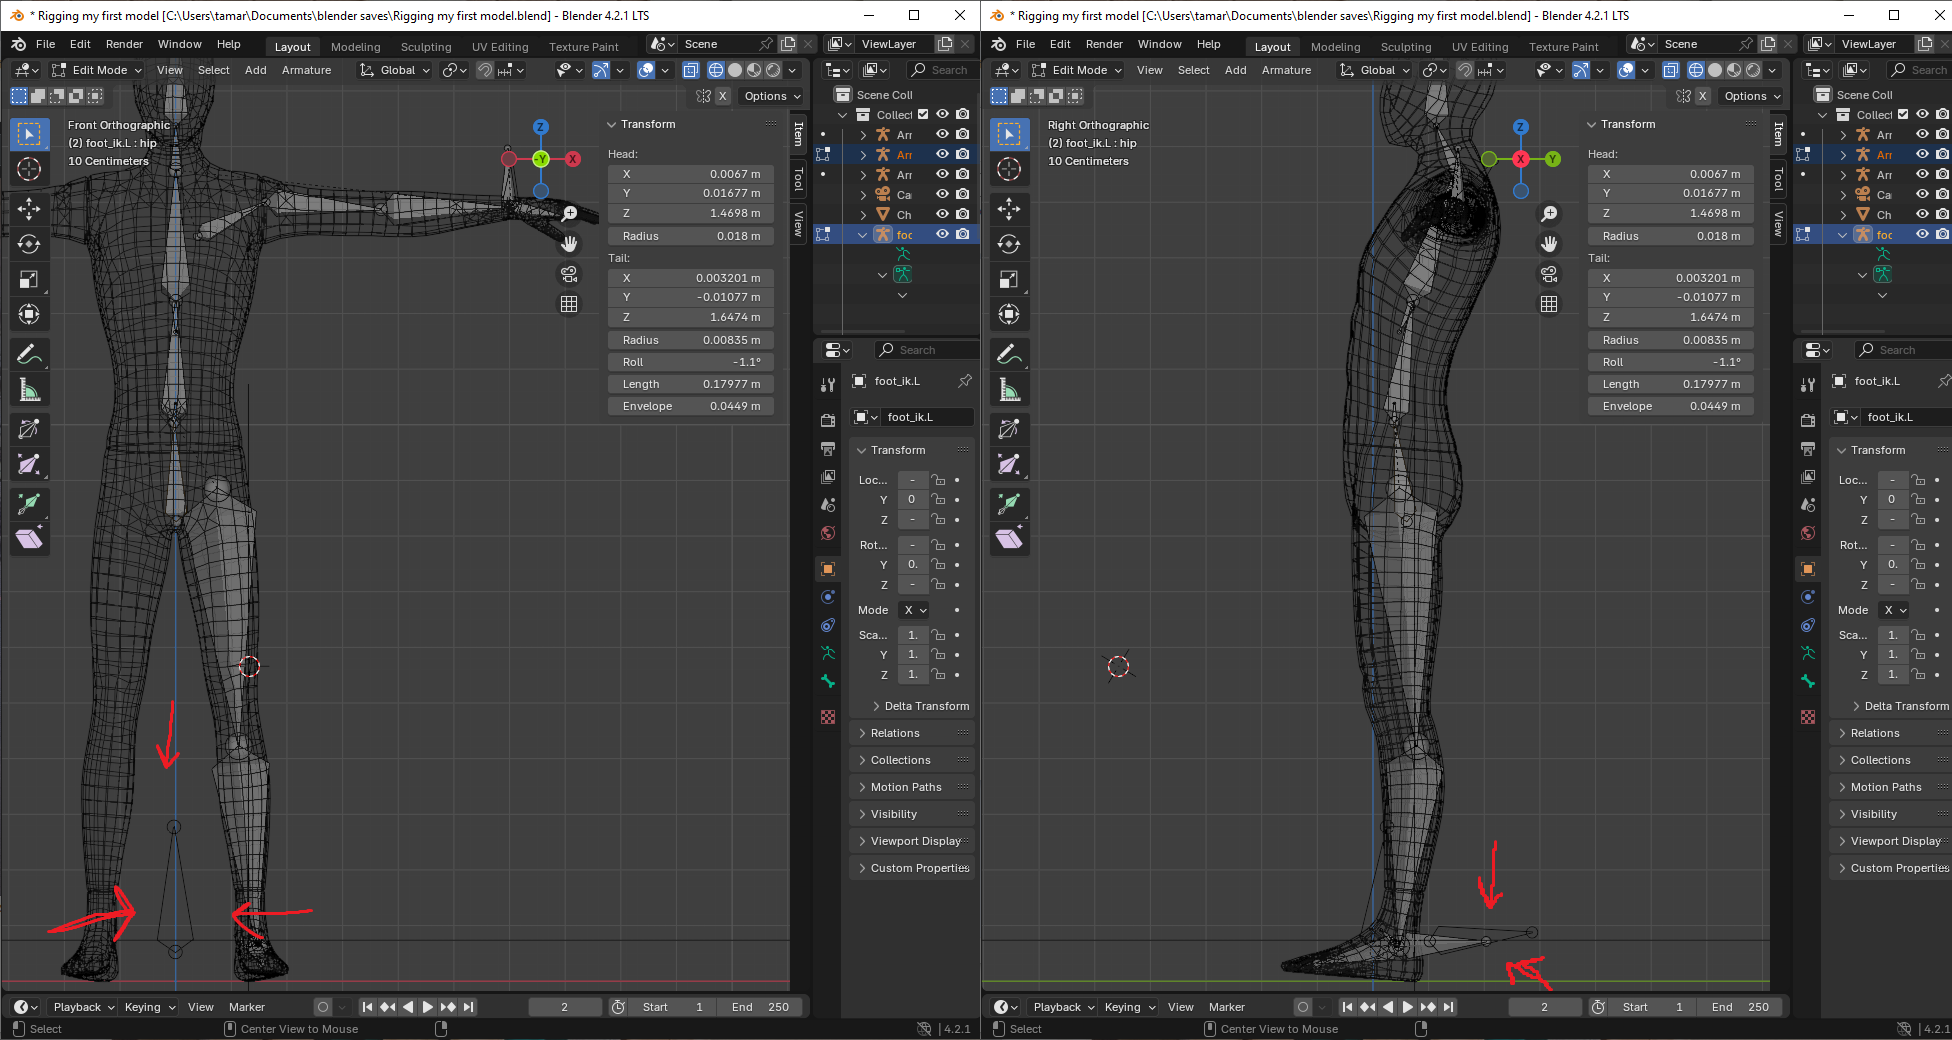
As hinted by the fact that your bones aren't displayed the same way, and more importantly, seeing in your outliner that you have multiple Armature objects:

The issue becomes clearer: you can't select those bones because they aren't part of the same armature object.
Why does it matter
Objects, are a container that exists at a specific location, rotation and scale in the 3D space and carries data, such as mesh, curves, bones, ...
An Armature object is the object that contains bones for animation, whereas bones are the individual parts inside the armature. Also, sometimes referred to as "rig", which is the term to call the whole system of "things" that make a model animatable.
Commonly, we use only one armature for an entire character (props are sometimes part of the character rig, but sometimes on their own if shared by many characters).
That is because handling bones within the same armature is easy, whereas animating bones across multiple armatures, or worse, making them interact, gets quickly complicated with hierarchy and dependency issues.
Yet we need different armatures for things that also need to be independent.
How to fix
Fortunately, turning multiple objects of the same type into one is pretty easy. ↹ Tab into Object mode. Select the objects you want to join, finishing by the one you want to join "into", then hit ⎈ CtrlJ to join the objects together.
If you had constraints already setup, you may need to check if they still point to the correct bones.
You may also need to make sure each bones you have is correctly named. If two bones were named the same in individual armatures, they would have been renamed during the join, as there can't be identical bone names within the same armature.
Finally, check your bone hierarchy, you should always have only one root bone (to avoid standard issues when exporting outside of Blender).


