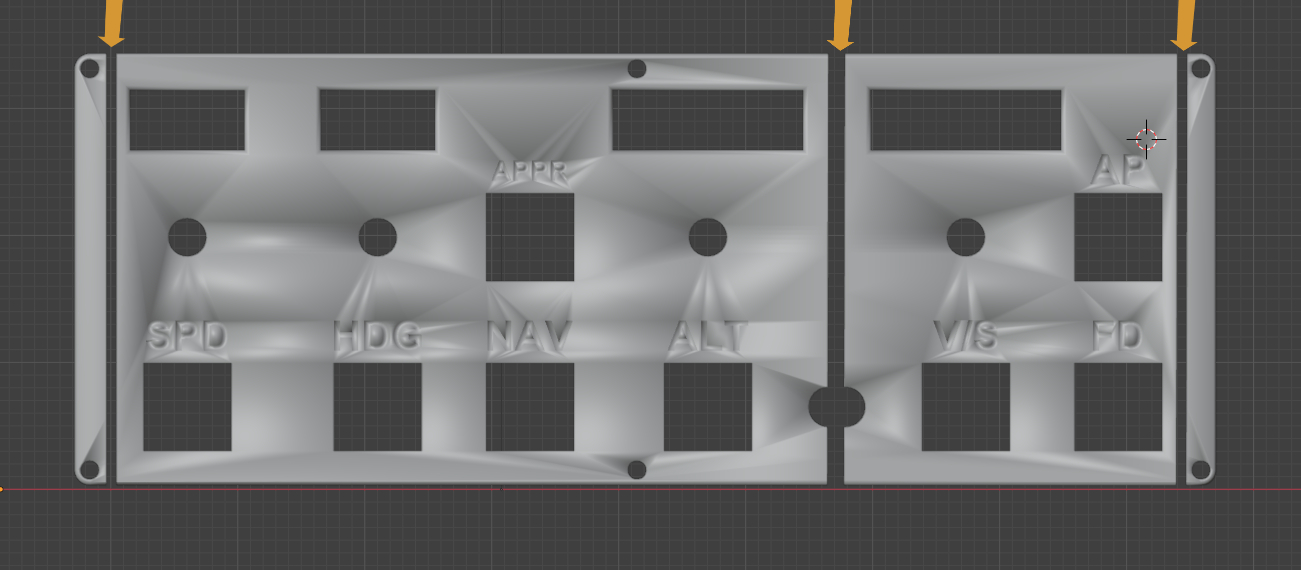
Since you seem very new to Blender, i made a step for step instruction with images.
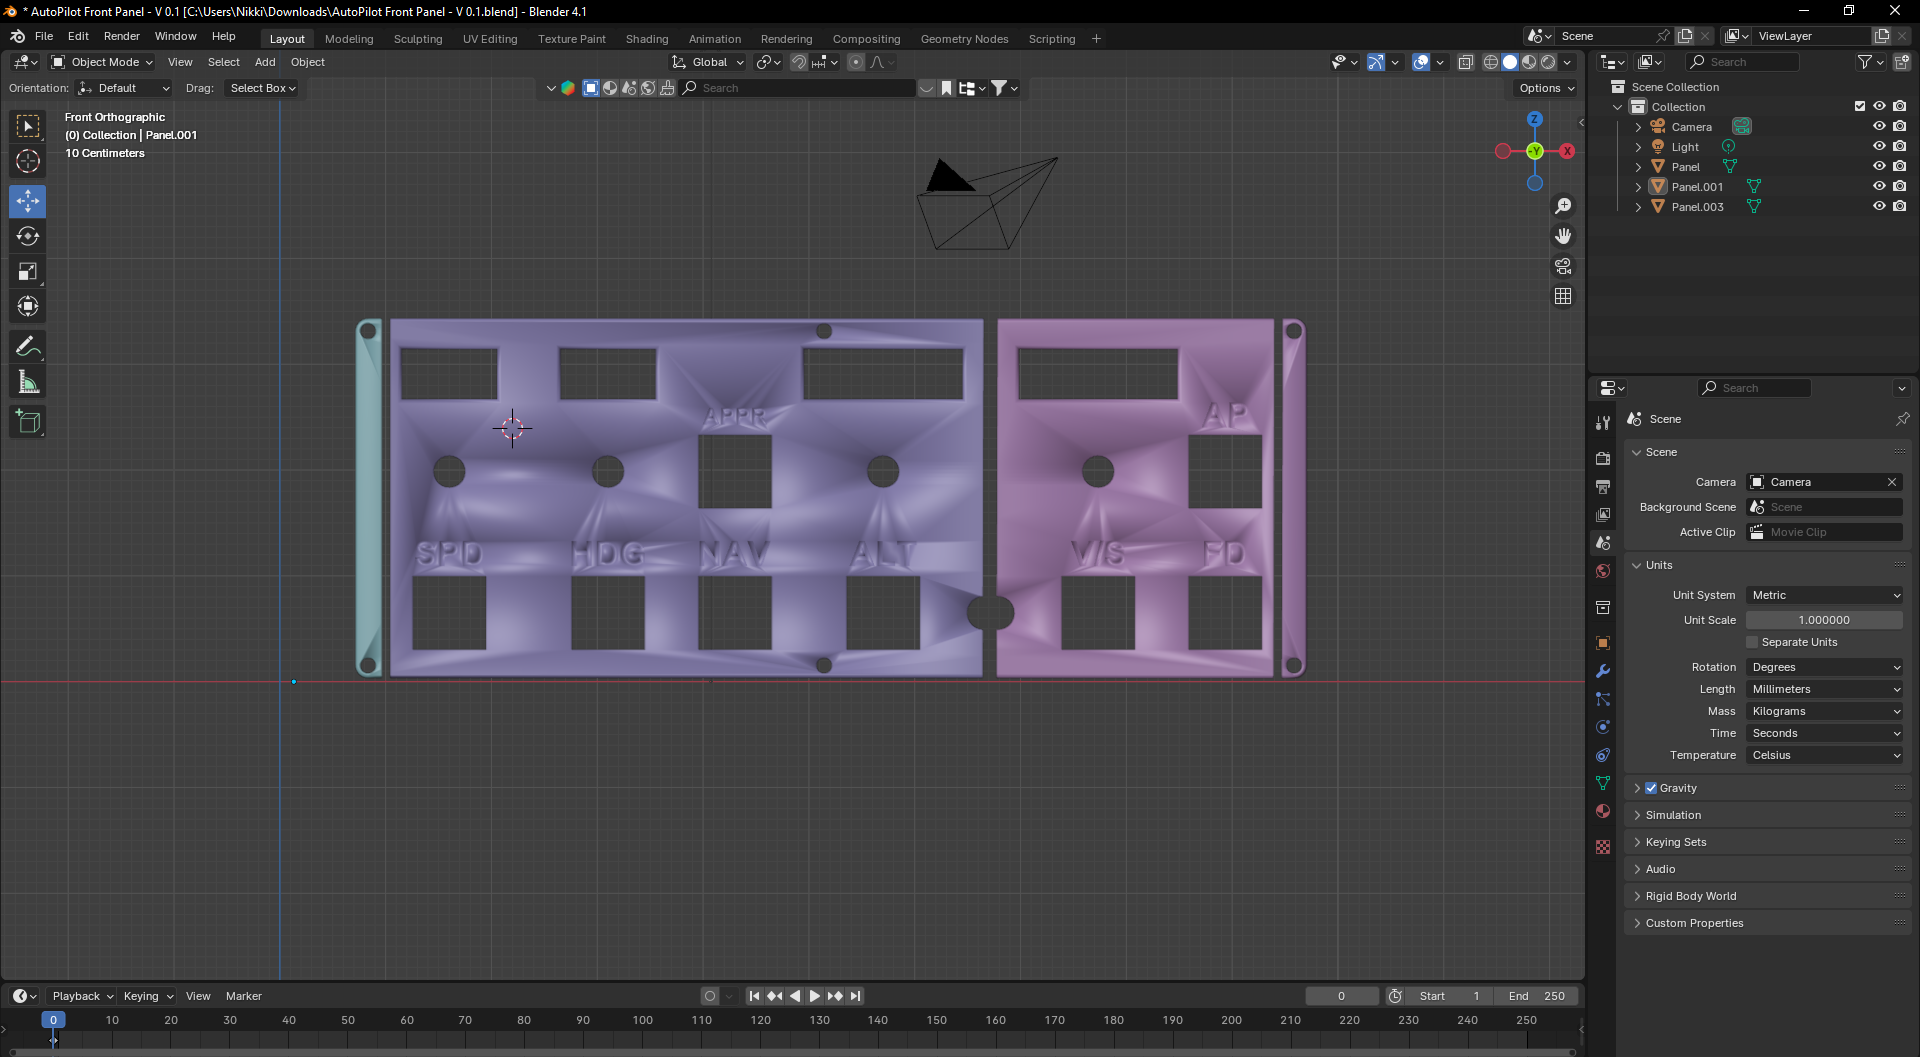
As you can see, you have 3 different objects (each in another color in the Picture). To join them together, hold SHIFT and click an each object. Afterwards press CTRL+J.
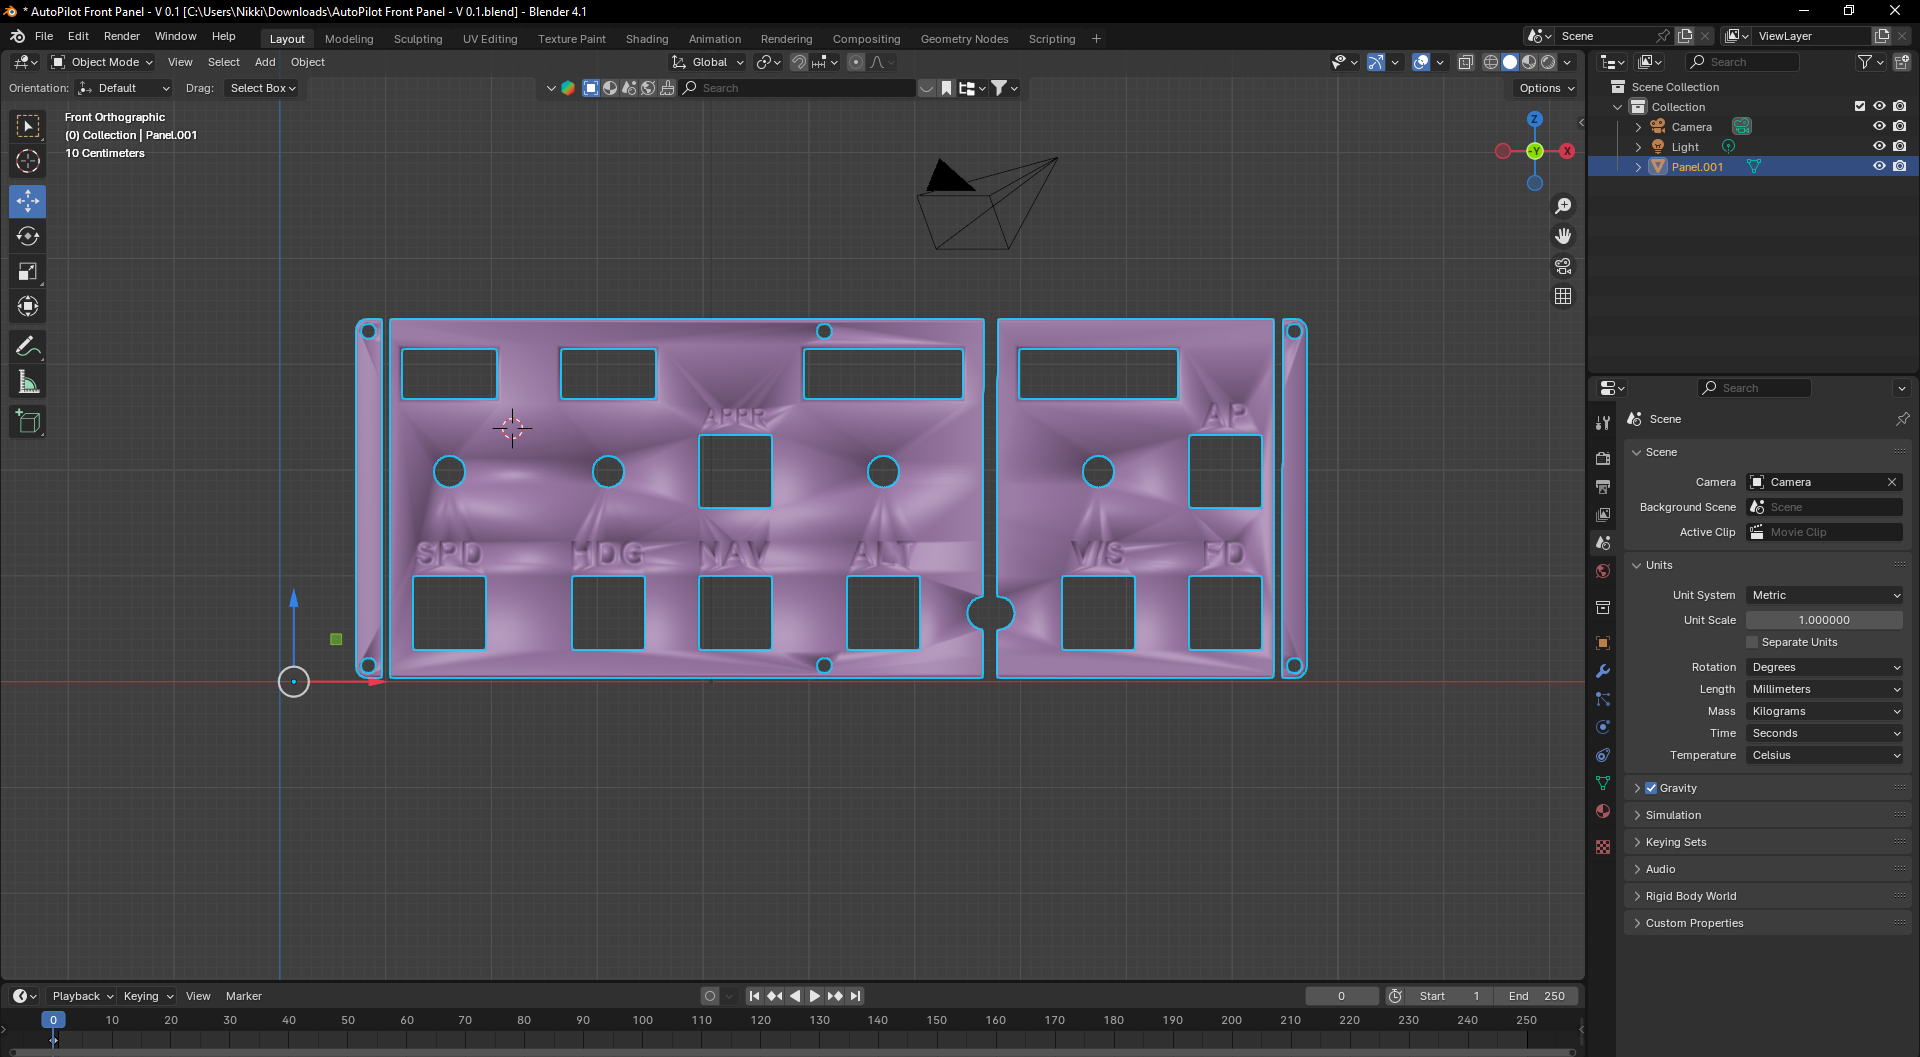
As you may see in the folowing picture, it's now just one whole object.
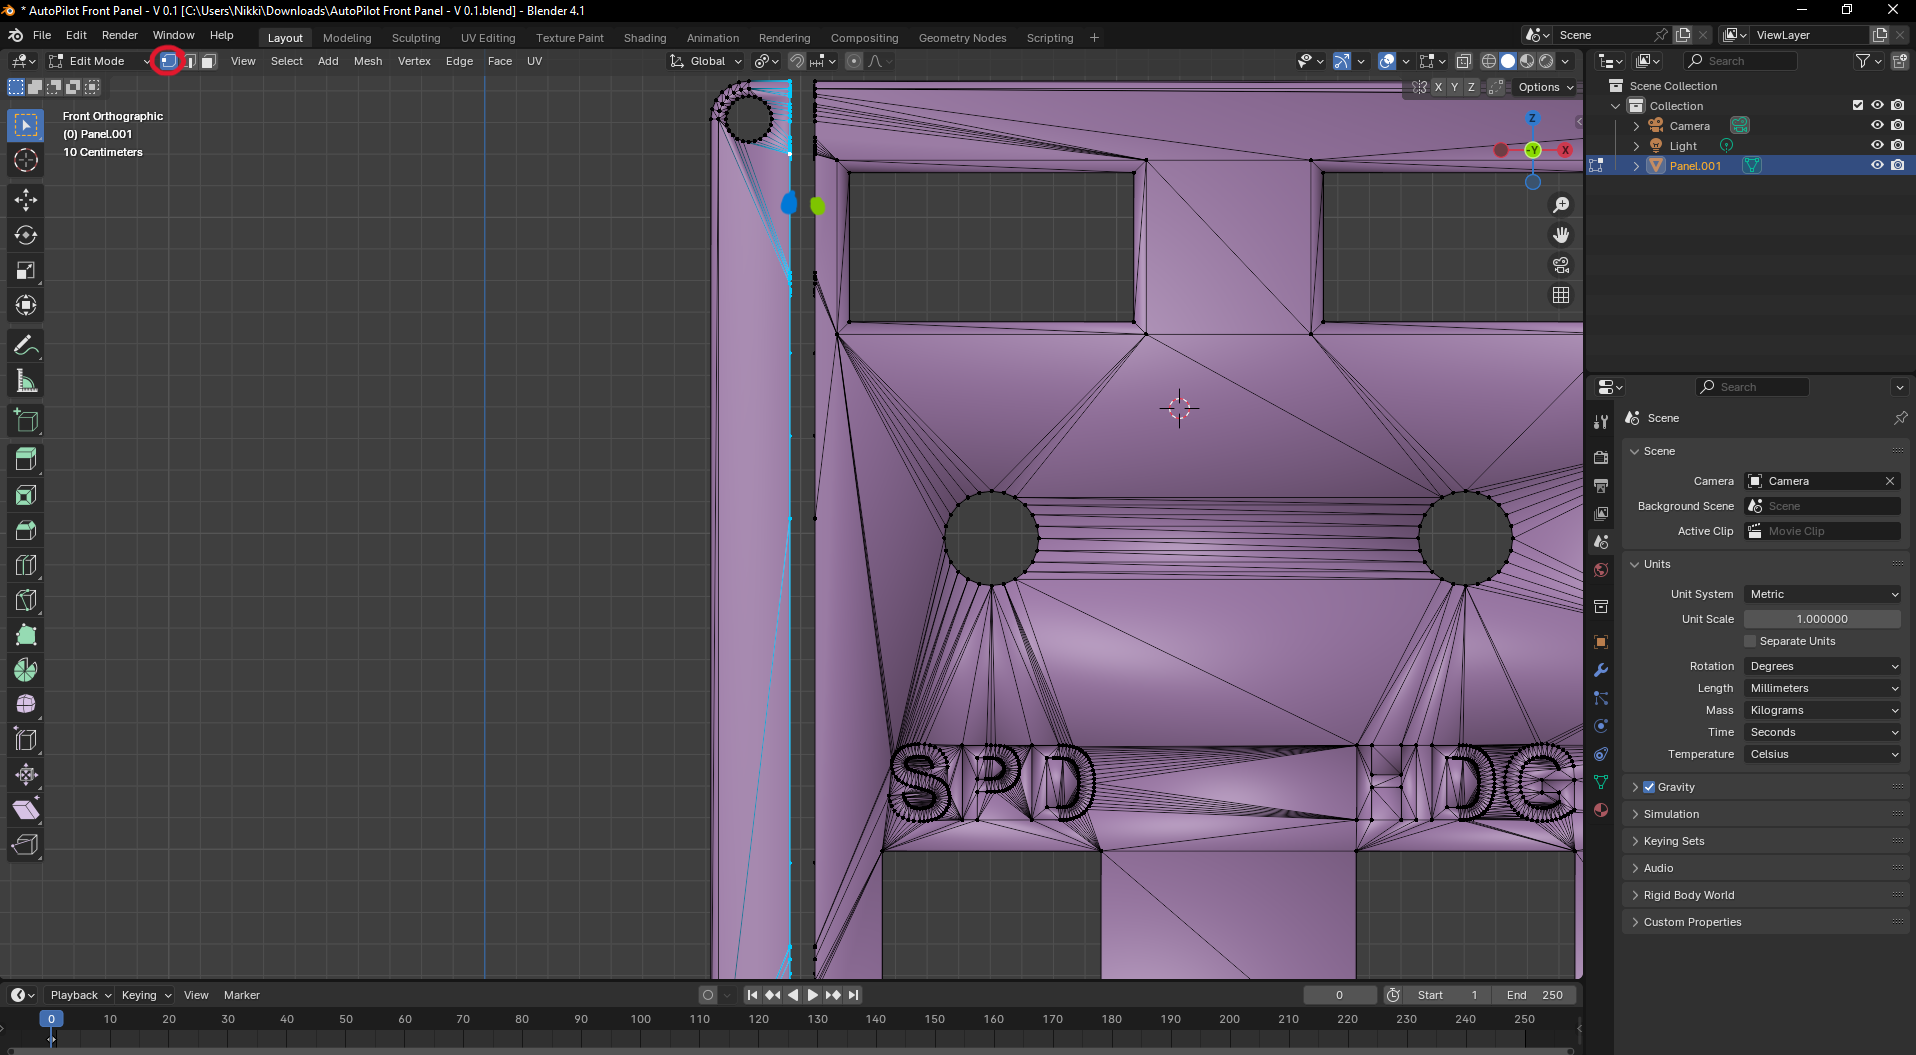
Now enter Edit Mode by hitting TAB. Make sure you are in Vertex select mode (Circled in Red in the next image). Place your Mouse Cursor (mine wasn't recorded for some reason) at about the blue mark in the image and press ALT+LMB, now press SHIFT+ALT+LMB on the other side of the gap at roughly the green Mark ( In general, if you want to select a so called "Edge-Loop", hover your Mouse Cursor between 2 Vertices in wich direction you want the cut to be selected, or hover over an Edge or Face in their respectively Select Modes)
The the selection should now look like this:
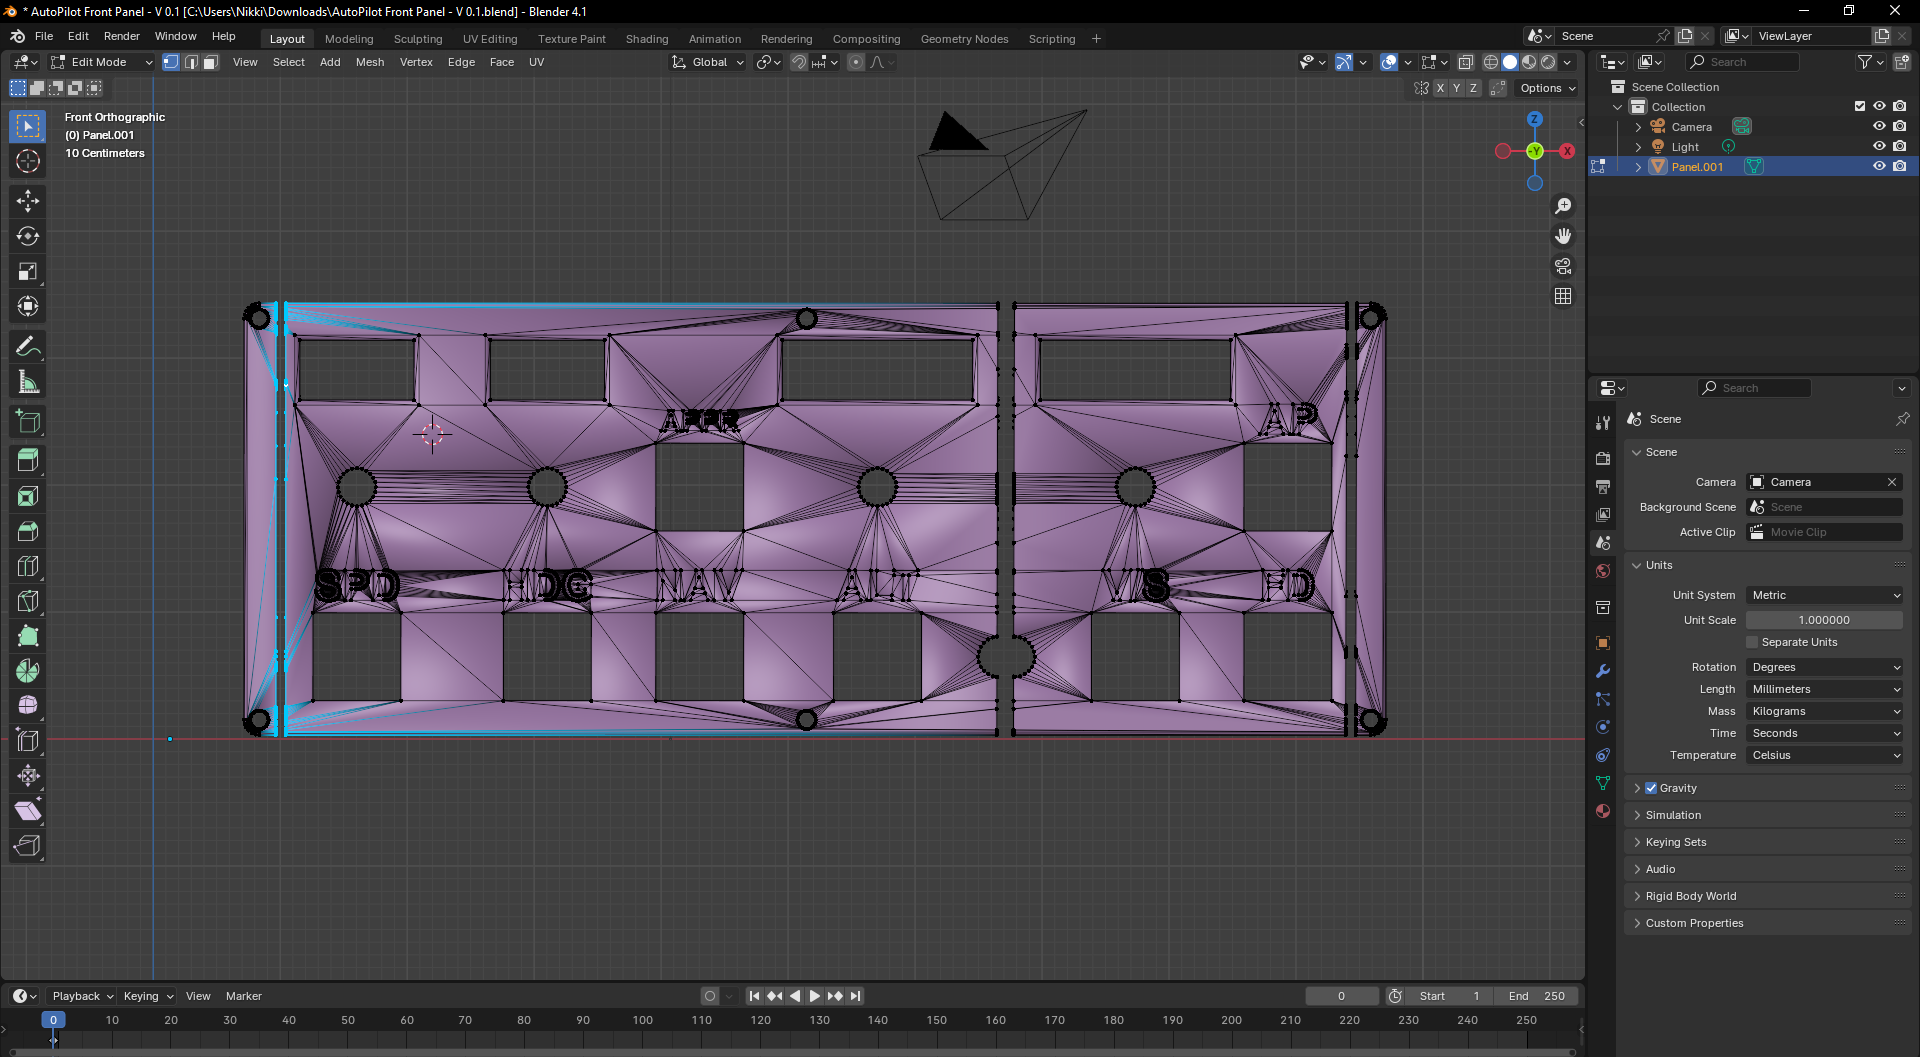
3.Now press CTRL+E and select "Bridge Edge Loops" in the popped up menu, just like in the next picture.
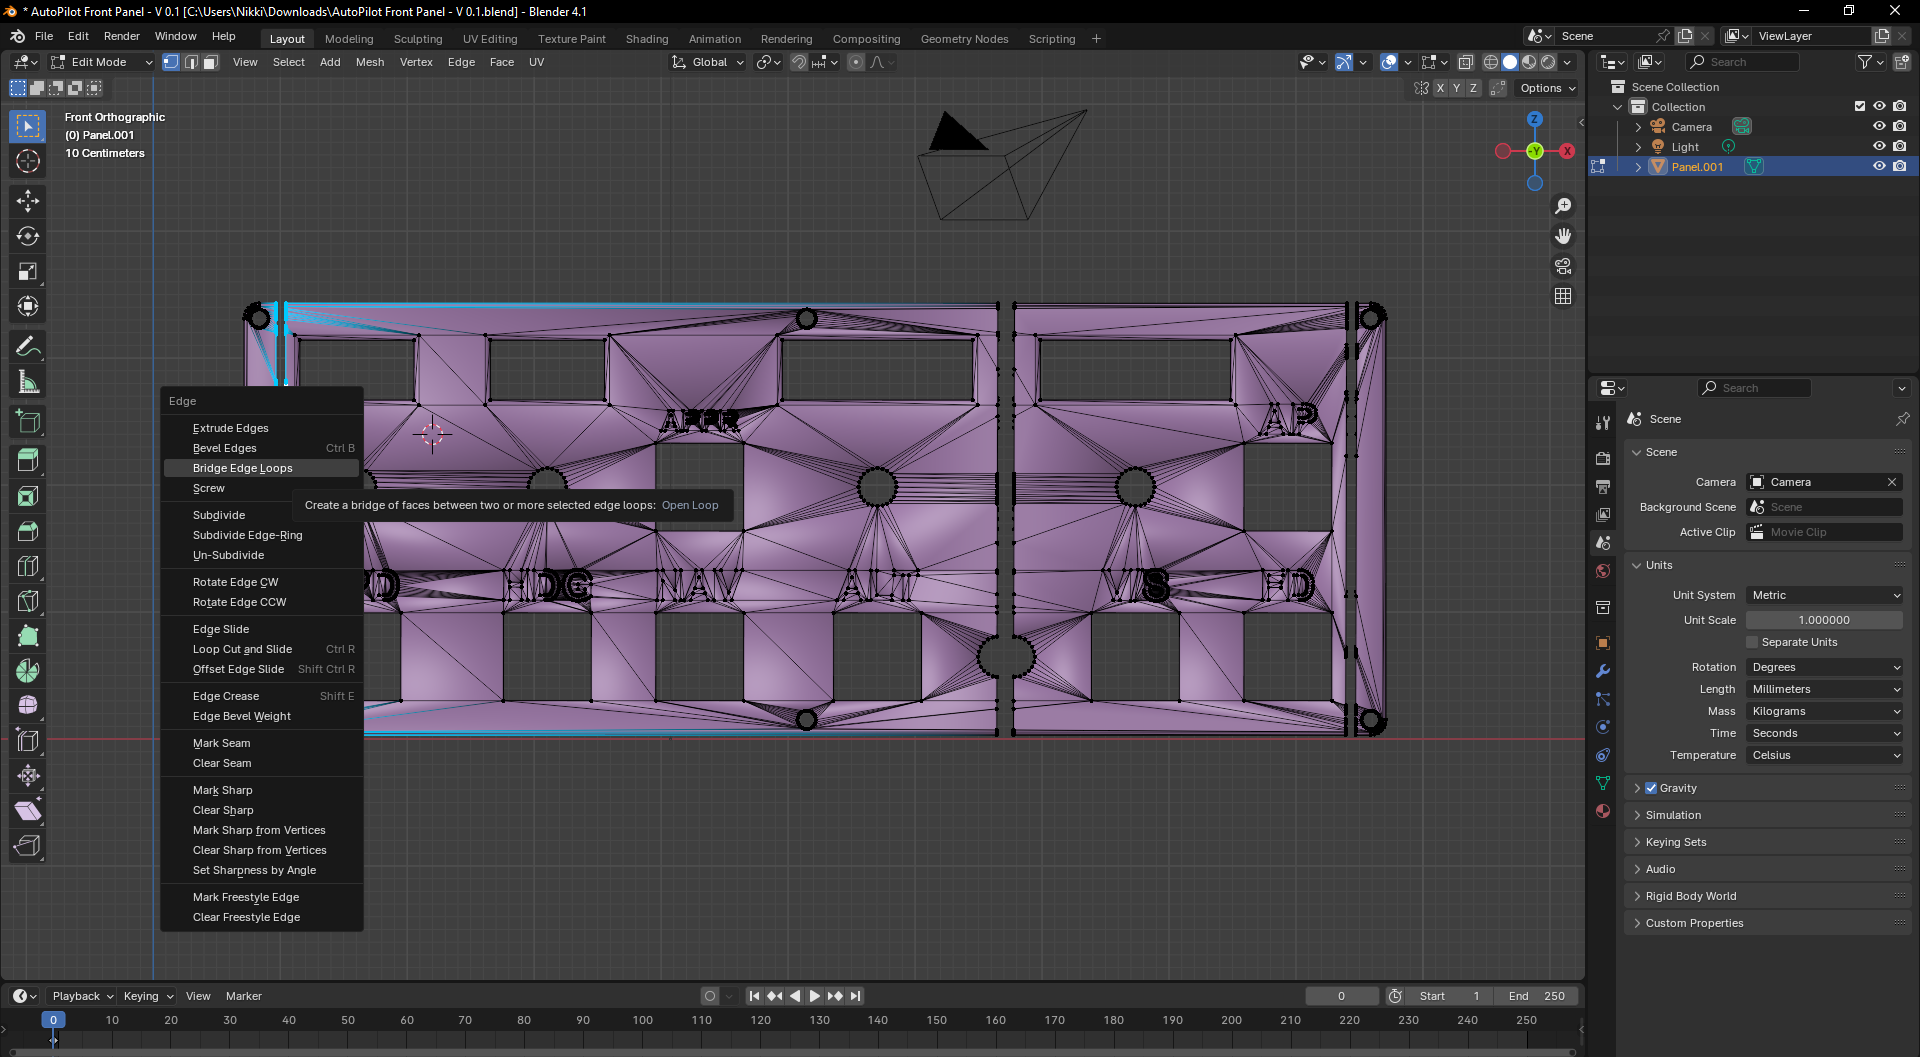
The first gap is now closed, as you're seeing here:
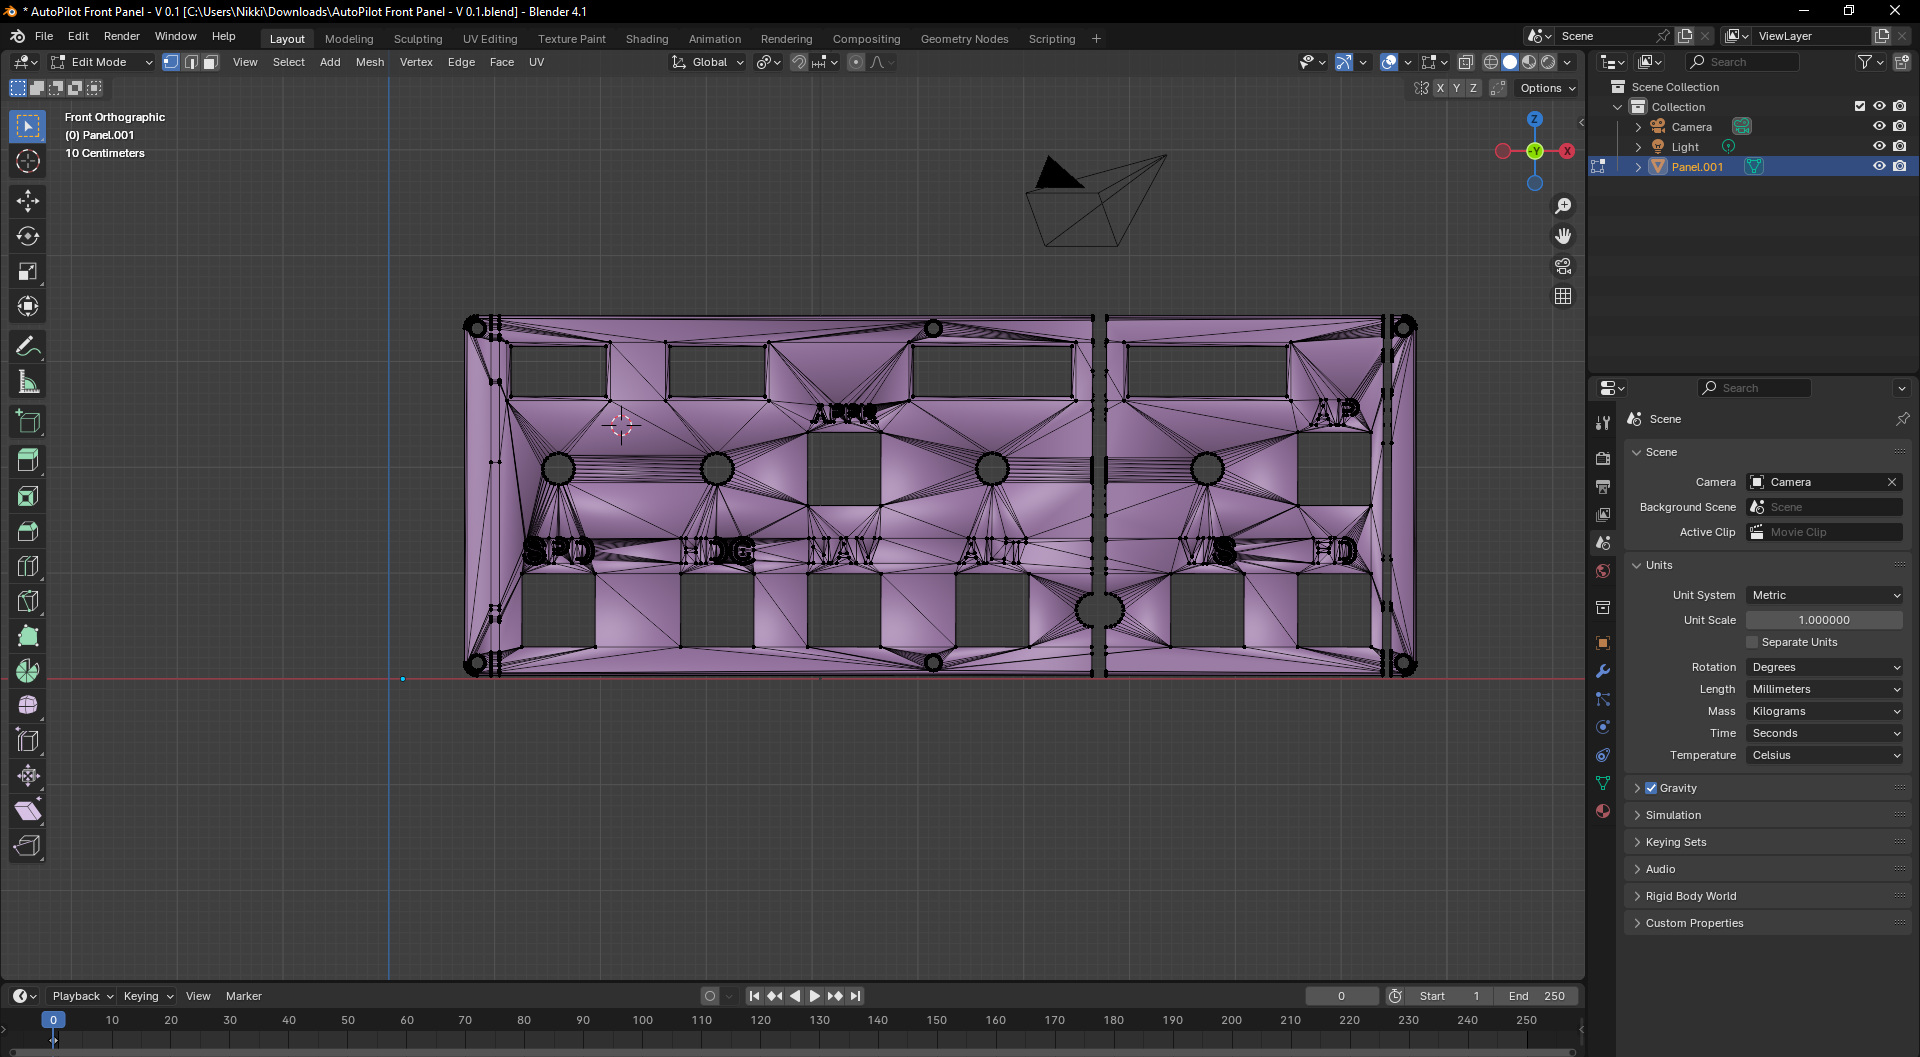
4.Do this for the other gaps as well, but be careful to select only 2 Edge Loops at once. Afterwards, your mesh should look something like this:
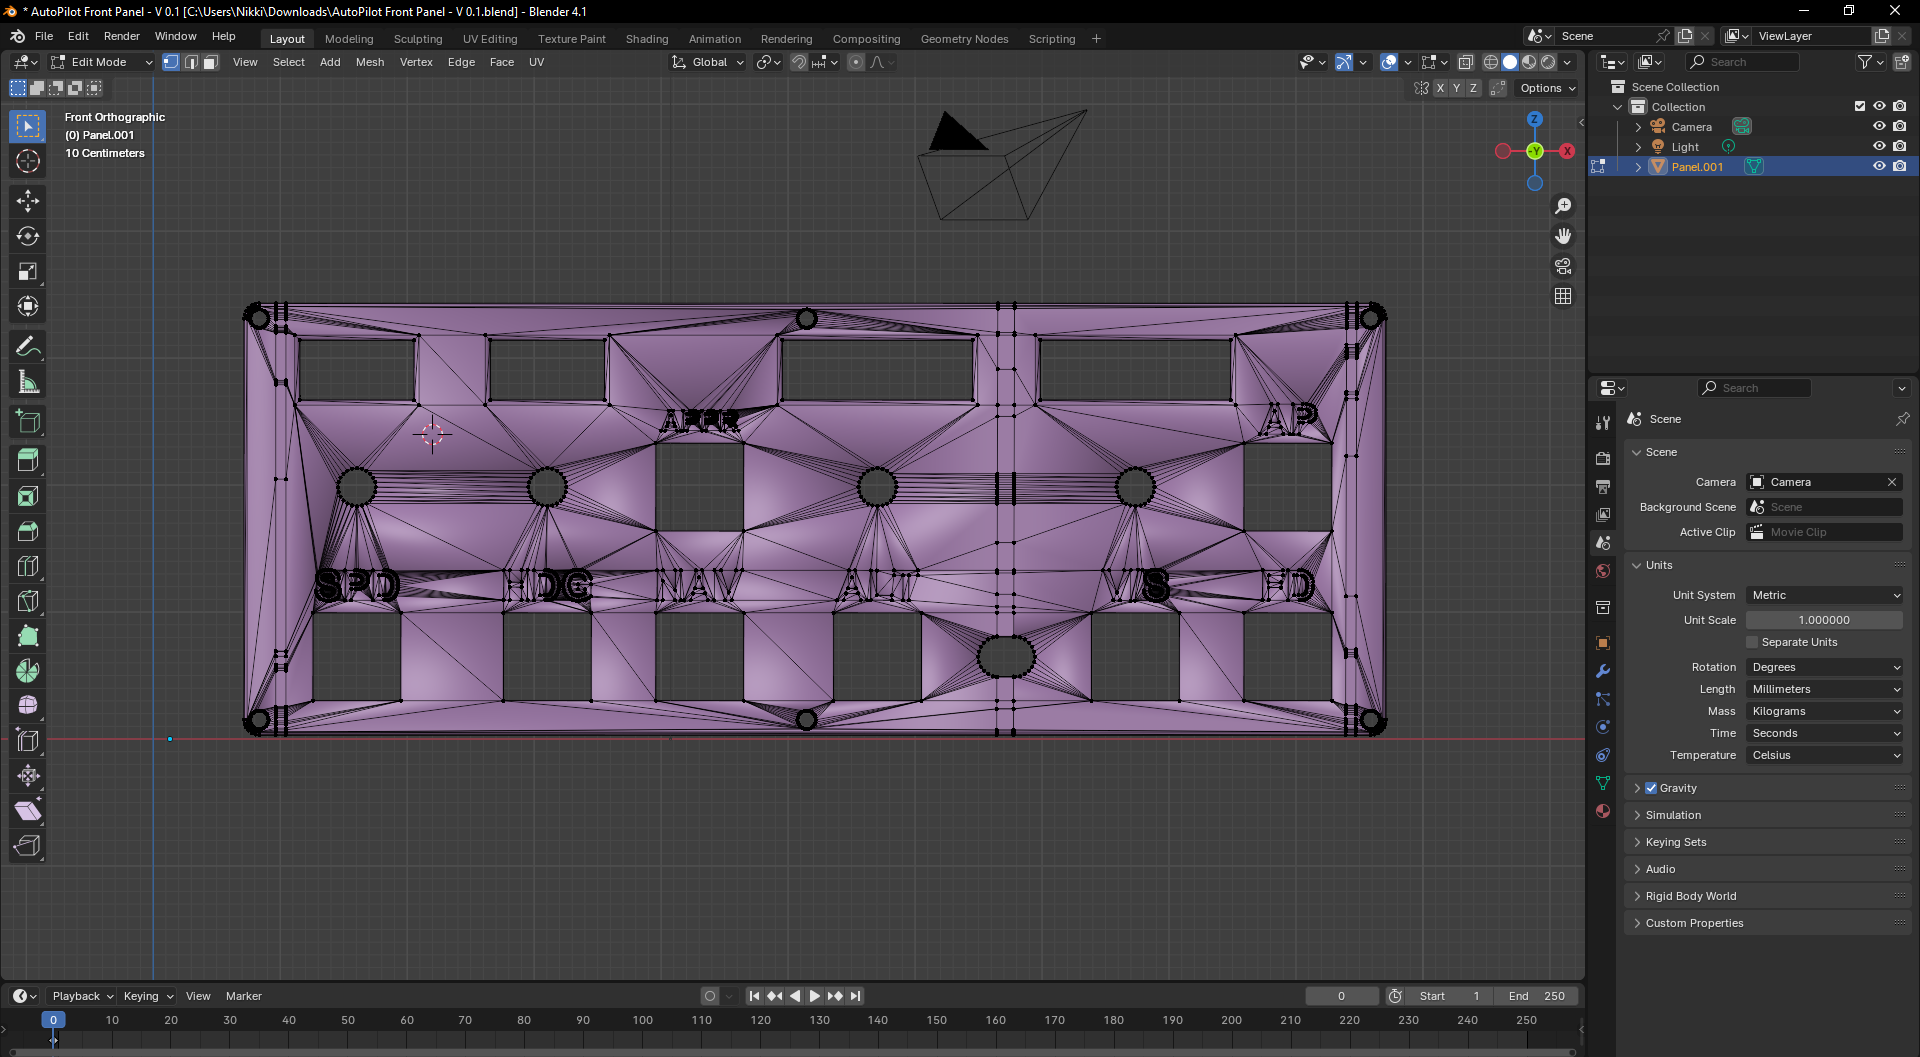
If that's all you wanted to know, that's great, but just to be sure, I'll include how to give the torn circle in the second gap it's shape back. If you intended it to be as is, just ignore the rest...
Press ALT+Z or click on the red circled symbol in the next image, to activate x ray mode, and select the Vertices like shown in the image, (you may leave X-Ray Mode again by the same way you entered it):
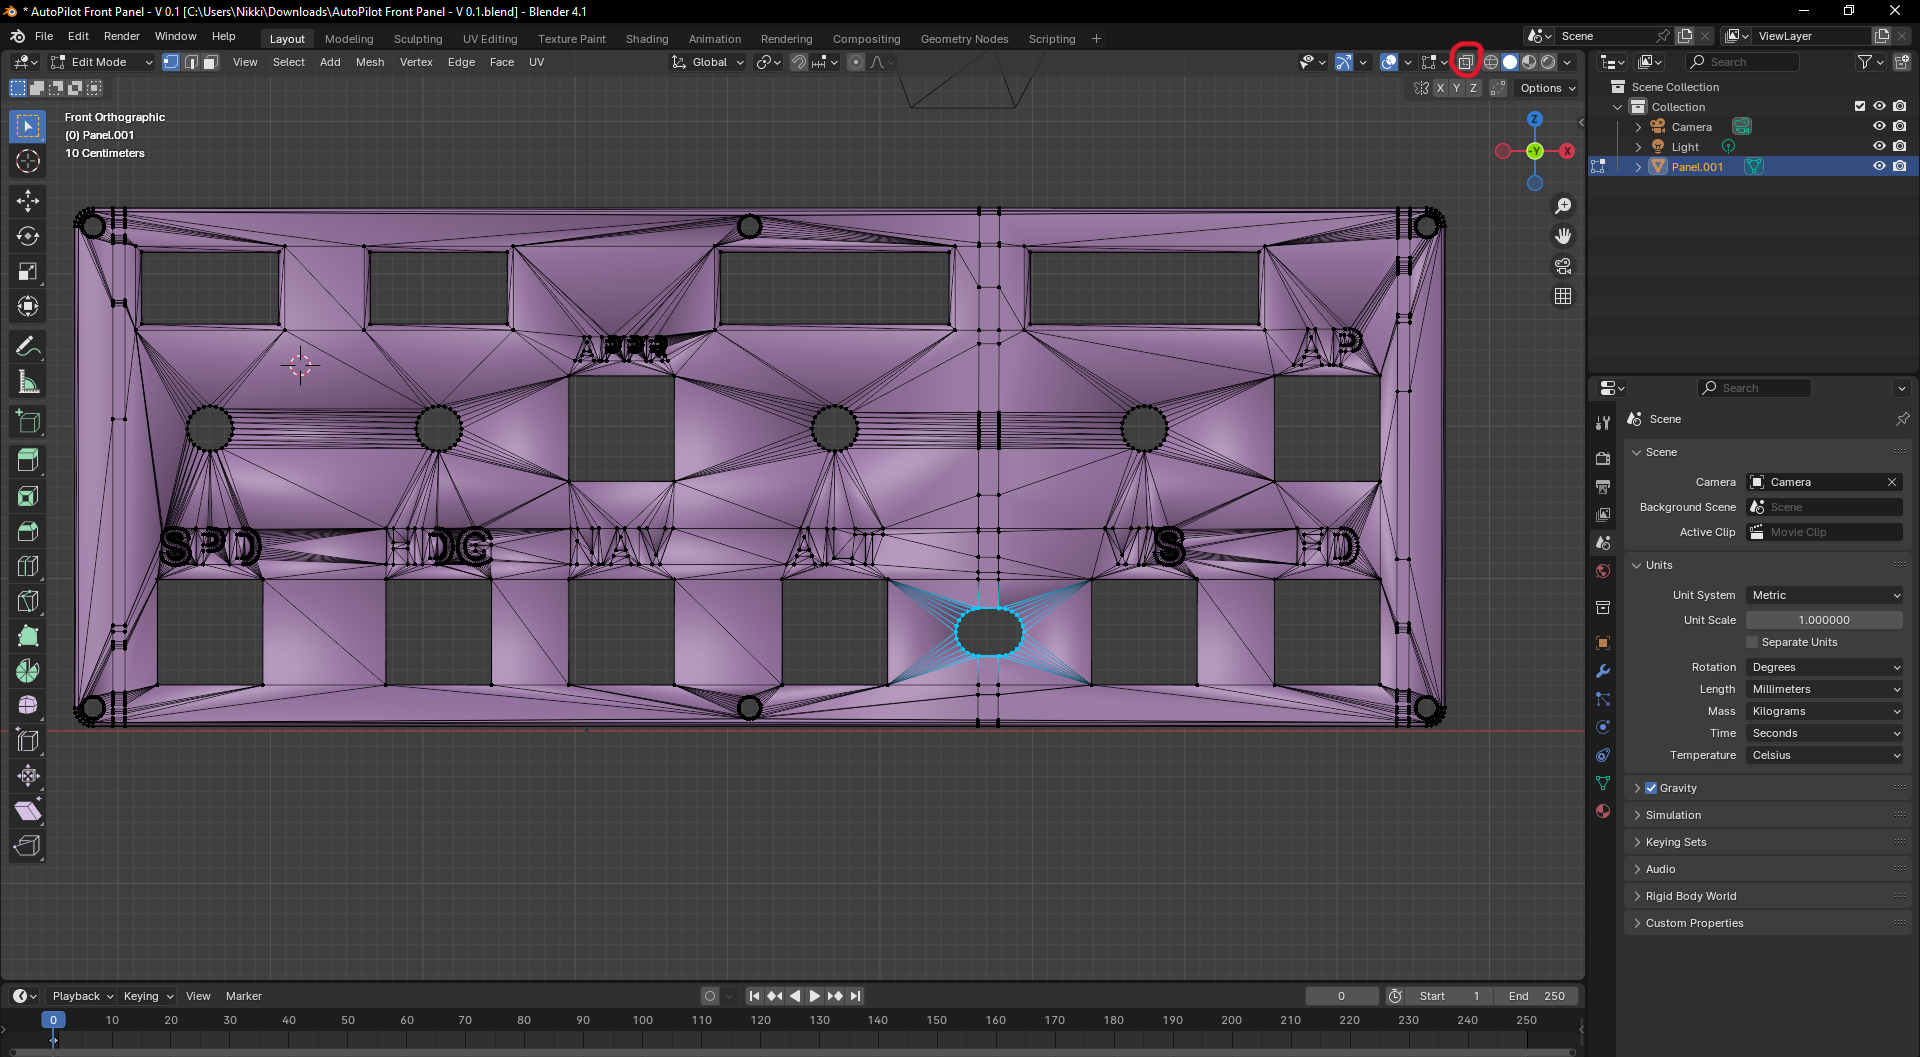
Press M and click on "By Distance" in the appearing Menu, to clear up the mesh a bit.
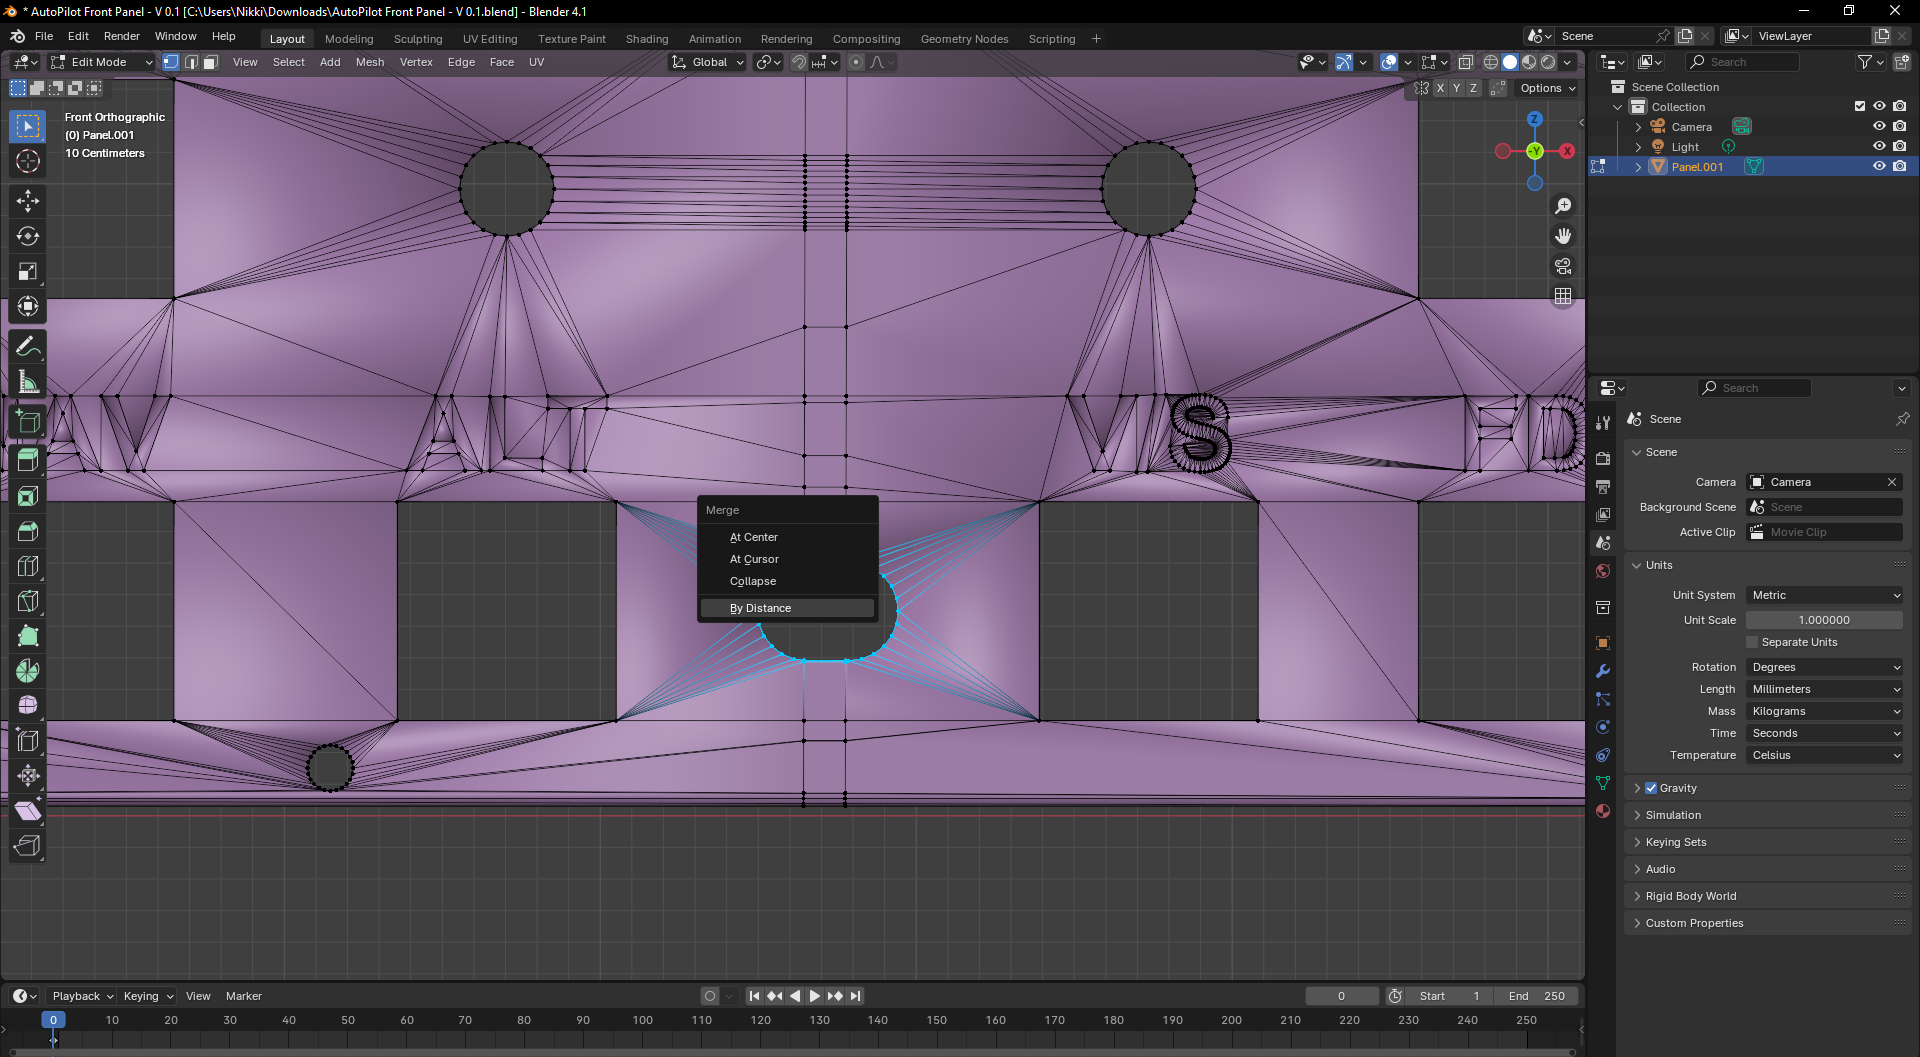
Slide the "Merge Distance" Value, until a blue Pop-Up tells you that 16 Vertices got merged ( The amount you have to clean up here) or just use the same value as I did.
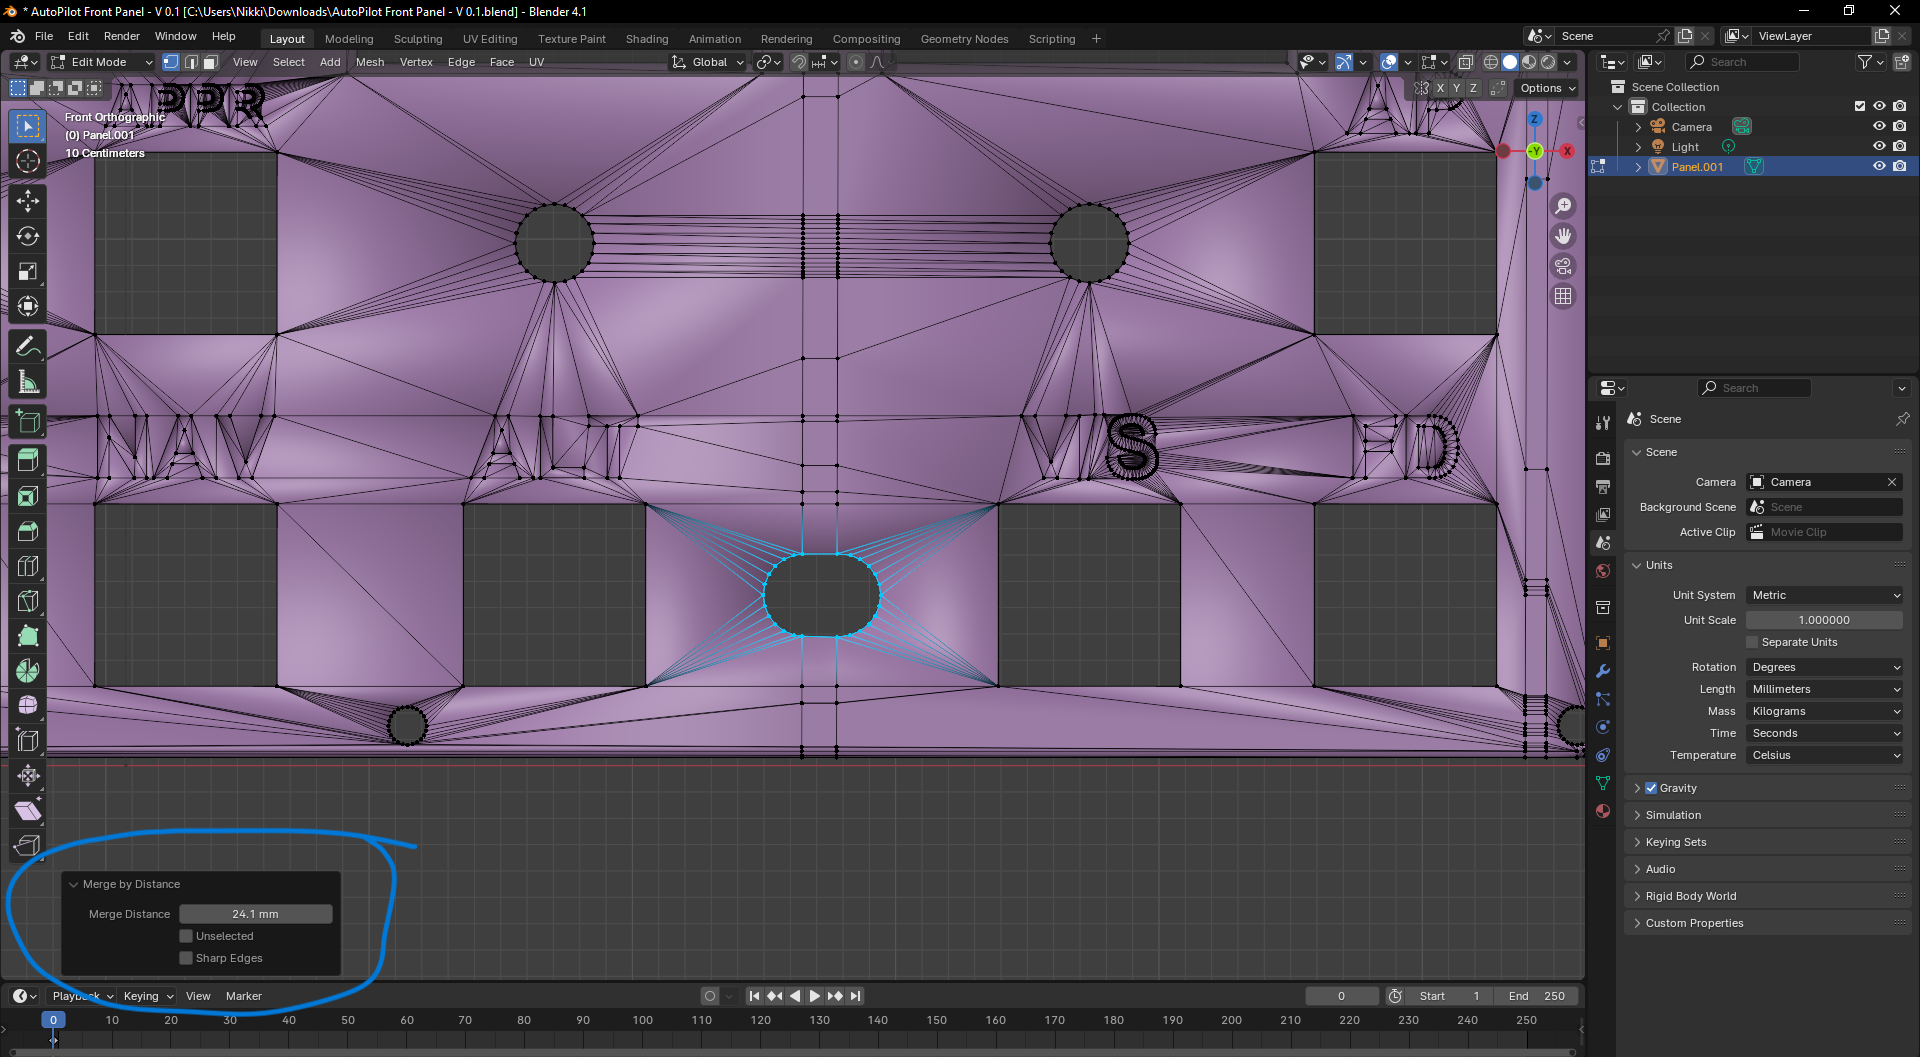
- Enter X-Ray Mode again (ALT+Z) and select the same Vertices again:
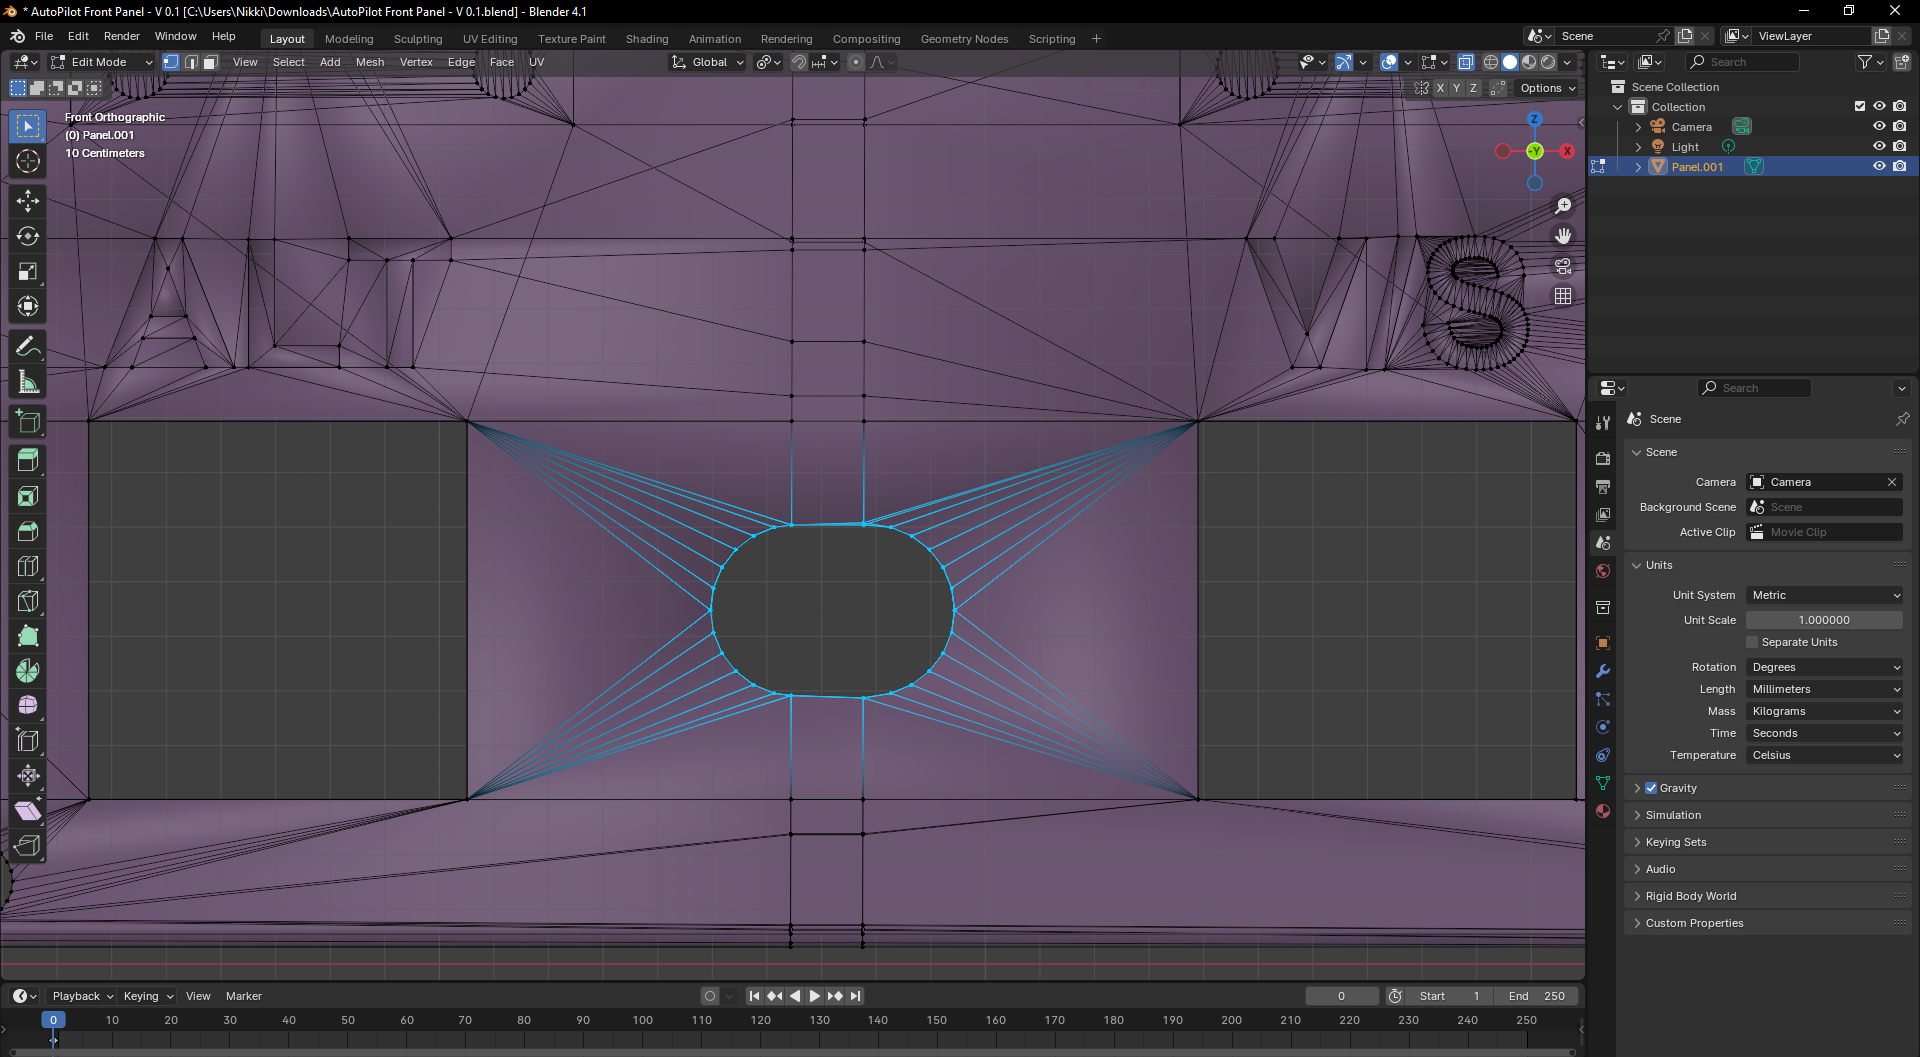
Now go into Face Select Mode (Circled in red)
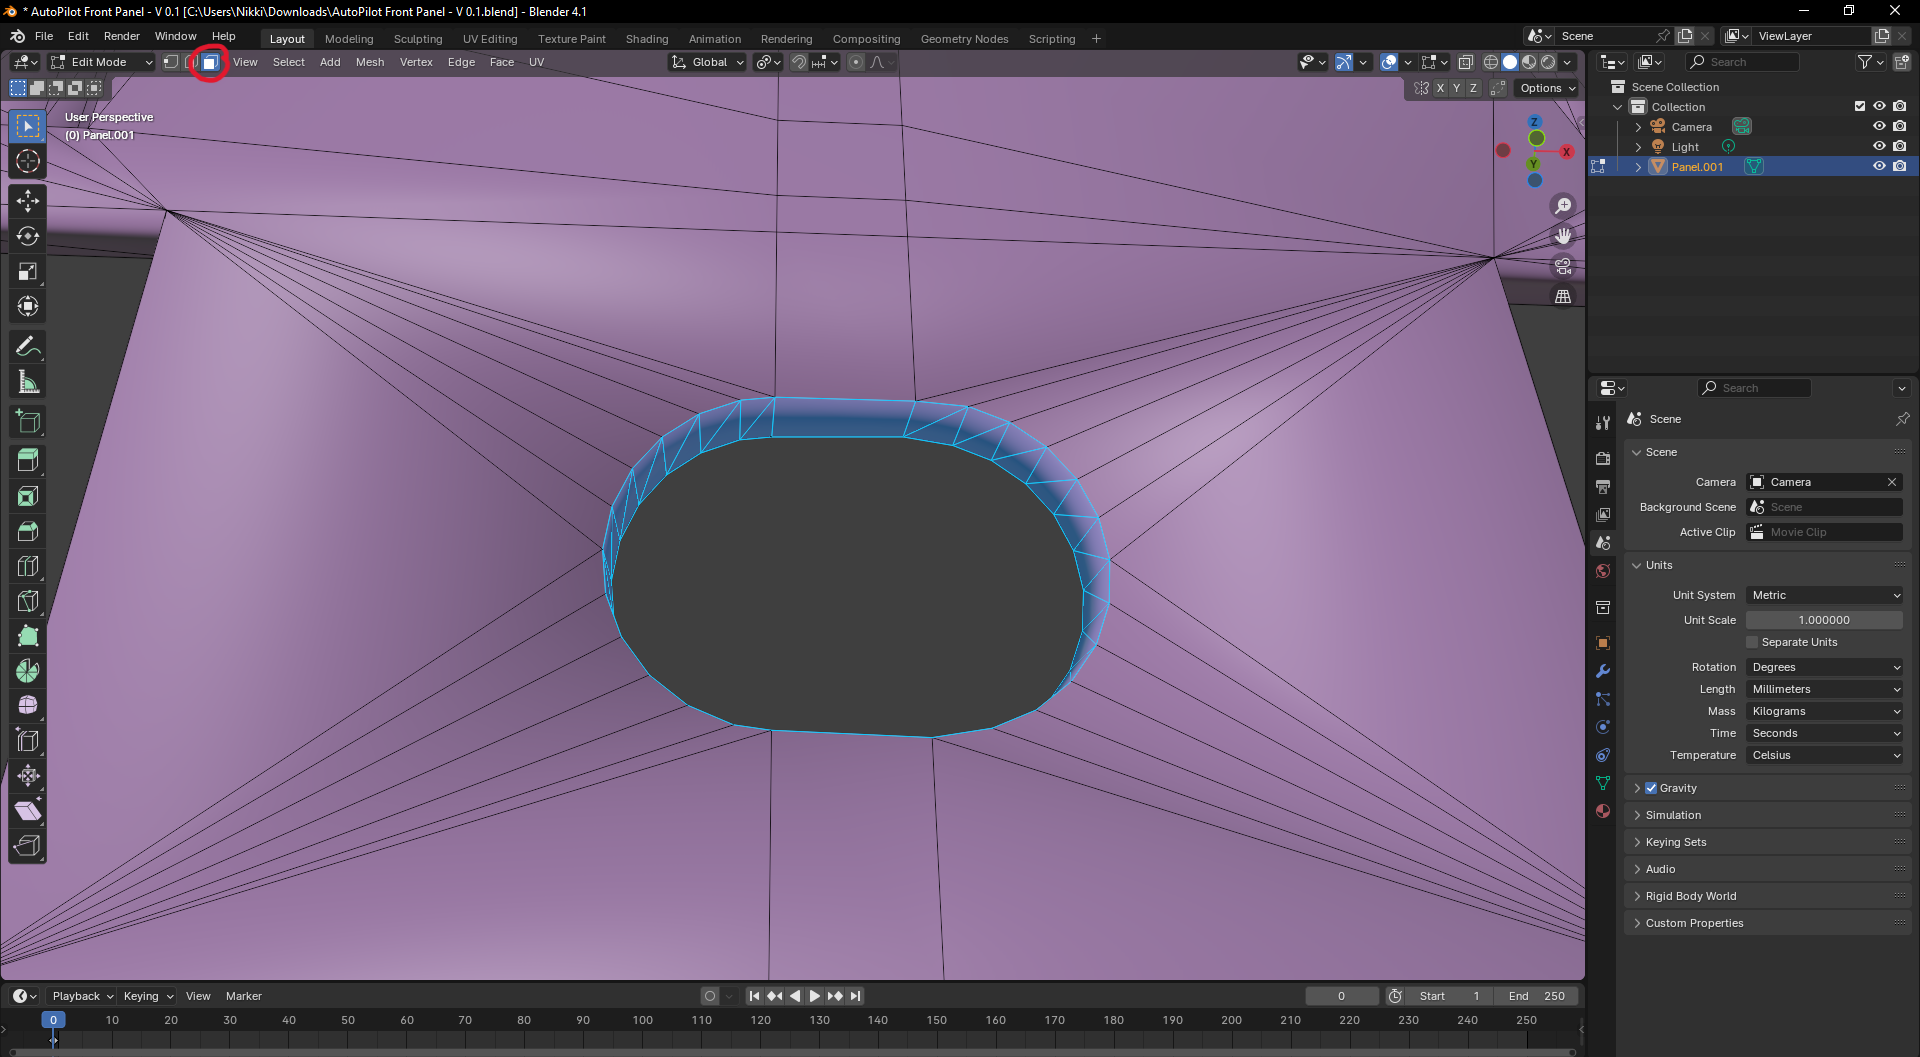
Press ALT+J to convert the selected Faces into Quads:
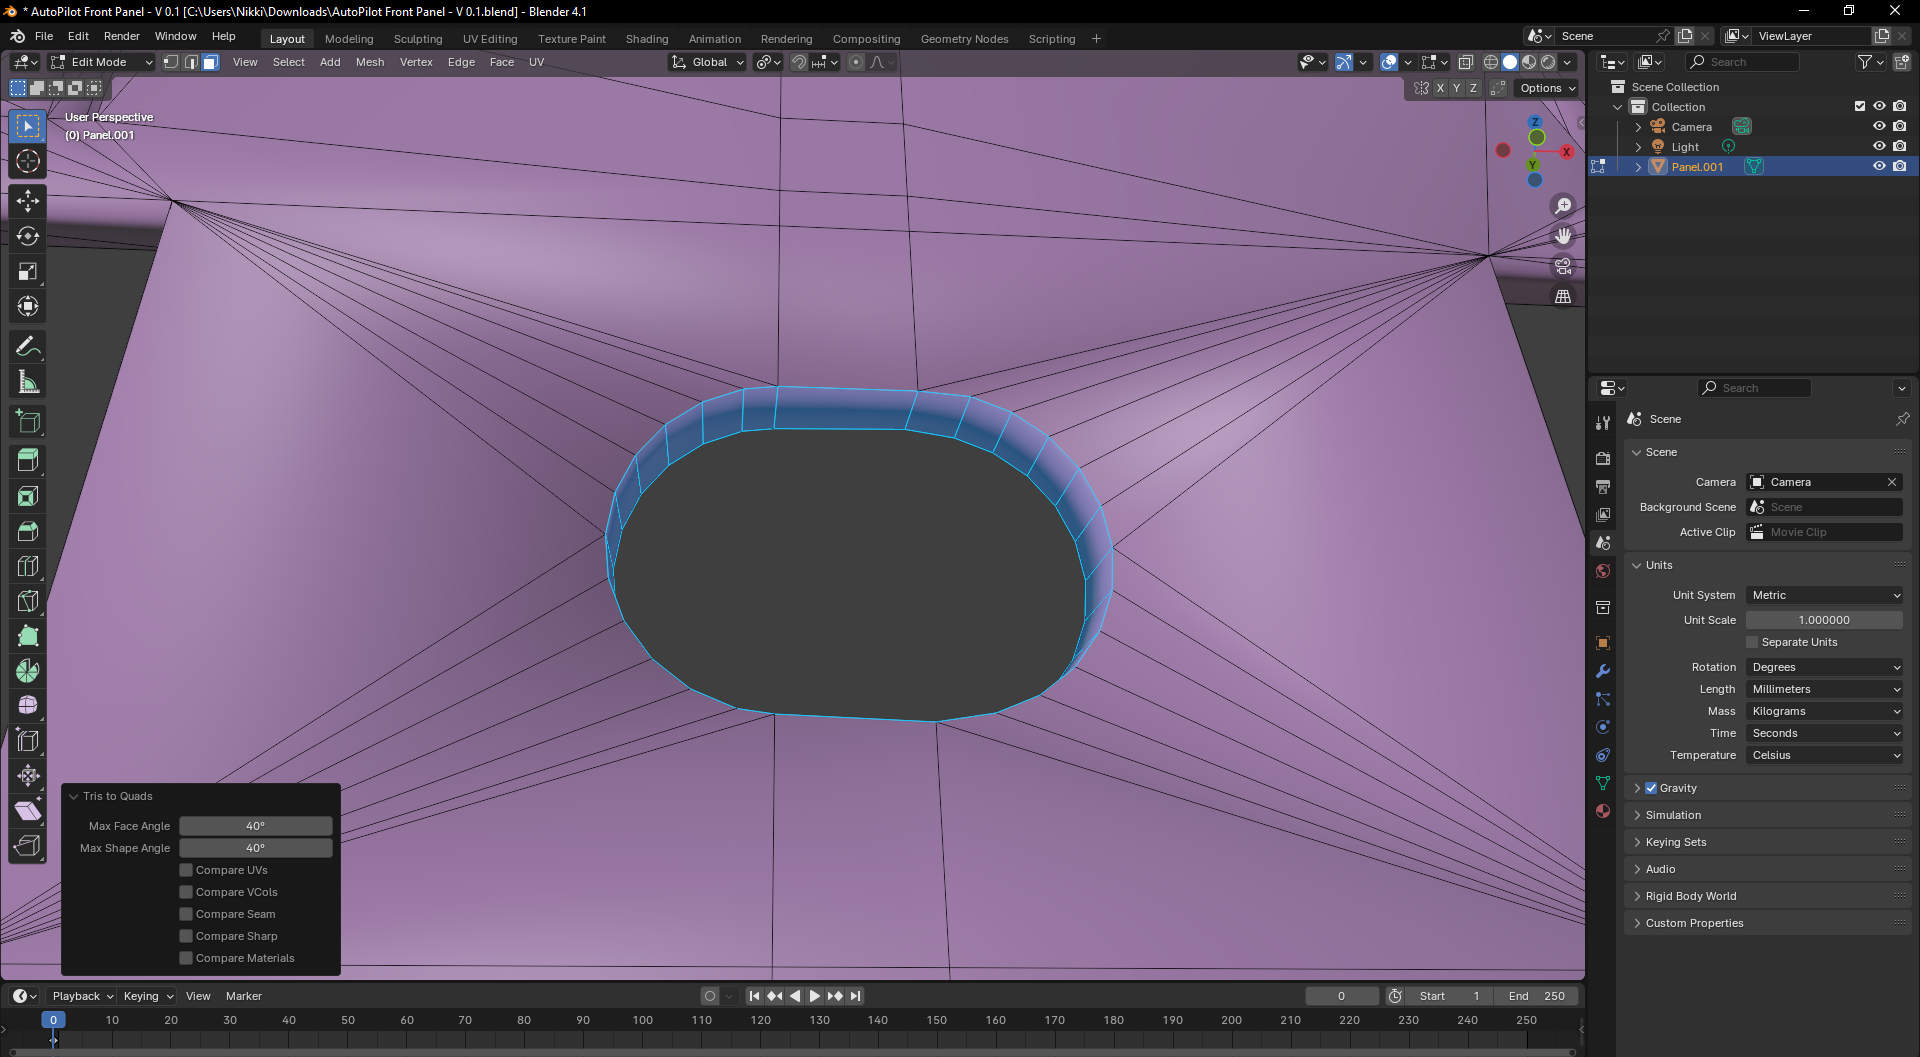
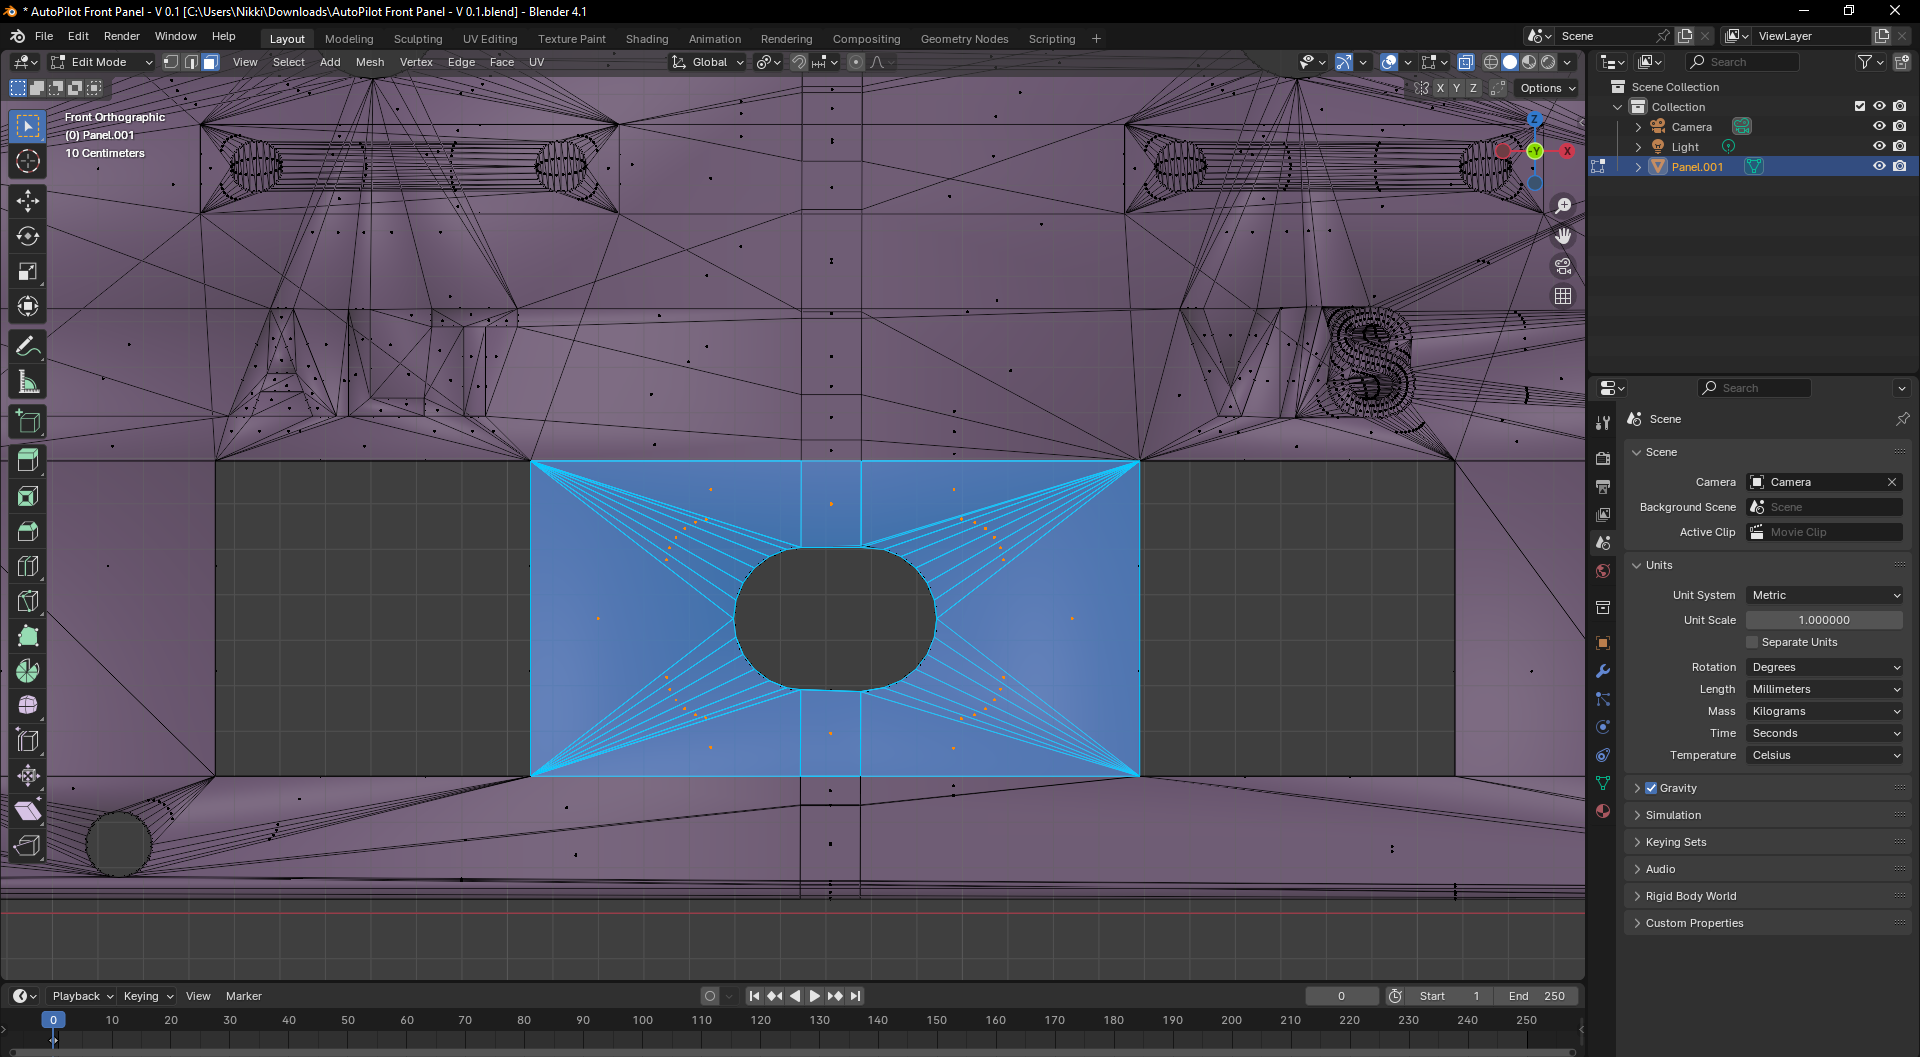
- ALT+Z again for X-Ray and select the faces wich black dots are yellow in the picture:
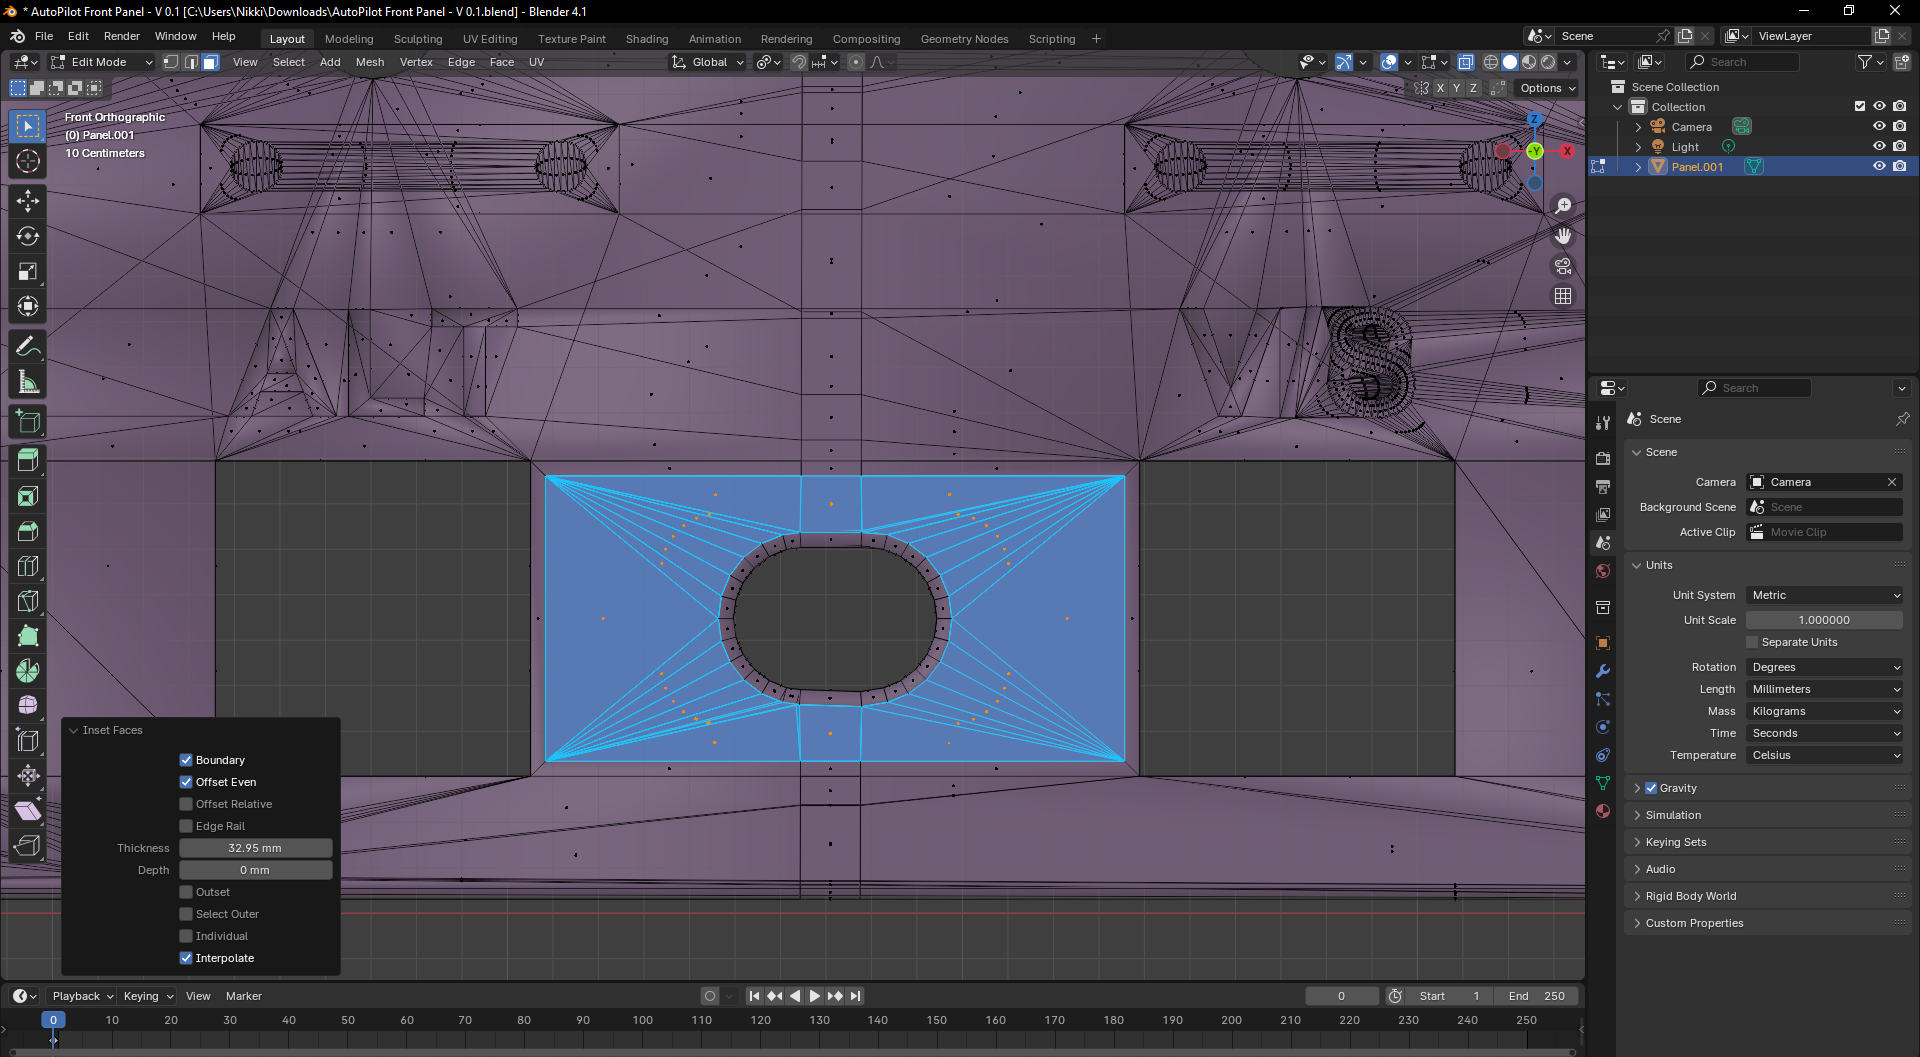
Press I to inset the faces and move your mouse until you have something like in the image:
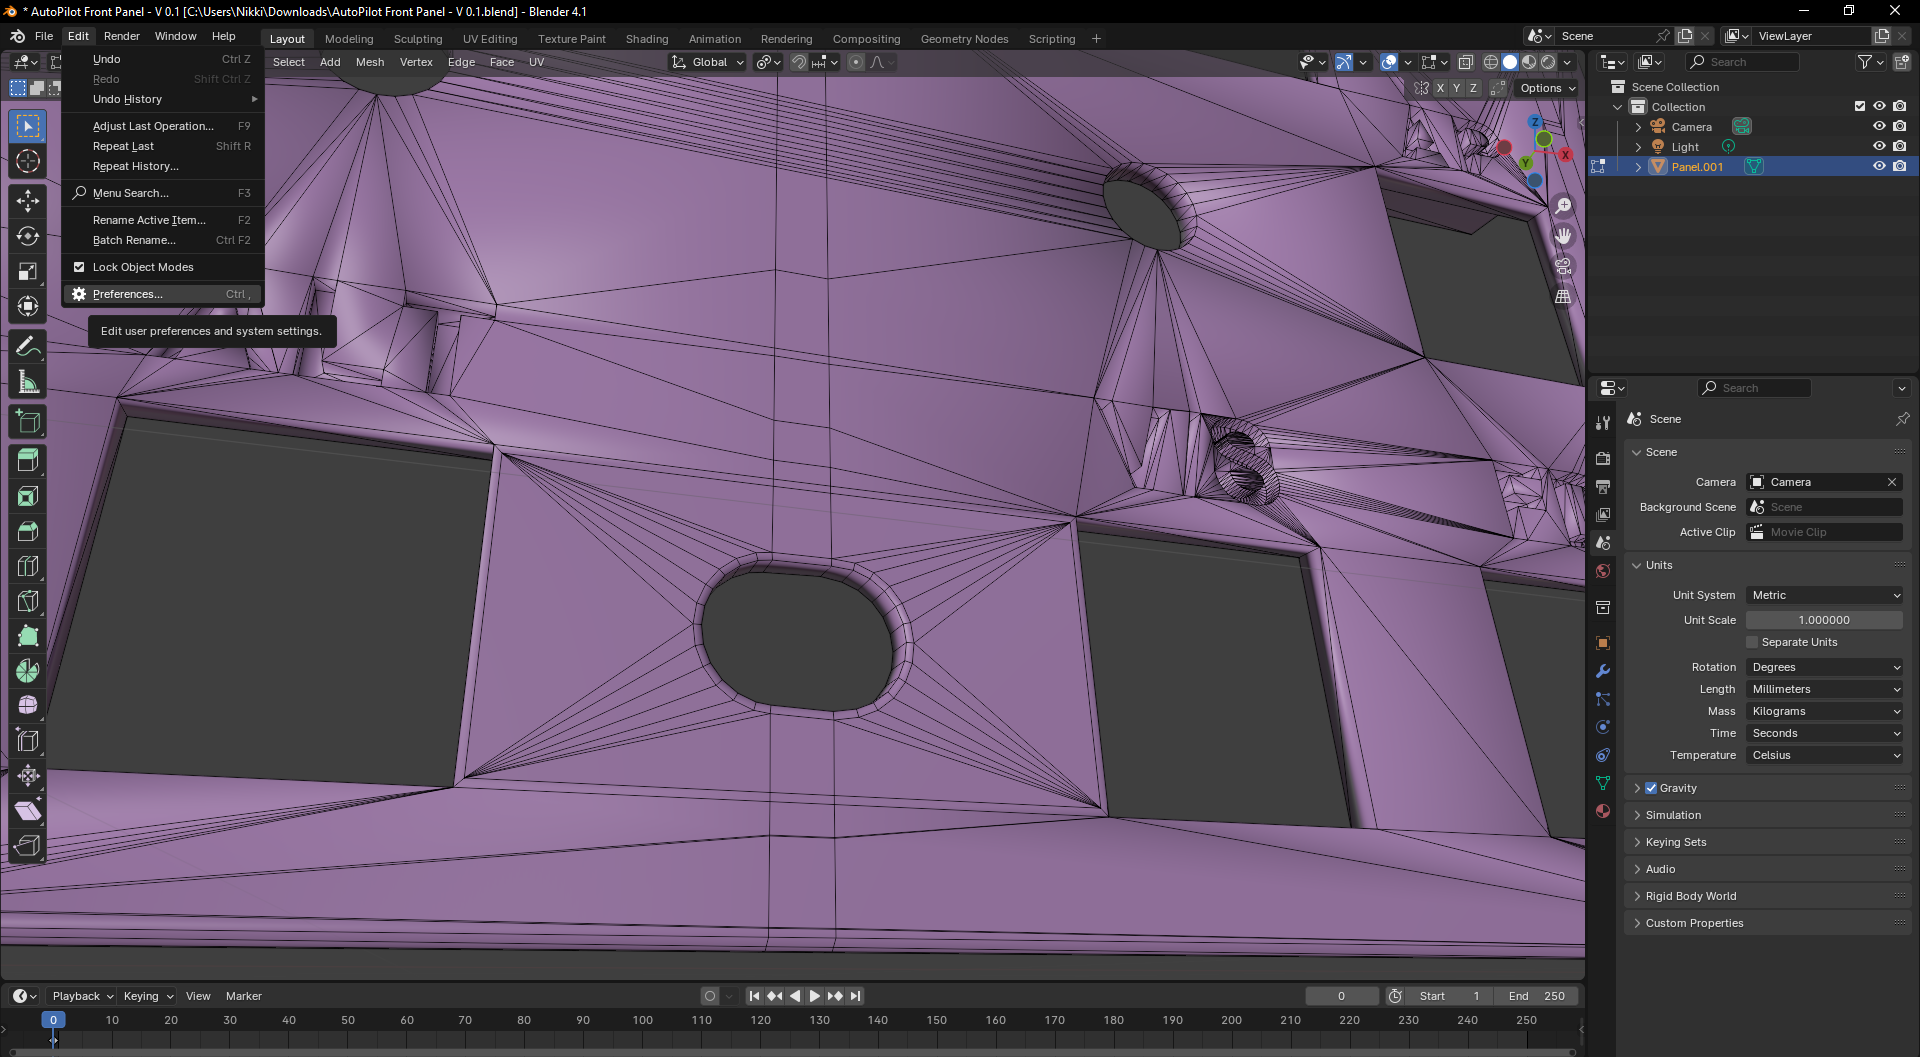
For the next steps you need to enable an addon. To do that, go to Edit and then click on Preference:
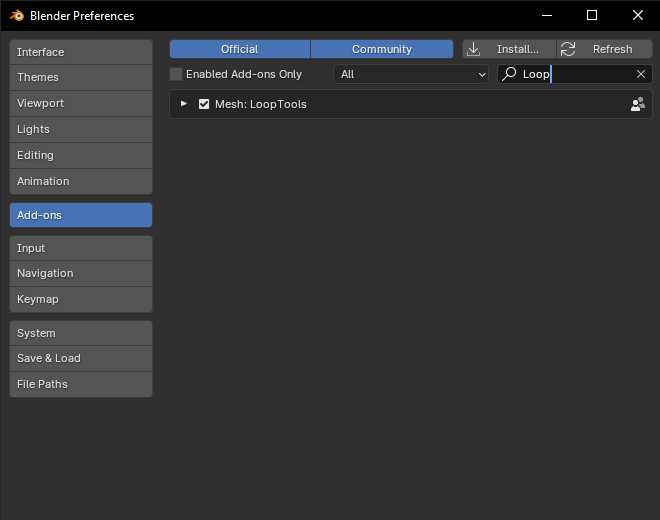
Now, under Addons, search for LoopTools and click the box next to it. I even have an image of it, can you believe that?
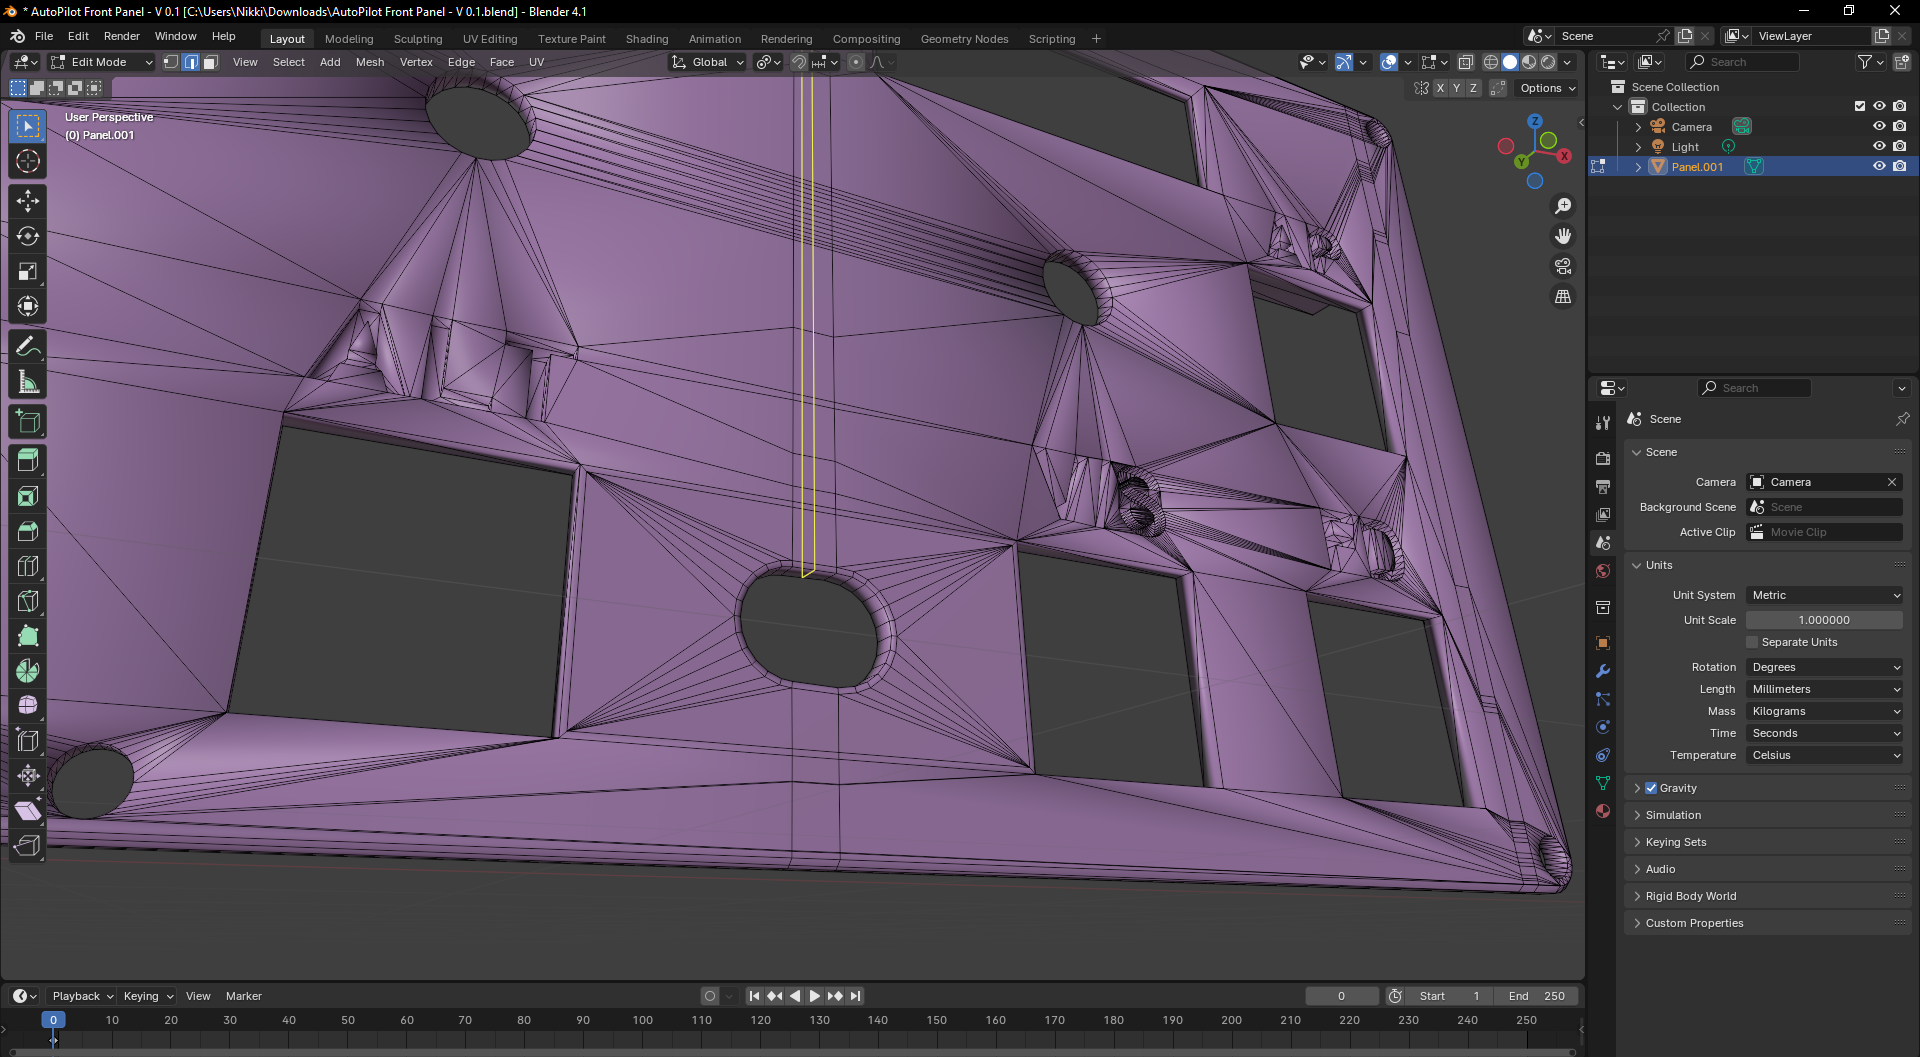
- Close Preferences, hover over the former, now closed gap and press CTRL+R:
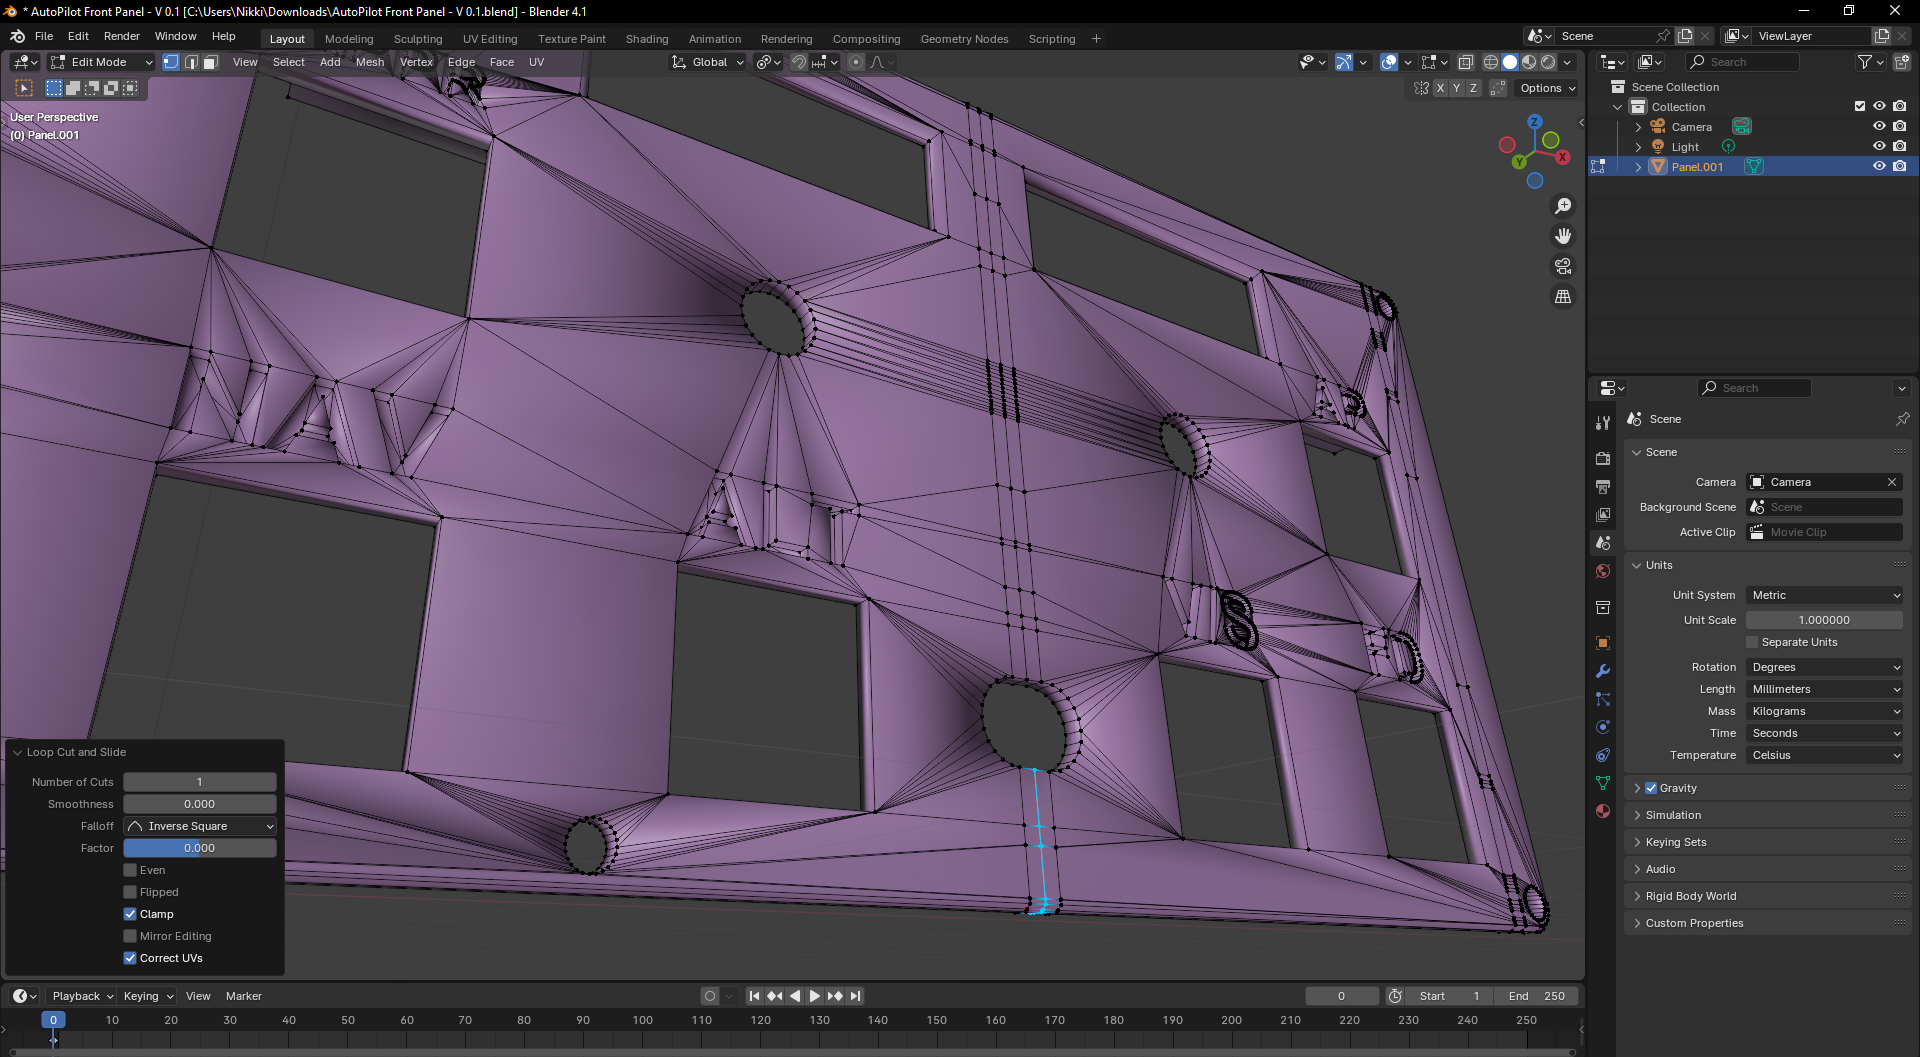
Left click to confirm and immediatly after right click to cancel any sliding. Repeat the same for the bottom one. You now should have something similar like this:
- Make sure to be in Face Select Mode and ALT- Select the face Loopcut around the hole:
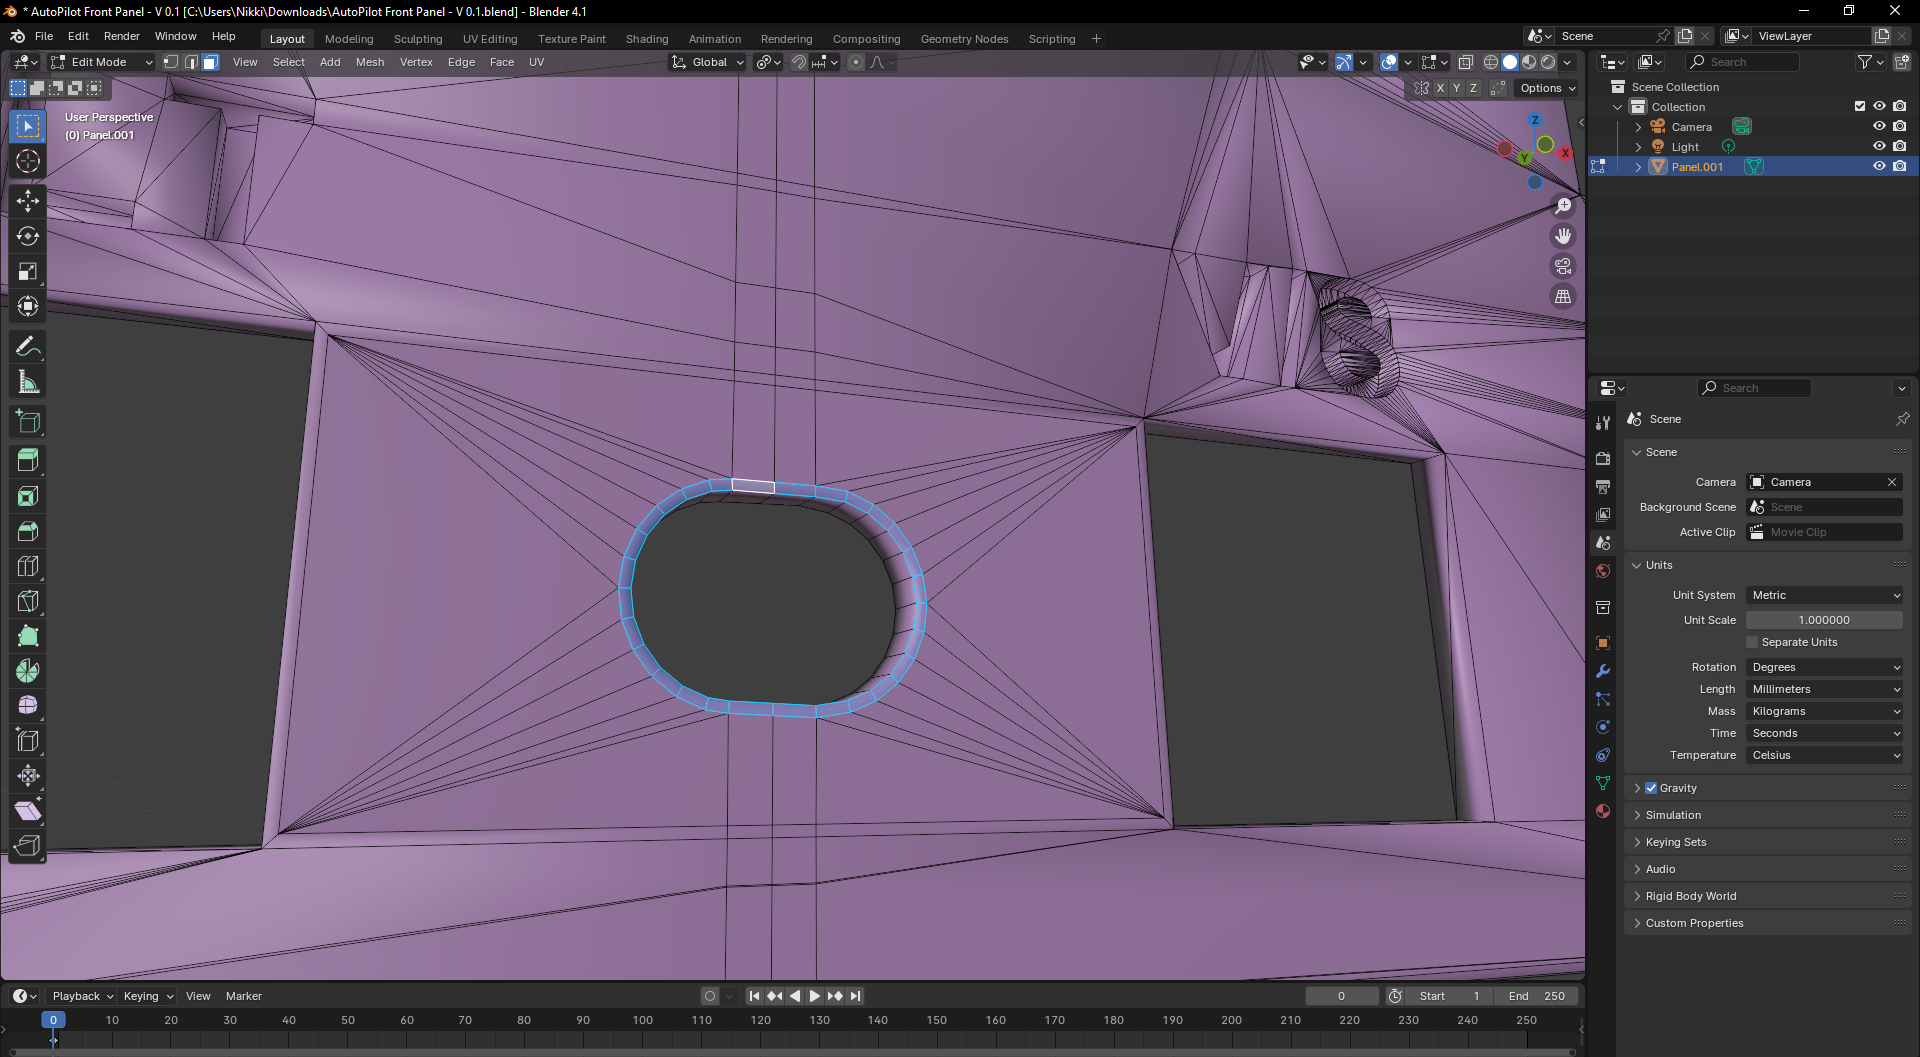
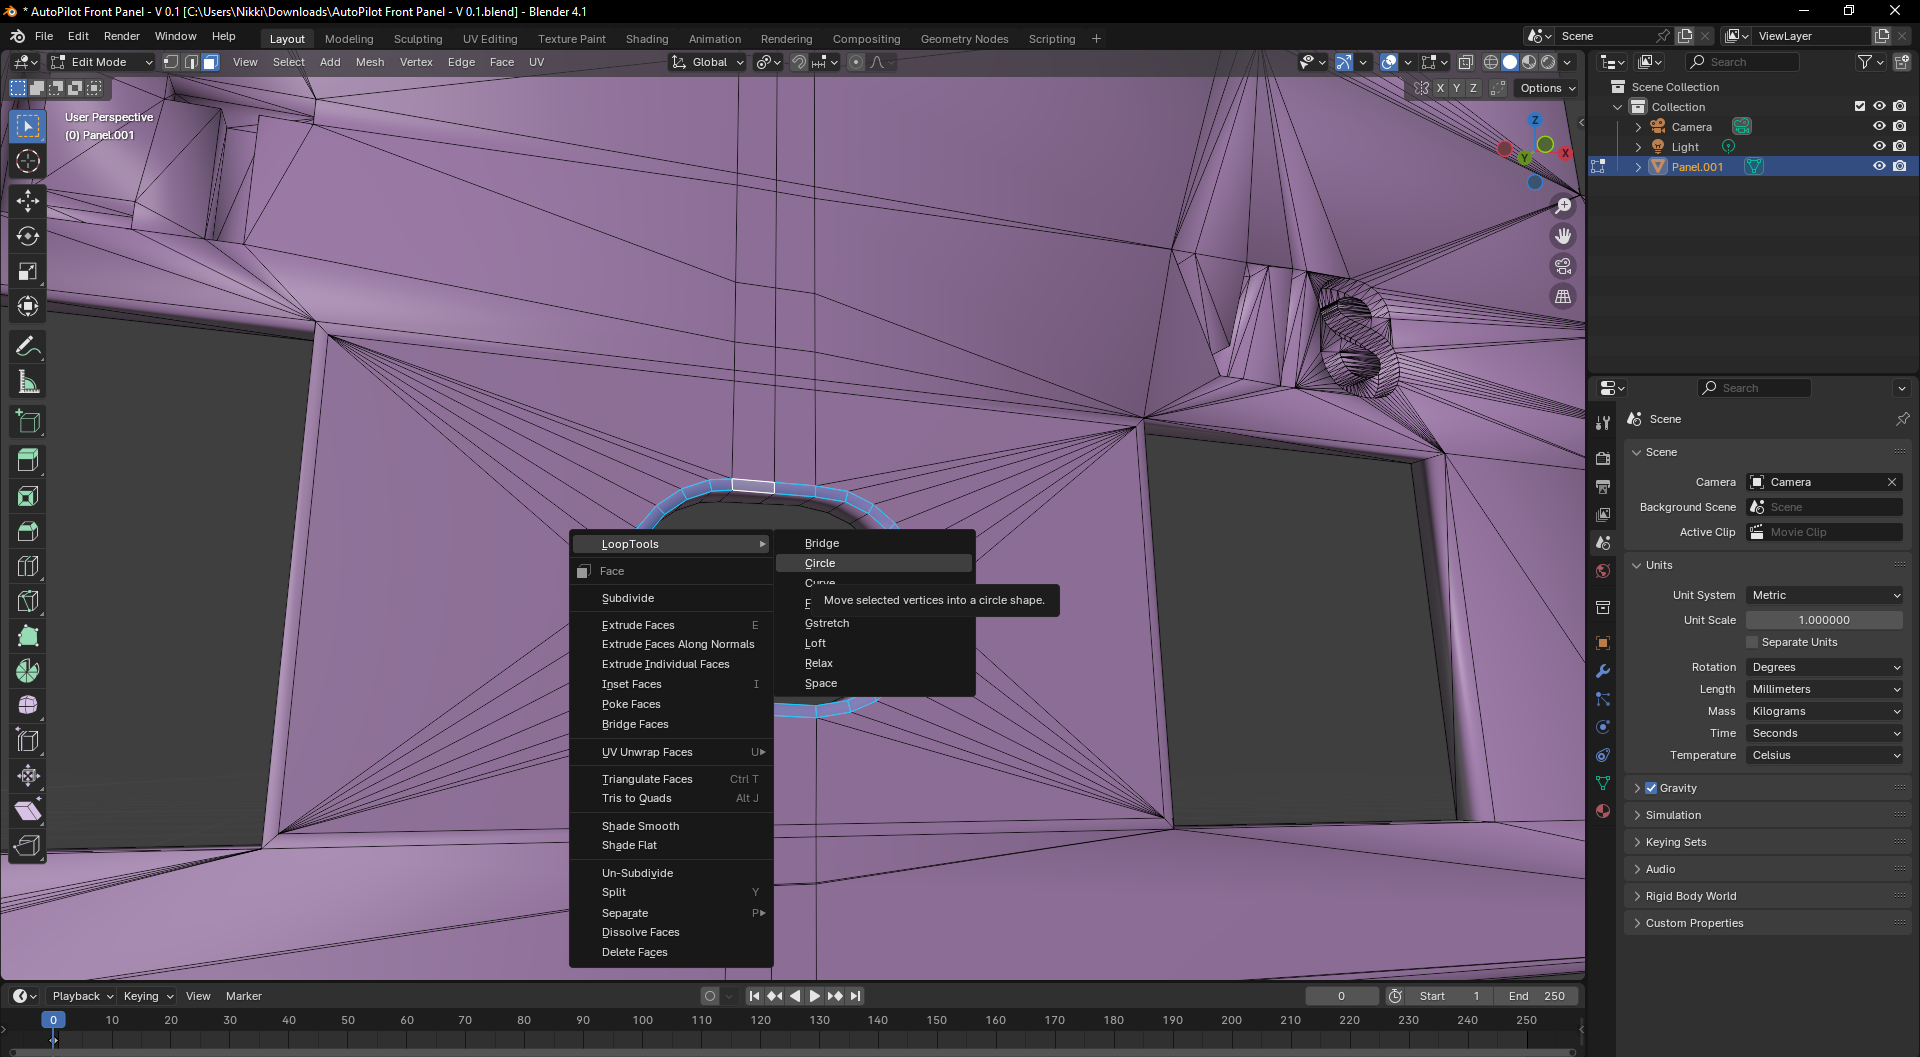
Now right click and go to "LoopTools"> "Circle":
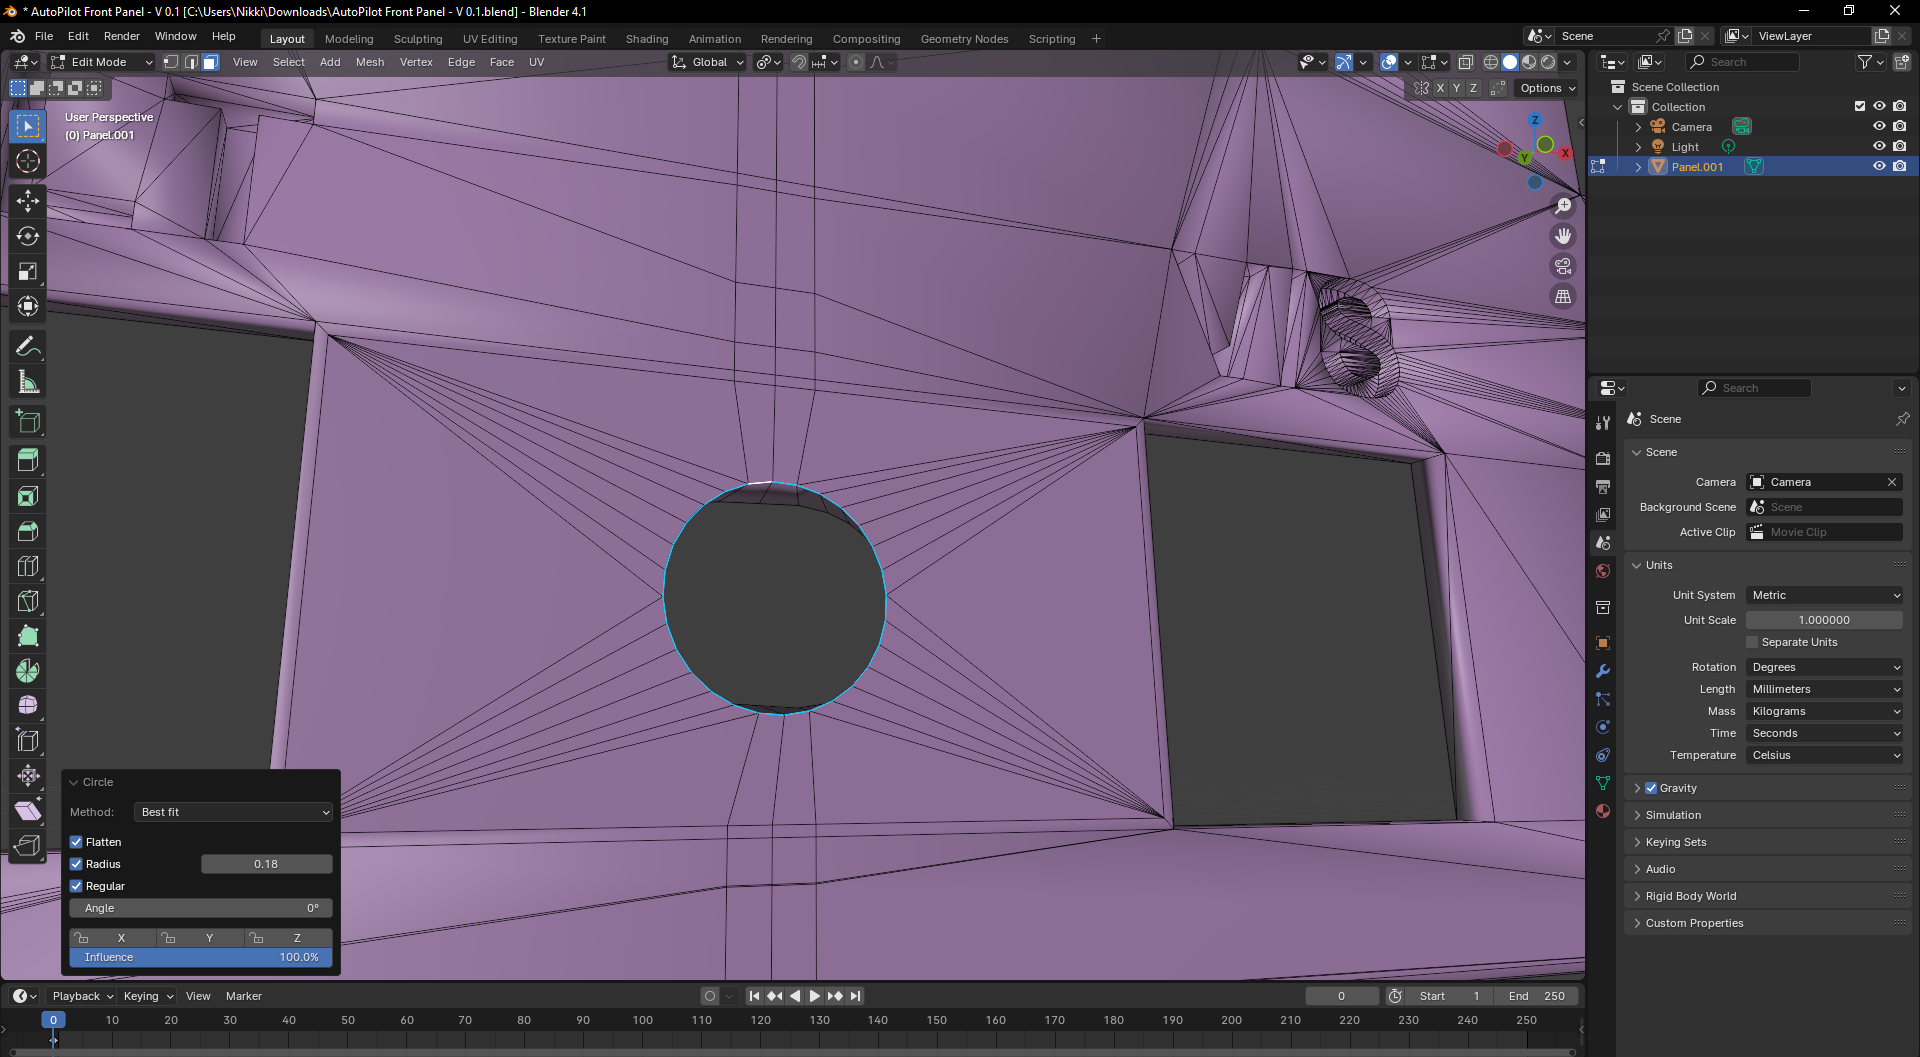
You should now have this:
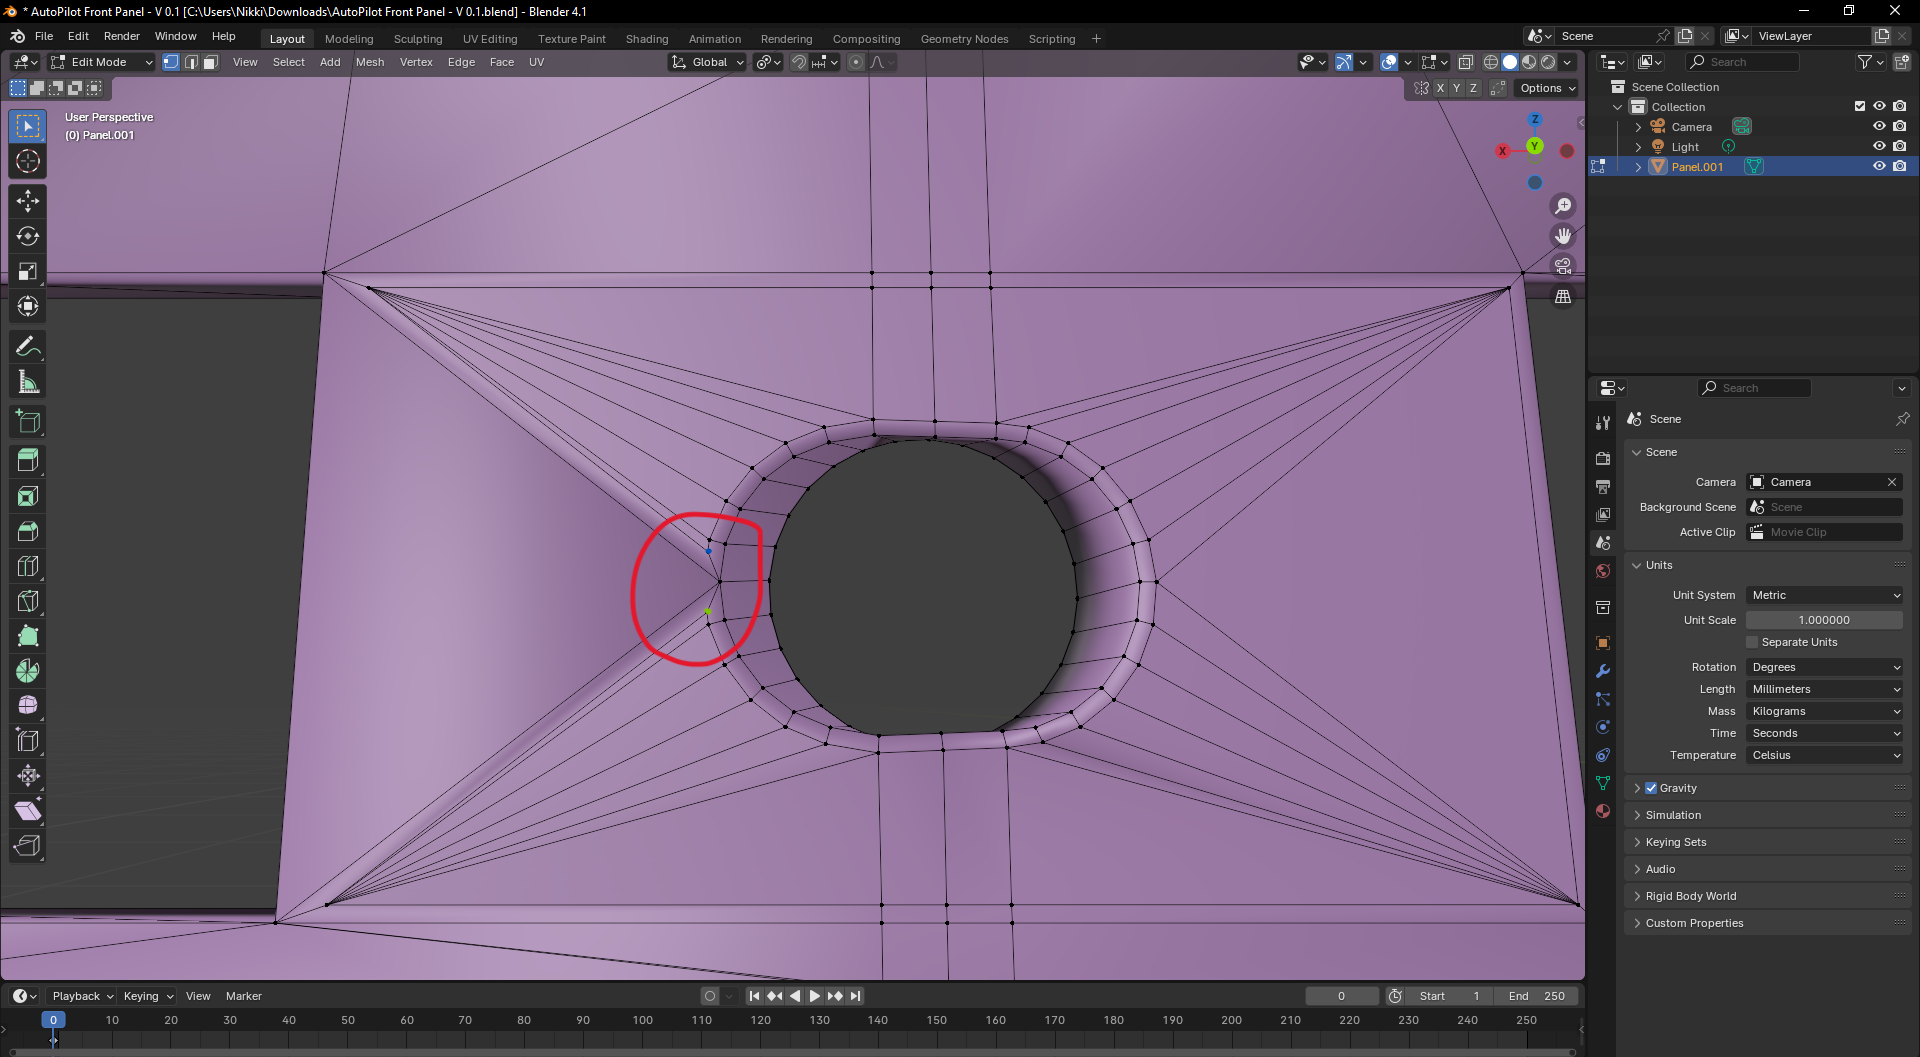
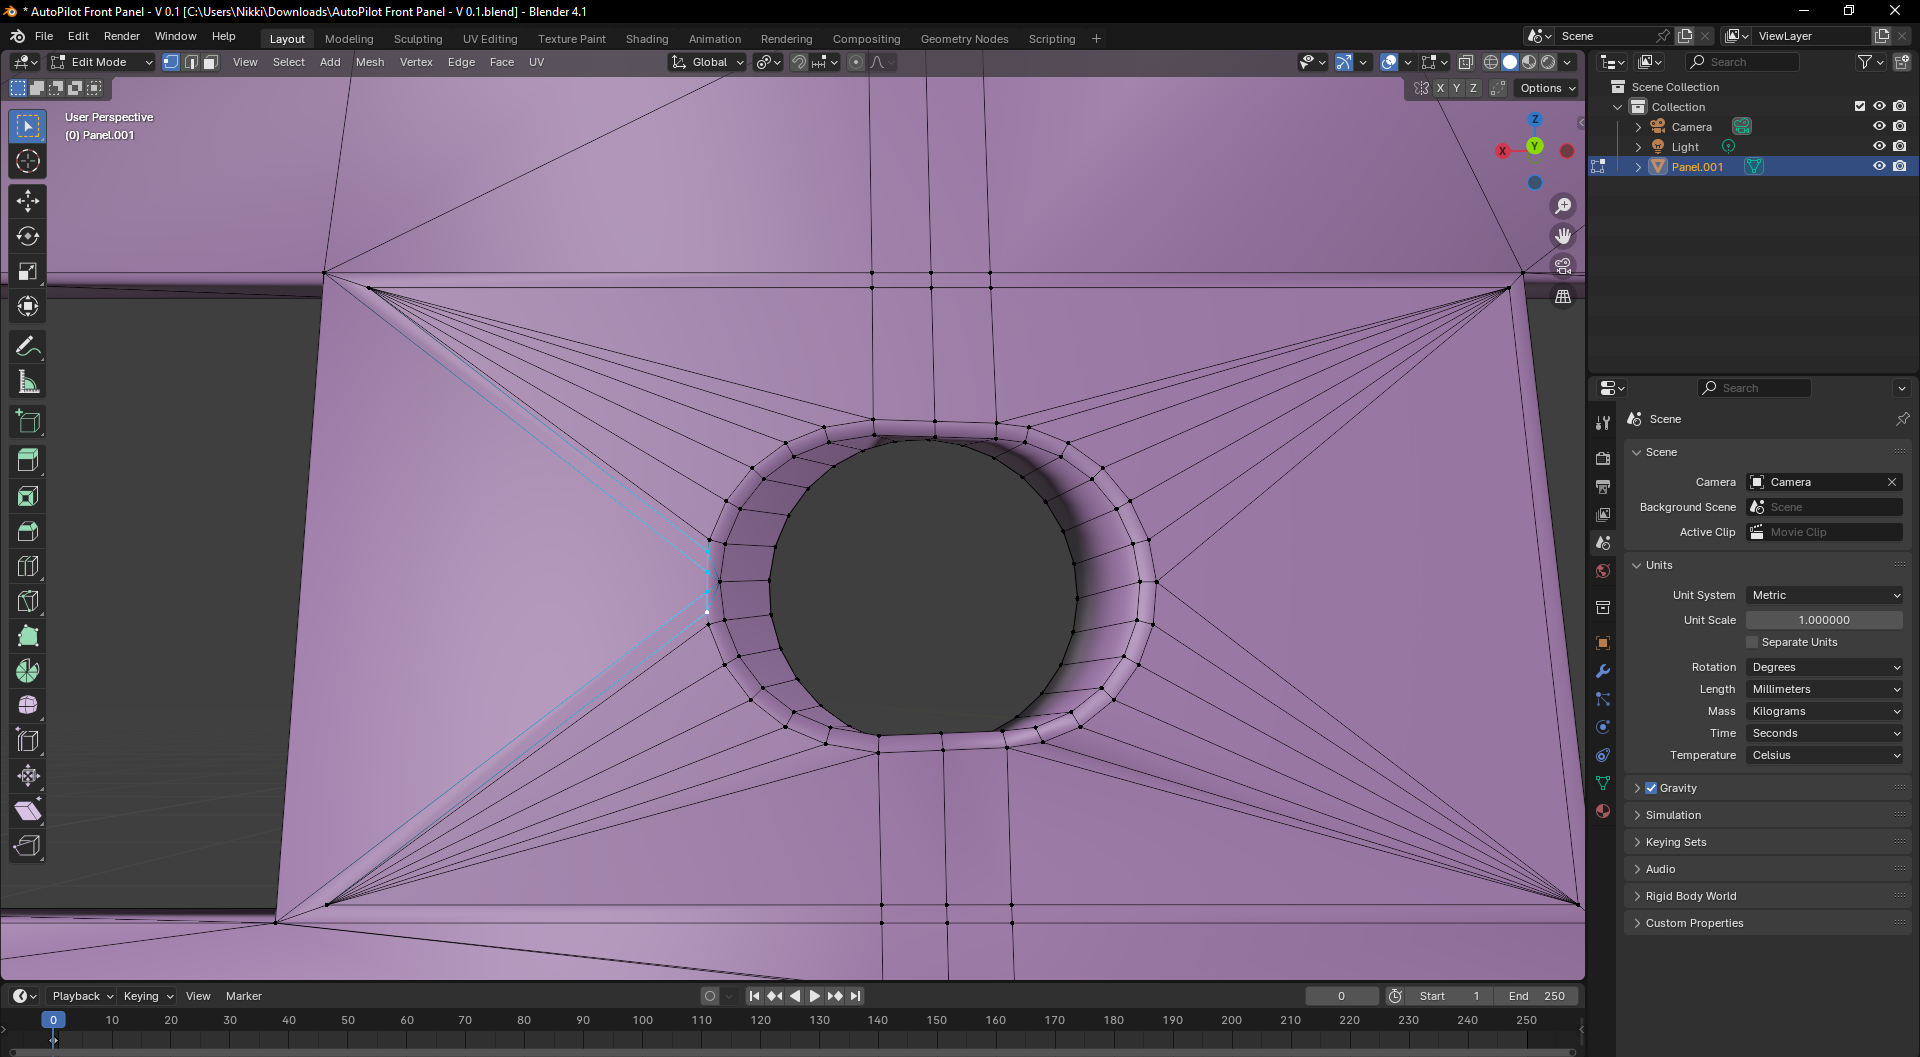
7: now go on the back side and in case your mesh has a similar problem as mine (Red Circle), SHIFT-Select both, the blue and green, marked Vertices:
Press J to connect them:
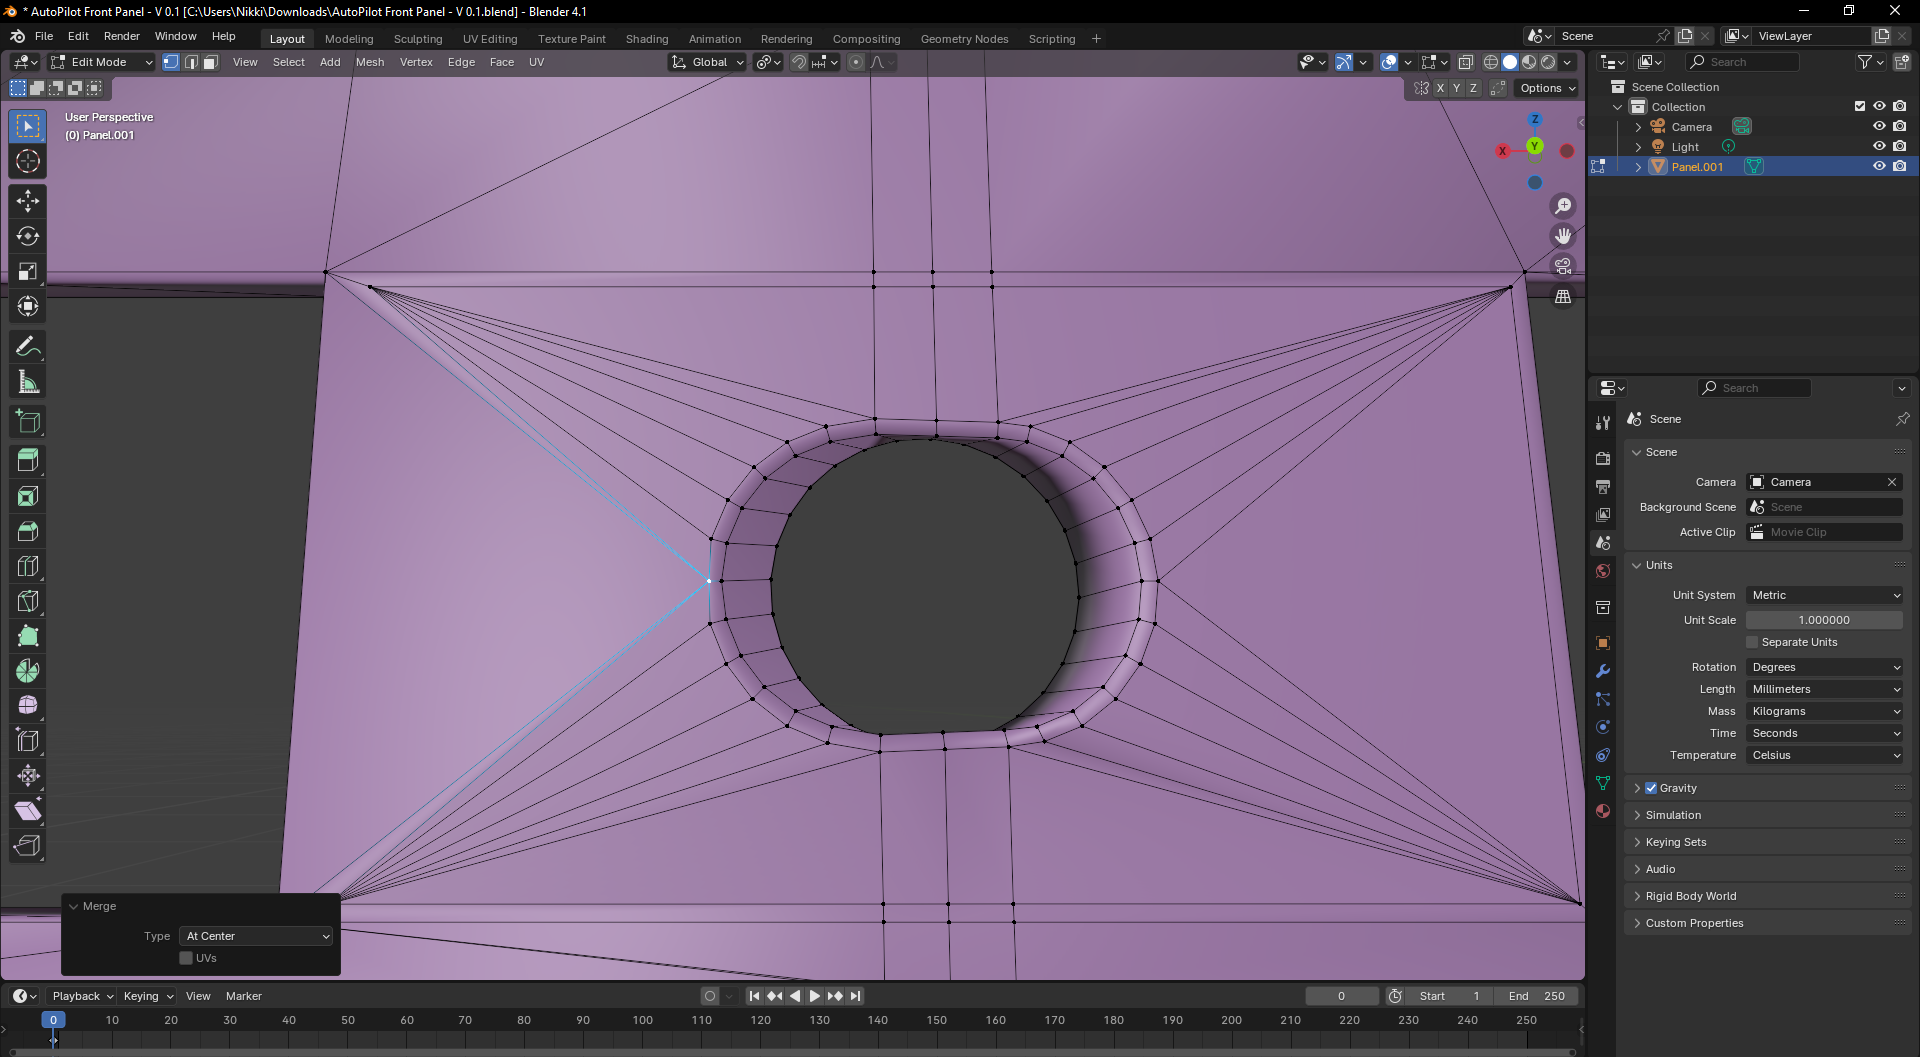
Then, again Press M and select "At Center" to get this:
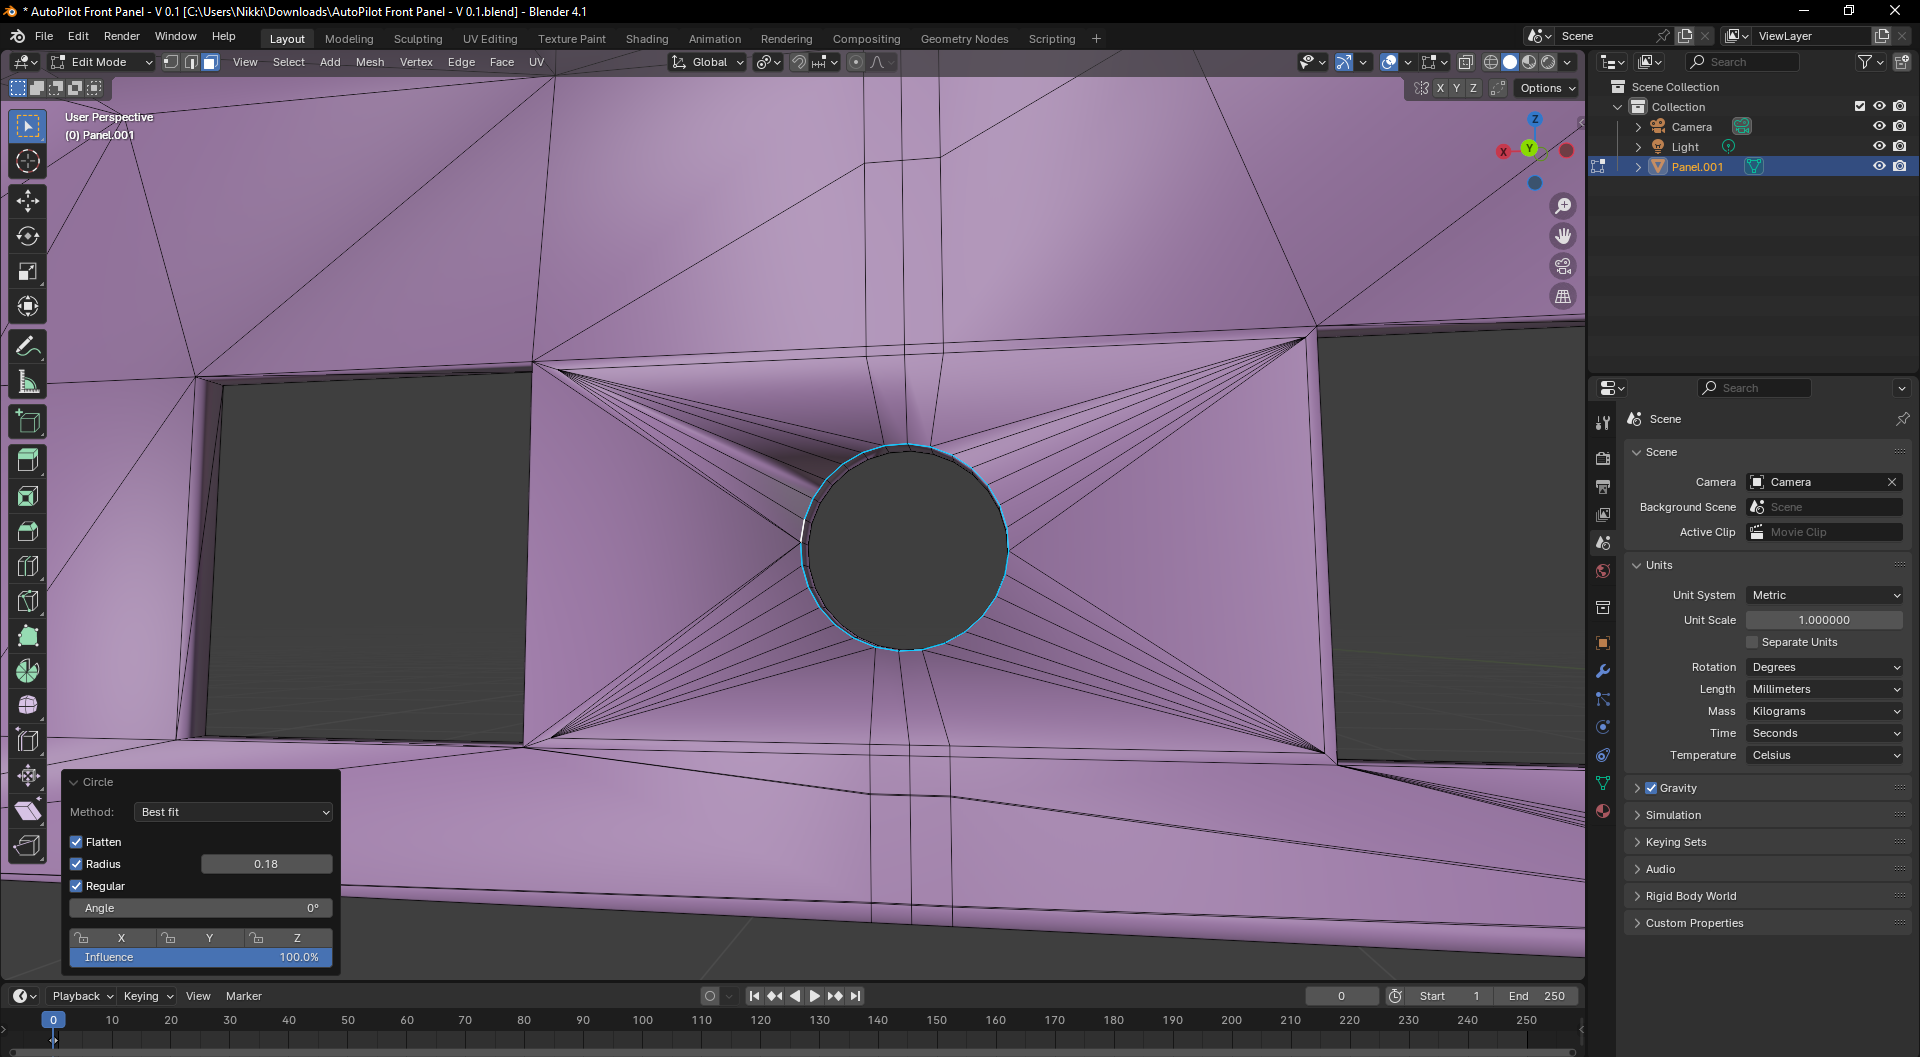
- Repeat Step 6 for this Side:
Now just one last thing, make sure to be in Vertex Select Mode, activate X-Ray Mode (ALT-Z) and selcect these Vertices:
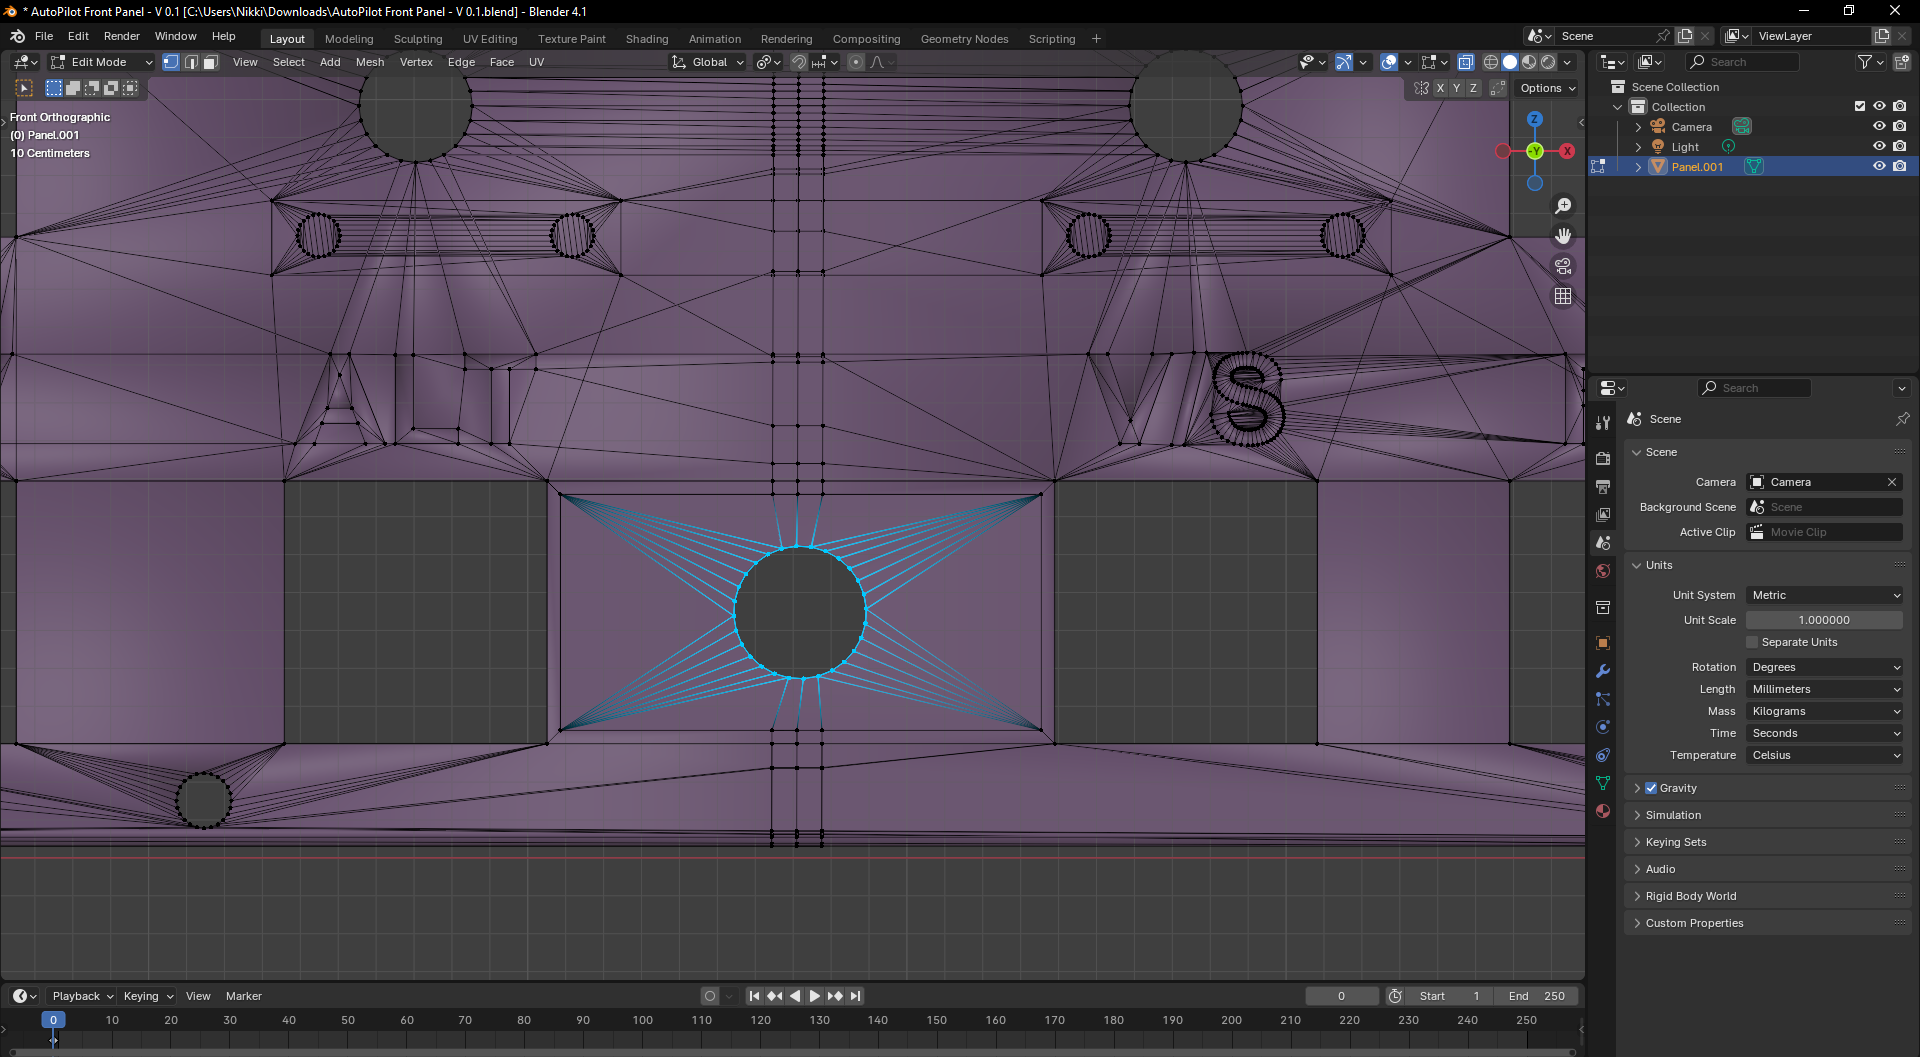
One last time press M and "By Distance".
That's it.
I really hope this helps to solve your issue.

