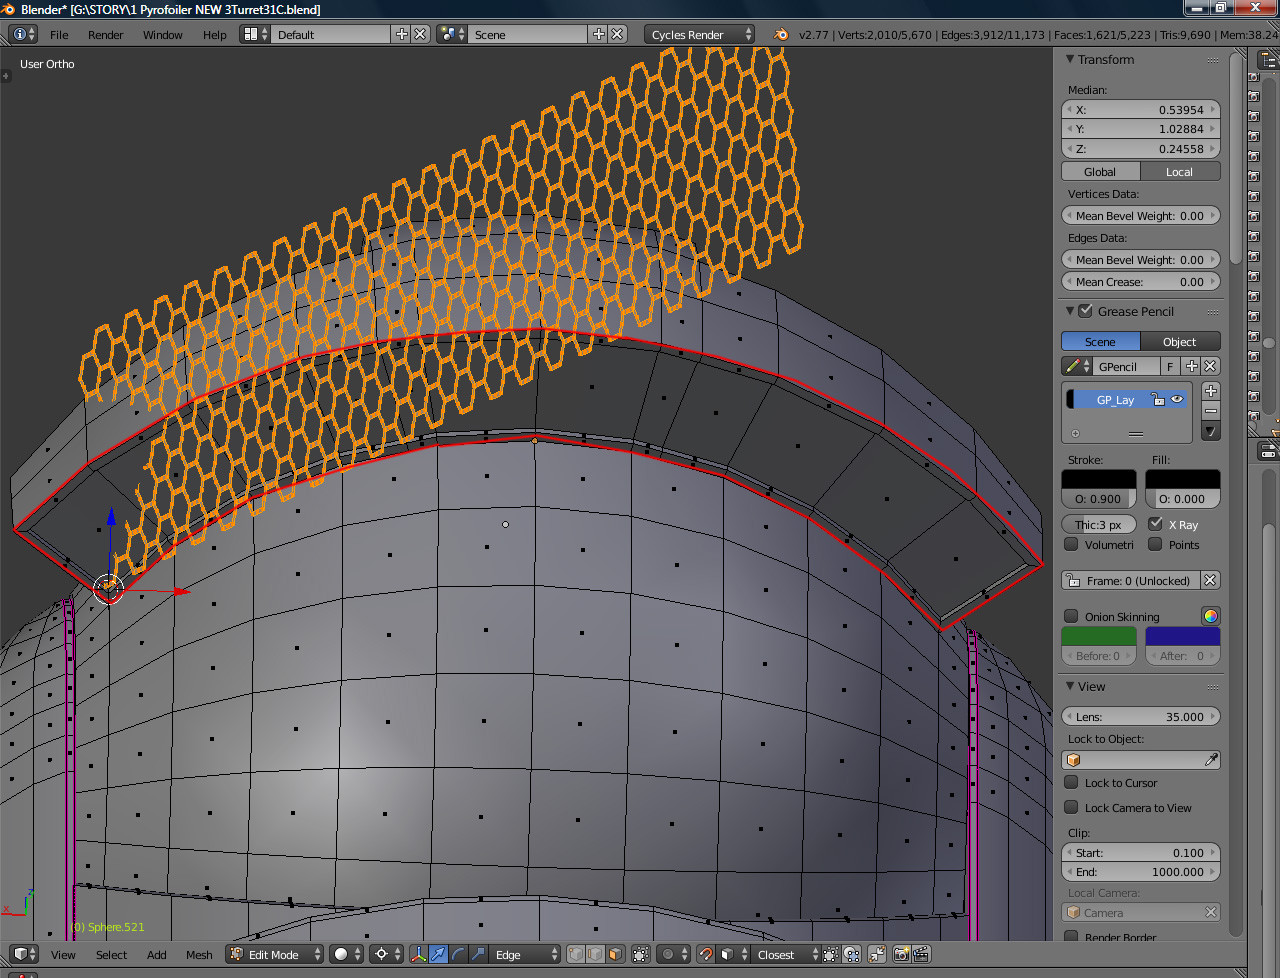
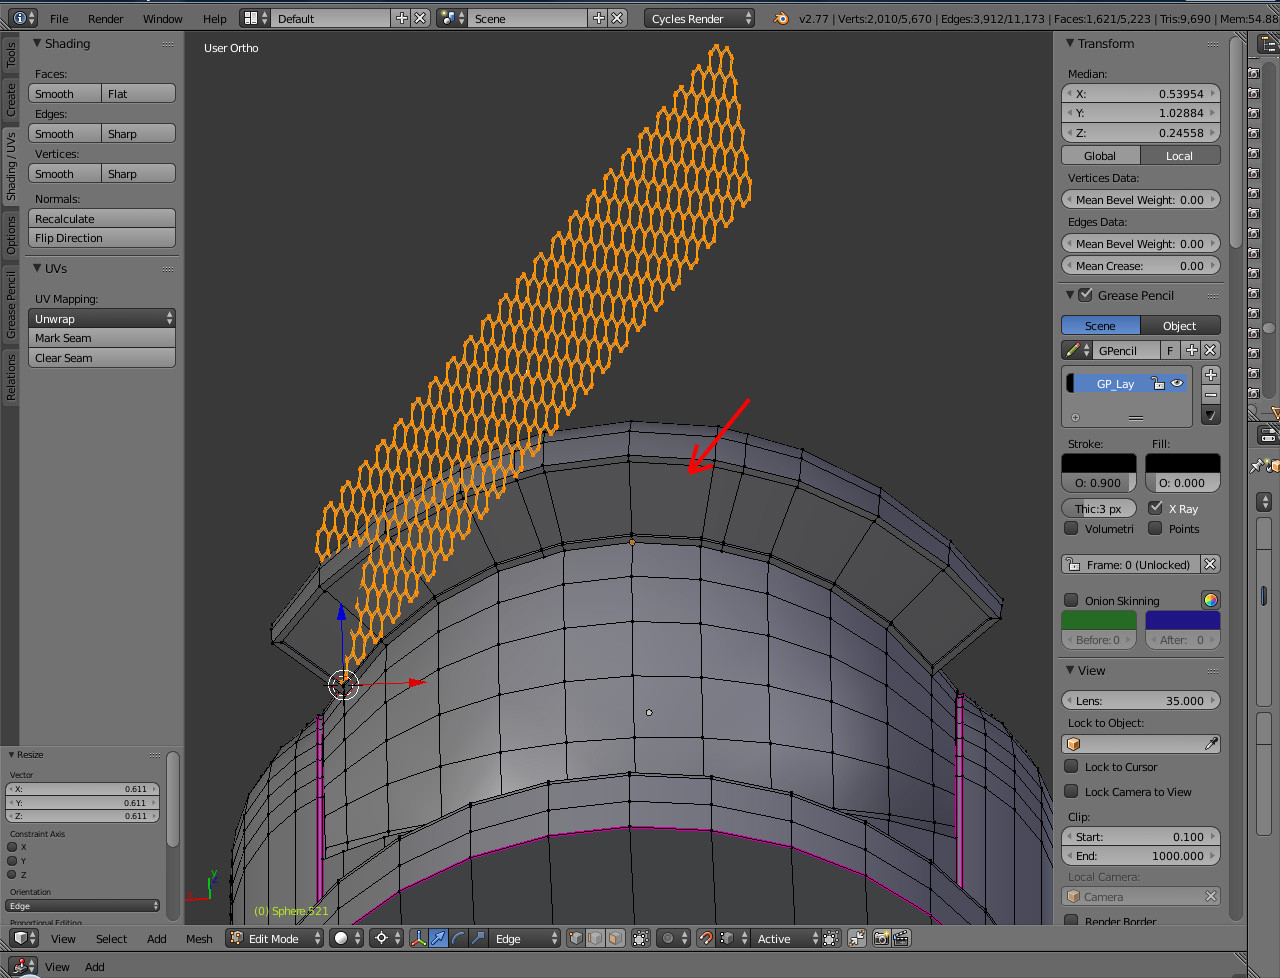
This question refers to my previous question 'How to transform a plane into a honeycomb?' I'm trying to join the hnoneycomb with the face surrounded by a red border. Thanks for your help.
1 Answer
This can be done using the Pivot Point, Snapping, and View Transforms.
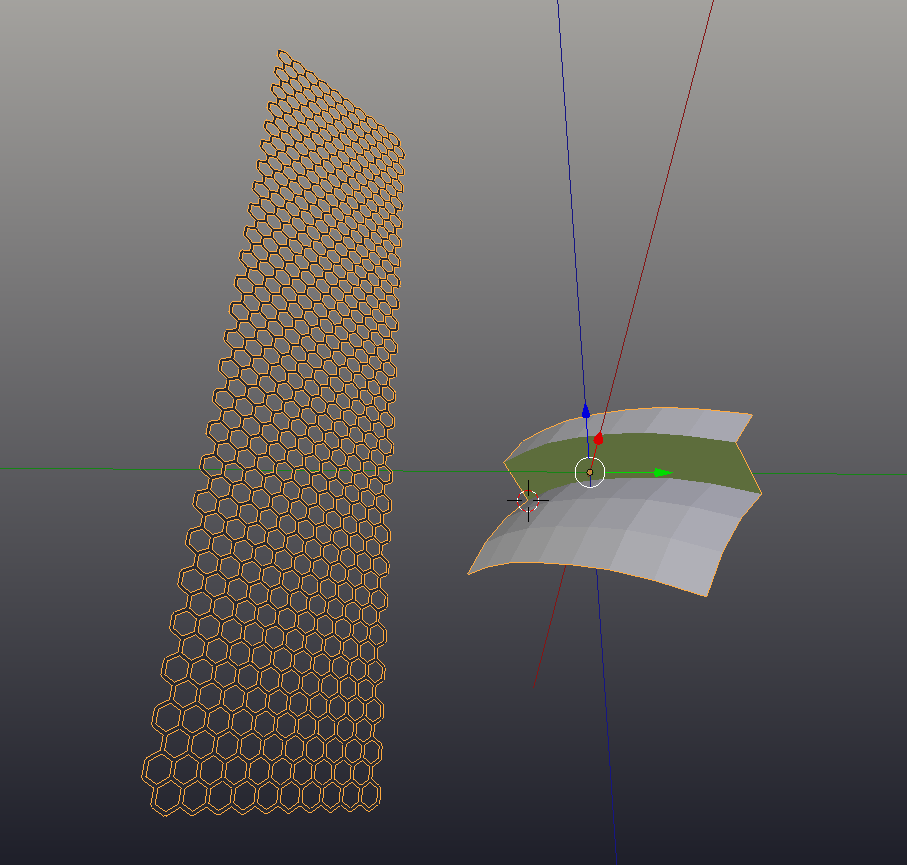
We start with the honeycomb, and the target mesh in random positions (the line of green faces are the target faces):
Next, we want to do a little setup.
Set the Pivot Point to cursor, and set the snapping to vertex, and change the type from closest to active.
Note: You don't need to enable snapping, when you want to use it simply hold down Ctrl while doing a transform.
The first step is going to be getting one corner of our honey comb to match up with one corner or our target face
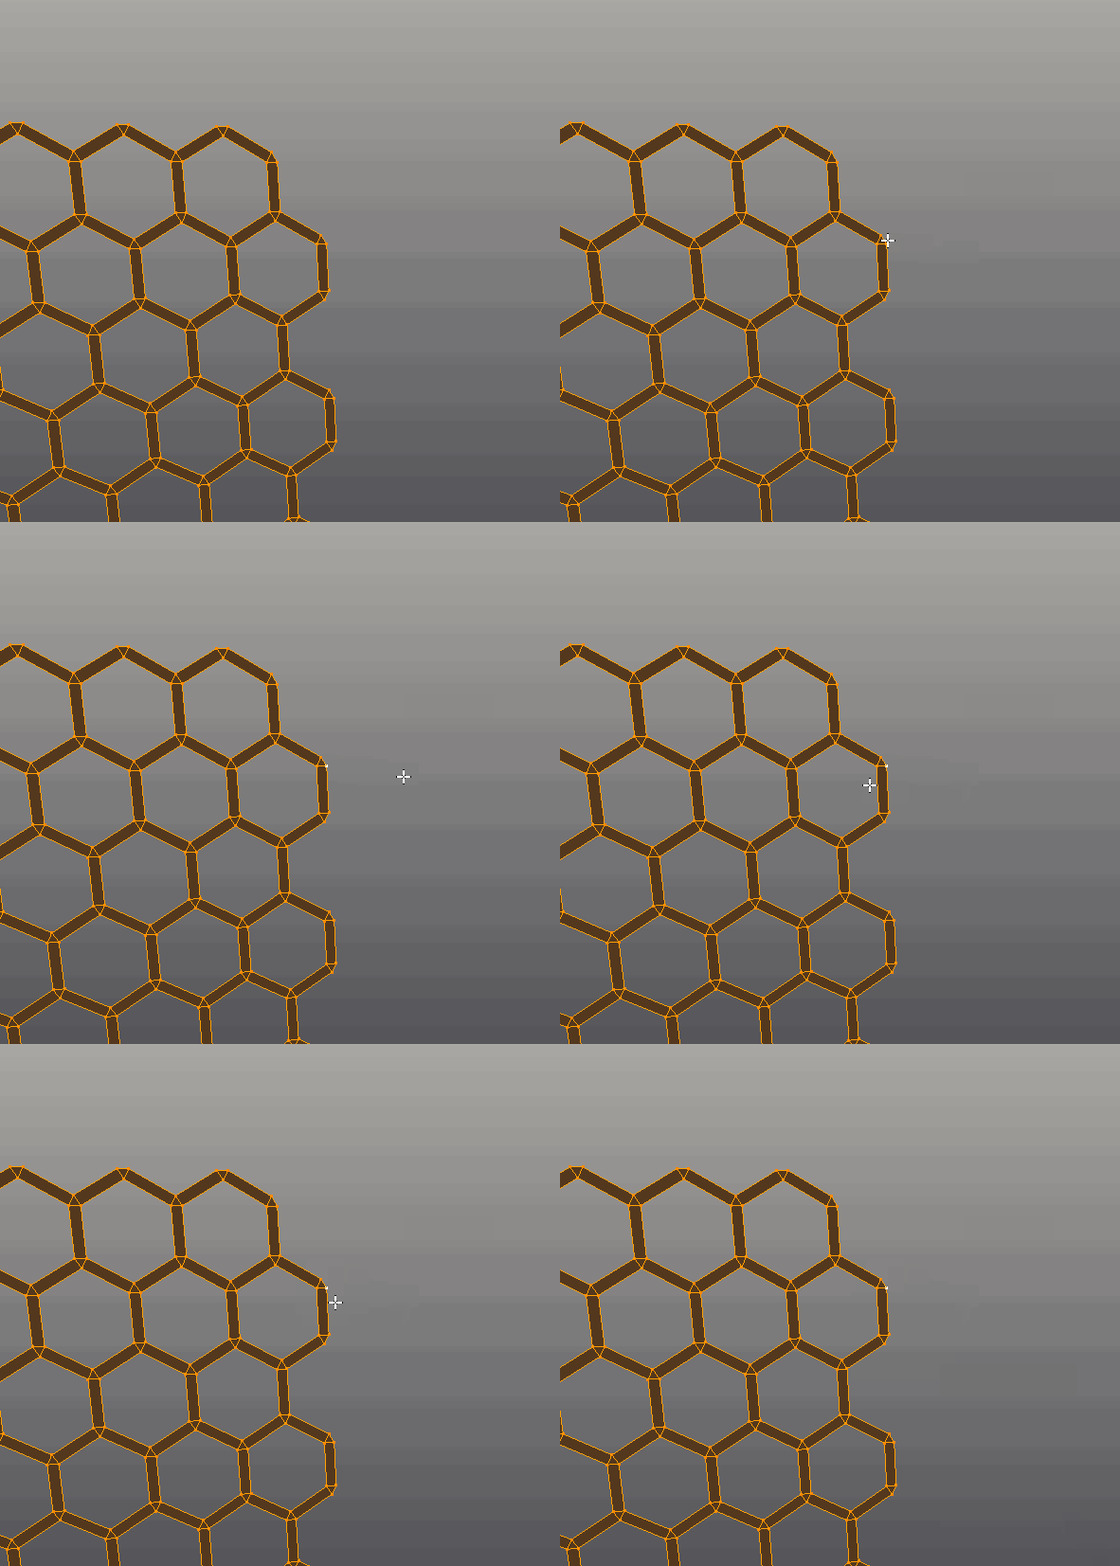
to do this, select the honey comb, and then Shift select on vertex along its one of the outer edges so it appear white:
Now using G-Ctrl, move the mesh to align with one corner of the target:
Next, select one of those two vertices, and use Shift-S>Cursor Two Select to bring the cursor to that vertex. Now if you use R to rotate, you can see that the mesh pivots around that point.
In order to make this a little less visually confusing, free hand rotate the mesh around the cursor until it is roughly in the right place. This doesn't have to be exact.
Next select a face along the target row of faces:
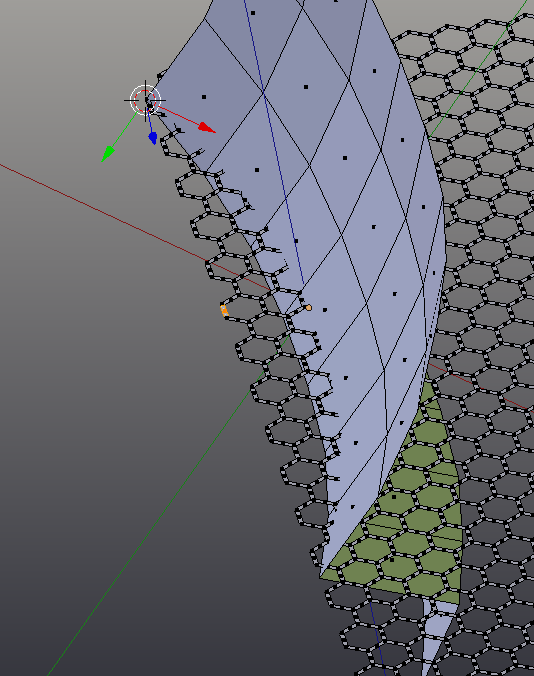
and then hit Shift-Numpad 7. *Whoosh* you world has been turned upside down.
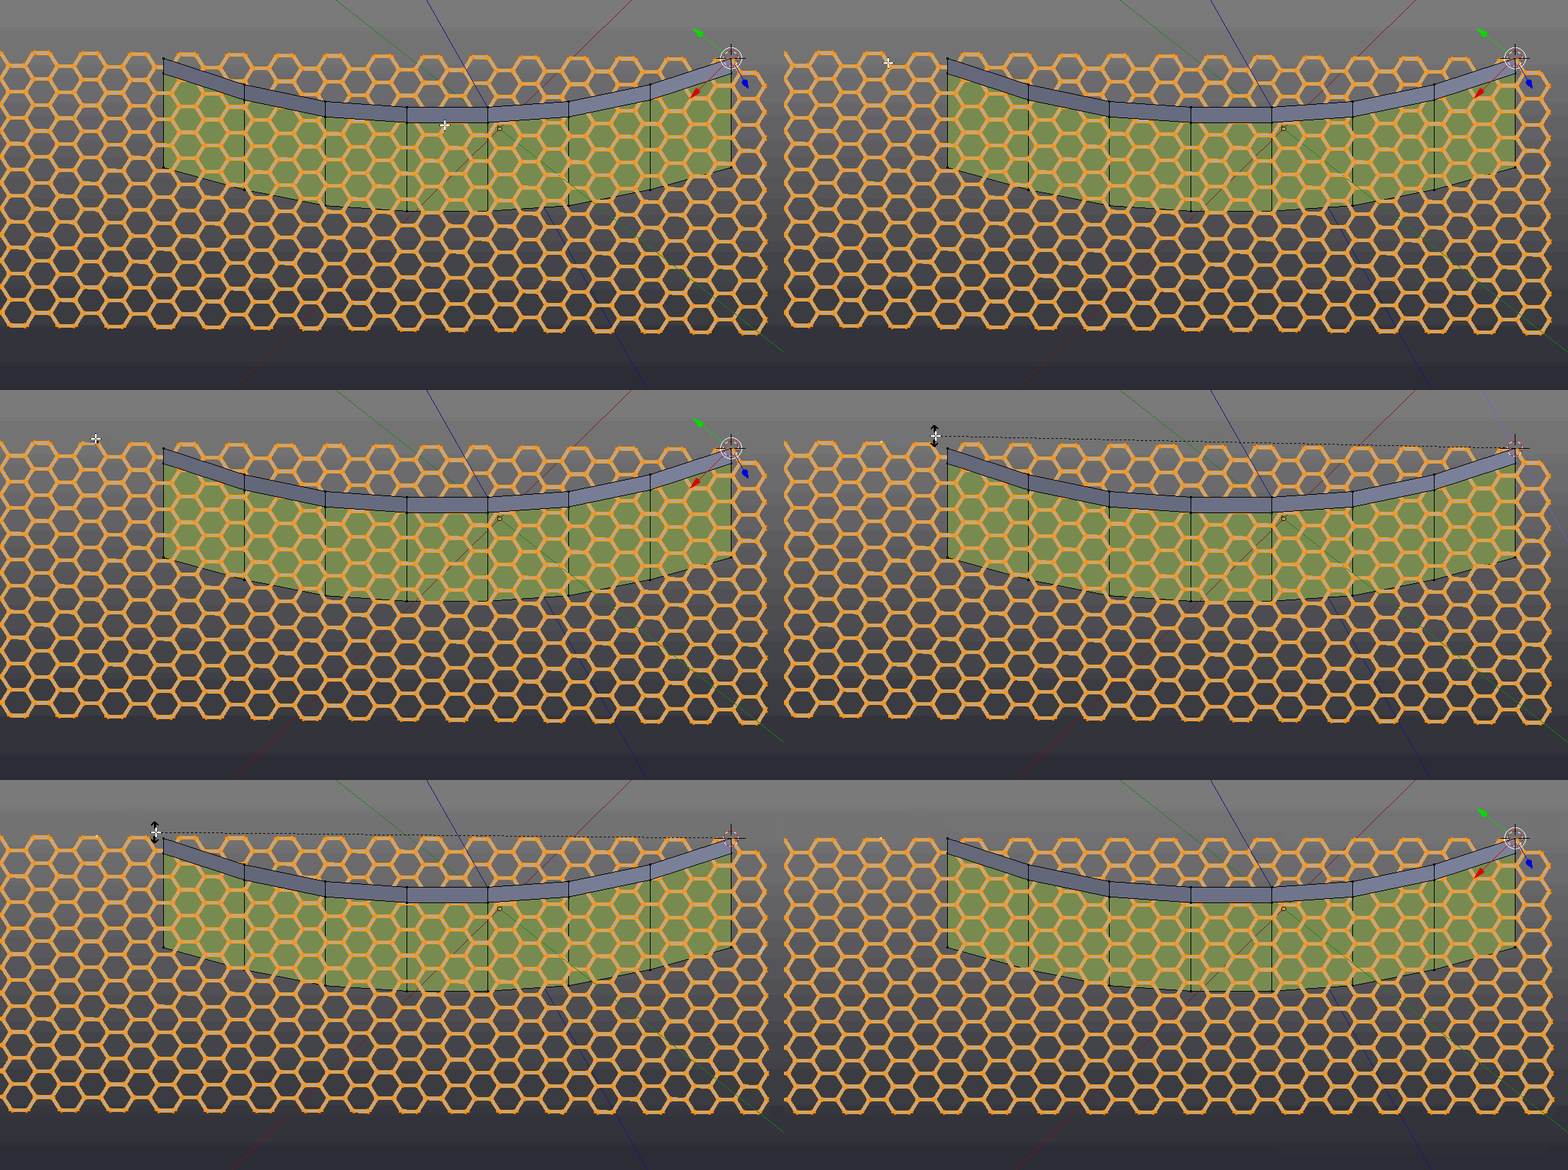
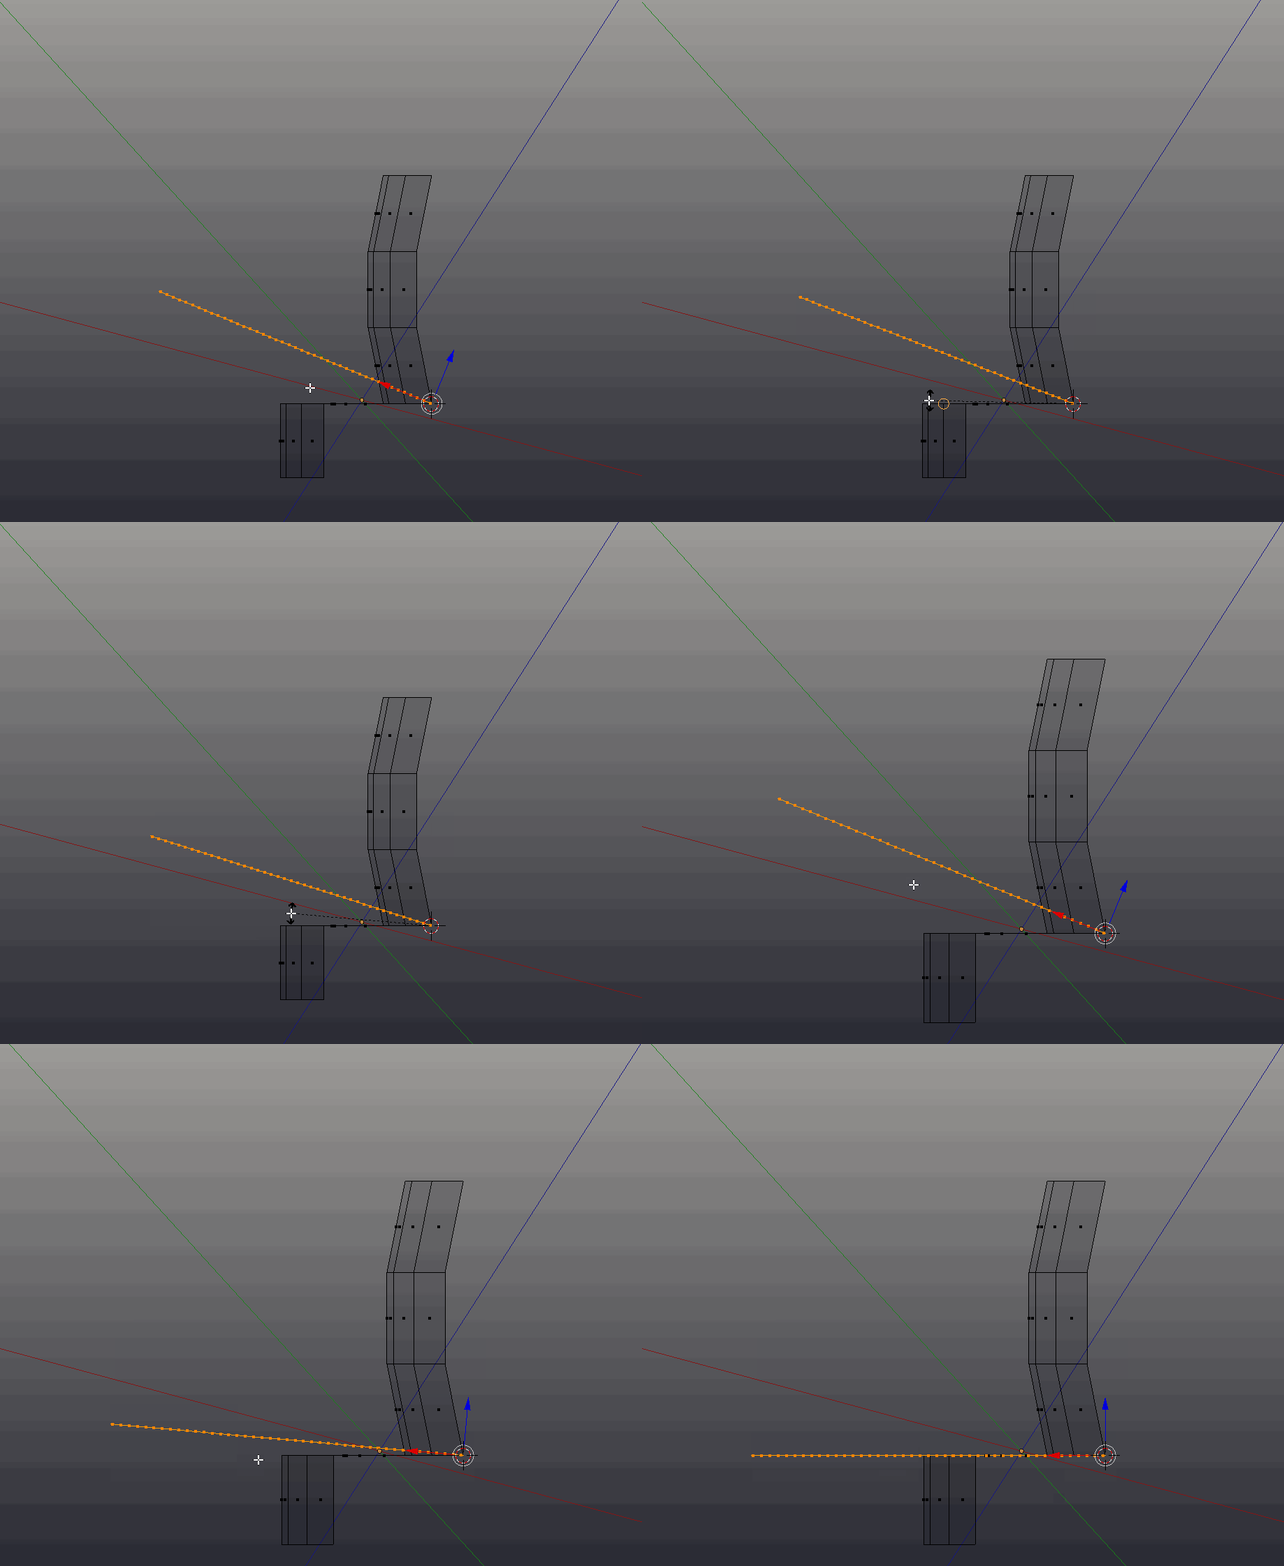
What has happened is that the view port as been aligned to the face. We can now use R to rotate around the view port axis, and snap our mesh into place along that axis (carefully note which vertex is active):
Select that face again, and this time use Shift-Numpad 1 to go into a view that is aligned to the front of the face.
Repeat the similar steps as above:
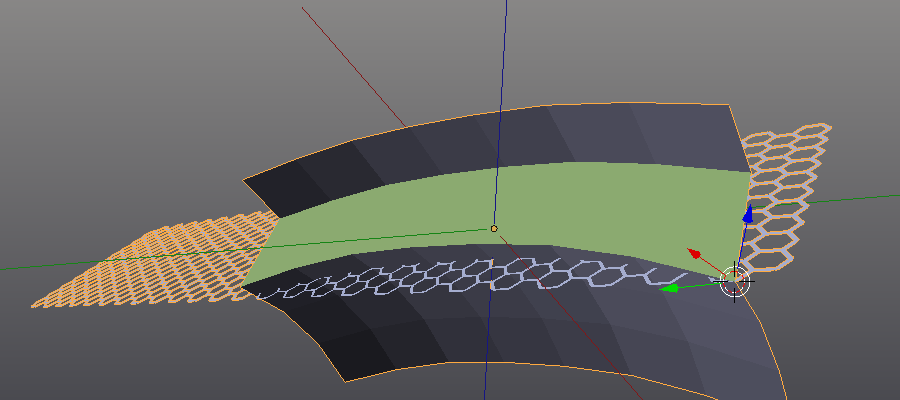
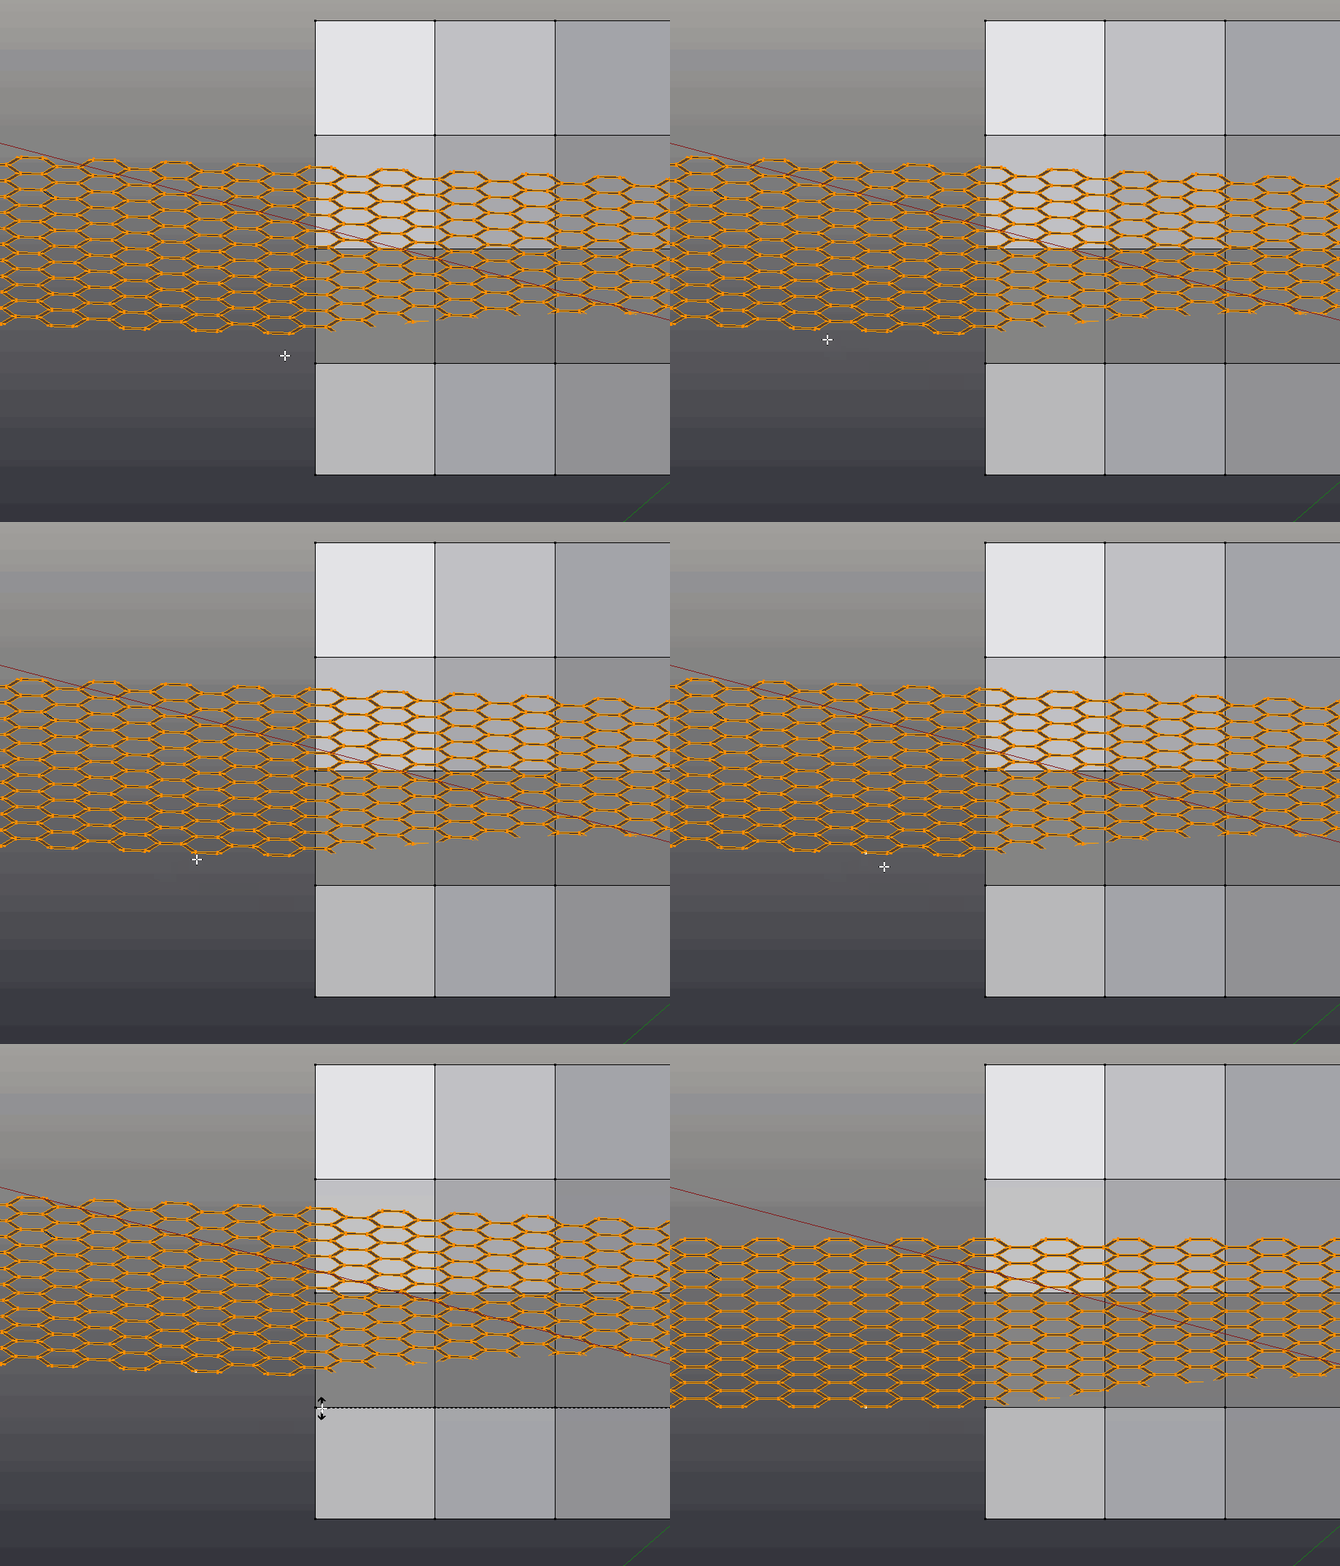
Finally, the honey comb now lines up along the back of the line of faces, however, it is still at an angle. TO fix this last one, select one of the faces along the honey comb that runs paralleled to the line of faces:
Try Shift-Numpad 1, or 3, until you get a profile view, and then snap into place:
Your honey comb is now aligned.
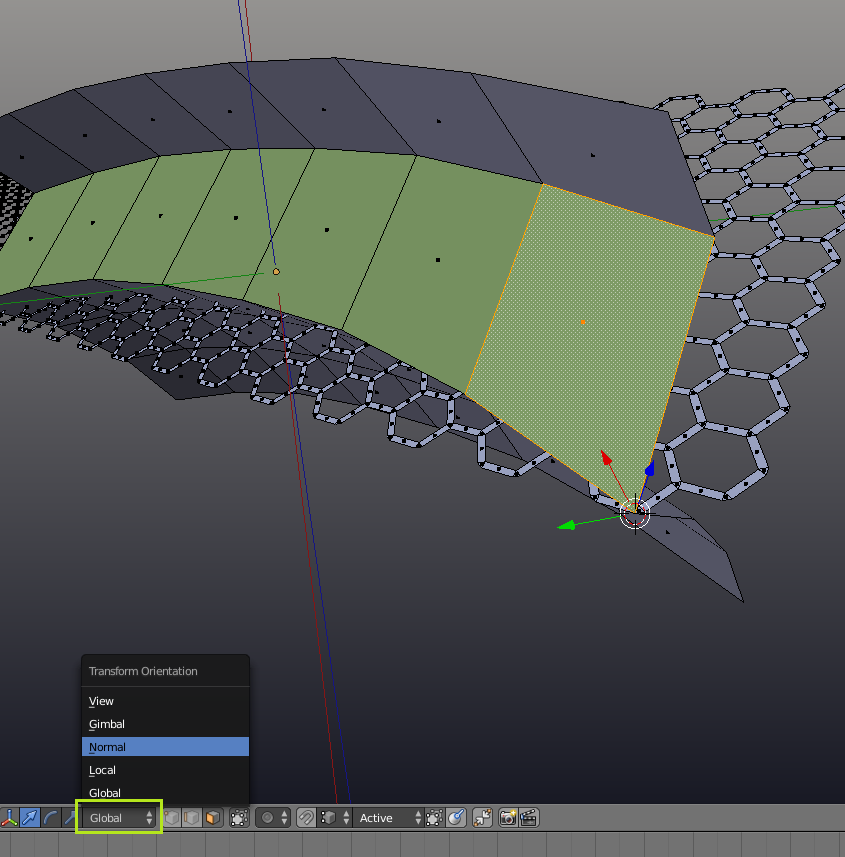
Note: I used View Transforms for this example. I was originally going to use Transform Orientations, but realized that they were needlessly complex. However, if you do lots of this kind of stuff, they are worth learning about.

