1
$\begingroup$

I regularly print models which have features that are just a bit too thin. I thicken those up manually with the sculpting tools in Blender. This works fine, but is quite time intensive. I have to locate the thin parts in the 3D-printing slicer, find them in the model in Blender, and play around with the sculpting tools. Then I have to export the STL, check the slicer again, rinse and repeat.

Is there a tool or filter where I can input a minimum volume, which makes Blender automatically find all places in the model that are thinner, and automatically enlarge them to said minimum volume?

I am aware of these techniques:

All of them have in common that it's a mostly manual process requiring me to spot and select parts of the model, and that they do not enlarge to a pre-defined minimum volume, so it's possible to over- or undershoot (make it too thick or not thick enough), and thus make it necessary to do multiple round-trips.

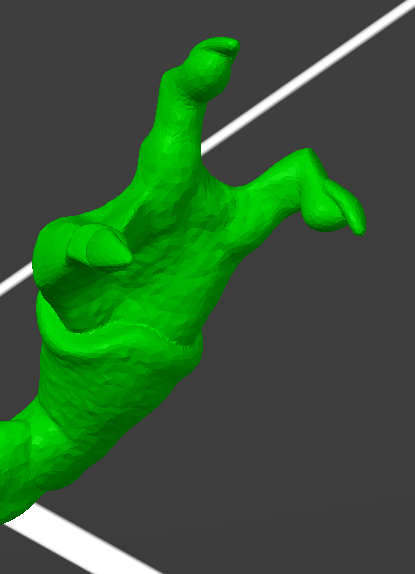
Here is a typical example:

enter image description here

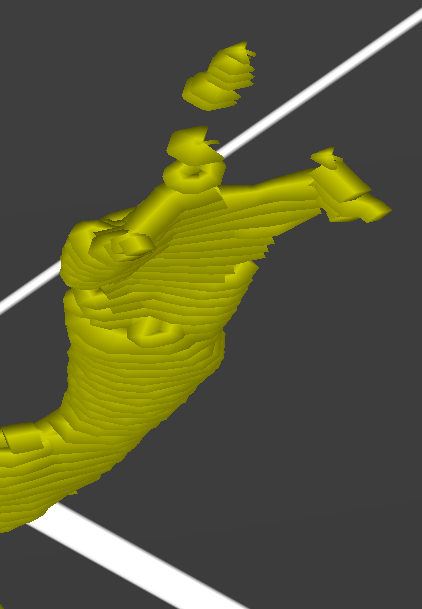
This is sliced like so (in PrusaSlicer with 0.4mm nozzle, 0.1mm layer height), with the middle finger being unprintable:

enter image description here

For perspective, the claws of this creature are tiny, tiny blobs, barely visible after the model has been printed. The enlargement of the fingers does not need to be artistically accurate; nobody will look at them with a magnifying glass. When enlarging them manually, it's pretty simple to smear around a bit with one of the sculpting tools; I would like to automate this so Blender automatically does it for all "thin" bits of the model with one operation, without me having to select anything.

$\endgroup$
4
  • $\begingroup$ Let's tag geometry nodes to this and see what happens. :D It might be possible with geometry nodes. $\endgroup$ Commented Feb 13 at 7:19
  • $\begingroup$ Thanks @MartynasŽiemys. $\endgroup$
    – AnoE
    Commented Feb 13 at 7:39
  • $\begingroup$ could you provide a sample file, for testing? $\endgroup$
    – lemon
    Commented Feb 13 at 8:15
  • $\begingroup$ Sure, I have added the link to the model from the screenshots, @lemon (thingiverse.com/thing:4888799/files). $\endgroup$
    – AnoE
    Commented Feb 13 at 8:23

1 Answer 1

3
$\begingroup$

Hard to guess if this very basic approach can do it in "all" real cases.

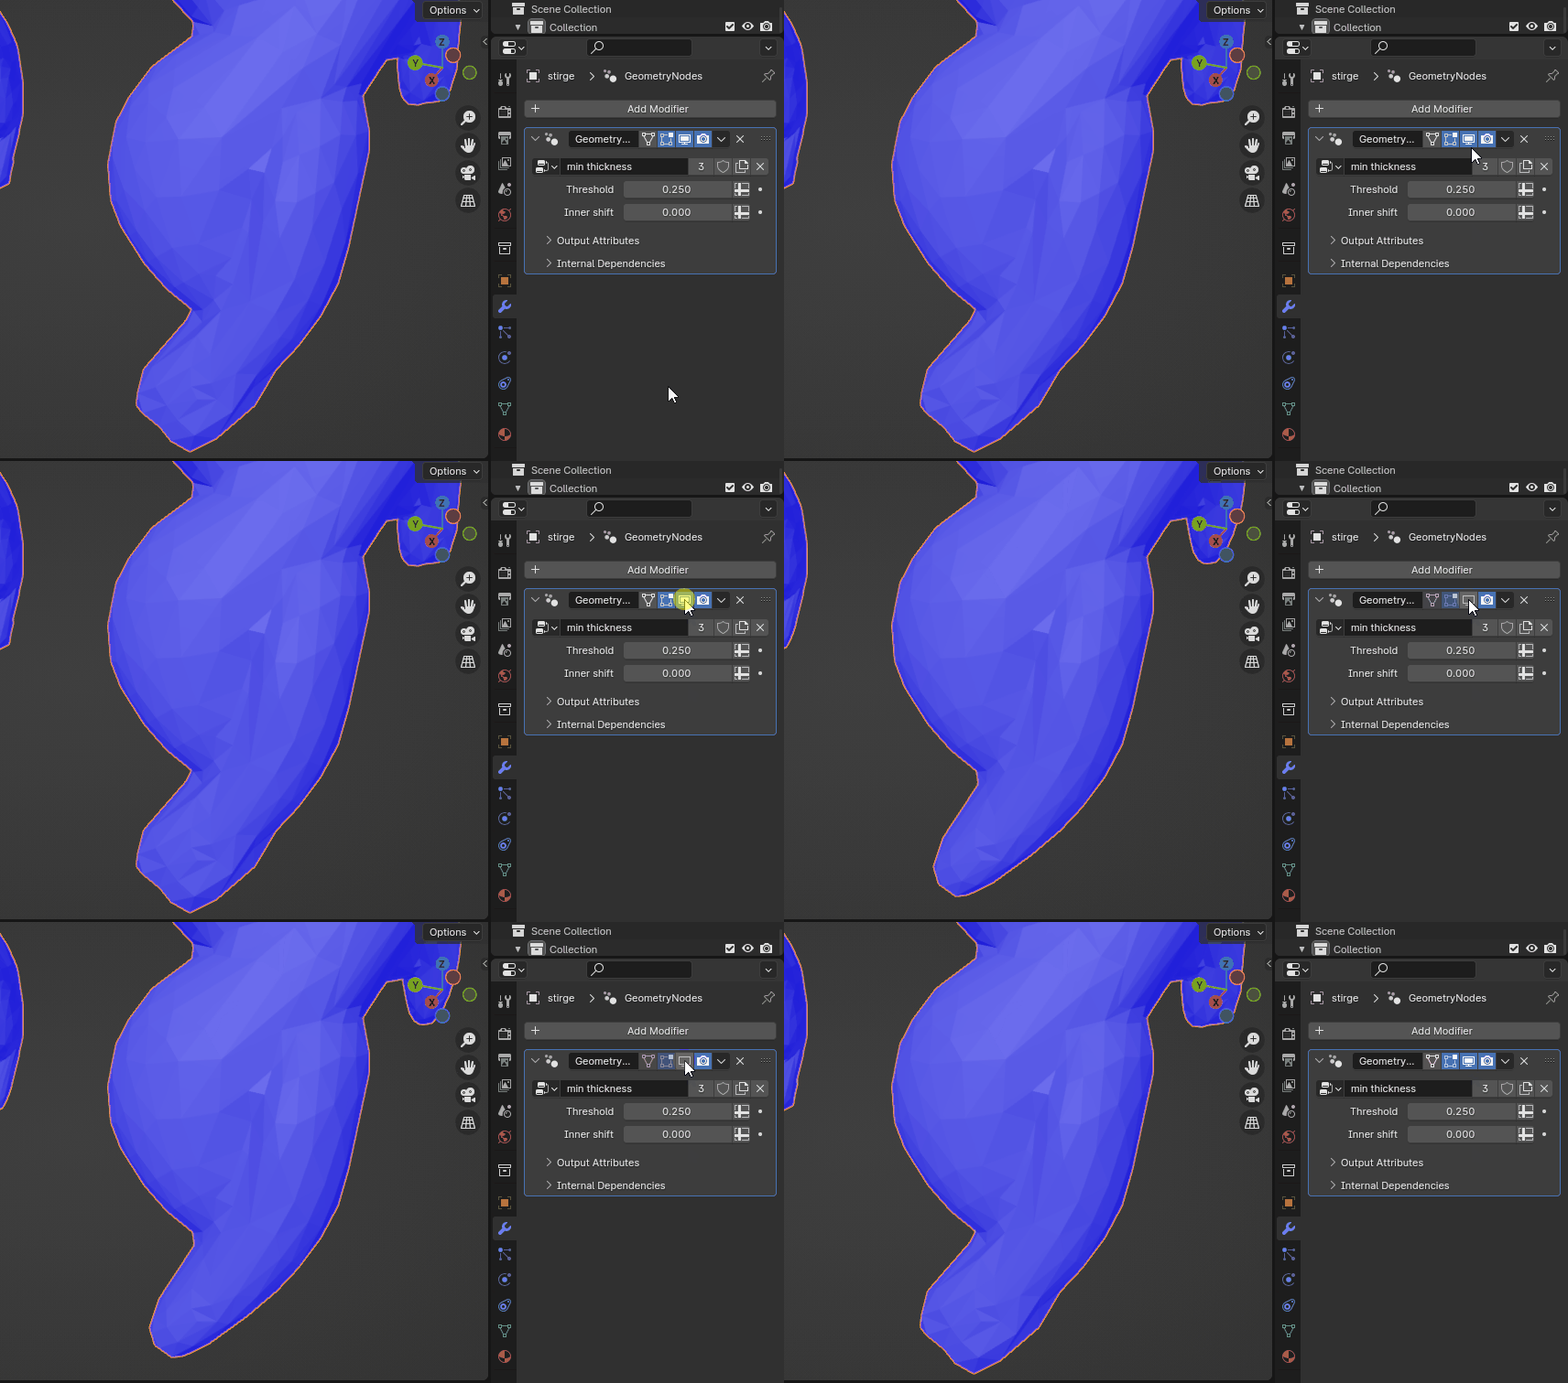
enter image description here

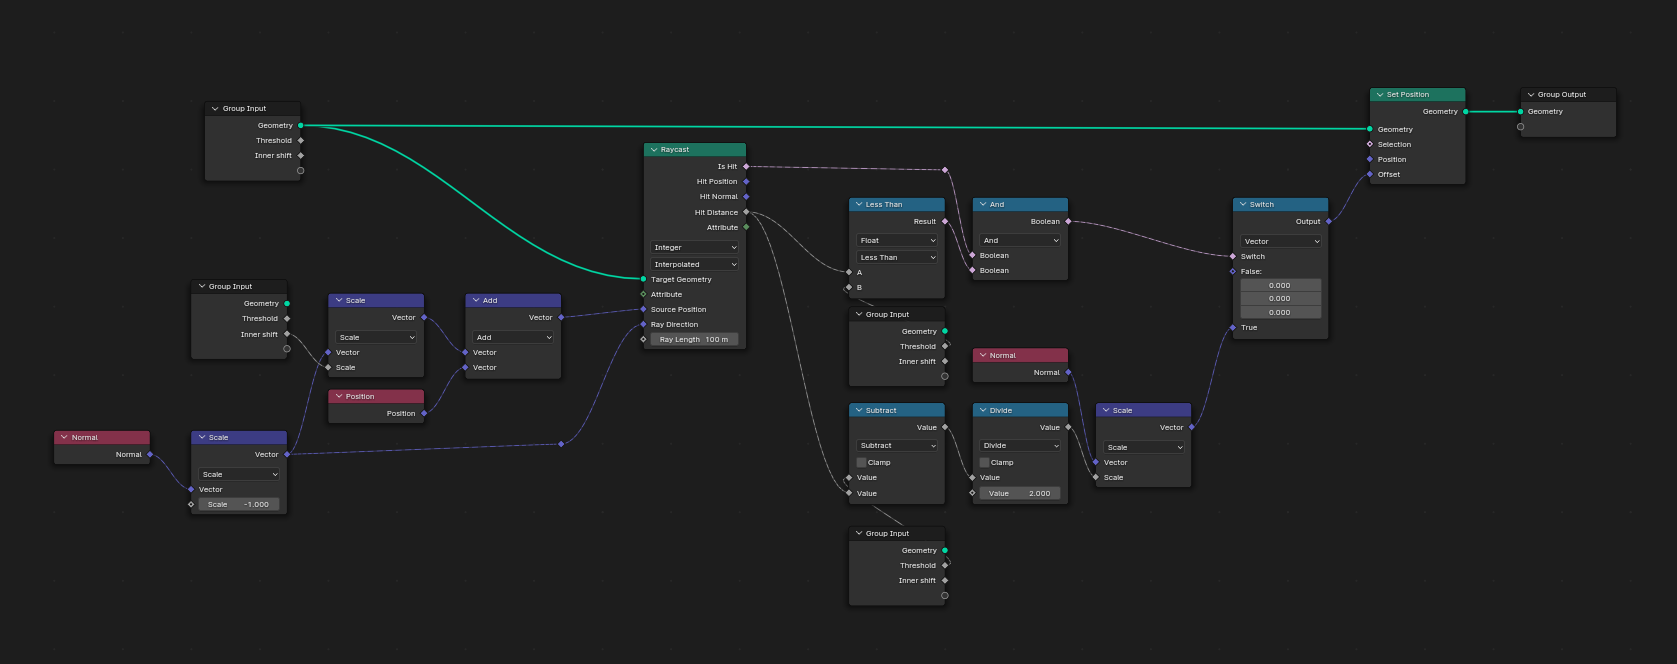
enter image description here

It raycasts on self using a little shift along the inverted normal as ray cast position.

If the distance is less than the threshold, then it shift the vertex along its normal by half of the diff between the hit distance and the threshold (half as we guess that another opposite vertex will be shifted too).

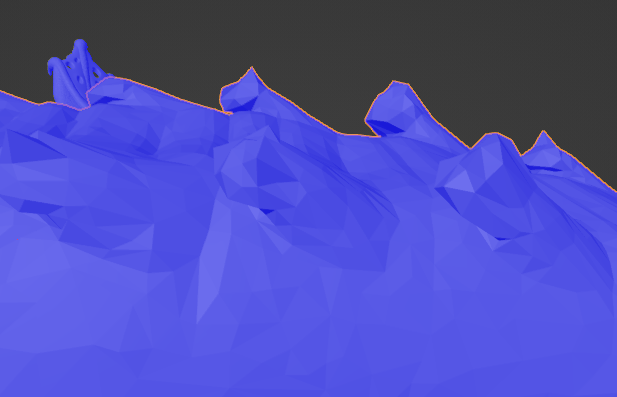
Though, that may deform some parts an unwanted way. Example for the nose spines:

enter image description here

To be tested and refined!!

(Blender 4.0, I've cutted a part of the stirge as if not the file was too big to be uploaded here)

$\endgroup$
2
  • $\begingroup$ Awesome effort, thank you! It does seem to start doing what is needed - i.e. it enlarges features sufficiently. Unfortunately, as you mentioned, it also blows out details that would be perfectly printable. So it will depend a lot on the model in question unfortunately. I have a feeling that the way blender models this kind of geometry is just so far removed from what a slicer does that it would be extremely hard to distinguish between printable detail and too thin "sticky" bits. $\endgroup$
    – AnoE
    Commented Feb 20 at 18:39
  • $\begingroup$ I agree. In meantime, I've notice a more difficult problem: spines on the neck or head that are thin but close to each other. So as result, they overlap when enlarged. I think a specialized software should be used for all that. $\endgroup$
    – lemon
    Commented Feb 20 at 18:46

You must log in to answer this question.

Not the answer you're looking for? Browse other questions tagged .