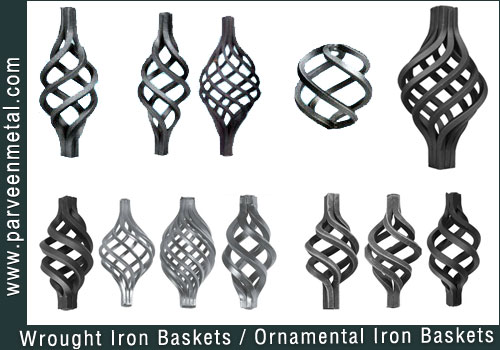
I'm want to know how to make something like the wrought iron shapes as shown in the picture.
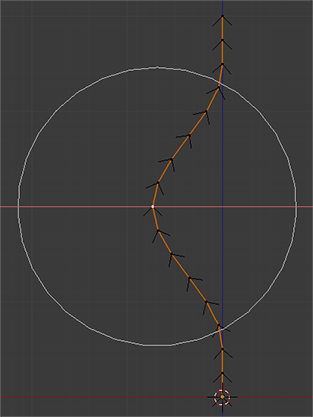
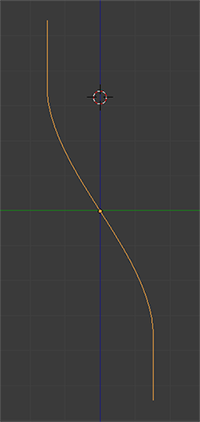
From the Front Ortho view Numpad 1 create a segmented vertical curve (you can also convert segmented edge to curve with Alt+C).
Select the middle point and with proportional editing on (O) define the amount of bulging the basket will have:
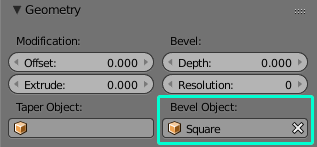
Add a plane and convert to curve to get a square profile. Set this profile as the bulged curve's bevel object:
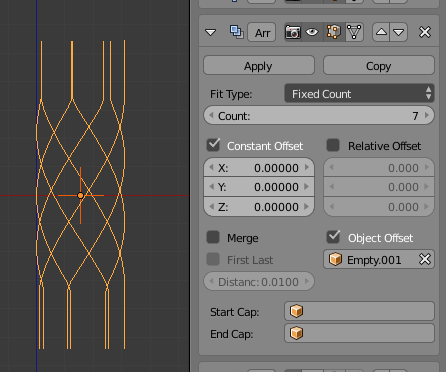
Turn off proportional editing. In editmode Tab offset the bulged curve from origin, duplicate the piece around and arrange like this:
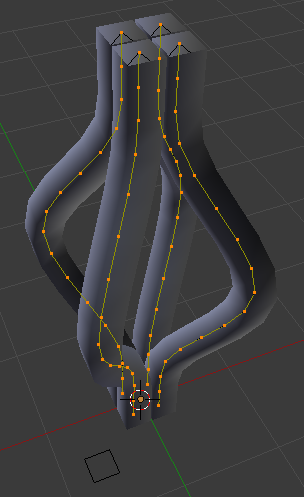
Move it around, set origin point to 3D cursor, duplicate with Shift+D, cancel move with RMB and rotate with R. You can also use the Spin tool for this. Make sure the ends of curves form a square
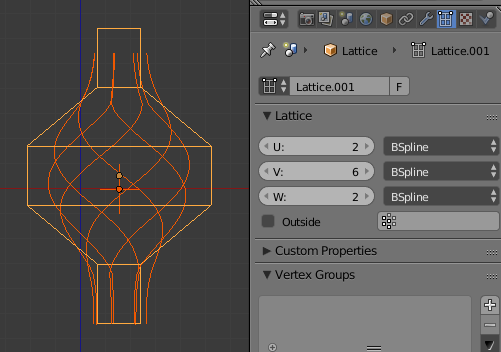
Turn on proportional editing, this time set the type to Linear. Select the top vertices and twist the curves around Z axis:
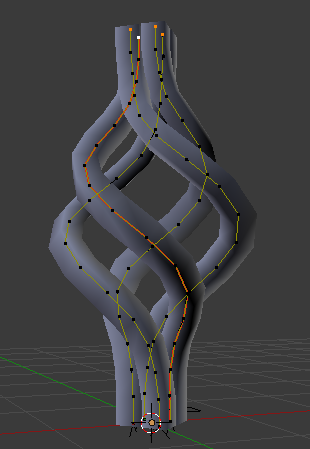
For the curve vertices a Mean Tilt value can be specified to control the rotation of the square profile. With such control nice basket endings (and transition to the rod) can be achieved.
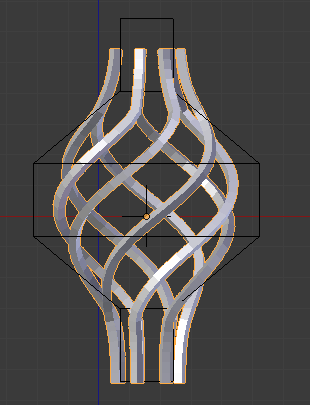
Optionally subdivide the profile curve, convert the basket to mesh, add subdivision modifier, recalculate normals:
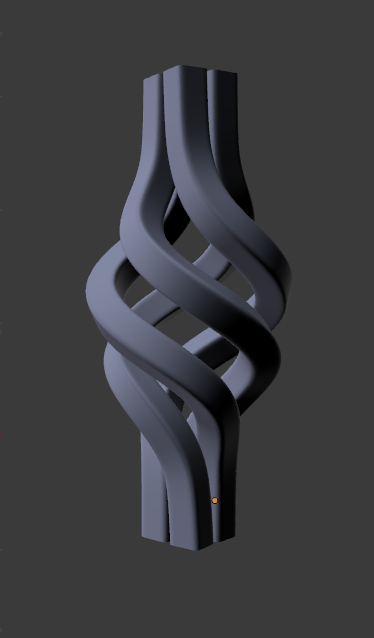
You can do this by using modifiers on a very simple mesh. This is the result:
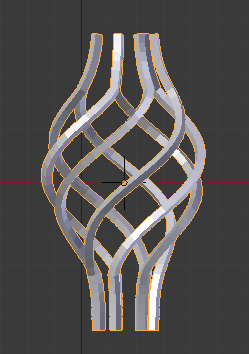
Because of the complexity of this I have given general steps, which will be helpful to most people, and included the blend file at the end if there is still confusion:
A Subsurf modifier is added, set to 'simple' subdivision to give the edge enough detail to twist. Because this mesh is so simple you can set it to something unusually high, like 5 subdivisions.
A Simple Deform modifier is added, set to twist. Increase the deform angle to twist the mesh as much as you require and adjust the limits so the ends aren't included in the twisting:
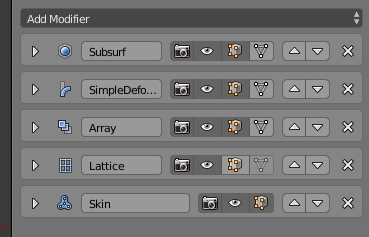
All modifiers can now be applied if you wish or you can just leave them all active.
Further modifiers can also be added such as a bevel modifier for beveled edges or an additional Subsurf modifier to smooth things out.
Because of the complexity of this setup I have included the blend file here: