71
$\begingroup$

I'm using an older Nvidia chip that hates running viewport renders, and I need to check if changes to the materials on a few objects not far from the center of my scene are (I'm rendering a floorplan with an orthographic camera from above, so I'm looking down on objects and want to check if the displacement materials are working correctly).

Is there any way to select a bit of the image and have it render first or without having to render the rest of the image? I'm aware that you can tell the image to render from an edge, but my stuff's about equidistant from either side of the scene.

$\endgroup$
1
  • $\begingroup$ classically this is called 'border rendering' or 'region rendering'. $\endgroup$
    – zeffii
    Commented May 25, 2013 at 7:35

4 Answers 4

103
$\begingroup$

Ctrl + B in the 3D Viewport or the Camera View will allow you to drag while holding LMB LMB select the area of the image you want to render. If you want to clear the border, press Ctrl + Alt + B.
Shift + B also still works in Camera View but is only there for compatibility and will be replaced entirely by Ctrl + B in future versions.

For "Render->Render Image" (F12 ) to render only part of the image you also need to have Render->Dimensions->Border enabled.

$\endgroup$
5
  • 5
    $\begingroup$ You know, I was working yesterday and bumped into that on accident, without realizing what I was doing, outside of the camera view mode (so it did nothing), and totally proceeded to completely disregard it. Great answer! $\endgroup$ Commented May 24, 2013 at 22:00
  • $\begingroup$ "outside of the camera view mode (so it did nothing)" if you're in Viewport Render Mode, it will only render that segment, so long as you keep the view facing that way. $\endgroup$
    – wchargin
    Commented Aug 11, 2013 at 1:14
  • 1
    $\begingroup$ In the render tab I expanded the Dimensions section and checked "Bord", then I selected an area with ctrl-B in the 3d view. F12 still renders the whole image. $\endgroup$ Commented Aug 26, 2017 at 5:36
  • $\begingroup$ You have to select the region (Ctrl +B) on the main view, not on the secondary view, if you have split the view. I had split the screen so that the left showed little "Rendered" and the right showed big "Solid". I selected the region on the left "Rendered" view so pressing F12 rendered the whole scene. I selected the region on the right view and it worked. $\endgroup$ Commented Dec 22, 2018 at 12:46
  • $\begingroup$ Is there a way to get the selected render region to move with an animation? $\endgroup$ Commented Jun 22, 2020 at 1:22
1
$\begingroup$

If one would like to re- render an object in an animation (without rendering the whole frame), i would highly recommend this addon :

https://blendermarket.com/products/animated-render-border/

It tracks an object trough your animation and renders it with a border around it, so in Blenders video Editor, you could overlay your fixed object partial image over the wrong frames.

$\endgroup$
0
$\begingroup$

You can create another camera, and place it so that you zoom closer in on the scene (use the techniques outlined in this post What's the quickest, easiest way to point the camera somewhere in blender?). You can set the scene to render using that camera instead of your main one by selecting that camera in the Outliner.

$\endgroup$
5
  • 4
    $\begingroup$ Also a good answer, but a little bit liable to cause issues; reflections are often based off of camera perspective, so while top-down orthographic views like I'm using are fine with this, you'd be better off doing Charles' method for this, especially if working with a camera that has fisheying going on. $\endgroup$ Commented May 24, 2013 at 22:06
  • $\begingroup$ @KyleWilley You should also be able to zoom the camera in place by selecting local coordinates, then scaling it in its axis of view like any ordinary object. $\endgroup$
    – Gwen
    Commented May 24, 2013 at 22:46
  • 1
    $\begingroup$ But the issue I'm referring to is unique to perspective cameras; with orthographic ones this method is fine, because there is no distortion built into the renderer; you're getting the pixel directly in front of the camera. With a perspective camera you're not doing this. For instance, to get a perspective "floorplan" to show stuff pushed up against the walls of a room from directly above, you'd have to pull the stuff out from the walls a good deal, because you're getting stuff based off of the aperture of the simulated lenses. $\endgroup$ Commented May 24, 2013 at 22:48
  • $\begingroup$ Yes, but the field of view affects distortion, does it not? Aperture is not necessarily the correct term here, but I'm not great with real life cameras. If my FOV is 70, I see a lot less "fisheye" on the edge versus if it's 170 (Ah, Quake). $\endgroup$ Commented May 24, 2013 at 22:52
  • $\begingroup$ @KyleWilley I figured out how to zoom in place, and added a second answer describing that technique. $\endgroup$
    – Gwen
    Commented May 24, 2013 at 23:57
-1
$\begingroup$

One option is to change the focal length of the camera. This has the advantage of working in all views, not just orthographic. It keeps the perspective of the camera the same, so it doesn't affect lighting or distortion, but instead works much like zooming on a real-life camera.

Select the camera in the 3D View or Outliner, then go to the Camera tab in the Properties menu. Under lens, you can change the 'focal length' (in perspective or panoramic view) or 'orthographic scale' (in orthographic view).

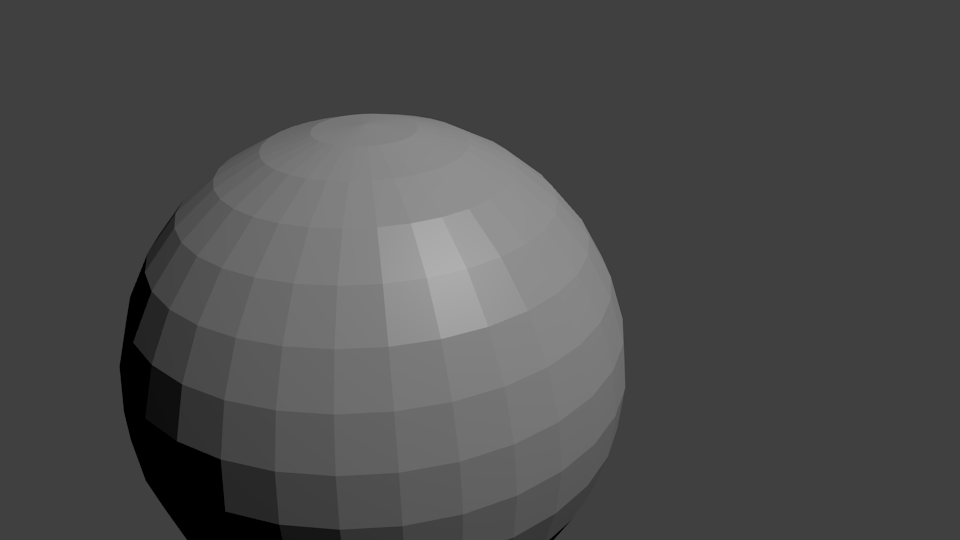
Original render: UV sphere rendered with Blender-Internal

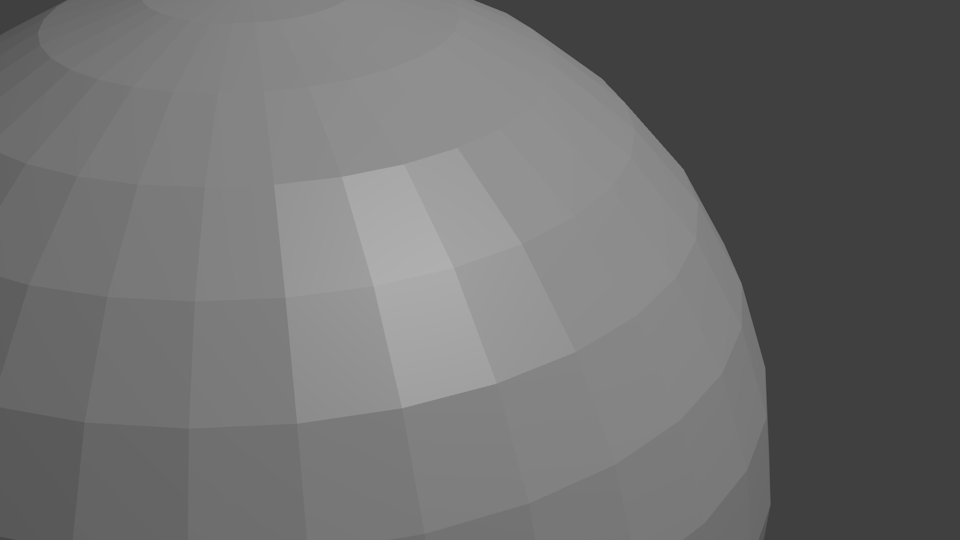
Zoomed render: UV sphere rendered with Blender-Internal

Notice that the lighting levels on each of the panels of the sphere remain unchanged between renders.

$\endgroup$
1
  • 3
    $\begingroup$ A small caution to add here is that it doesn't necessarily work for off-center things, nor does it necessarily reduce render times. $\endgroup$ Commented May 24, 2013 at 23:57

You must log in to answer this question.

Not the answer you're looking for? Browse other questions tagged .