I significantly revised this answer. I thought of a few things that are much easier to do since writing it originally.
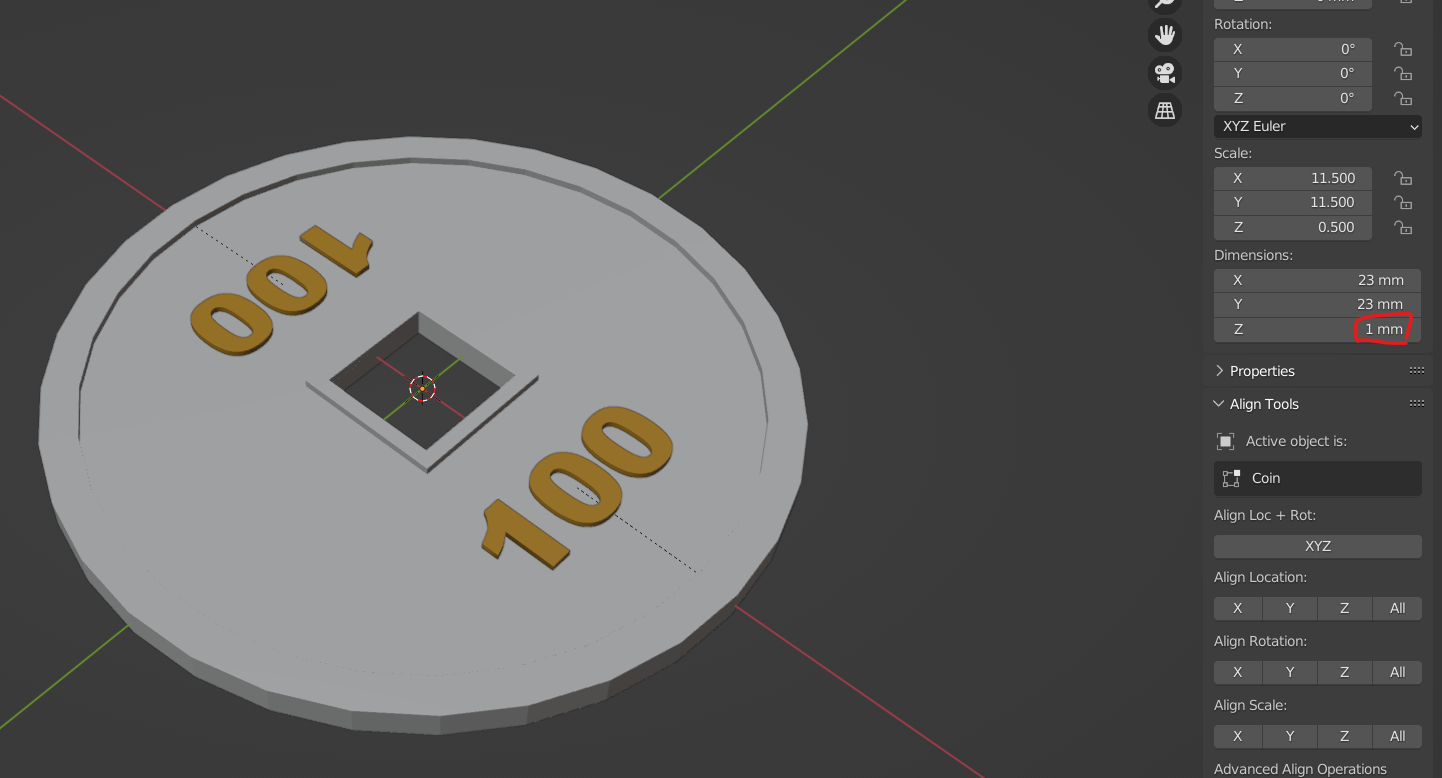
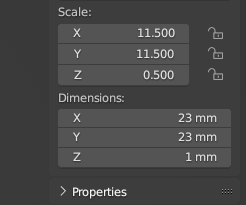
When your .blend file opens, these are the Scale and Dimensions of your coin:

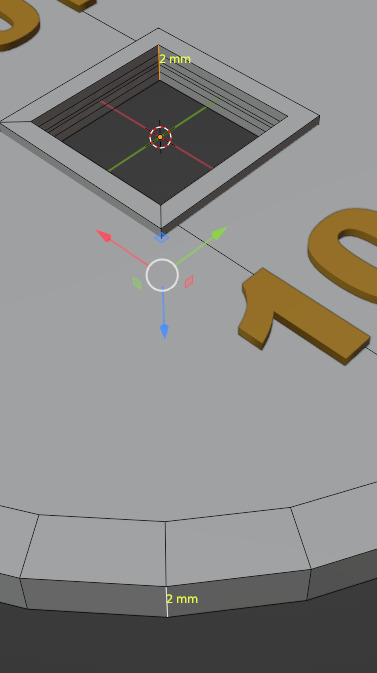
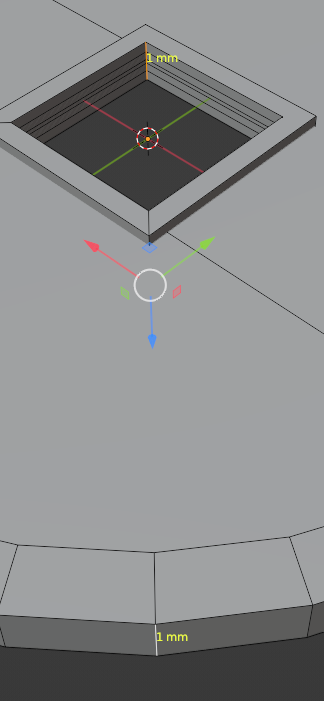
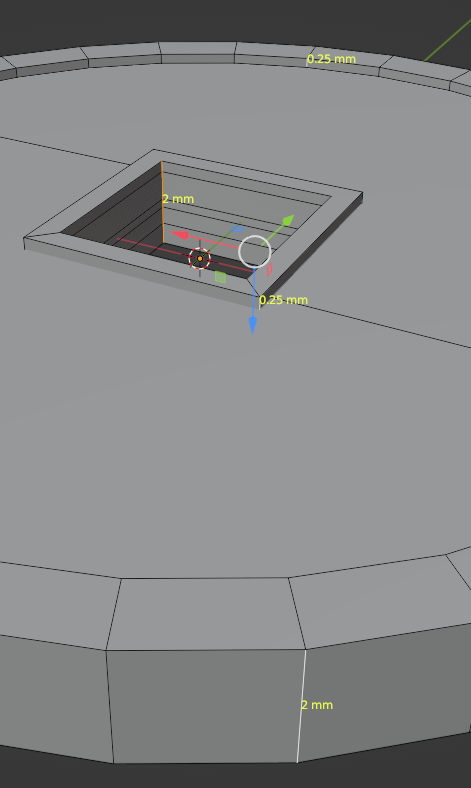
This is the coin in Edit mode, note the edge length on the inside corner of the square and on the outside edge of the lip:

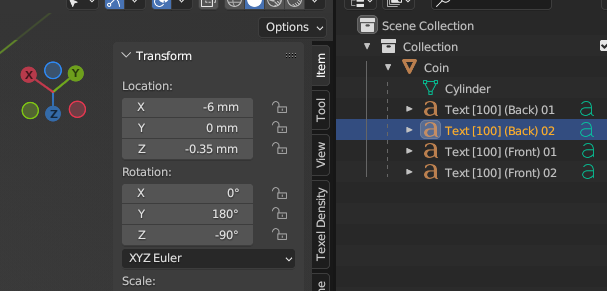
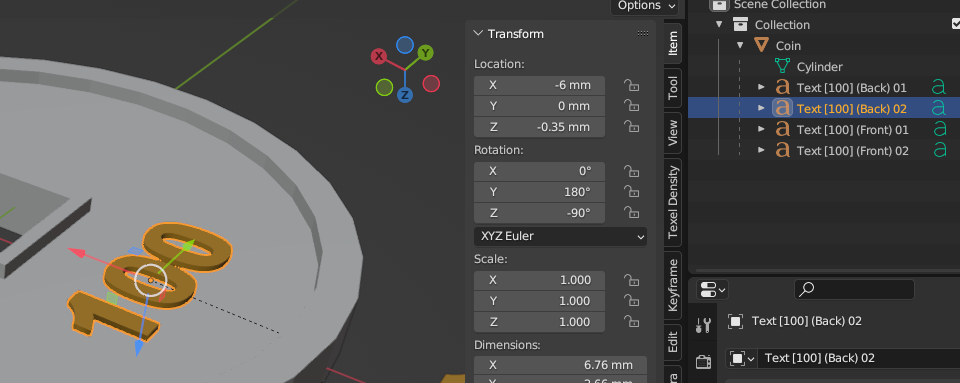
Before applying scale to this, note the X axis location of the text. This will be important later:

You have it set either + or - depending on which side of center it is.
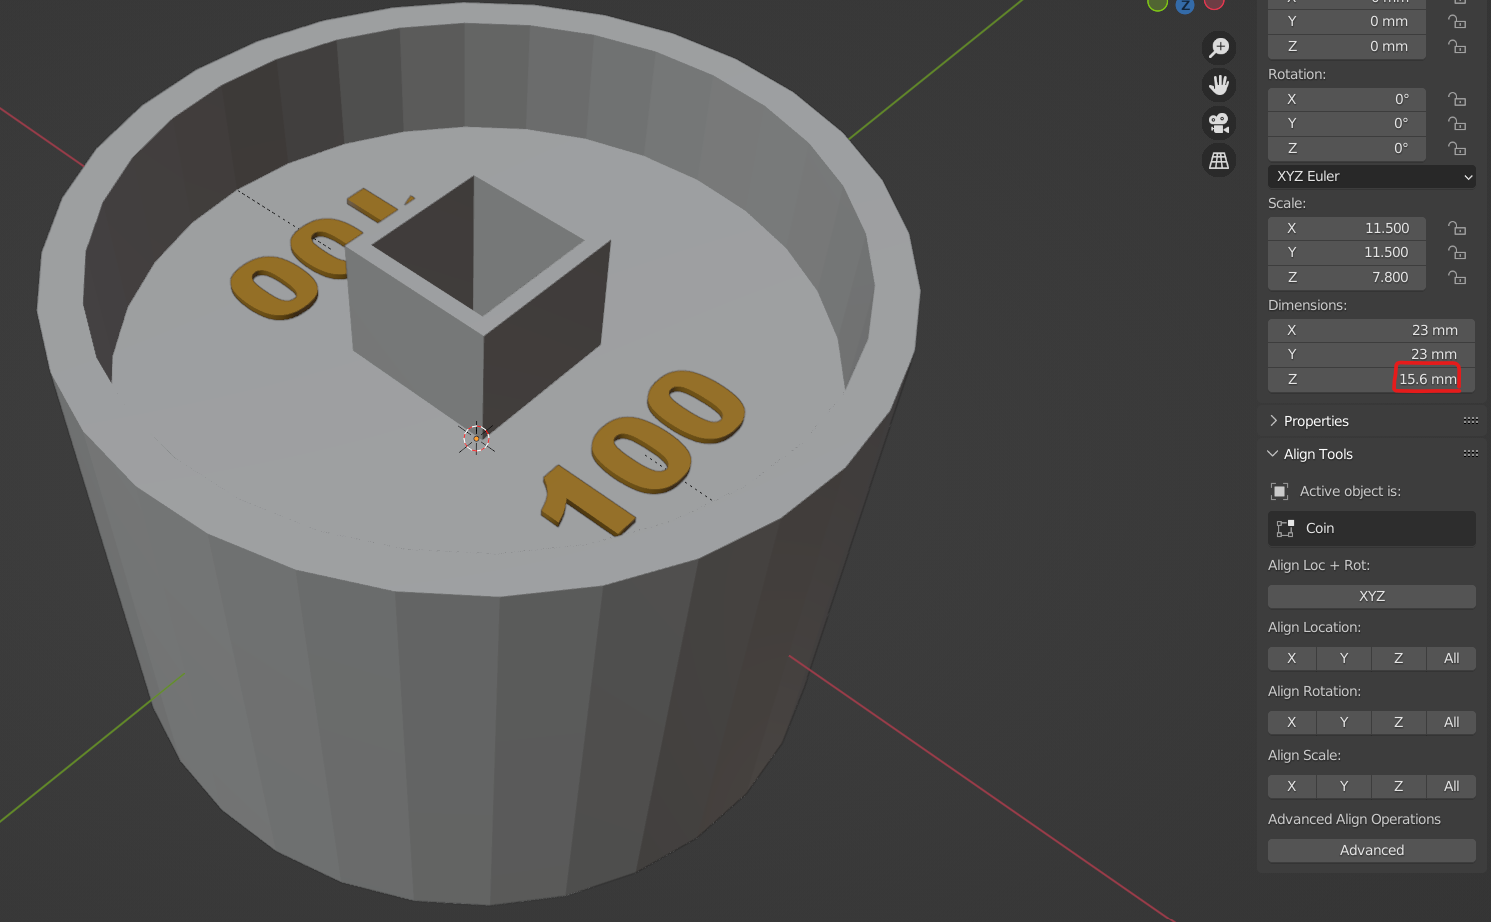
Selecting everything and using Ctrl->A->Scale to apply a 1.0 scale, this is the result:

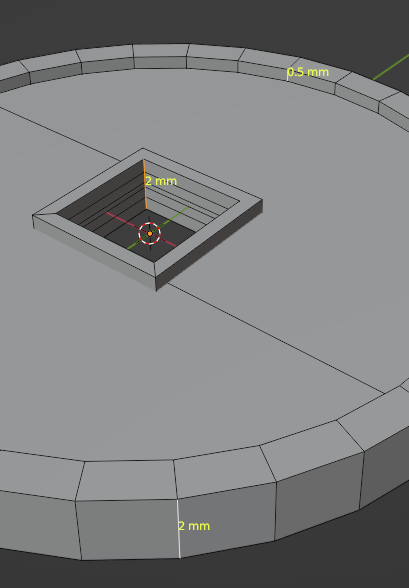
In Edit mode the above edge dimensions are now:

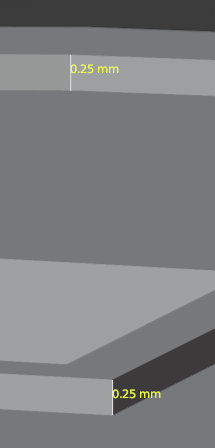
This is the dimension between the face and the edge:

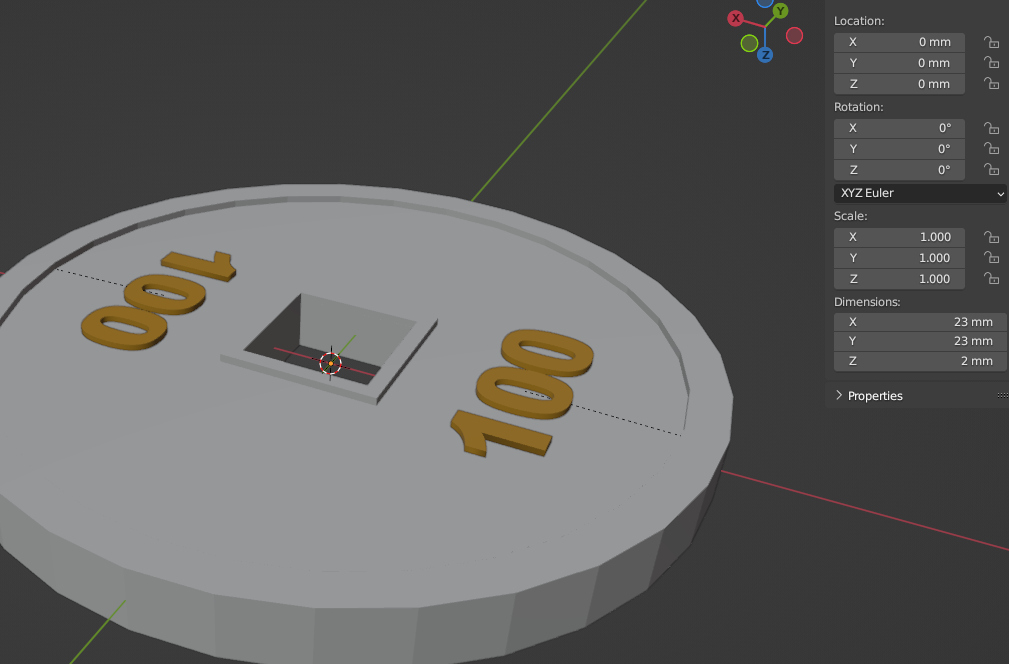
If you, for example, set the Z dimension to 2 mm and apply scale, the distance between the face and the edge becomes:

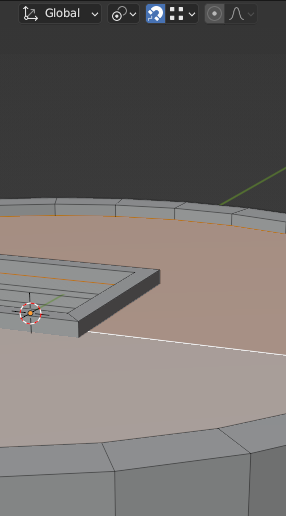
I am not clear on if you want to maintain the .25 mm between the face and the edge, or maintain the proportion between the edge and the face after changing the thickness. If you want to maintain .25 mm, select the faces and with these settings for Transform Pivot Point and Snapping, G->Z:

You will then have:

In this case, with the faces selected, G->Z .25 will then give you the desired distance for this side of the coin:

To relocate the text, note the new X dimension:

For that selected text, enter the dimension you noted above. In this case -6 mm. The result:

This works with either the .25 mm depth, or a proportionally scaled depth.
If you're using the .25 mm depth, repeat the last three steps for the face on the other side of the coin, using G->Z -.25.
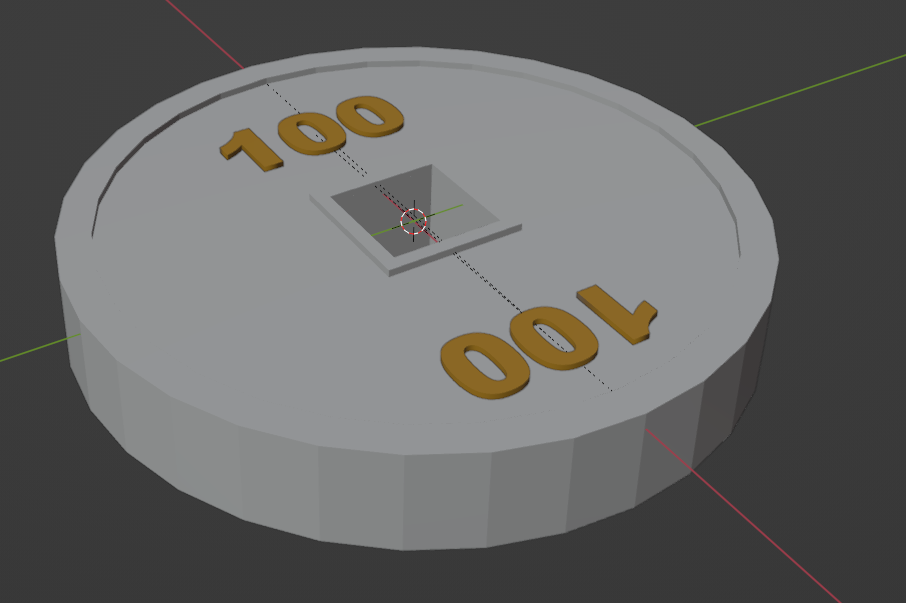
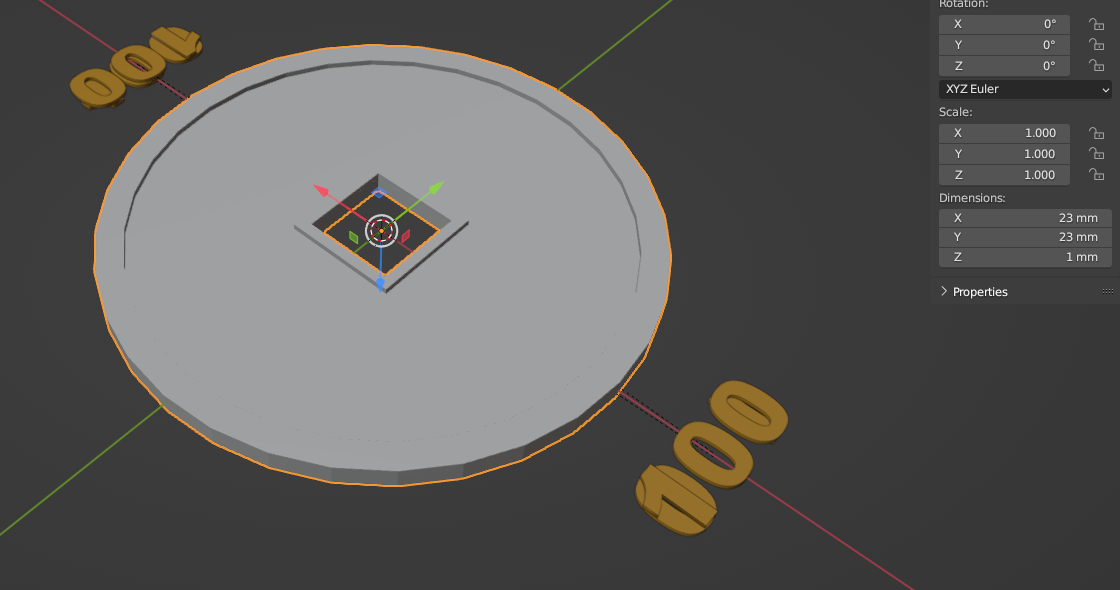
The end result:
