0
$\begingroup$

Hi I'm relatively new to blender, and I'm currently working with massive landscape meshes, and I am working on a script to help cleanup some of the foliage on the map.

I currently am trying to flatten/remove selected bumps on the surface of the mesh. I've found dissolve vertices works the best for what I have been doing, and I am able to go in and cleanup the large face put in its place. But depending on how good of a selection of the bump I get I am left with a destroyed texture in the bumps spot.

I was hoping someone could lead me to a method that will allow me to either fix the texture? or avoid it breaking in the first place.

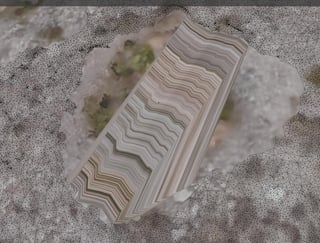
Here is an image of a bump to be removed:

Here is an image of a bump to be removed

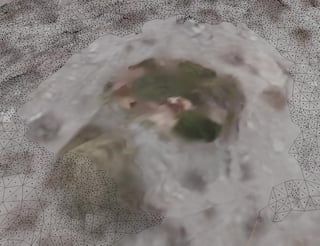
Here is an image of a destroyed texture:

broken bush

Here is an image of the intended result:

enter image description here

Any help would greatly be appreciated!

EDIT:

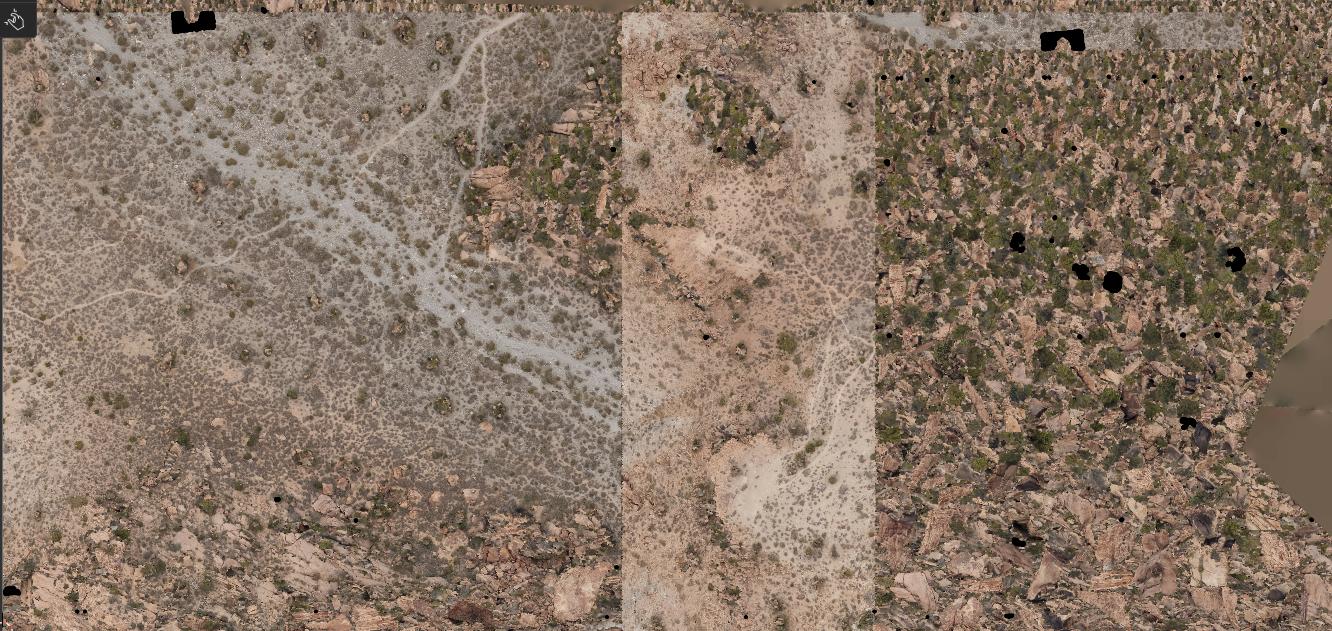
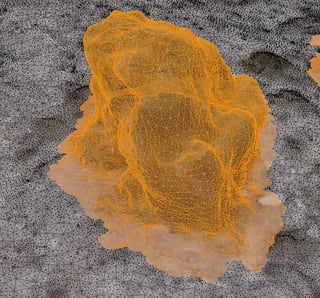
Here is a picture of how one of the bushes is sliced, It has polygons spread across the entire texture, half of it is on a whole different piece. and I'm not working with any textures that fully resemble a bush. (The black patches are the UV map)

enter image description here

$\endgroup$
2
  • $\begingroup$ What about making a render of your landscape from a top down view. Then combine this render with your current texture. wWth the help of a mask you can apply the top down viewed texture to the area where you removed the bumps $\endgroup$ Commented Nov 16, 2022 at 10:49
  • $\begingroup$ @ponsdeleon I guess the problem really isn't the texture I think, I believe my UV map is breaking. I've tried manually stamping similar textures over the area, but if its anywhere with the crazy lines it will send streaks across the Texture, because the UV map is off. Though thats a great idea for after I figure out how to fix the UV map $\endgroup$ Commented Nov 16, 2022 at 19:33

2 Answers 2

1
$\begingroup$

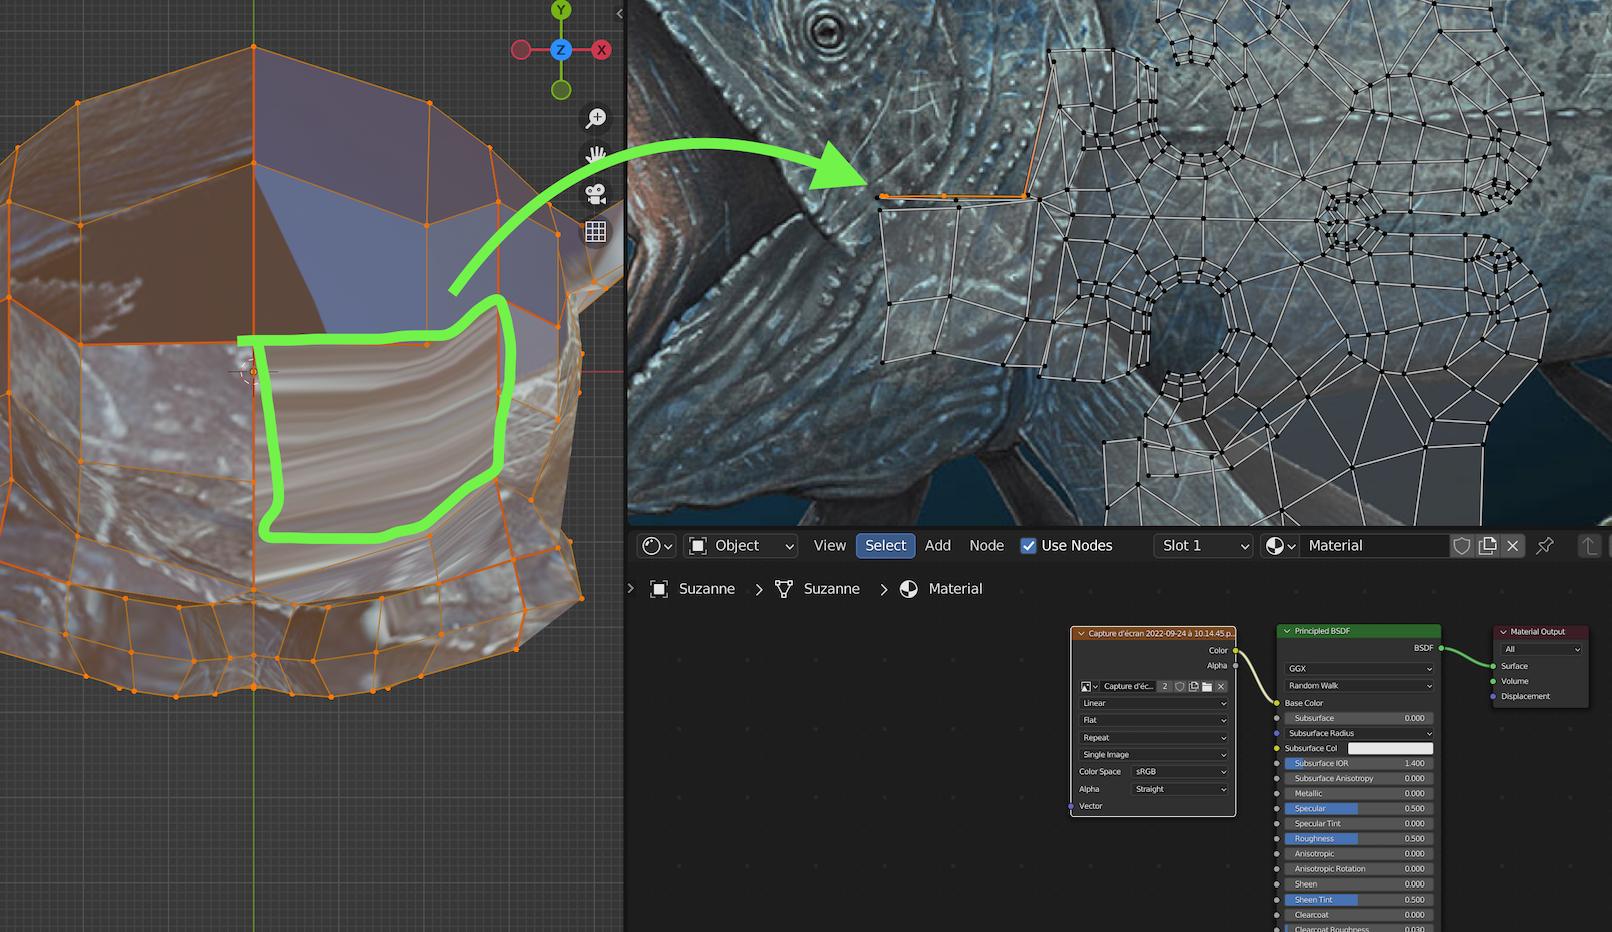
Here is a visual explanation of what is appening: when you delete the geometry of your bump and create a new face instead, it's UV don't have the same shape as the face you see in your viewport. the texture is then stretched to fit the face length resulting in large stripesenter image description here

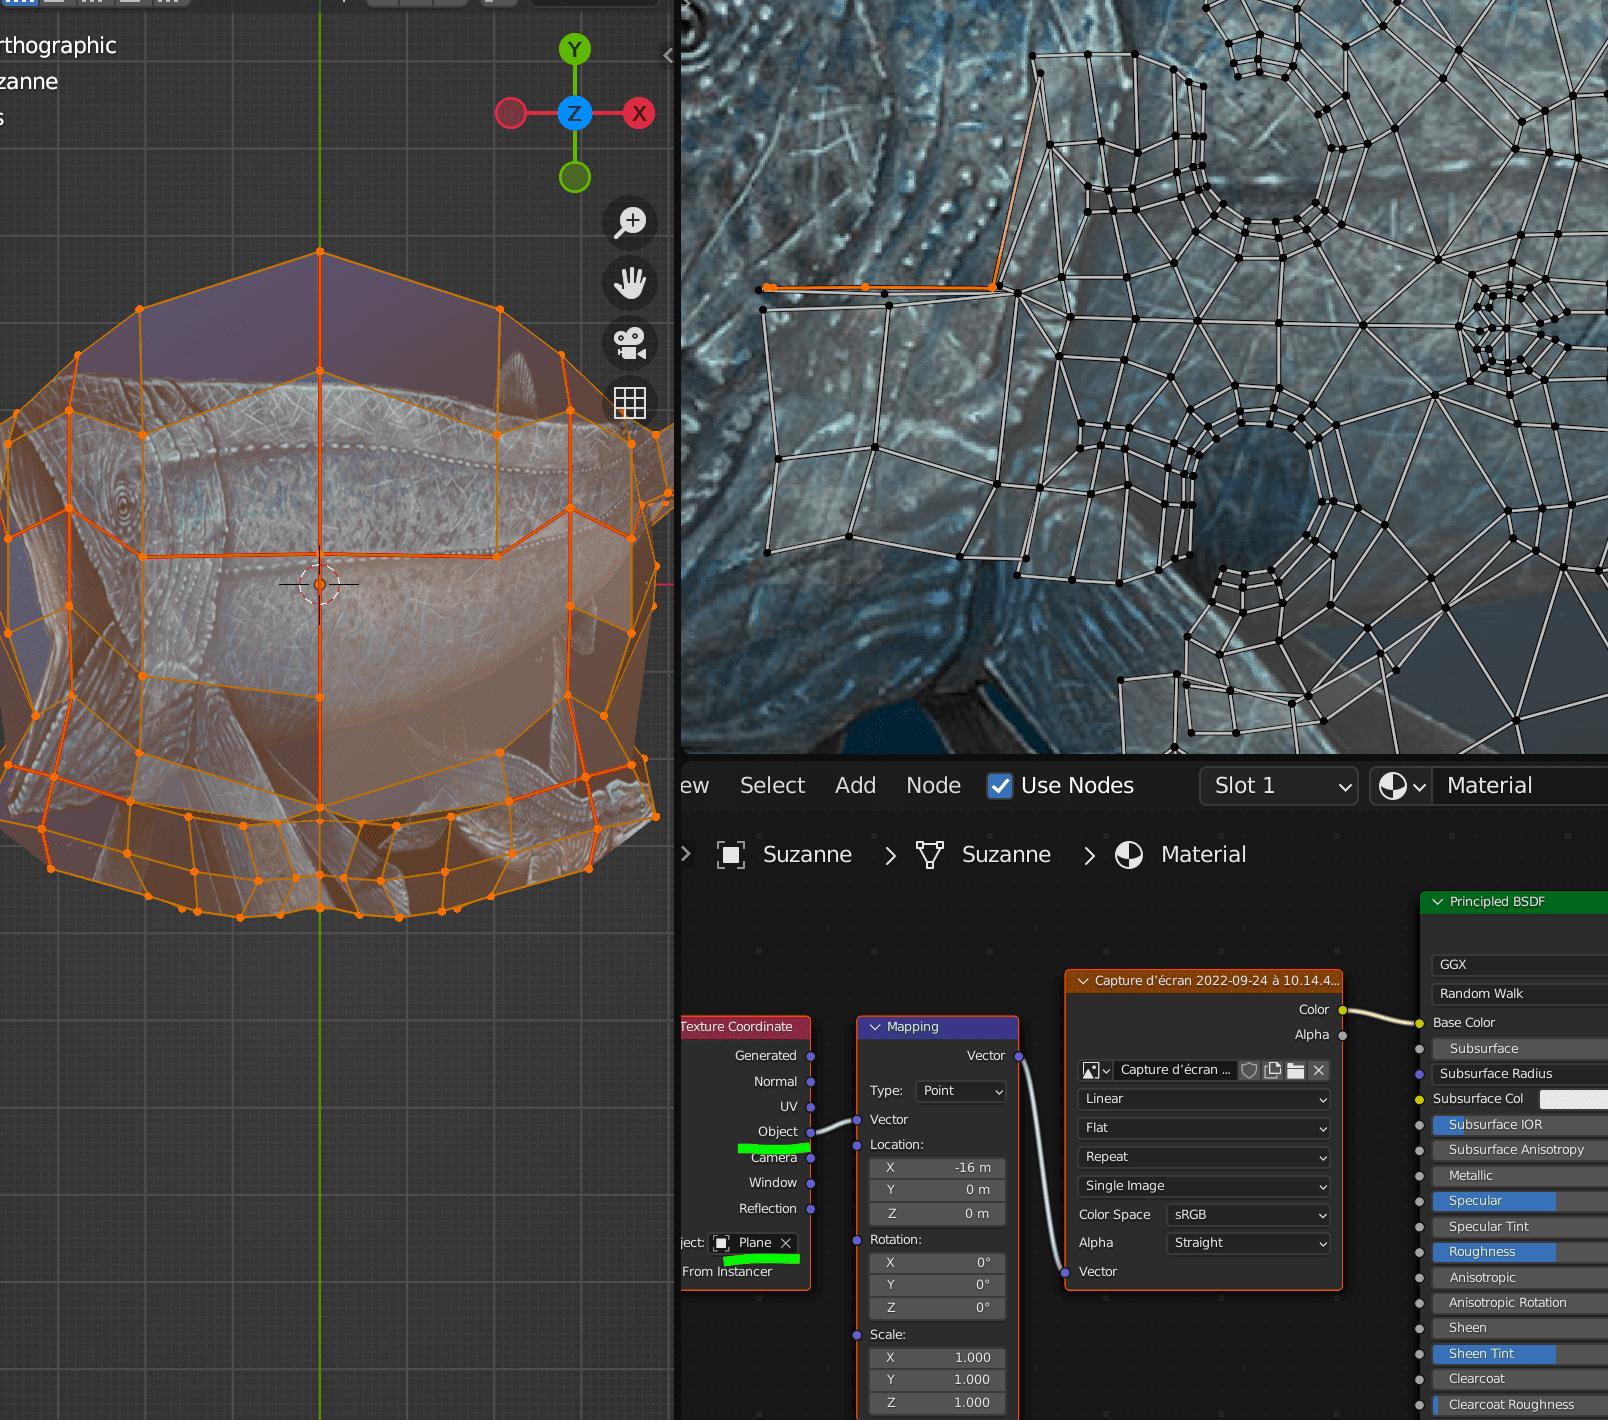
here is how to fix it: on your image texture node hit shift + T to get access to the mapping and texture coordinate node (or just add them the regular way) then use a plane as a mapping object (see picture 3)

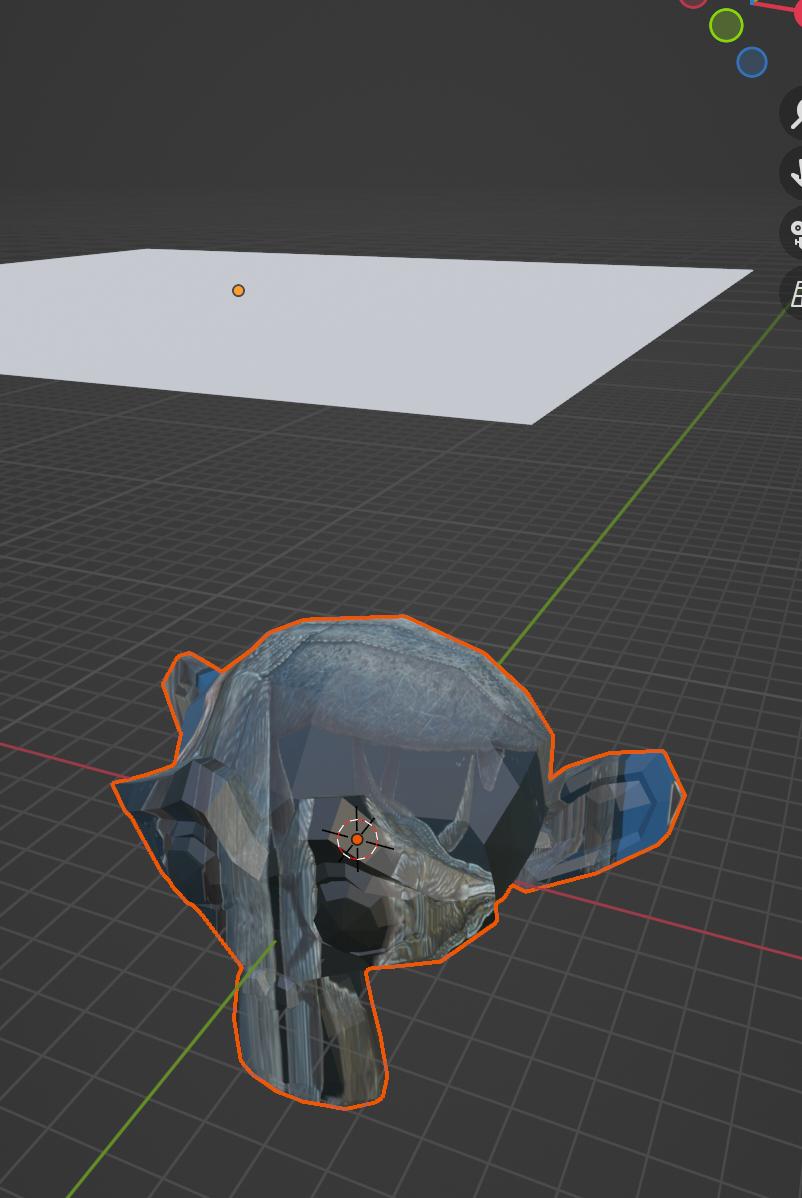
enter image description here The plane act like a projector. The drawback is that the texture will be stretched on the faces not aligned with the plane (but you can use a mask and combine it with your first texture UV where you deleted the bumps)

enter image description here

$\endgroup$
3
  • $\begingroup$ Hey thanks for the overview on that method there, thats a neat trick on masking out the issues I'm seeing, though I think it may not work for me due to the way my texture map is layed out. My texture mesh is sliced into many varying different pieces and there are little islands of polys for each layer of a bush. So my mesh doesn't really line up with my texture. I'm working with. I'll update my post with an image of how my texture is sliced into pieces $\endgroup$ Commented Nov 17, 2022 at 18:45
  • $\begingroup$ Would I also be able to export out my mesh with the masking applied? Thats ultimately the end goal so If I would need to also apply texture masking in unreal engine to my mesh that may not be a viable solution for me $\endgroup$ Commented Nov 17, 2022 at 19:25
  • $\begingroup$ Absolutely, once you are happy with your material (the node set-up of your shader) you can bake it to create the diffuse map, normal map, roughness map etc... to plug in your unreal engine shader. See this tutorial for exemple: youtube.com/watch?v=eYvgFWEiNp8&ab_channel=RyanKingArt $\endgroup$ Commented Nov 18, 2022 at 8:15
0
$\begingroup$

I found decimating the select polys, smoothing the vertices, then flattening allowed for a way to flatten the mesh in the spots needed without having overlapping faces, while also keeping my UV's intact

$\endgroup$

You must log in to answer this question.

Not the answer you're looking for? Browse other questions tagged .