2
$\begingroup$

I am modeling a tree branch that has a smaller branch forking away from it. Ideally, the smaller and larger branches are separate objects so that the smaller branch can be "cut away" from the larger branch. I did this by modeling both branches as one mesh and then separating the smaller branch via a loop cut, which is where the smaller branch separates.

cut off branch

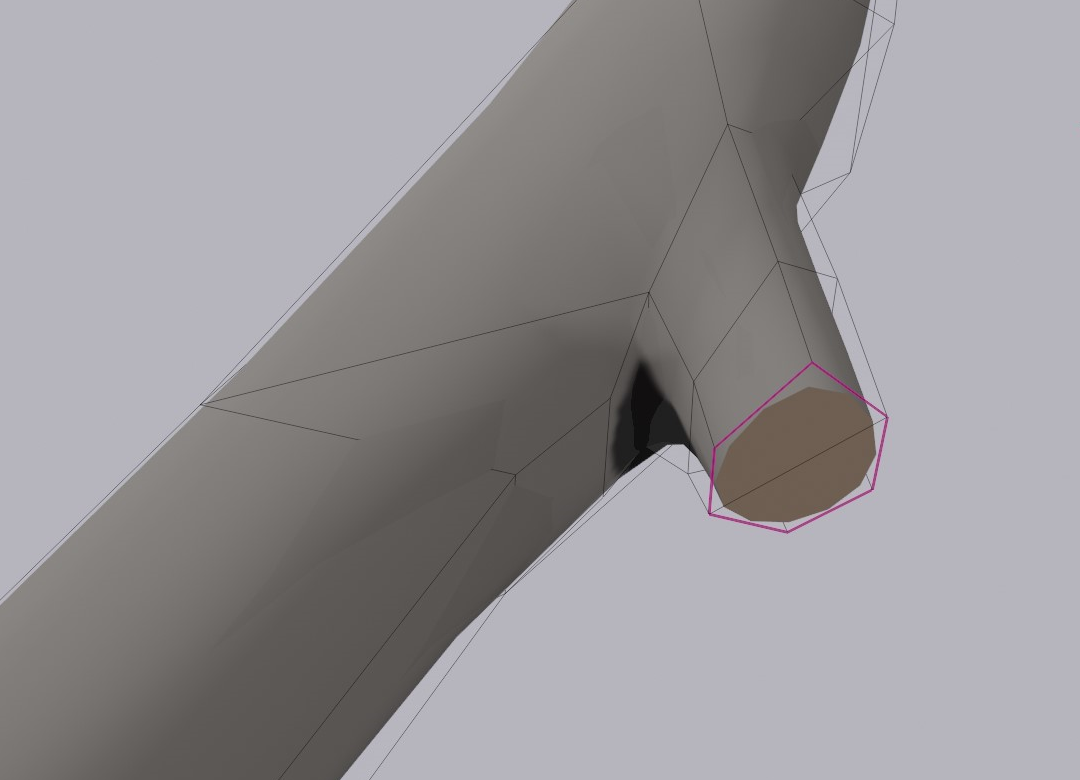
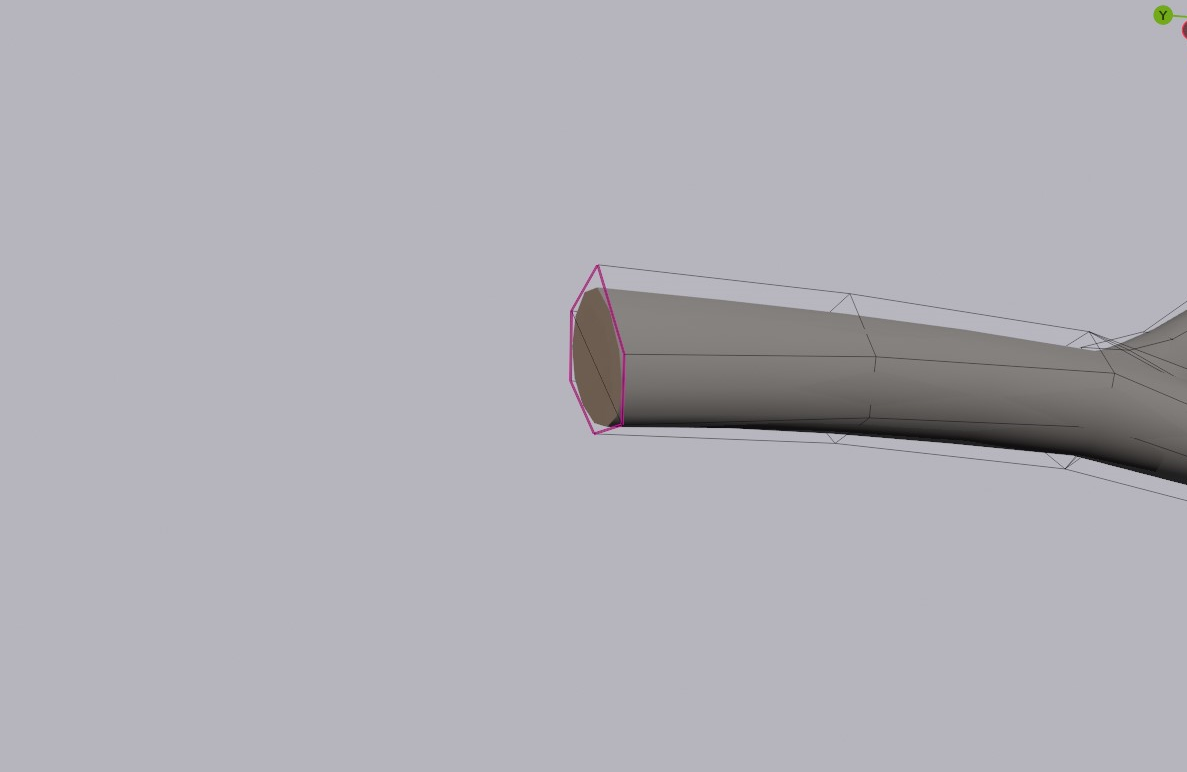
Here is the topology of the branches (large, then small):

large branch topology

small branch topology

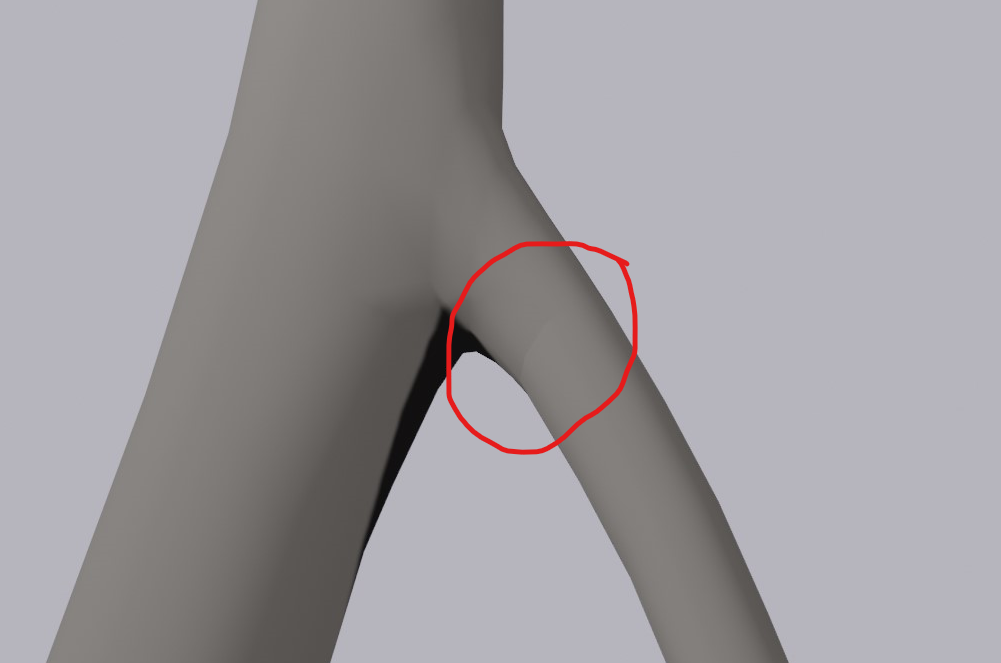
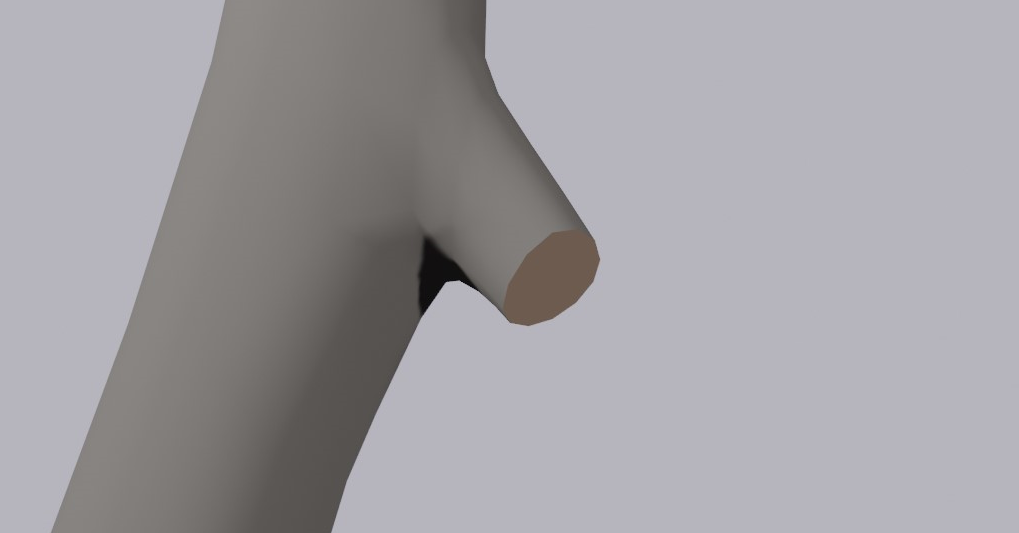
However, when I make both objects and create a face in the loop cut for each one (so there won't just be a hole on the inside of the branch), the cut between objects is visible. I am assuming this is an issue with the normals.

complete tree branch

From my experimenting:

  • Recalculating the normals automatically does not fix the issue.
  • The problem is almost nonexistent when I delete the face in the loop cut (the brown face) on both objects. However, then there will be a hole in the object, which I do not want.
  • The objects have subsurf modifiers. Disabling them or increasing the number of subdivisions does not rectify the issue.

I would like the surface to look completely smooth. Is there an easy way to fix this? Has anyone encountered this before? I don't think this is an issue as much as a side effect of having opposite normals, but it would be great to have a workaround.

$\endgroup$
5
  • 2
    $\begingroup$ You should be able to transfer the split normals with the Data Transfer modifier > Face Corner Data > Custom Normals, and choose the best Mapping mode, but I've done some test and if I apply it brings back bad shading so I'm trying to find what I miss $\endgroup$
    – moonboots
    Commented Oct 20, 2022 at 15:44
  • $\begingroup$ actually it works if you apply the Subdivision Surface modifier before but you may don't want to... $\endgroup$
    – moonboots
    Commented Oct 20, 2022 at 16:16
  • $\begingroup$ @moonboots yeah I would rather not apply subsurf first. May mean it won’t work though. Is there another way objects are modeled to break into multiple pieces? $\endgroup$
    – Mark Price
    Commented Oct 20, 2022 at 16:29
  • $\begingroup$ What is the final purpose? If it's for an animation you can unhide the original object and hide the 2 separate objects, then at a certain frame hide the original and unhide the 2 objects? $\endgroup$
    – moonboots
    Commented Oct 20, 2022 at 16:39
  • $\begingroup$ Ok it looks like Nathan has given the good solution ;) $\endgroup$
    – moonboots
    Commented Oct 20, 2022 at 17:17

1 Answer 1

4
$\begingroup$

Fixing normals in the presence of subdivision modifiers:

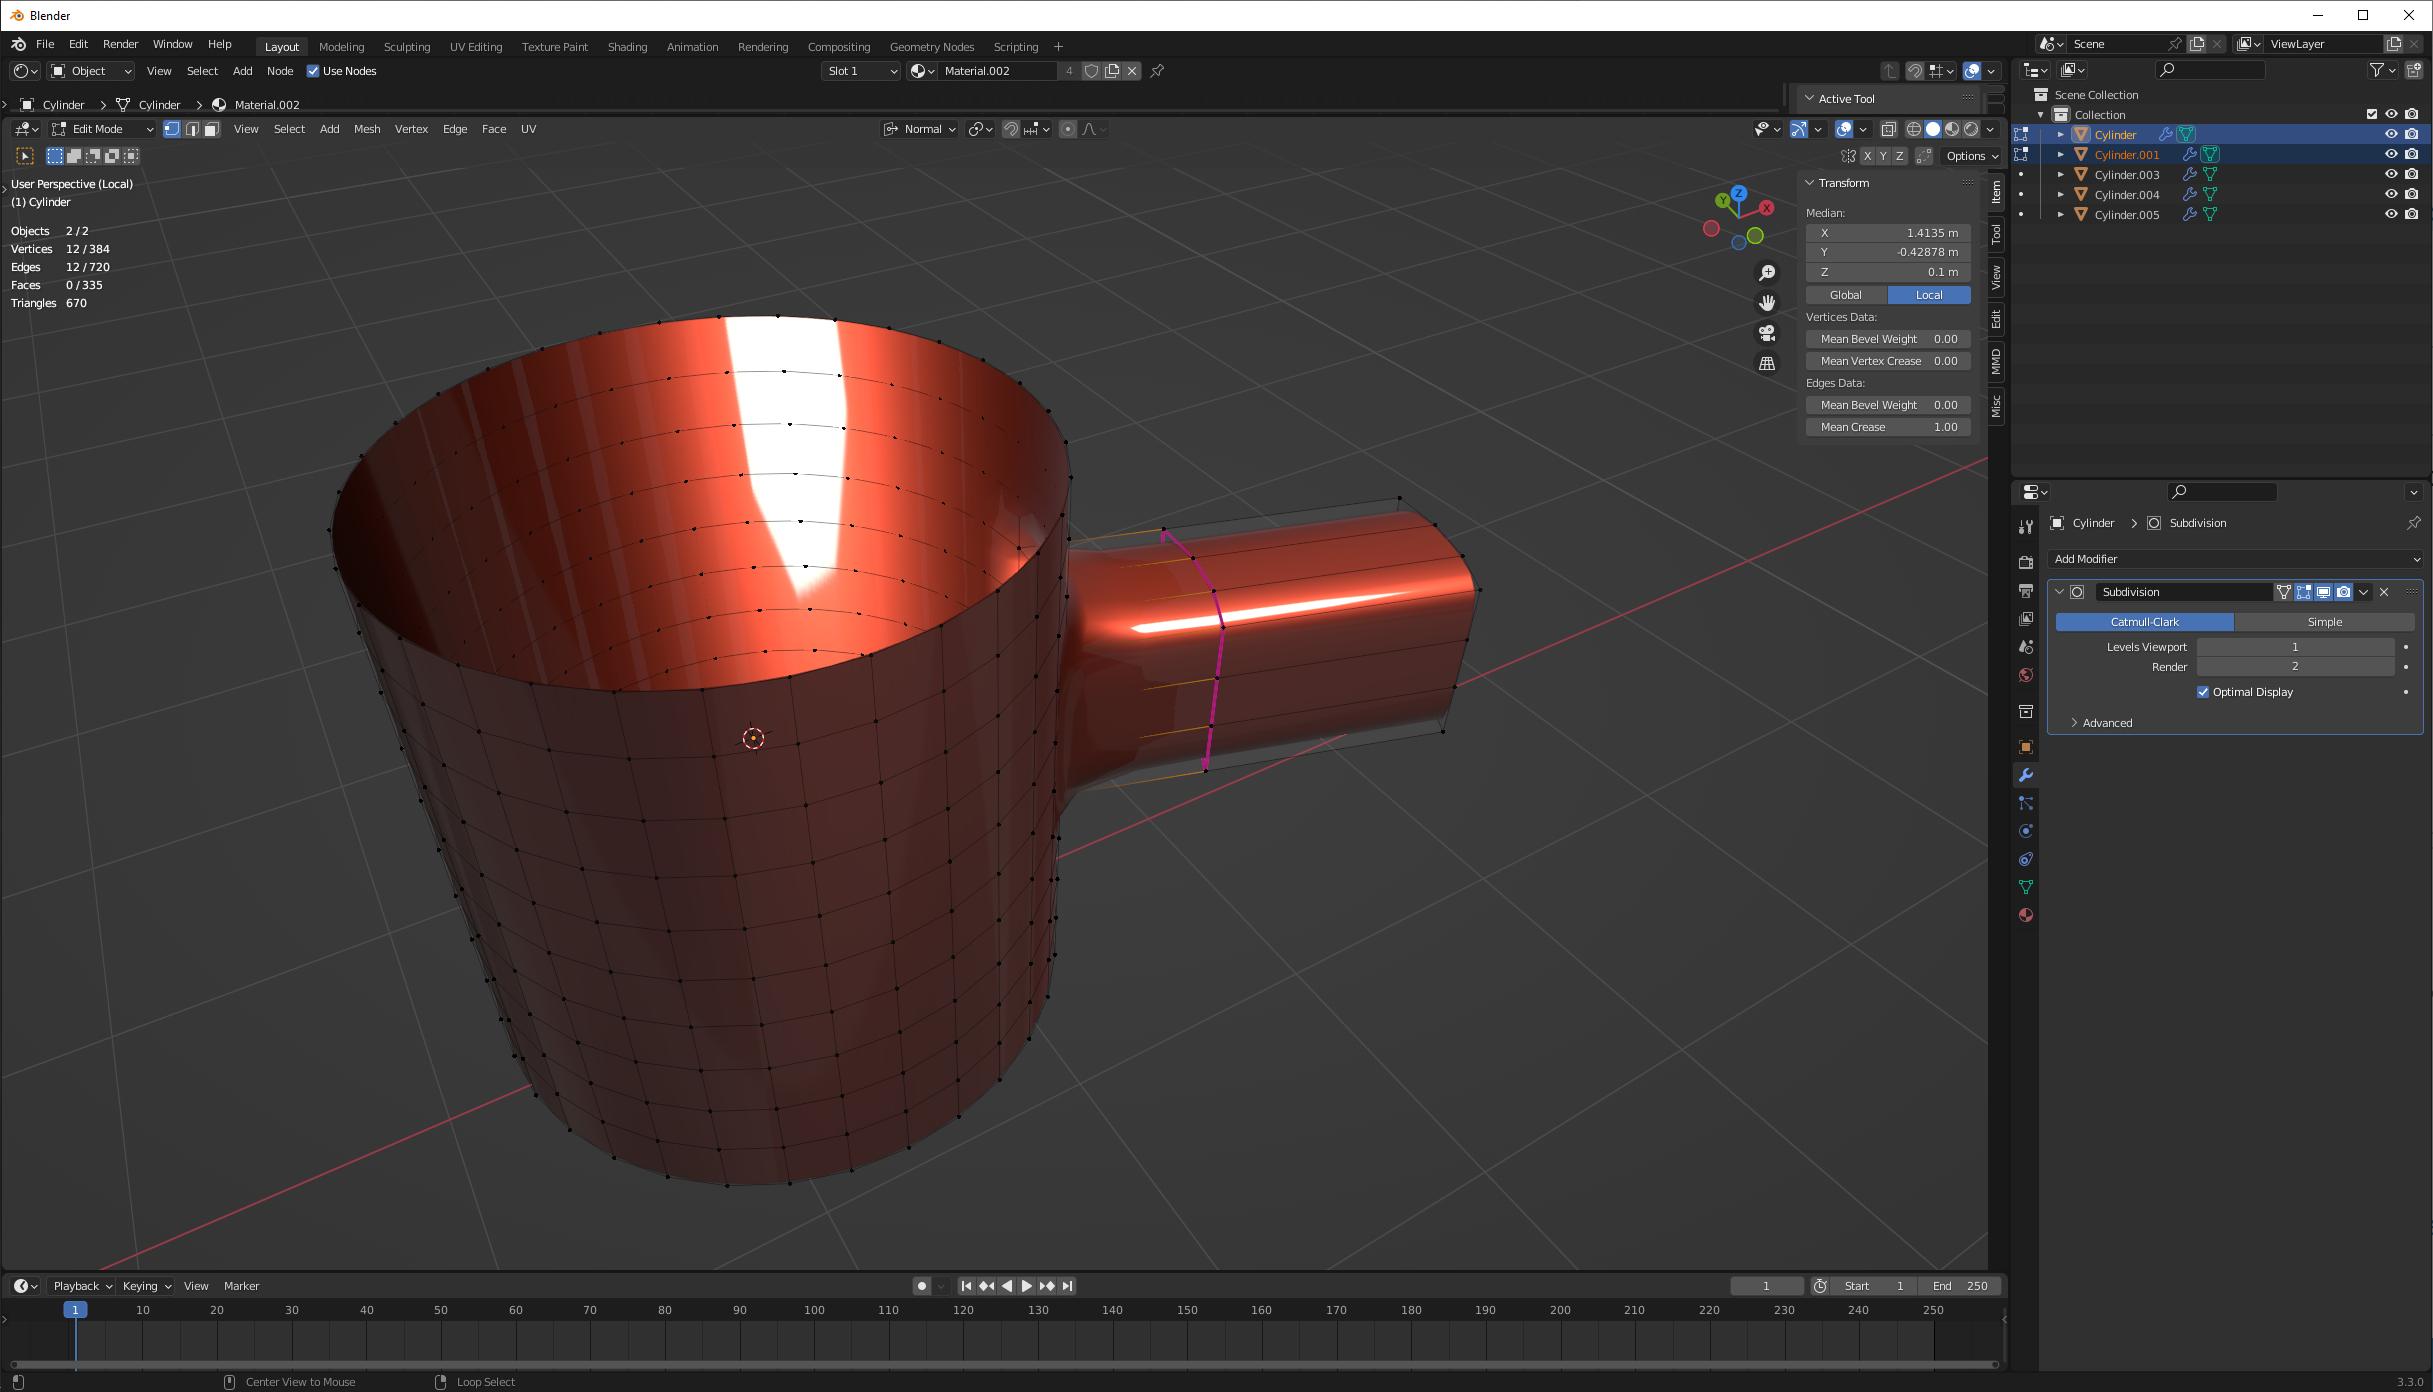
  1. Make the broken mesh. Edge crease the vertices at the seam. We can see the normals are still discontinuous:

enter image description here

  1. Duplicate the broken meshes to a new object and merge by distance to create a "repaired" copy of the object.

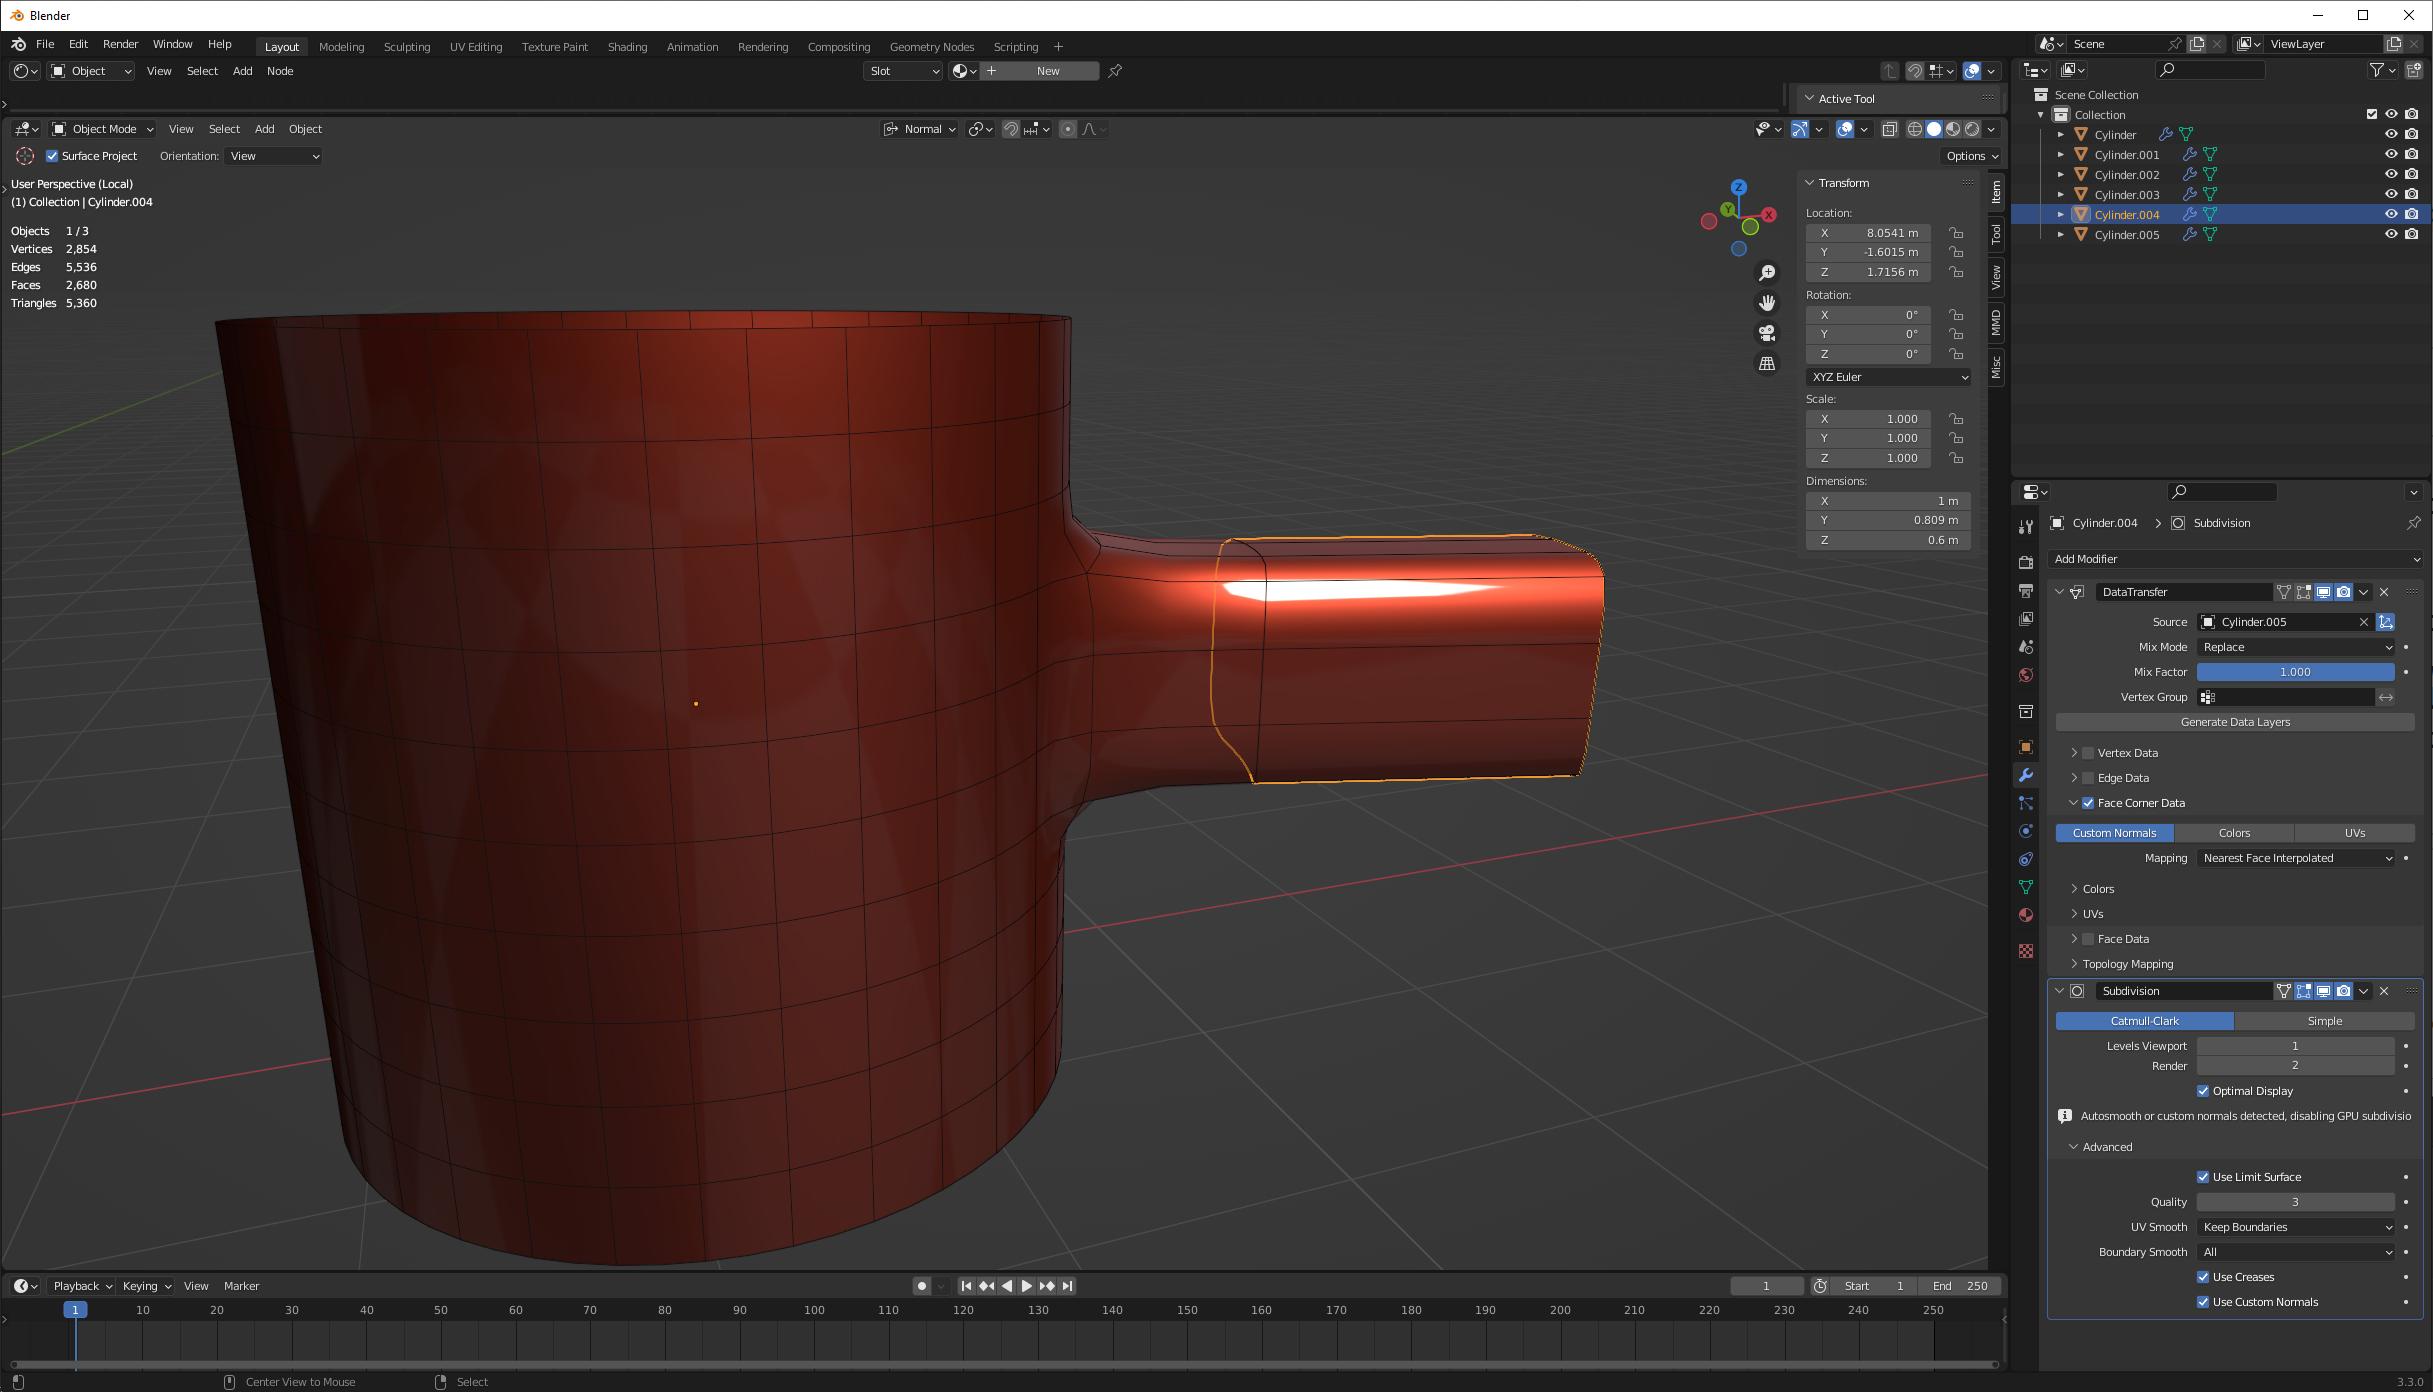
  2. Give your broken object a data transfer modifier, copying face-corner data, custom normals, on nearest face interpolated, targeting the repaired copy. Enable autosmooth on the broken object to allow it to use custom normals. On the subdivision modifier, under advanced settings, enable "use custom normals". Separate the broken object into two objects, each containing one mesh. We see the normals are now continuous across the break:

enter image description here

  1. Apply the data transfer modifier on both objects. Delete the repaired object. Move the broken objects around as desired.
$\endgroup$
1
  • $\begingroup$ This works exactly as intended. Will mark as answer after 24 hours. $\endgroup$
    – Mark Price
    Commented Oct 20, 2022 at 17:39

You must log in to answer this question.

Not the answer you're looking for? Browse other questions tagged .