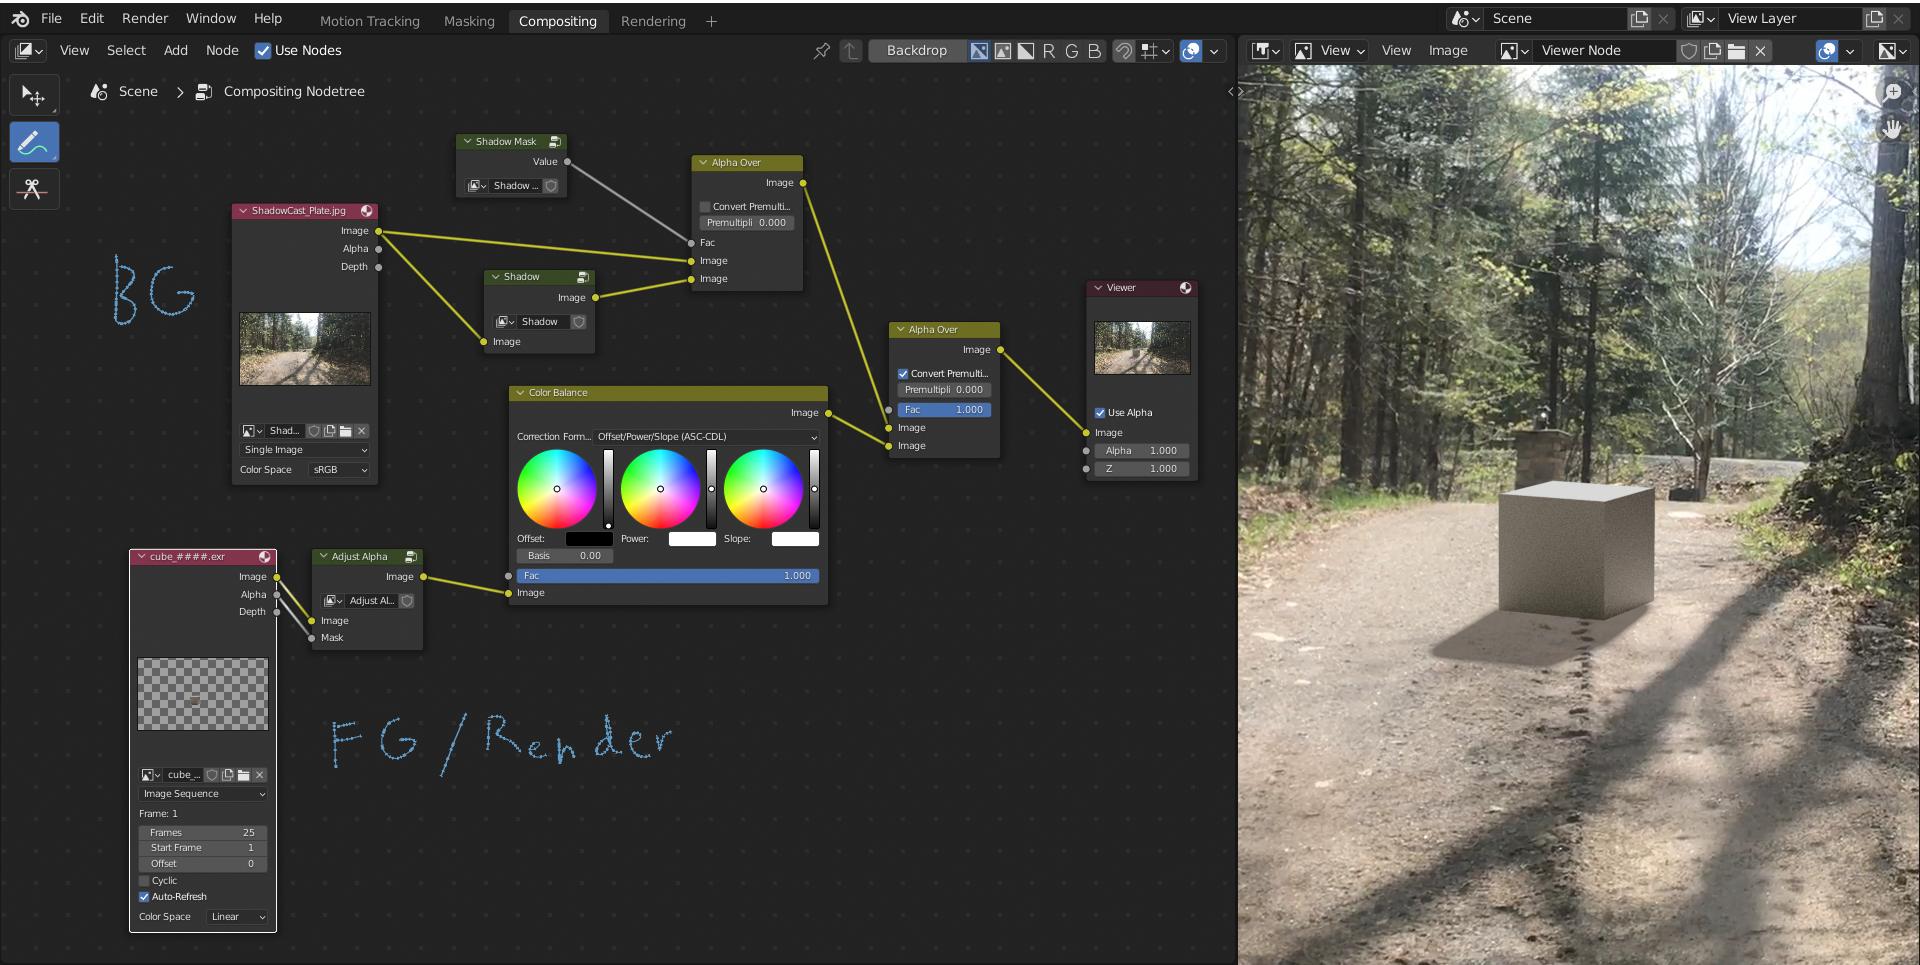
Most tutorials on camera tracking tell you to change the View Transform from Filmic to Standard. In the documentation it says Standard is "Often used for non-photorealistic results or video editing where a specific look is already baked into the input video."
This sounds good for the camera-tracked video footage but not for any 3D elements you then add into the scene afterward.
If I understand Andrew Price's video "The Secret Ingredient to Photorealism" then I should be trying to get the dynamic range and the middle grey value of my render to match that of my tracked video footage.
How do I go about doing this? It sounds like changing from Filmic to Standard just ignores the problem?
I suspect the answer involves a year of study of the nature of lighting! I've already looked at this Blender SE answer from @troy_s and both Creative Shrimp's filmic tutorial and Blender Guru's one (both of these cover filmic when it was still an externally developed plugin).
But I just got lost in the details and didn't come up a clear set of steps I should take for matching renders to tracked footage.
Is this something that's probably beyond the hobbyist or is there something slightly more clever that I can do than just switching to Standard?


Filmicview transform applies color transformations to your image while theStandardoutput it "as is". The reason most of the tutorials recommend you to change toStandardis that you don't want your footage's colors to be altered (it's the case when you do video editing or camera tracking). But when it comes to renders from 3D scenes, you want to keep that atFilmicas it gives more physically accurate results. I don't know any way of "limiting" the transform to just your render so may be the solution is to render the 3D scene separately and then compositing it afterwards? $\endgroup$