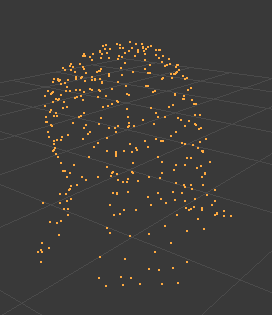
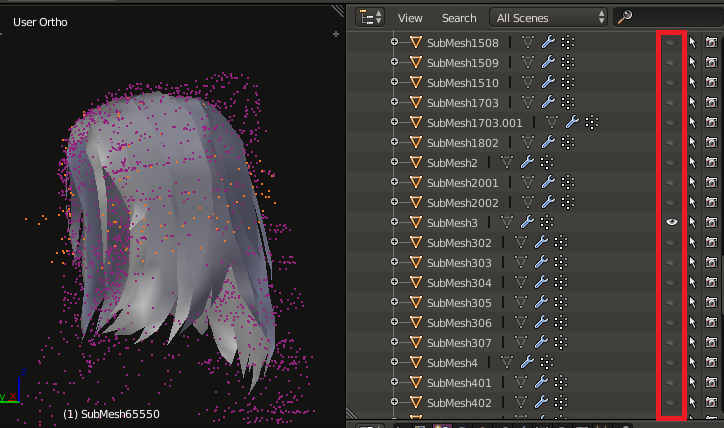
without any index/face data, I don't think there is any simple way to get the mesh restored as it was, however if this really means a lot to you, it can be reconstructed from the point clouds using various tools that are available.
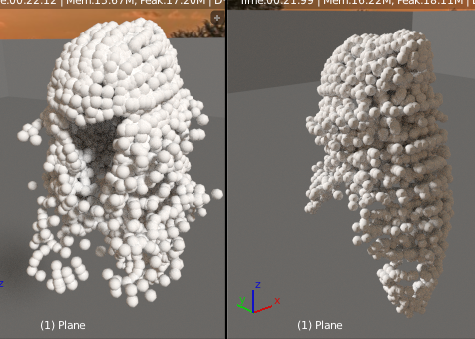
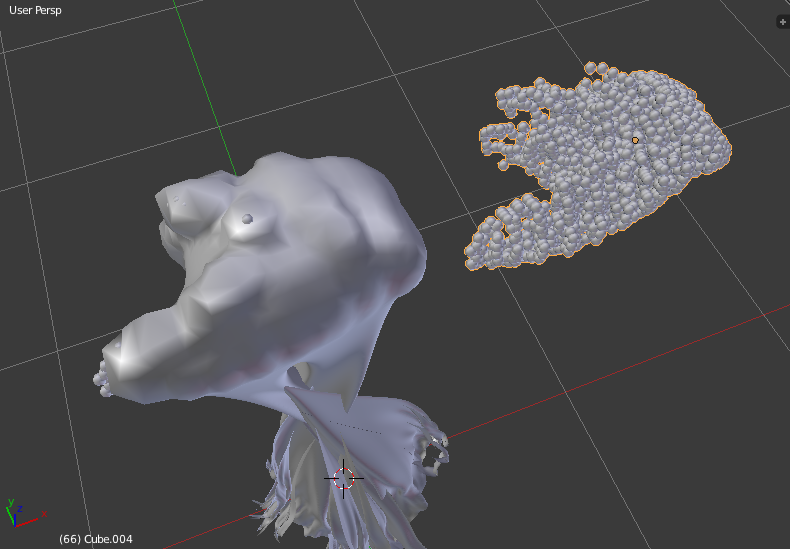
Here I started with Dupliverts(lots of docs available, easy to use) to visualize the points as a mesh and to create a basis for using the ShrinkWrap modifier.

You can use Make Duplicates Real Ctrl+Shift+a to convert the dupliverts to individual sphere meshes. If you select one of them, and double tap a, they will all be selected and when you press Ctrl+j, they will all be joined into one object.
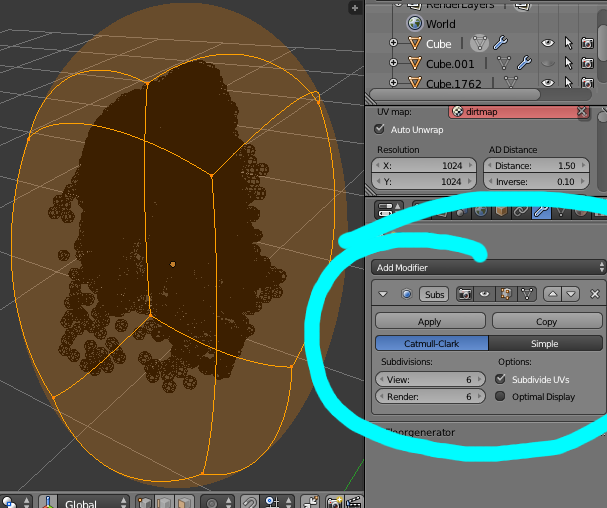
Now you can use the Shrink Wrap modifier to wrap a simple mesh onto the surface.
I started with a cube and added a Subdivision Surface Modifier, after that, you can add the ShrinkWrap Modifier below the Sub-D modifier.

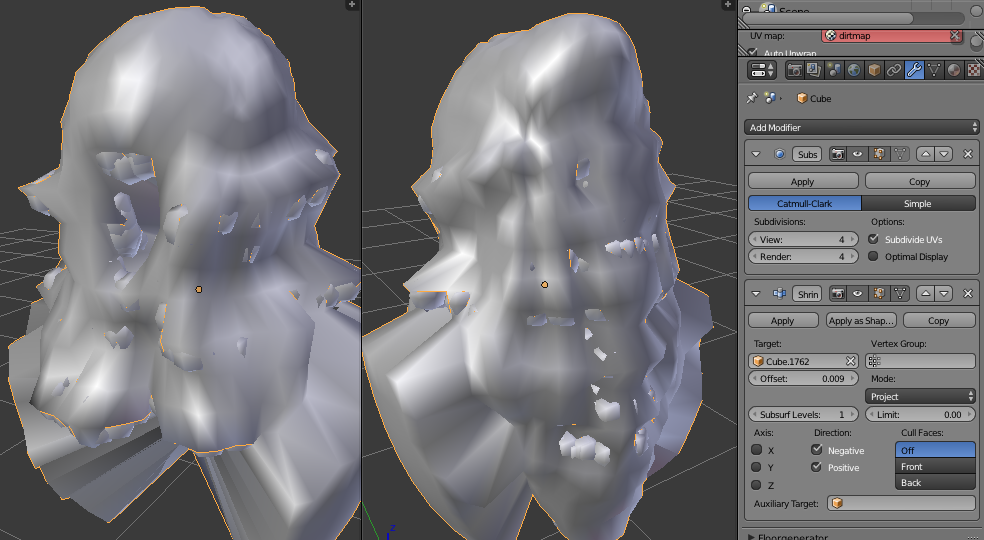
Now with the ShrinkWrap, the hair shape is a lot more obvious, it was really messy because of all the holes between the spheres, the ShrinkWrap projected through them in a lot of places so I selected the spheres and used Alt+s to scale them up in the direction of the normals. This makes them 'fatter'.

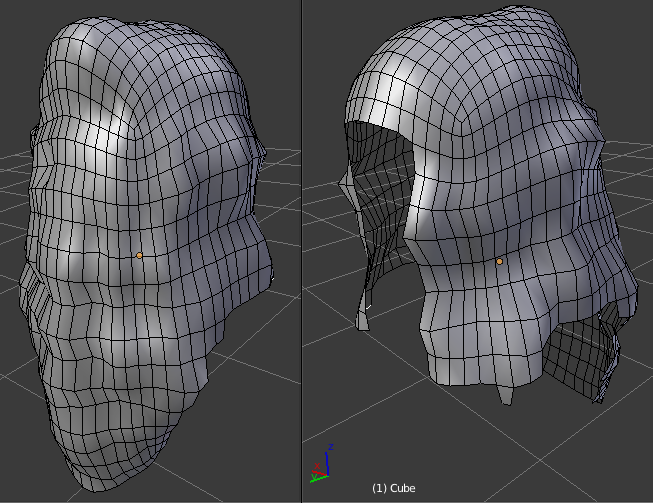
I deleted some of the mess and ended up with the following which looks like it should be useable as a starting point for you to finish re-modeling the hair.

Here's a link the .blend to save you a few steps if you would like to take this further.
http://www.pasteall.org/blend/33940
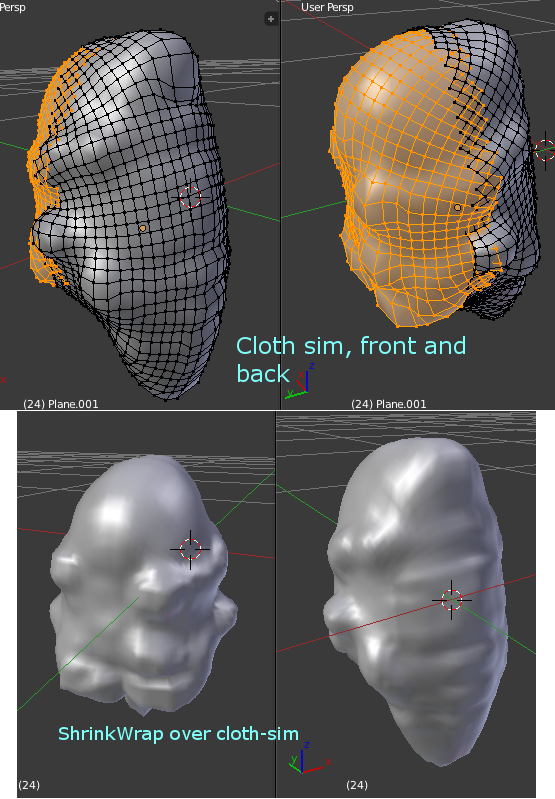
You can also combine cloth simulations to build a mesh that approximates the outer surface of the spheres without tearing through all the spaces between them. Simply rotate the model to face different directions and add a Collision Physics simulation to them.
Now add a sub-divided plane and a cloth simulation to it. When you run the simulation, the cloth will drape over the spheres without falling through the holes like the shrink wrap tends to do.

If you apply the various simulations and trim the resulting mesh then you can join them together and use that as the basis for a ShrinkWrap.(Or you could do some mesh modeling to connect the cloth sim results).
Here's what ShrinkWrap looks like over two cloth sims that were trimmed and joined

Now you can use the b-surfaces tool, polystripes, or extrusion combined with snapping to build up stripes of geometry that look like hair using this base model as a guide for the positions and shape.
