1
$\begingroup$

I have a blender object , a chair specifically. Below is the image of the chair -
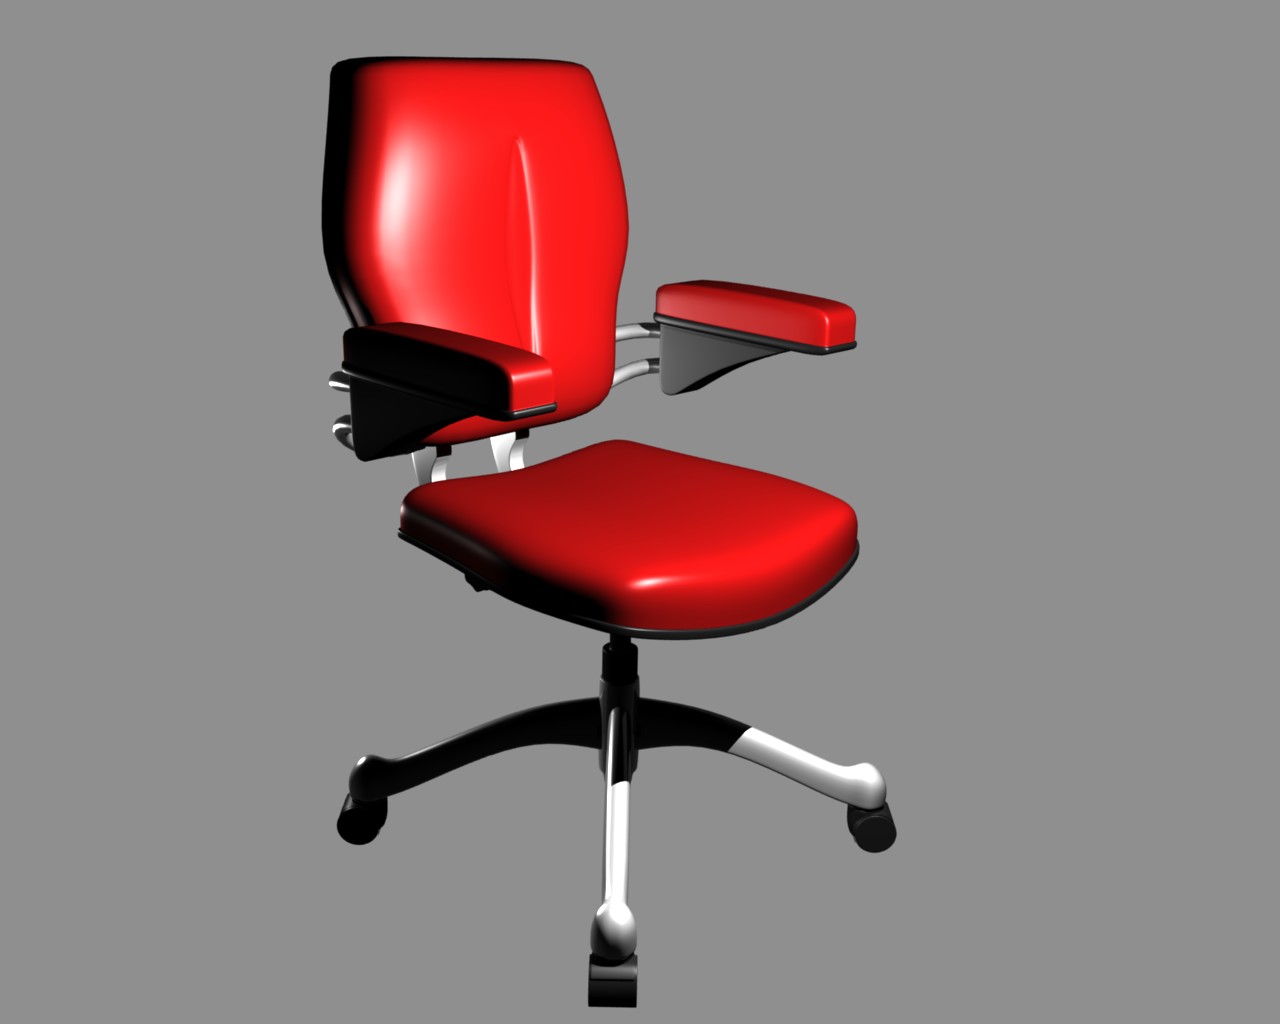
A rendered chair

Now I use the following script to change the texture of one of the component -

def createMaterial(material):
    tex = bpy.data.textures.new('ColorTex', type = 'IMAGE')
    tex.image = bpy.data.images.load(realpath_of_image)
    tex.use_alpha = True
    # Create shadeless material and MTex
    mat = bpy.data.materials.new('TexMat')
    mat.use_shadeless = True
    mtex = mat.texture_slots.add()
    mtex.texture = tex
    mtex.texture_coords = 'UV'
    mtex.use_map_color_diffuse = True 
    return mat

def make_chnges(components, randomno):
    ob = bpy.data.objects[0]
    mat = createMaterial(material)
    ob.data.materials.append(mat)
    ob.active_material = mat

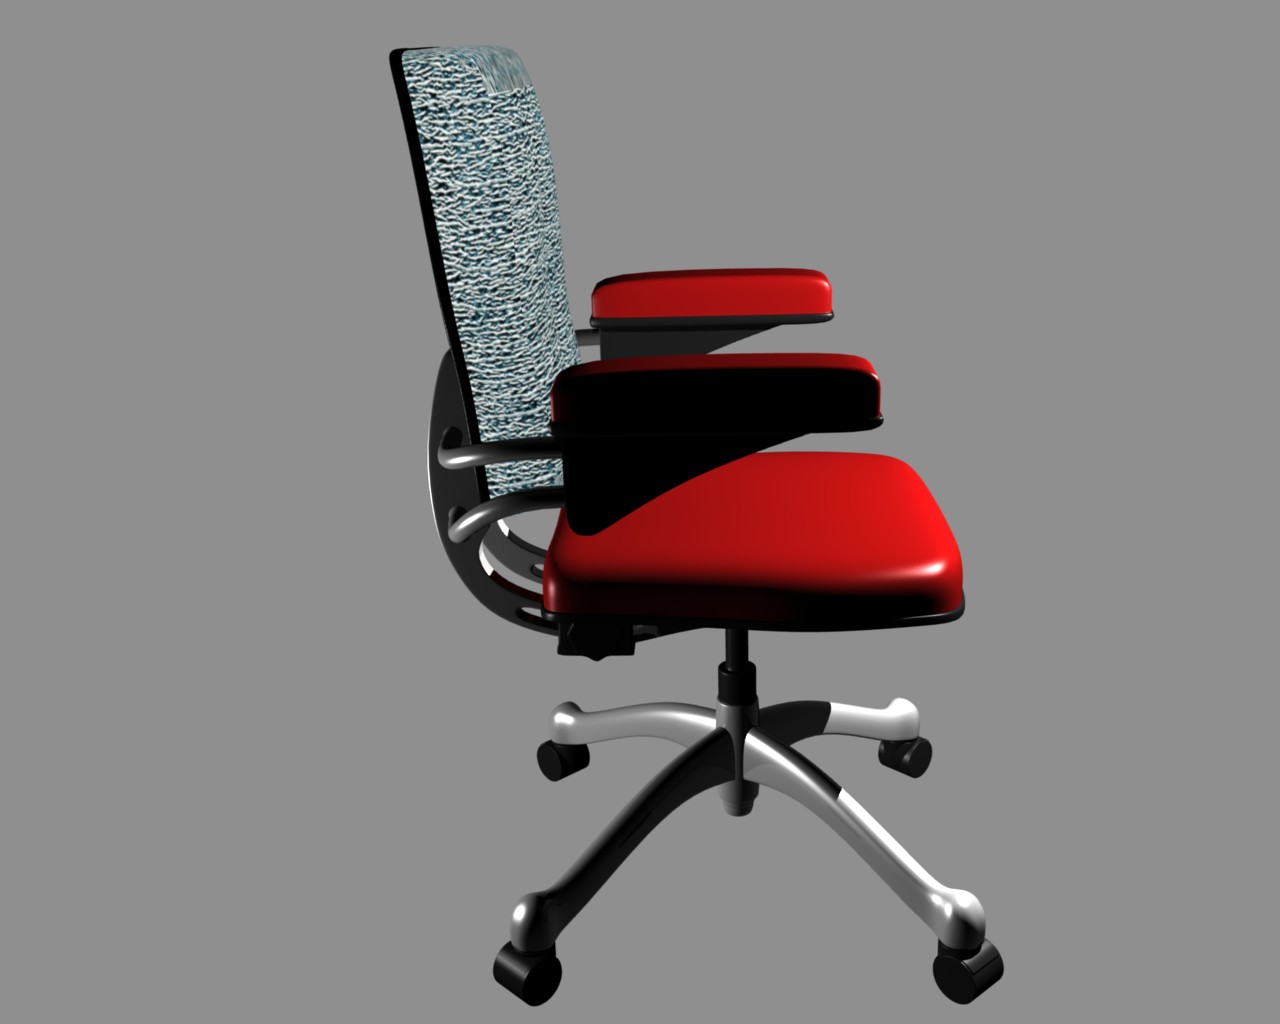
Now the output image that I get is -
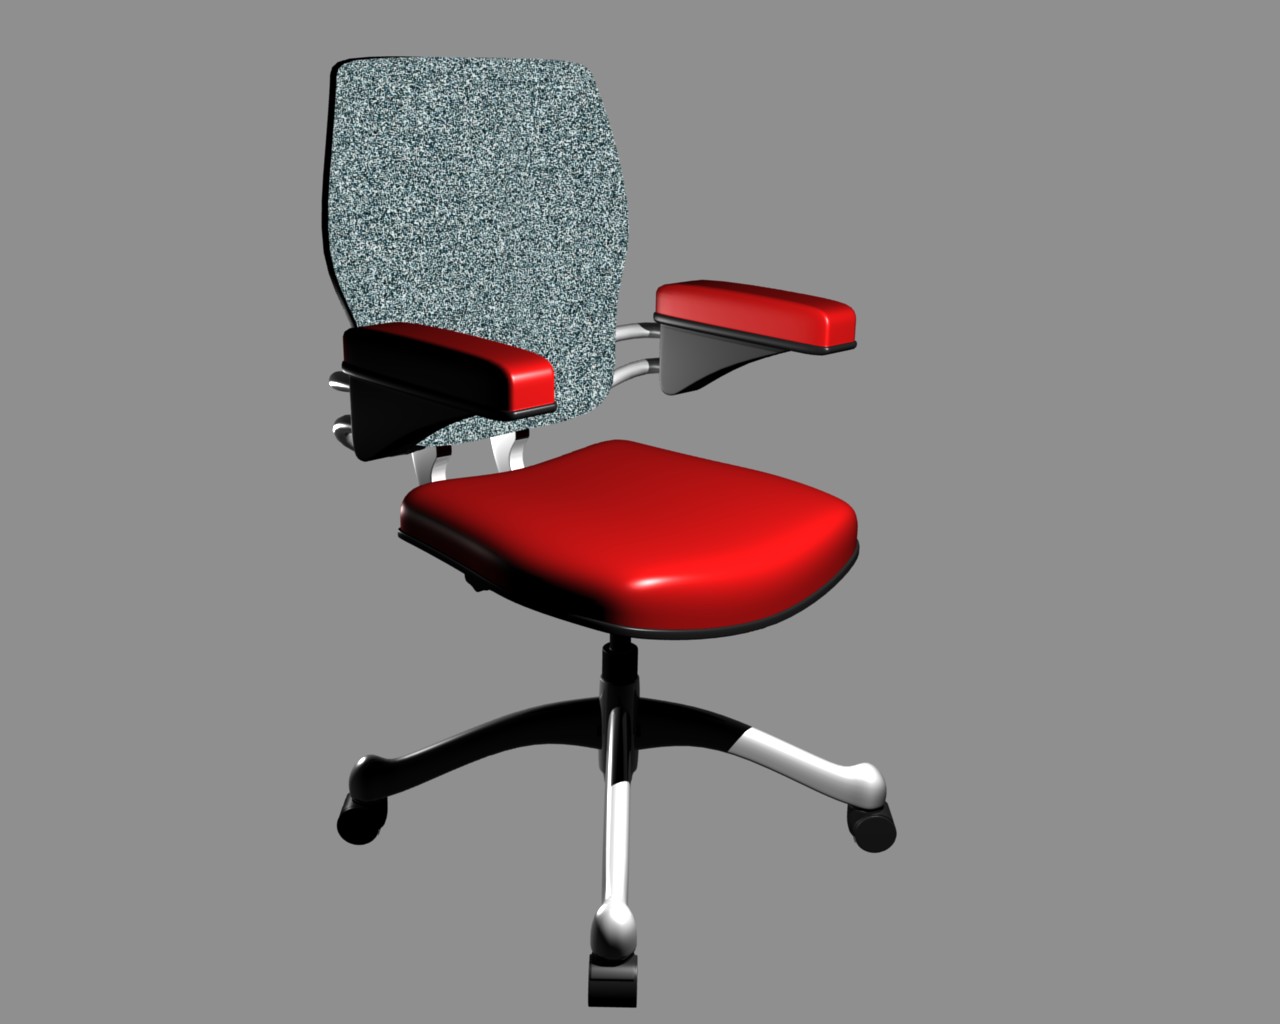
output image

As you can see the rendered texture looks like a flat surface. What changes should be there to show up a similar surface?

Edit 1

This is the blender screenshot of what I see when I add a new material to the polygon. object screenshot
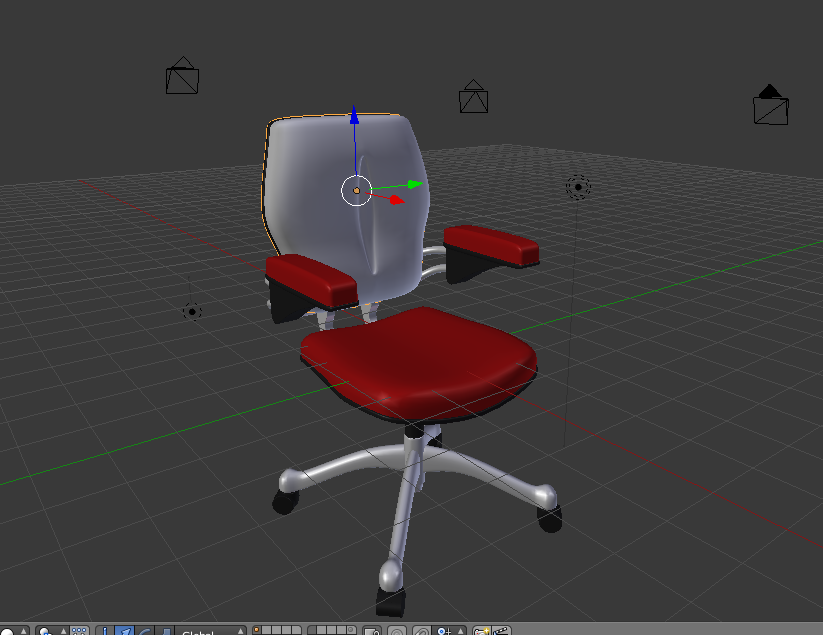
Here the object component looks allright(doesnt look like a flat surface), except that the new material doesnt show up. Just the white color is seen.

Edit 2

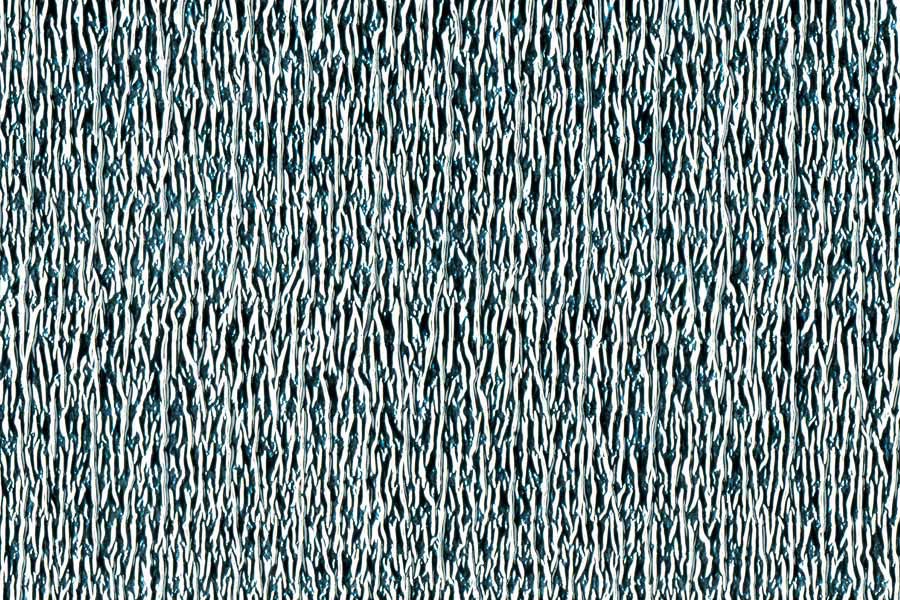
The material I am applying is - enter image description here
$\endgroup$
2
  • $\begingroup$ It looks like it may be Shadeless. $\endgroup$
    – ruckus
    Commented Nov 28, 2014 at 19:38
  • $\begingroup$ Yes it is. Editing the question now. showing the image after adding the material as well. $\endgroup$
    – iamkhush
    Commented Nov 29, 2014 at 2:51

3 Answers 3

2
$\begingroup$

It's a little difficult to test since you didn't provide a .blend, but this should give you a solution.

First of all, remove this line from your script:

# mat.use_shadeless = True

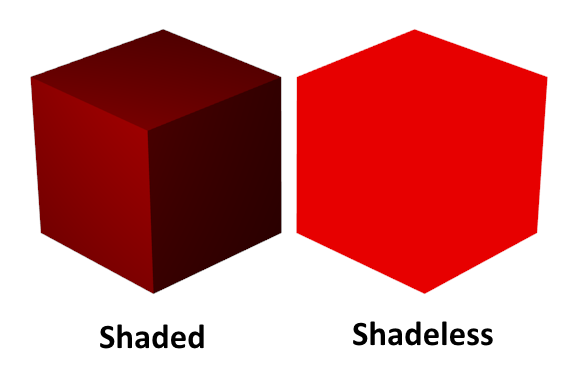
Shadeless is what is making it look flat.

Shaded vs. Shadeless

Second, the texture. You had it right in your first post: you want it to be UV mapped.

# this is correct:
mtex.texture_coords = 'UV'

But in order for it to show up properly, you need to UV unwrap your model. You can find an abundance of tutorials for it online, and if you already know how to do it you can disregard the rest of this answer.

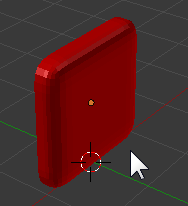
Imagine this is your chair back:

Chair back

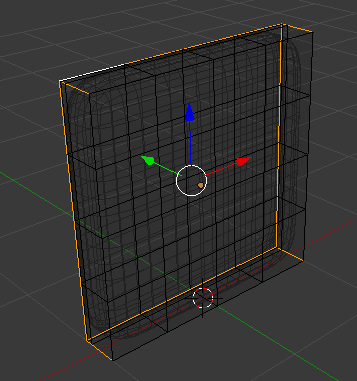
Go into edit mode with Tab, and select where the seams of the texture will go. This will make sense in a second. Here's approximately what I'd recommend, for a chair.

Seams

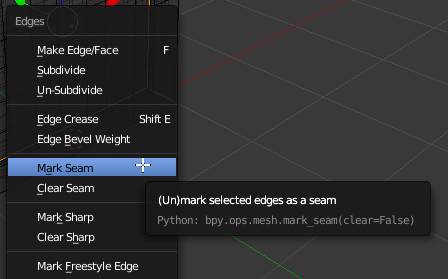
Notice that if you took scissors and cut along these lines, you would be left with a bunch of more or less flat pieces. This is exactly what you want. Now press CTRL + E and click Mark Seam.

Mark Seams

If you deselect all (A) then you'll see red marks where you "cut" your mesh.

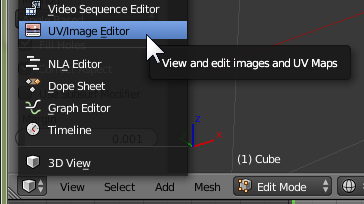
Press A to select all agaain, and press U and click Unwrap. In the bottom left corner of the 3D view, change it to a UV/Image editor.

UV/Image Editor

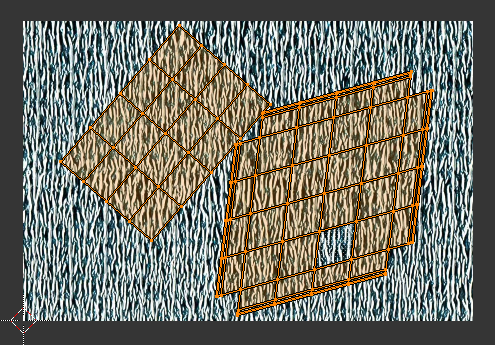
Press ALT + O, and browse to the texture you want, and then using R G and S, position the unwrapped model the way you want it. You may want to line the grain up with the vertical axis for example.

Unwrapped

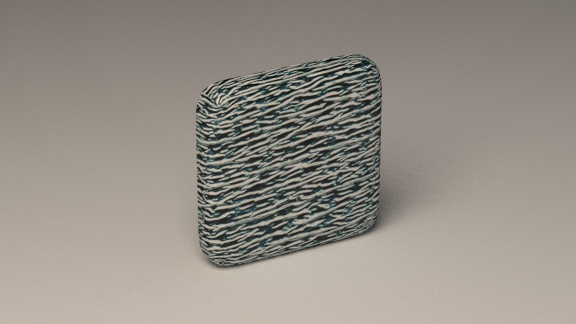
And you will be left with a gorgeous chair back.

enter image description here

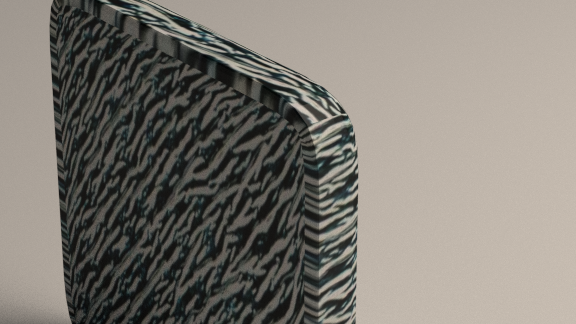
If you look around at the backside, you can see the seams too.

Seams

$\endgroup$
1
$\begingroup$

Shadeless materials often seem to lack proper dimensions, seeing as, our eyes in the real world perceive the 3rd dimension through depth and shading. In blender, without any depth being given to a two dimensional screen (depth meaning here that you would move your head and see the image change accordingly) we can only rely on shading and good dimensional techniques.

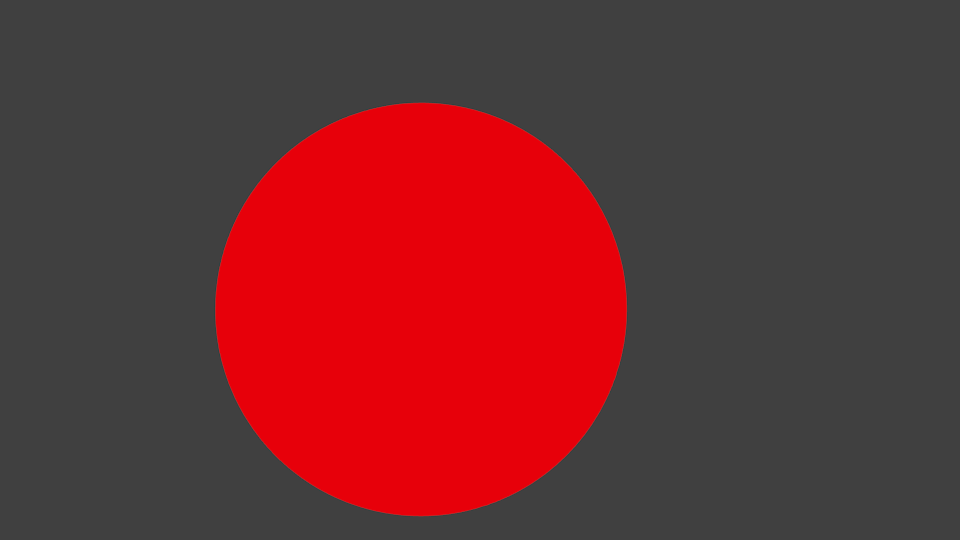
Here is a shadeless sphere, looks just like a circle.

enter image description here

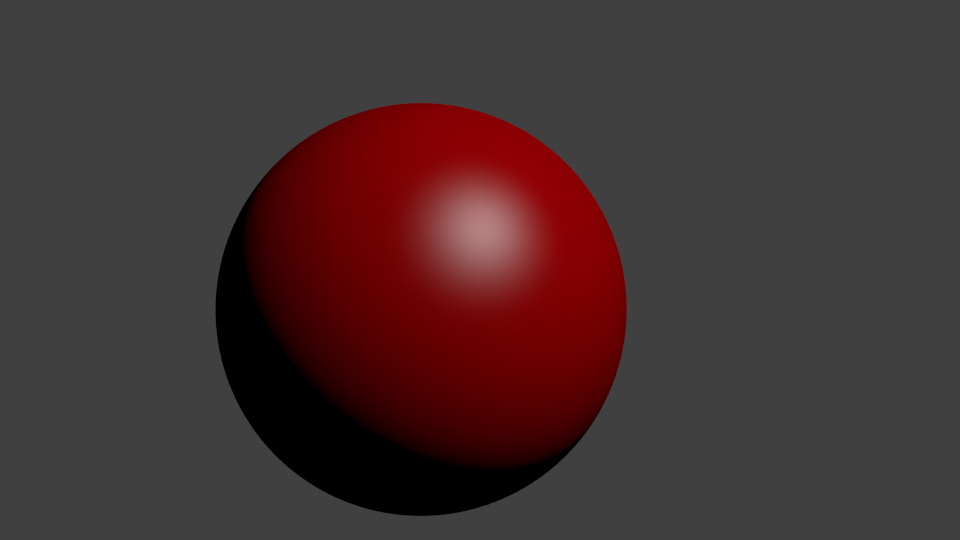
The same sphere with the option Shadeless turned off. (Material.use_shadeless) looks like a dandy sphere.

enter image description here

So basically don't use shadeless, that'll fix you up right.

$\endgroup$
0
$\begingroup$

I got the desired result by using these two variations -

mtex.texture_coords = 'ORCO'
mtex.mapping = 'CUBE'

I got a good result . Following is the result of the above changes - new output

$\endgroup$

You must log in to answer this question.

Not the answer you're looking for? Browse other questions tagged .