1
$\begingroup$

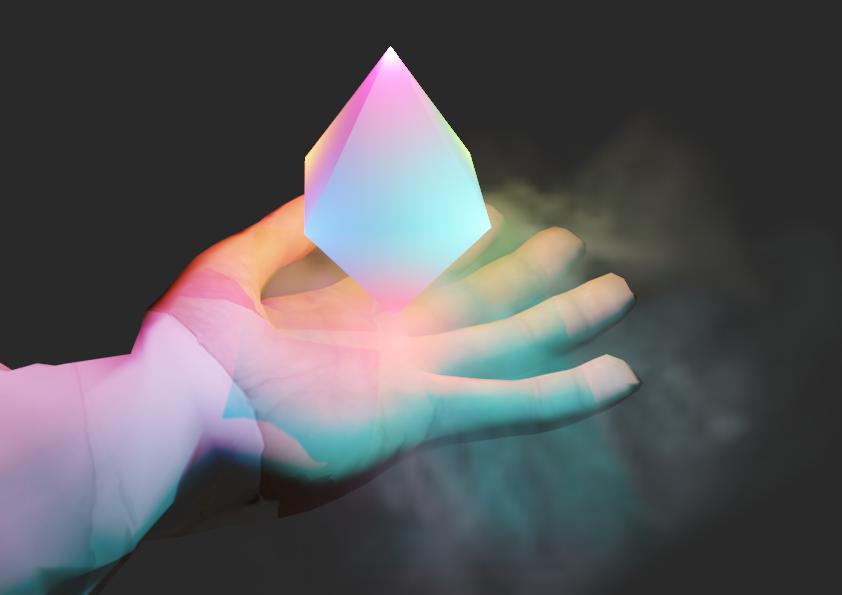
I created this scene by placing lights on each corner of the octahedron. Obviously the rest of my objects in the scene now reflect the lights.

enter image description here

Is there a way to exclude objects in Blender 2.8 from reflecting light? (with EEVEE or Cycles) In this example I'd like the arm to not be affected by the lights.

Alternatively maybe someone could show me how I can color each one of the vertices of the octahedron with e.g. a material emittin the light. I didn't get a helpful answer here. How to color vertices of cube

$\endgroup$
3
  • $\begingroup$ Which render engine are you using0 $\endgroup$
    – Leander
    Commented Sep 18, 2019 at 14:13
  • $\begingroup$ I'd like to do the final render in Cycles but EEVEE or Cycles are both fine. $\endgroup$ Commented Sep 18, 2019 at 14:24
  • $\begingroup$ Don't think you can do what is asked here, as an object needs to receive light in order to be non black. But about your previous question, this is not totally clear... will comment on it. $\endgroup$
    – lemon
    Commented Sep 18, 2019 at 17:11

2 Answers 2

2
$\begingroup$

I think you could just make two layers instead of rendering all the things at once.

First, you could group your objects into collections. For example, with three collections as I have made. This is optional, although I think it is good to have things organized. In Collection 1 I have the cube with a green emission material, in Collection 2 I have a plane, and in the root Collection I have the camera, a point light (white), and the two previous collections.

Second, you need to create another layer; you can do it using the "Add view layer" on the top right (next to the layer name).

Then you can uncheck one of the collections so isn't rendered in the current layer (with the box at the left of the collection name), then change to the other layer and uncheck the other collection.

It should look like:
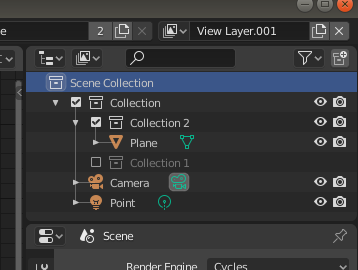
enter image description here

Then in the compositing, you can add both together, like in:
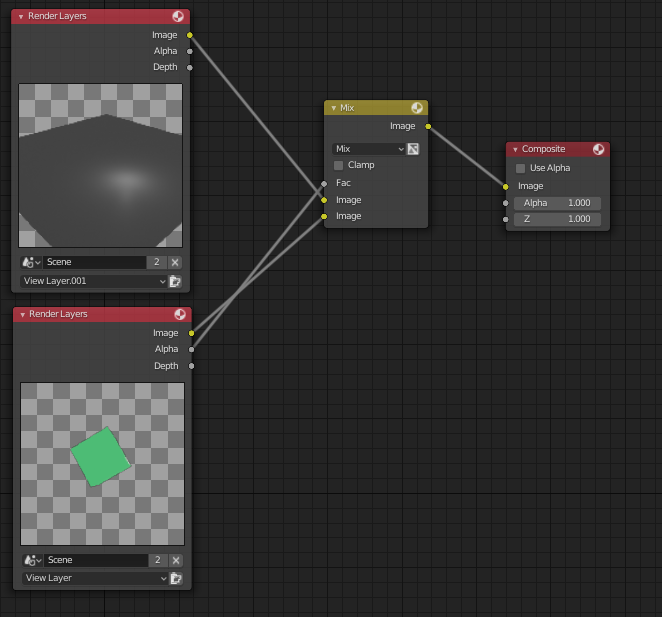
enter image description here

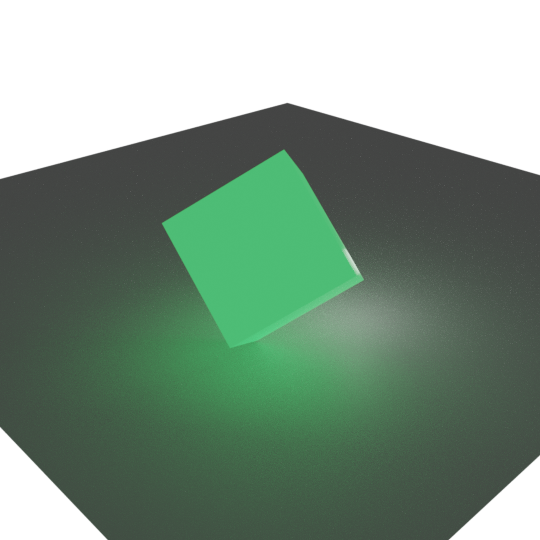
This is the result, all at once:

Rendered image with all objects in one layer

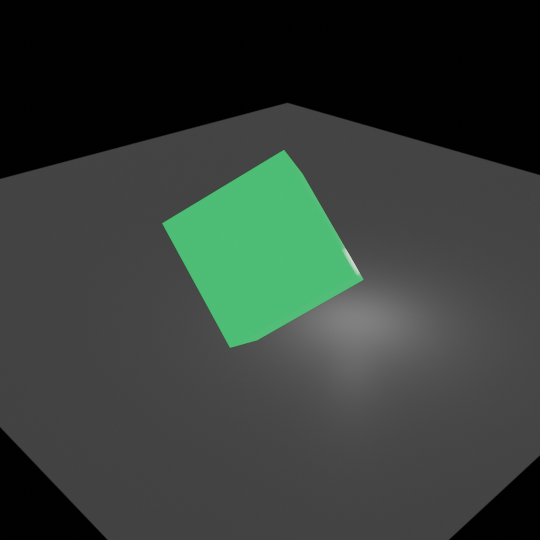
With two layers:

enter image description here

Note: Maybe you will need to activate the transparent option in the Film panel of the Render properties. Also, note that I have added a point light in the common collection so both objects are affected by its light.

$\endgroup$
1
  • $\begingroup$ Instead of mix, I did exactly the same as above except I used "alpha over" node. The alpha over node is made for this purpose. For some reason mix was causing the foreground to have what looked like 50% alpha, inexplicably. $\endgroup$
    – DAG
    Commented Apr 21, 2022 at 10:52
1
$\begingroup$

I would maybe try to limit the Custom Distance of this specific light (so it wont really reflect on the arm) + add a clone of that light near the ground to make it reflect there.

When I cant solve issues i usually try to fake them.

$\endgroup$

You must log in to answer this question.

Not the answer you're looking for? Browse other questions tagged .