3
$\begingroup$

I've got a bunch of models, and I now want to export each of them as a sprite sheet.

Specifically, I want to take multiple viewpoint renders of the models and save them out to a sprite sheet.

The only way I've managed to find to do this is to create an animation where I rotate the camera around the model, render the animation and then manually combine select frames from the animation.

Problematic because:

  • Sometimes the animation tweening misses certain required frames (eg. cardinal directions), meaning I have to keyframe every frame.

  • Can't seem to skip frames, so rendering animation takes ages, despite only need 32 frames of the entire thing.

  • Tweening cameras from control-alt-0 to jump camera to view results occasionally in camera path getting confused, which messes up a few frames as the camera spins (often the frames I actually need).

  • The model is lit, so multiple copies of the model rendered at once / rotating the model instead of the camera not an option.

It's rather problematic. I've been looking at trying to use a python script to automate this process, but I can't seem to get the render-to-file working as an operation.

Anyone know a better way of doing this?

$\endgroup$
3
  • $\begingroup$ What about using this script? $\endgroup$
    – gandalf3
    Commented Dec 28, 2013 at 2:55
  • $\begingroup$ That's a neat script, but unfortunately it only seems to kick in once a render is complete. I'm really looking for a way to automate the tedious process of rendering 32 different views of a single scene. $\endgroup$
    – Doug
    Commented Dec 28, 2013 at 3:36
  • $\begingroup$ You should be able to render a still frame from a python script with bpy.ops.render.render(write_still=True). You could write a script to automatically place/animate the camera and render out the frames you want. $\endgroup$
    – gandalf3
    Commented Dec 28, 2013 at 7:09

1 Answer 1

5
$\begingroup$

Here's a possible workaround without using a script:

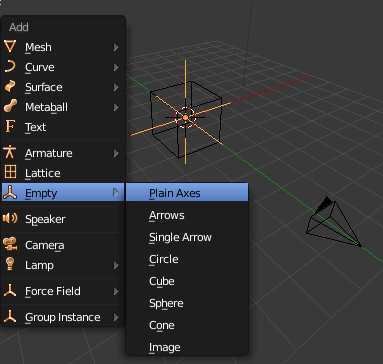
  1. Add an empty to the center of you scene (or the center of your object, where ever you want the camera to rotate around):

    enter image description here

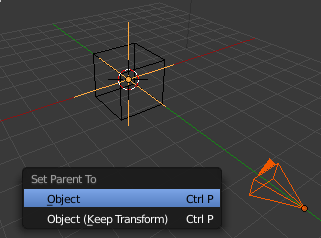
  2. Parent the camera to the empty (CtrlP):

    enter image description here

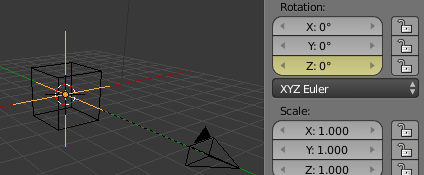
  3. With the empty selected, insert a rotation keyframe for the Z axis on frame 1 by hovering over the value and pressing I or right clicking and selecting Insert Single Keyframe:

    enter image description here

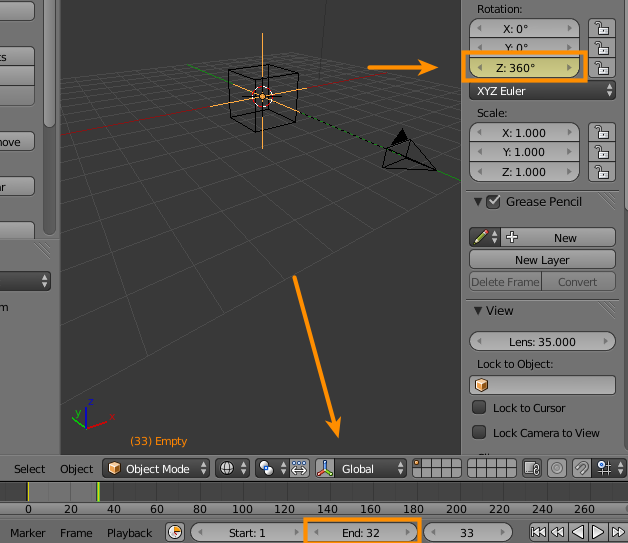
  4. On frame 33 (one frame past frame 32), insert another rotation keyframe for the Z axis setting the Z rotation to 360, then set the scene End frame to 32:

    enter image description here

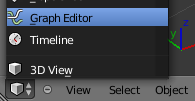
  5. Switch to the graph editor:

    enter image description here

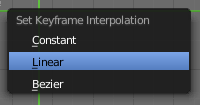
  6. In the graph editor, press T and select linear to remove the smooth interpolation of the keyframe:

    enter image description here

  7. Render

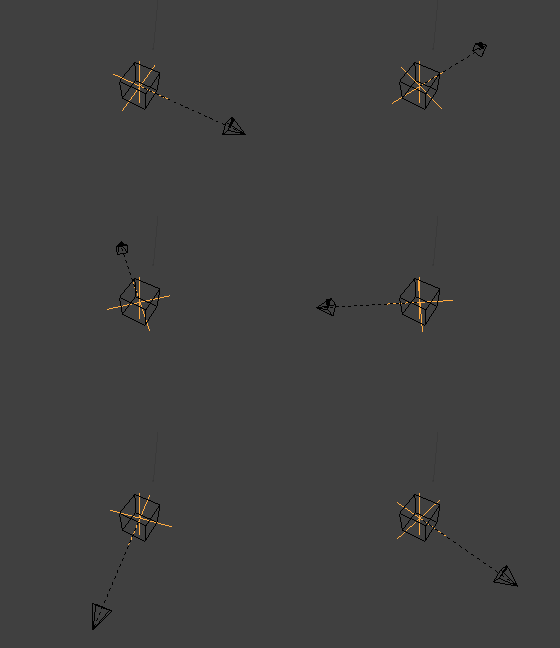
The empty will be rotated to exactly 90° on frame 9, 180° on frame 17, and 270° on frame 25:

enter image description here

Here is an example blendfile.

$\endgroup$
1
  • 2
    $\begingroup$ oo, Thanks! That did the trick. The linear keyframe interpolation was the key thing that I was missing~ $\endgroup$
    – Doug
    Commented Dec 28, 2013 at 13:50

You must log in to answer this question.

Not the answer you're looking for? Browse other questions tagged .