0
$\begingroup$

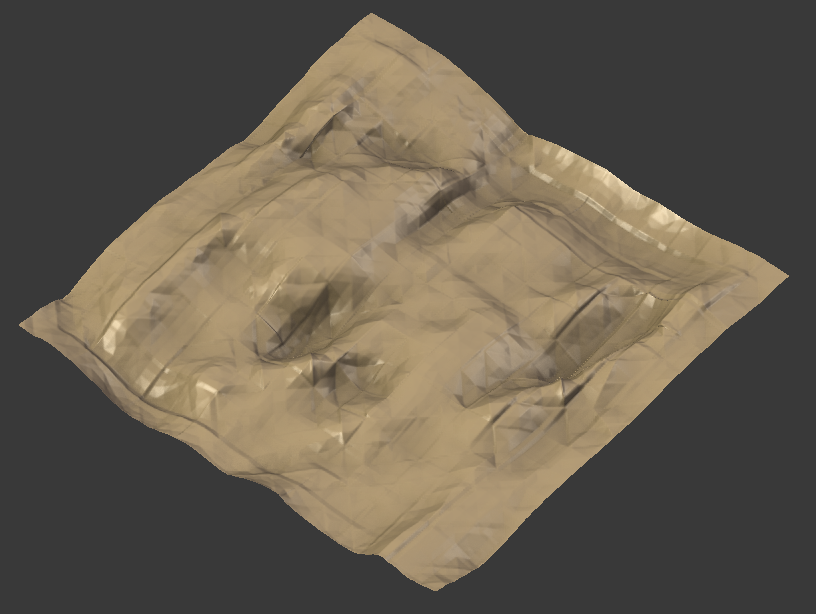
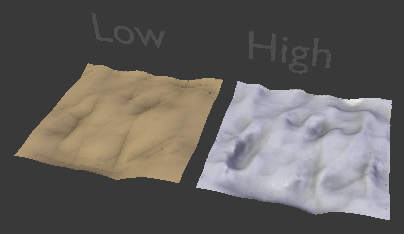
I have a high and low poly version of a terrain. The idea is this

low_poly_terrain + displacement.exr = high_poly_terrain

I want an displacement images map that I can apply to the low poly terrain so that at render time the two are indistinguishable.

enter image description here

$\endgroup$

2 Answers 2

3
$\begingroup$

Alright it took me some time but I figured it out.

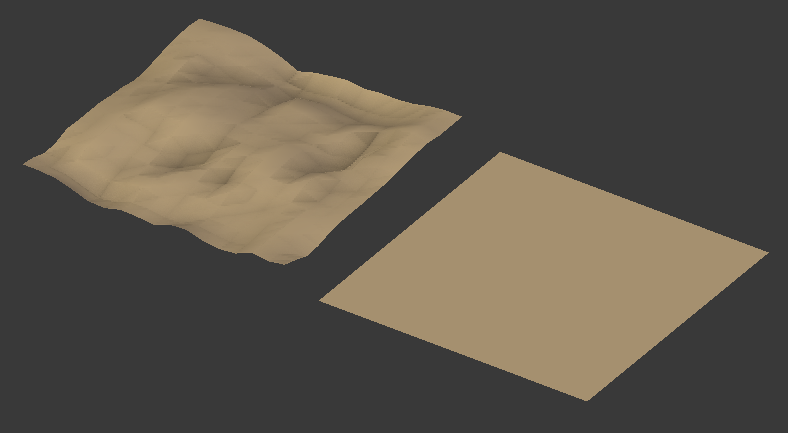
  1. The end result will look better if we use plane instead of a low poly version of the terrain.

    A. messed up version Messed up version with low poly version

    B.Replace the low poly version with simple plane (keep it in the same place though) enter image description here


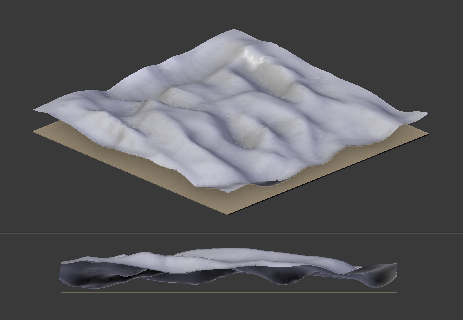
  1. So, with the plane selected, move the plane below the high poly version.

    enter image description here


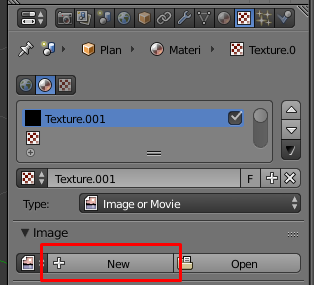
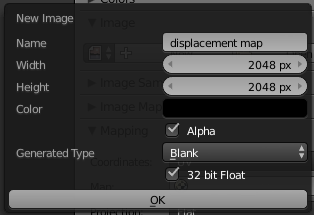
  1. Select the plane and assign a material to it, the default material will do. Next go to the texture tab and create an image. Change the resolution to something you want. Also enable 32 bit float for precise displacement.

    enter image description here

    enter image description here


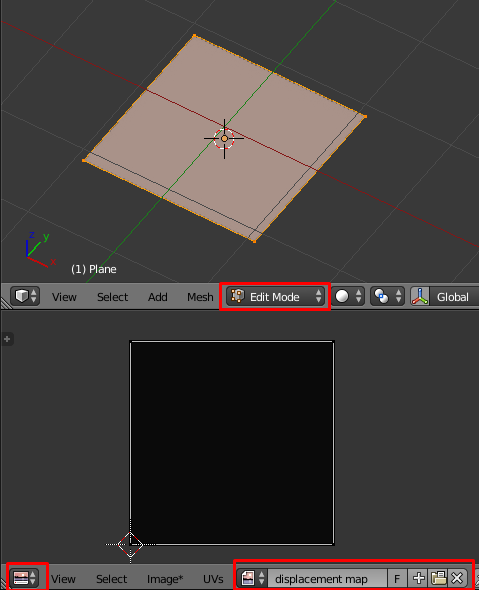
  1. Next up, unwrap the plane (edit mode > top view > unwrap > project from view (bounds)). Make sure in the uv window you select the displacement

    enter image description here


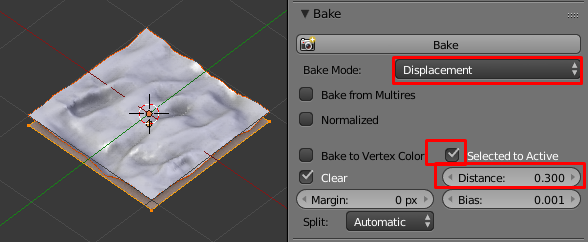
  1. Next up, bake settings. Make sure you're using Blender Internal, not Cycles. Set the Bake mode to Displacement. Enable Selected to Active and set the distance to the distance between the plane and the highest point of the high poly mesh ( I just eyeballed it), 0.300 in my case.

    enter image description here


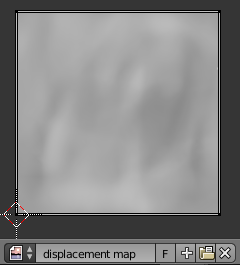
Final Result

enter image description here

$\endgroup$
2
$\begingroup$

You could easily create a height map from the high poly terrain by getting a ZDepth pass from a top-down render.

  1. Hide the low poly version of terrain
  2. Create a camera centered above your terrain looking directly down
  3. Set your camera to Orthographic and adjust the scale parameter to fit the terrain
  4. Under the Properties Window>Render Layers>Passes disable all passes except Z
  5. Render the and open the node editor under Compositing mode
  6. Add a Vector Normalize to the Z output of render layers and save the resulting image
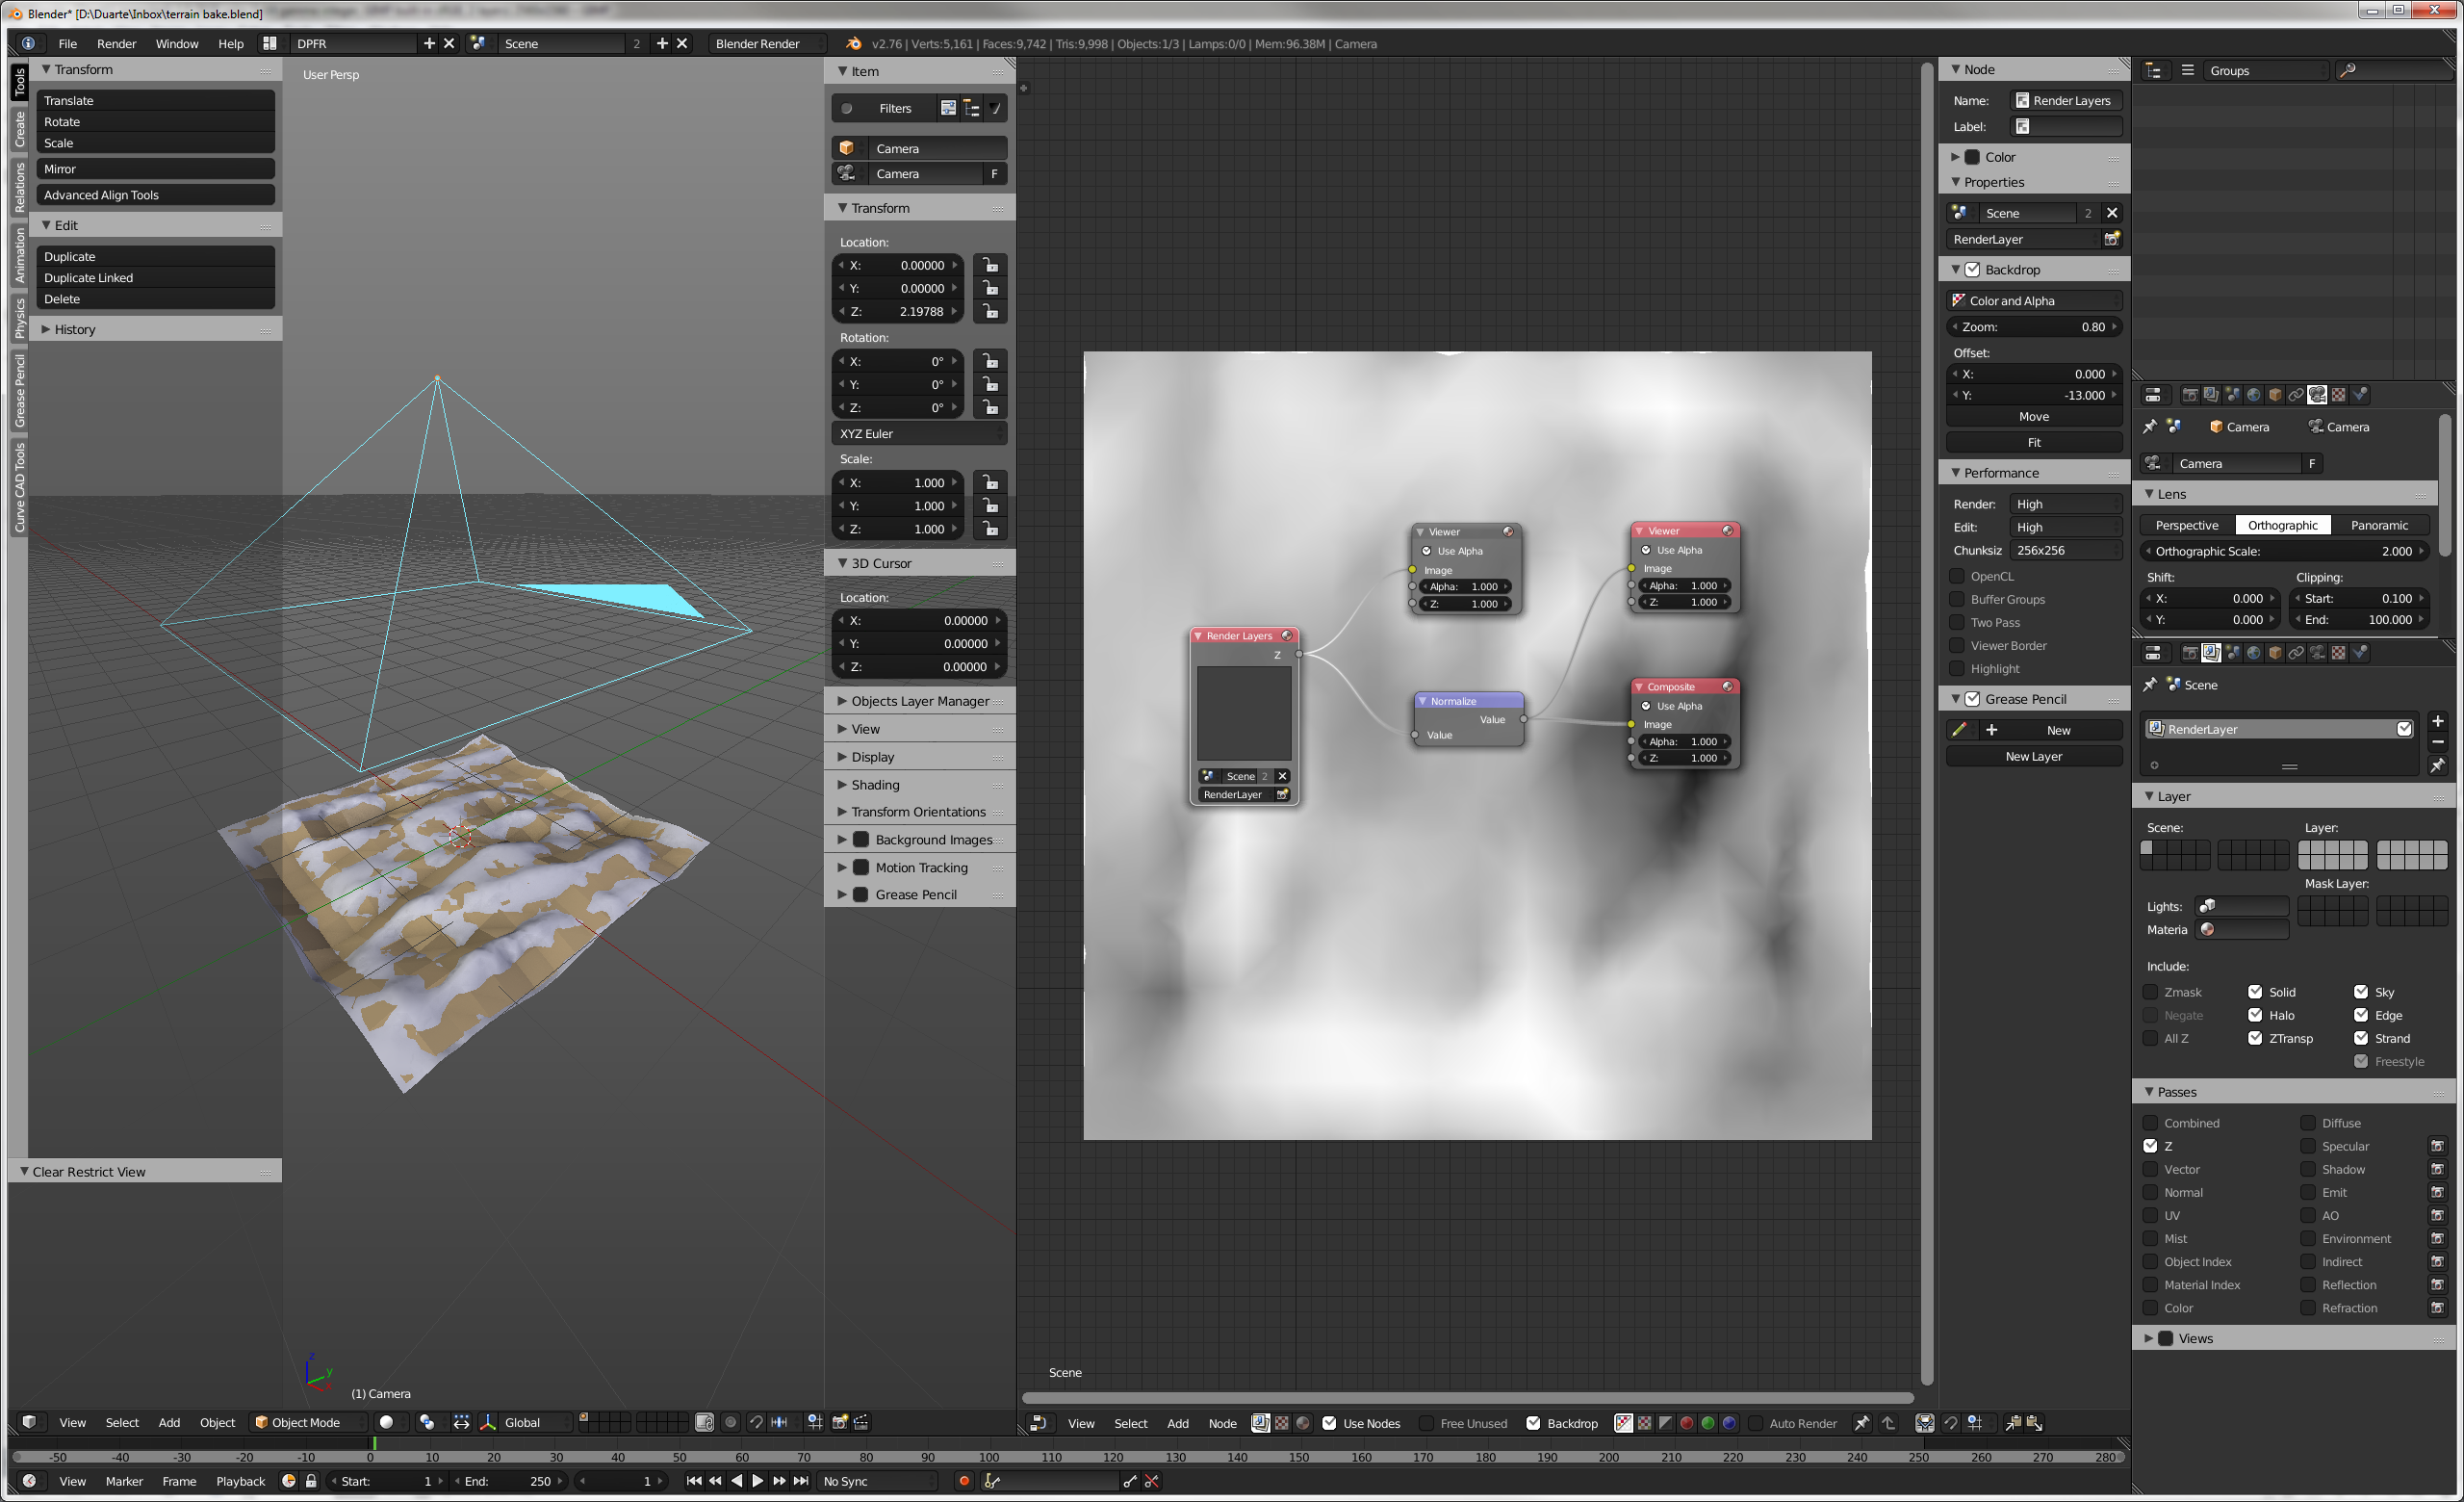
See camera to the left, node setup to the center, and camera settings above the render passes to the right

See camera to the left, node setup to the center, and camera settings above the render passes to the right.

It wont be an HDR image but that seems overkill anyway unless we are talking about a very very large height differential.

Anyway this all seems very unnecessary, you may be confusing what a displacement map does. Displacement by itself only changes the shape of an object, not it's topology so it won't be adding any more detail to your terrain, unless you add more geometry which would defeat the purpose. Since your lowpoly terrain already as the correct shape it's redundant to displace it, also depending on the nature of your final render having an additional texture to load, plus a displacement to calculate may not be beneficial at all as opposed to just loading a few more polygons.

What you may want here is a normal map of your high-poly terrain that simulates more intricate details without the additional geometry, in which case you would use the "Normal" pass in the Properties Window>Render Layers>Passes instead of "Z" as shown in the screenshot

$\endgroup$

You must log in to answer this question.

Not the answer you're looking for? Browse other questions tagged .