0
$\begingroup$

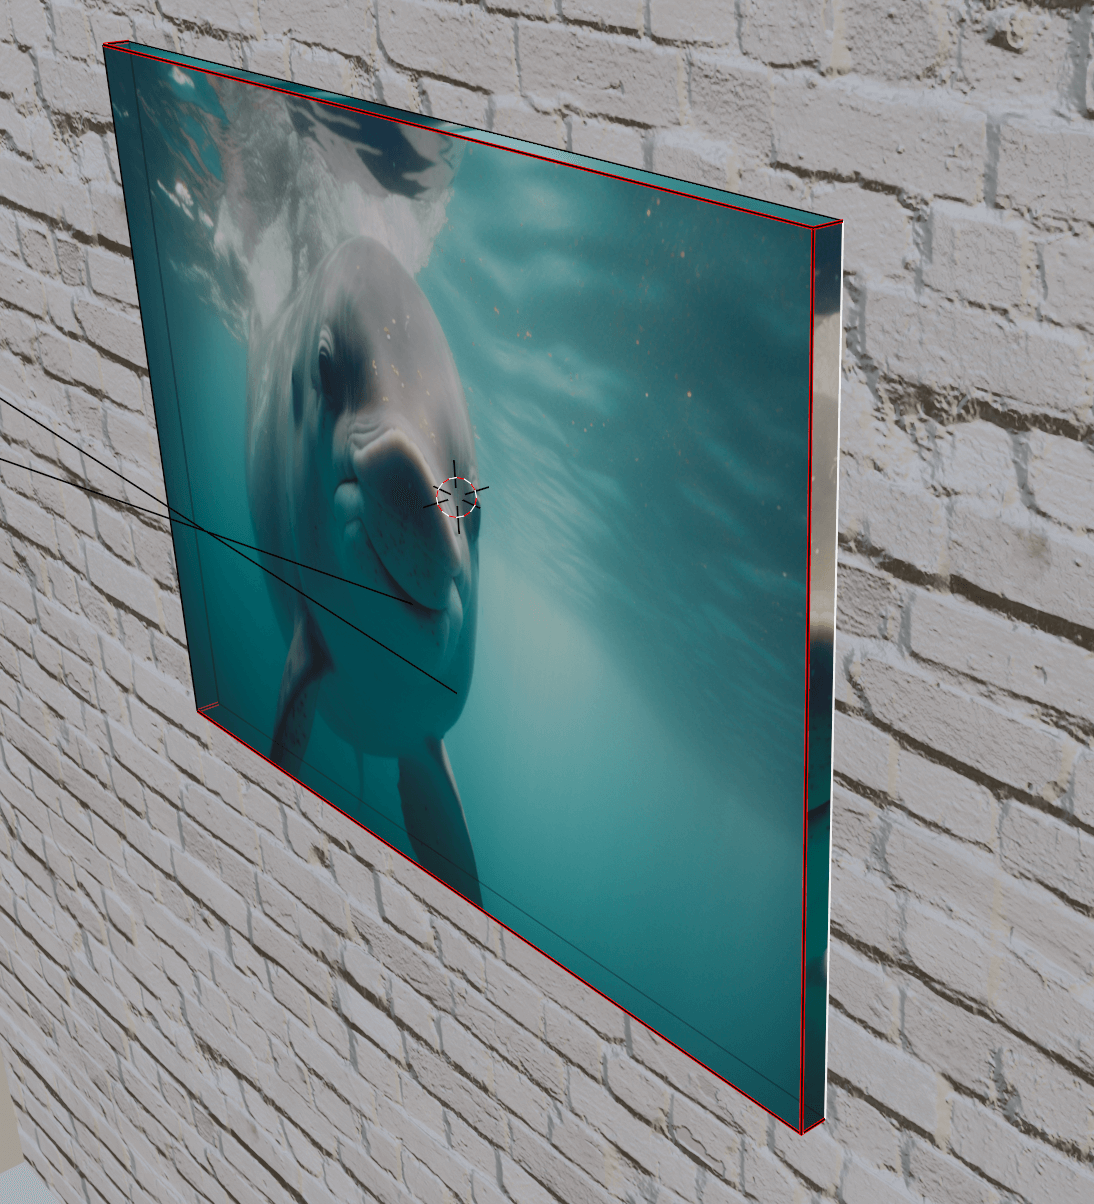
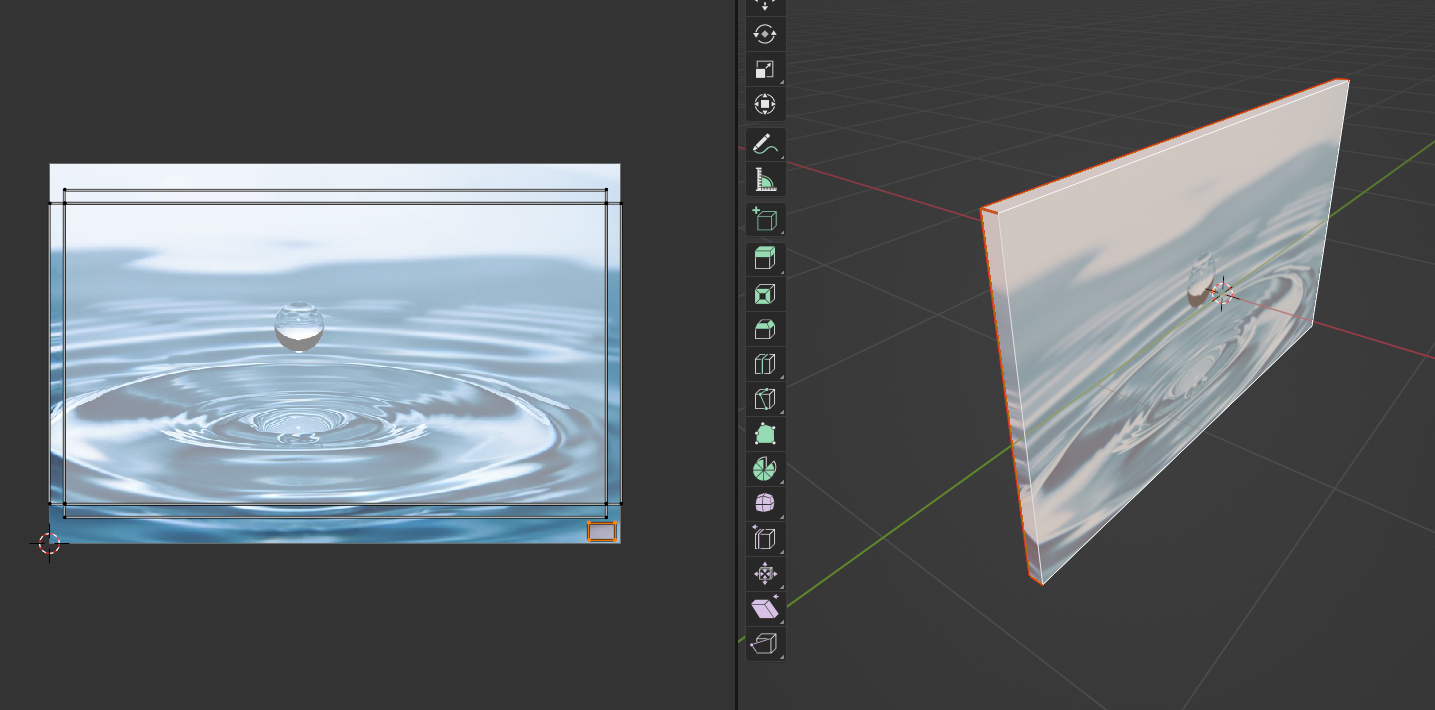
Might seem like a noobie question but I can't seem to figure it out. What would be the most effective way to unwrap a simple cube mesh in order to replicate UV unwrap that looks like this, where an image texture extends past the edges?

Is there a simple way to do it? enter image description here
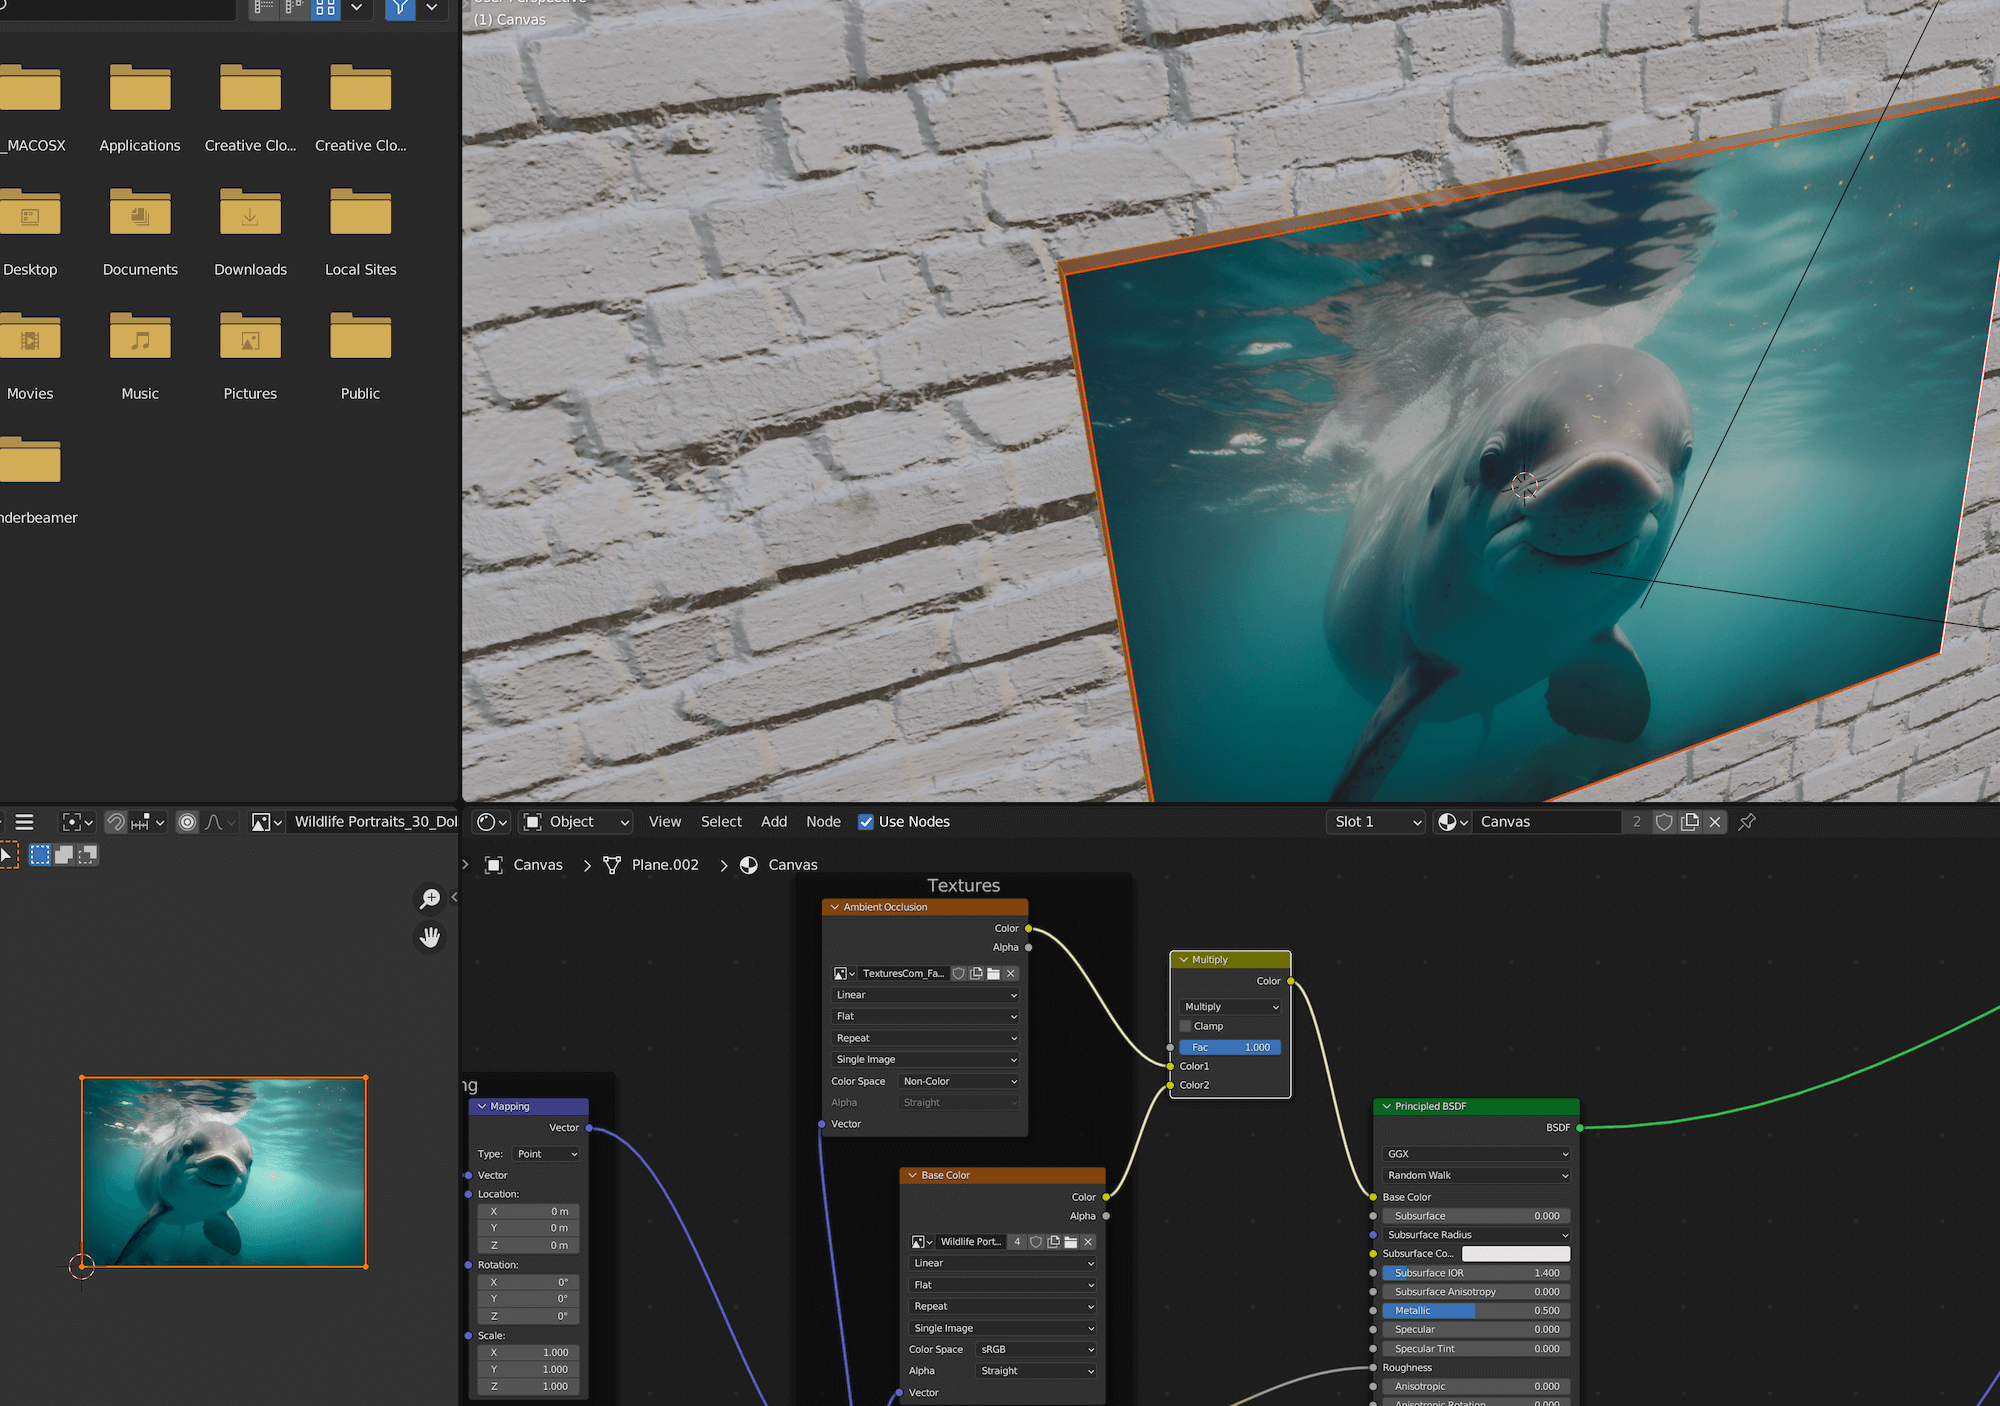
enter image description here

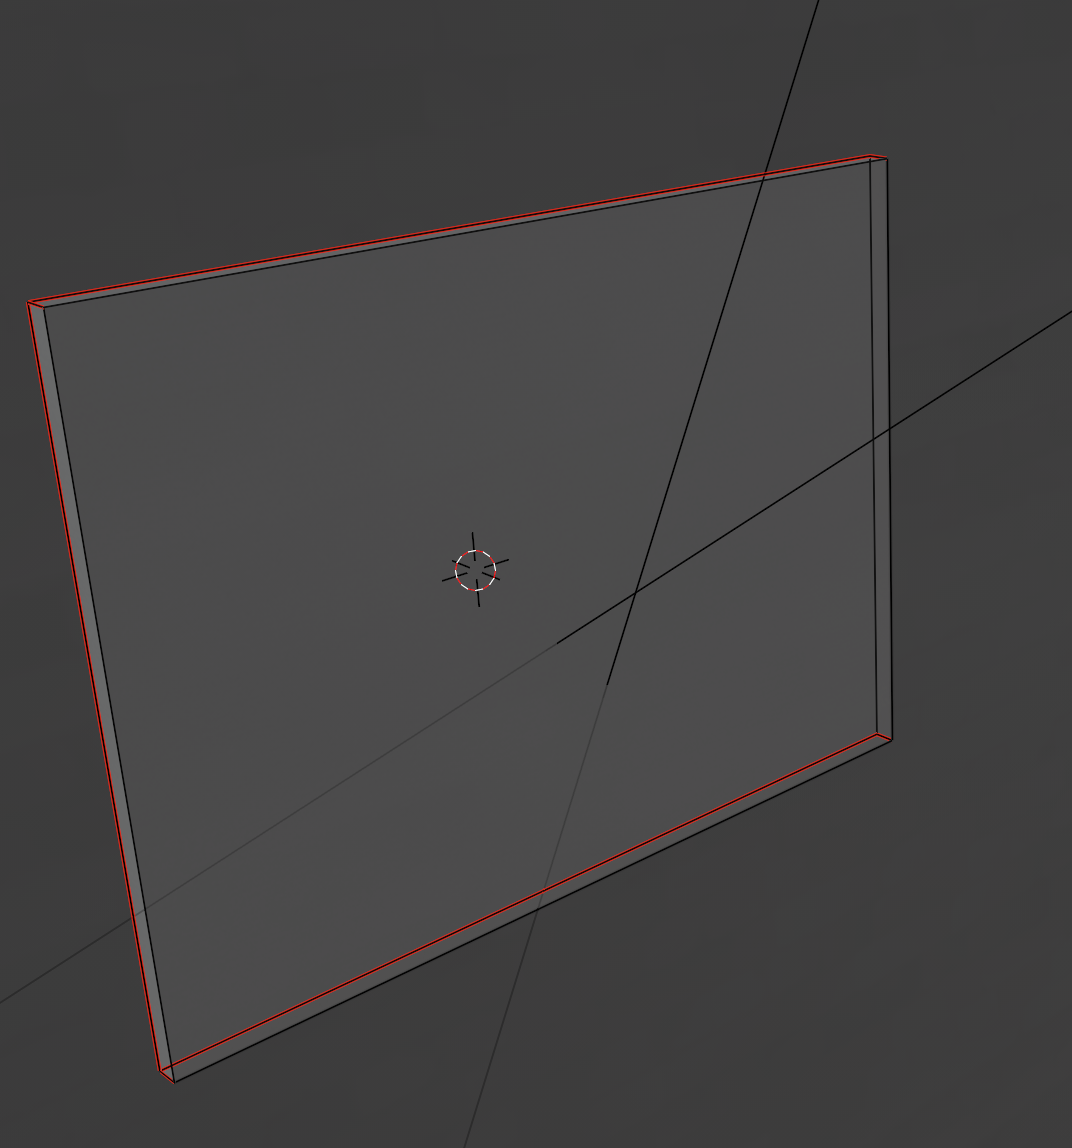
I've added seams to my mesh as such, but it seems that this is still not properly allowing the image to "wrap around" the edges. I'd rather not have to move the UV islands all manually. is there something I did wrong?

Making the seams on the back-side of the cube instead of the front is important, so I made sure to do that.

enter image description here

enter image description here

enter image description here

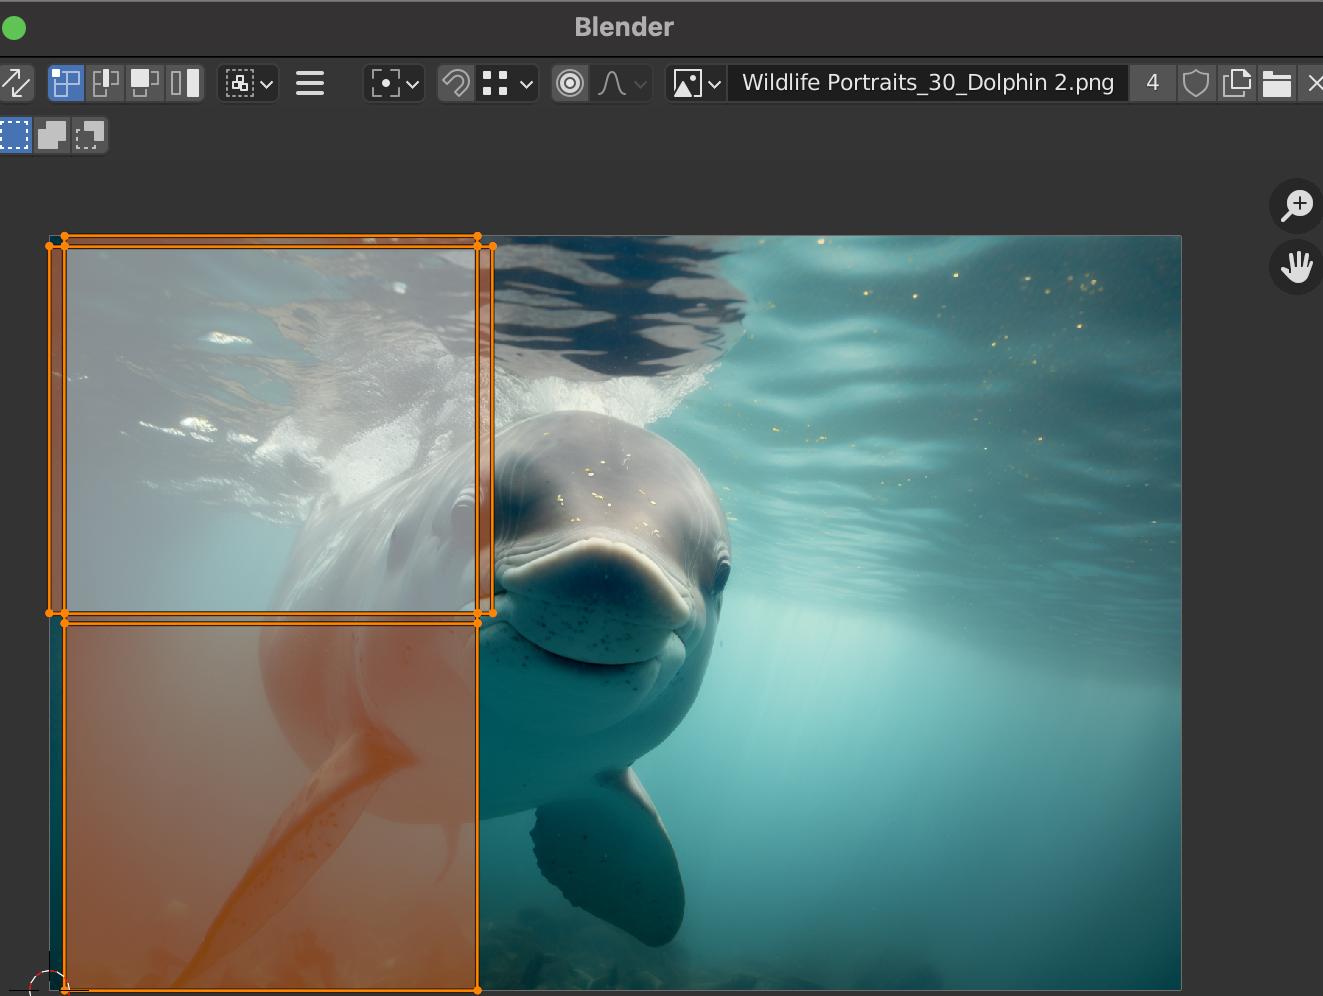
After U > Unwrap, the UV map that is generated looks like this.

$\endgroup$
22
  • $\begingroup$ You did it the other way round! that's way it does not align. The face you mark your seams around is the one facing the wall, not the one you want to look at $\endgroup$ Commented Apr 12, 2023 at 15:27
  • $\begingroup$ @JiříHonzák Hm, seems the result is the same! $\endgroup$
    – Matthew
    Commented Apr 12, 2023 at 15:32
  • $\begingroup$ Did you unwrap it again? $\endgroup$ Commented Apr 12, 2023 at 15:33
  • $\begingroup$ @JiříHonzák yup! Cube project. I'd rather mark the seams than move the islands each time. $\endgroup$
    – Matthew
    Commented Apr 12, 2023 at 15:34
  • $\begingroup$ You cannot use cube project when marking seams! If you want to mark the seams by hand you should use unwrap $\endgroup$ Commented Apr 12, 2023 at 15:36

3 Answers 3

1
$\begingroup$

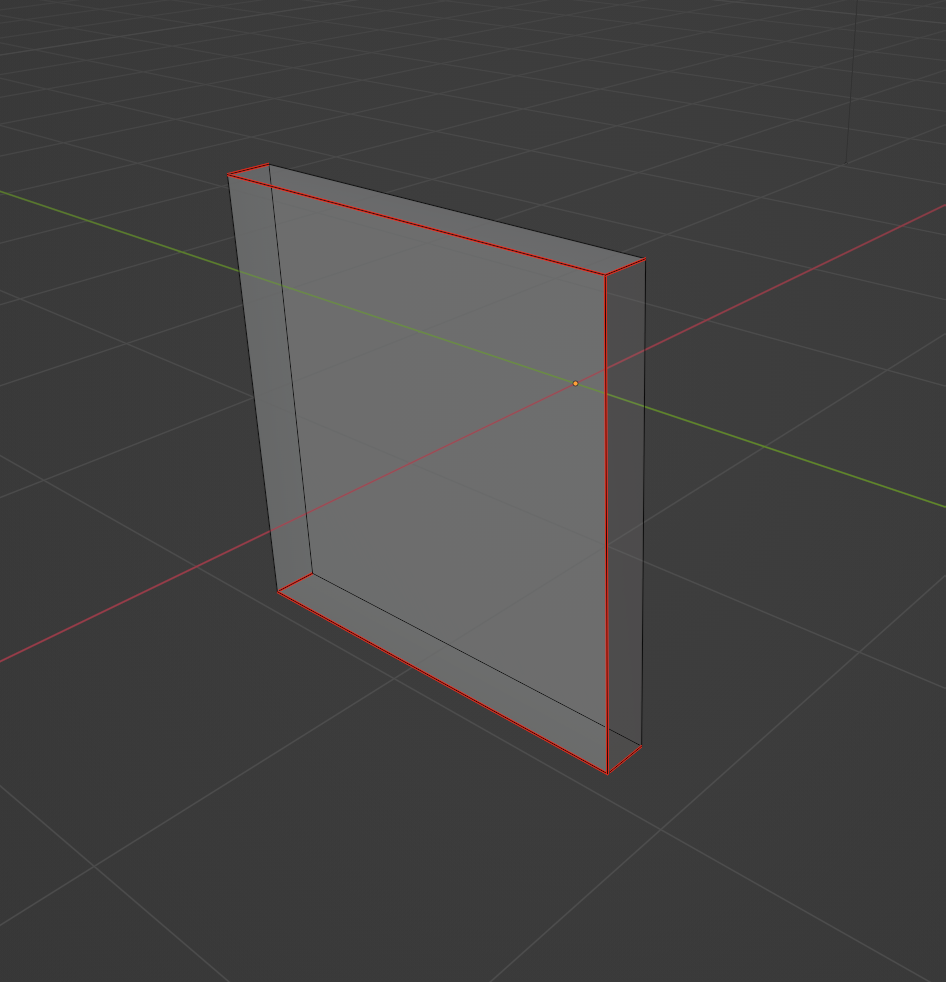
In this case simple cube projection shoud be ok, you might need to move the UV islands in UV editing in order to make the image seamless. Or you can mark seams by hand like this (select edges -> right click -> mark seam):

enter image description here

After unwrap you get exactly what you want:

enter image description here

$\endgroup$
1
  • $\begingroup$ Hi, thanks for your answer! Check the updates I made to my comment $\endgroup$
    – Matthew
    Commented Apr 12, 2023 at 15:25
1
$\begingroup$

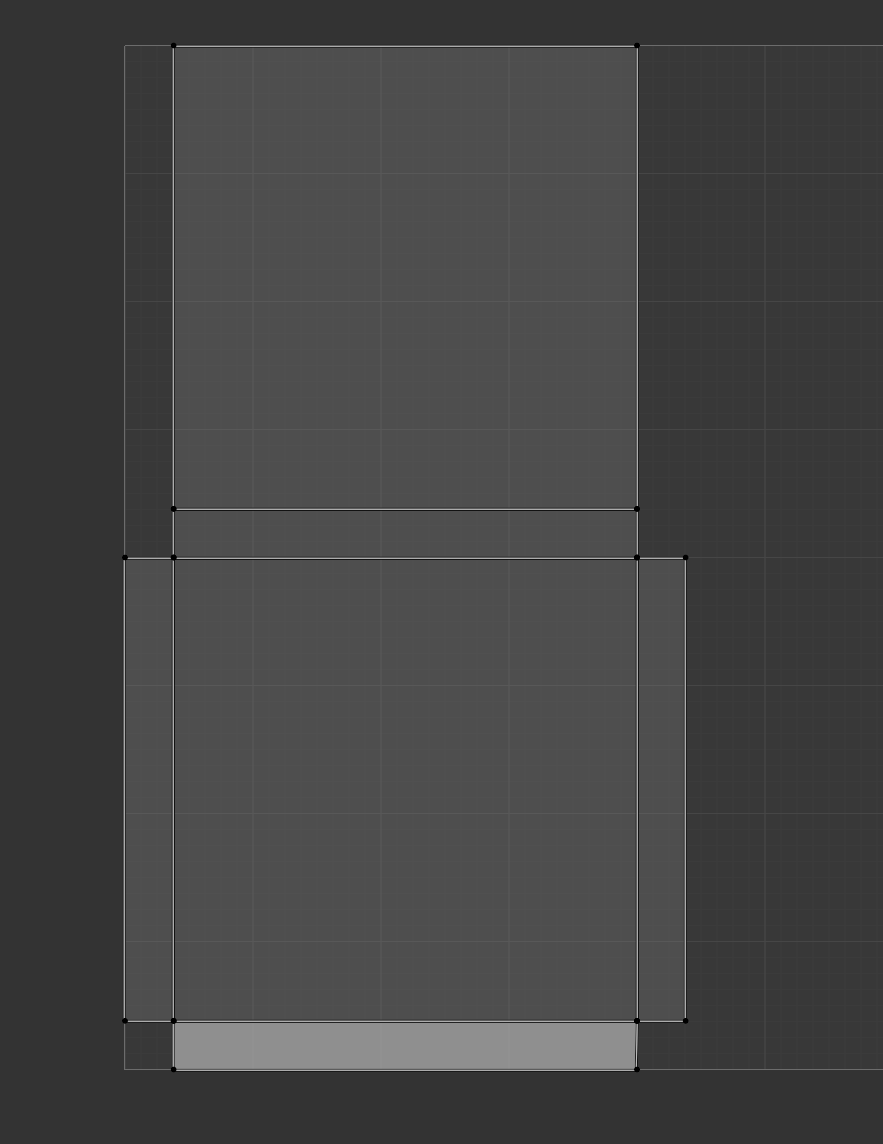
You need to create seams at the corners and at the back of your cube to and unwrap that way, I'd set up the UVs like this: enter image description here

Make sure you're applying the scale before you do the unwrap so the uvs turn out right.

Bonus view of the back to help you understand where I placed my seams! enter image description here

$\endgroup$
2
  • $\begingroup$ Hi, thanks for your answer! Check the updates I made to my comment $\endgroup$
    – Matthew
    Commented Apr 12, 2023 at 15:25
  • $\begingroup$ Can you post your UV layout? Bit difficult to understand whats going on at the moment :) Just from the look of things you look like you marked the seam on the wrong side of the cube! $\endgroup$
    – Zarbio
    Commented Apr 12, 2023 at 15:33
1
$\begingroup$

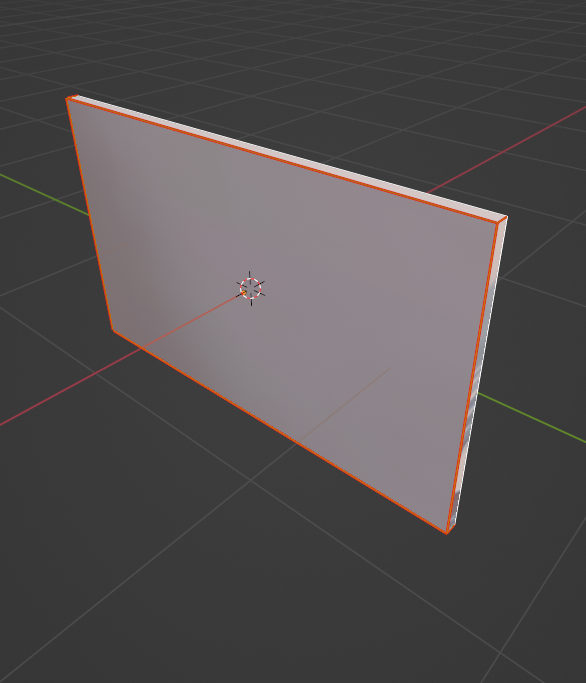
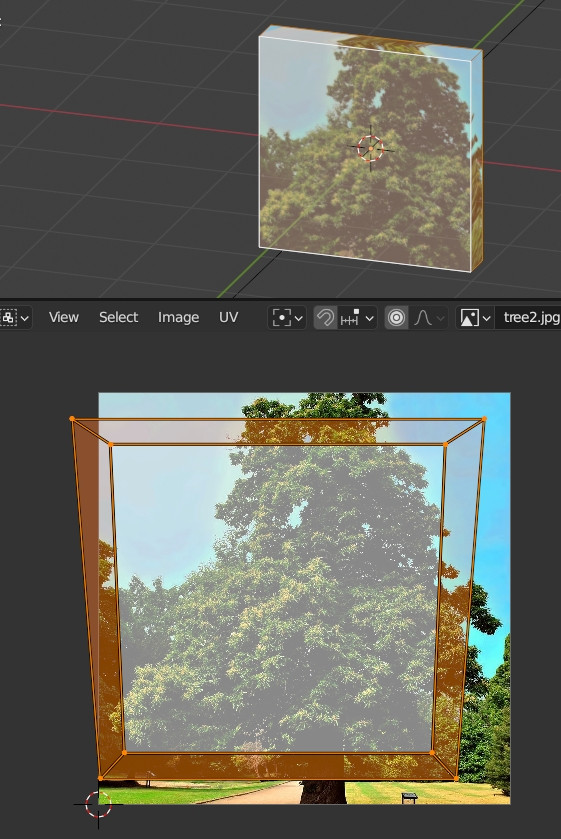
If you unwrap with the default mode, here is what you'll get:

enter image description here

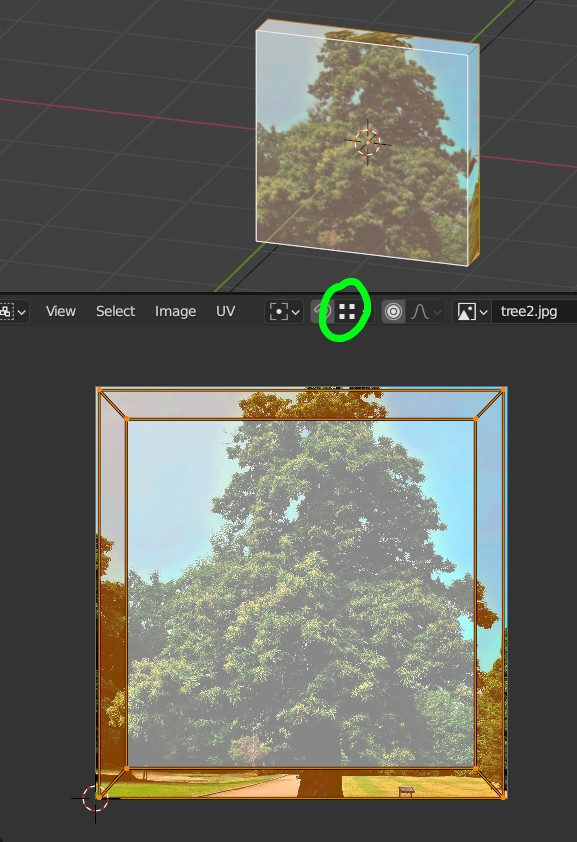
To make the UV square, enable the Snap to Vertex option and move the vertices until you have this:

enter image description here

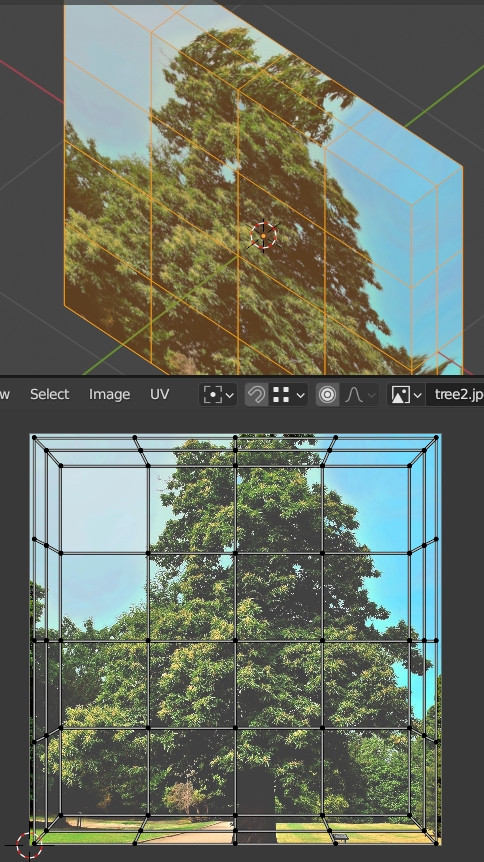
If the sides are too deformed, subdivide a bit:

enter image description here

$\endgroup$

You must log in to answer this question.

Not the answer you're looking for? Browse other questions tagged .