The pose my model is in is not good at all, so I wanted to have some pose, which I can easily start animating from, but when I made this pose and clicked aply pose as rest pose, only the armature changed, without deforming the model itself and when positioning it's useless. So I wanted to ask, wheather I can somehow aply position as rest pose, so that in pose mode the model is deformed, or at least save the pose.
2 Answers
If you apply the pose as rest pose, you are telling Blender which is the initial (rest) position of the bones: undeformed mesh, of course. If you want to save and recall poses: - go to the properties window - armature - pose library - plus to add or repalce a new pose - lens icon to recall the selected pose.
Note that you can also create different libraries of poses
If you want the complete job (new pose always as starting pose): - create the new pose in pose mode - in object mode select the model - Shift D to duplicate it - apply the armature modifier - apply the pose as rest pose - delete the old model - add a new armature modifier to your new model, pointing at the previous armature.
The model will have all its vertex groups, so you will not have to redo the weighting.
This procedure can be very useful because, when animating, in pose mode Alt G, Alt R, Alt S let you put the selected bones in rest position.
Updated answer since v3.0 (this answer uses 4.1) where they moved this feature to the pose library:
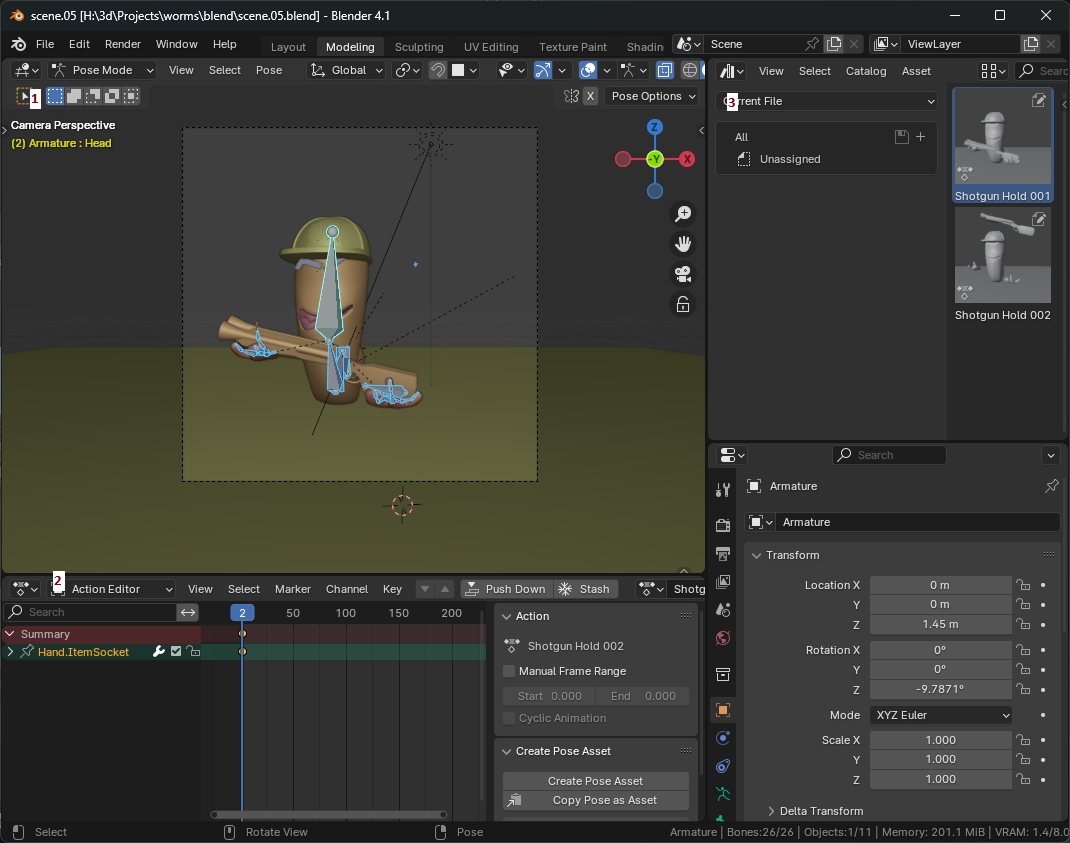
Open the following editors:
- 3D viewport with your armature selected and in pose mode
- Dope sheet with the action editor
- Asset browser
Create the first pose you want to save. Optionally, create a scene camera that will give a good view of your pose. If you want a preview of how your thumbnail will look, use the workbench renderer.
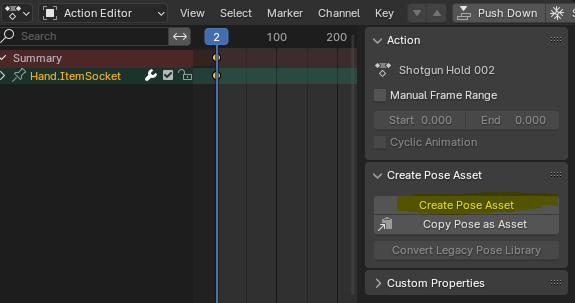
Now select all the bones that belong to the pose and in the dope sheet > action editor hit "create pose asset" (hit N if you don't see the toolbar):
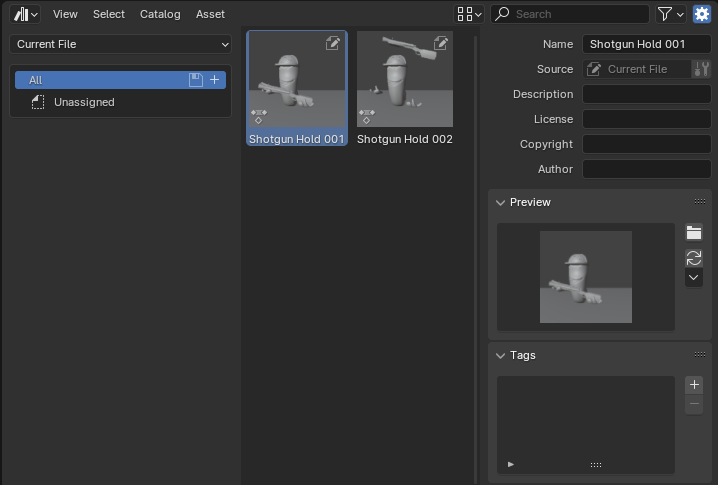
Optionally, you can now change the name of your pose and give it a meaningful description. If you have a scene camera set, you can also generate a preview:
You can now right-click the asset and apply it to your bones, blend between them, etc.


