24
$\begingroup$

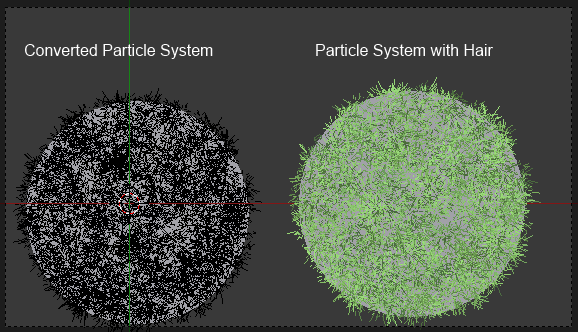
I'm hoping this community can help me solve a issue. I have created a cycles hair particle system to render grass. This is successful in rendering and works great. However I want to convert this particle system into a whole mesh (A patch of grass) so I can distribute it across the ground in my scene, rather than using tons of memory with hair particles alone.

I have two issues with converting the particle system into a mesh in the modifiers tab.

  1. It only outputs the strand vertices rather than the faces of the cycles hair rendering such as in my case True-normal.
  2. The Material that is used in the particle system does not copy over or appear on the mesh. I presume this is something to do with the UVs as I am using the output intercept on a hair info node.

I'm hoping theres a solution within Blender or even a script that can help me with this process. Can you please help me out.

Thank You

Viewport

enter image description here

$\endgroup$
0

3 Answers 3

13
$\begingroup$

I had the same issue converting hair particle into mesh, then trying to bake it in a low-poly model to use in a game engine. I found that there's no one-click solution built into the Blender, so here's my work-around:

  1. Convert the particle into edge loops (click "convert" button in the modifier stack)

  2. Convert the edge loops into bezier curves (select the edge loops and hit AltC)

  3. Make them solid and shape them up using bevel and taper objects (Properties Panel > Object Data > Geometry)

  4. Finally convert them back into mesh object (select the object and AltC)

You need to do quite a few steps in this workflow but it yields more control over final shapes.

$\endgroup$
2
  • $\begingroup$ This doesnt work in 2.8 $\endgroup$ Commented Jun 9, 2020 at 16:25
  • 1
    $\begingroup$ On step 2 in Object Mode go to Object > Convert to > Curves. Then on the last step Convert to > Mesh $\endgroup$
    – SPCTR
    Commented Jul 29, 2020 at 15:42
4
$\begingroup$
  1. select object that has hair
  2. select convert Particle Modifier on modifiers tab
  3. remove particle system under particles tab
  4. select converted hair mesh
  5. add screw Modifier with .1 degrees for angle and 2 steps
  6. if vertex count is too high, Add Decimate Modifier with planar
  7. apply all modifiers

Now it should render without the need for experimental/cpu feature set and device

$\endgroup$
1
  • 1
    $\begingroup$ Does help obtaining a mesh from a converted particle system however this method doesn't retain the shape and taper of the hair. In addition doesn't deal with the UV problem. Thanks for your input $\endgroup$
    – Benny33
    Commented Sep 11, 2013 at 11:20
2
$\begingroup$

Thinking about your issue, I believe that the question is actually a different one: You try to go this way because you plan to optimize the memory usage of Cycles when rendering hair. Now the good news is that converting your hair patch to a mesh is actually unneccessary in this case. Blenders hair system allows you not only to create hair strands, but also to distribute other objects (as you know) and groups over the surface. If you turn your initial hair patch into a group, you can spread that as an instance over the target mesh, keeping the whole look of it intact.

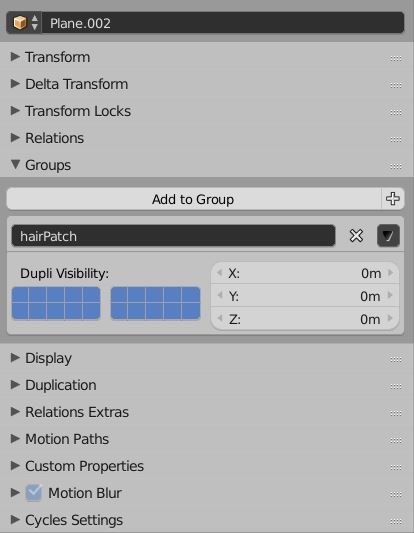
Step 1: Create the group using Ctrl+G and give it a decent name (i chose hairPatch).
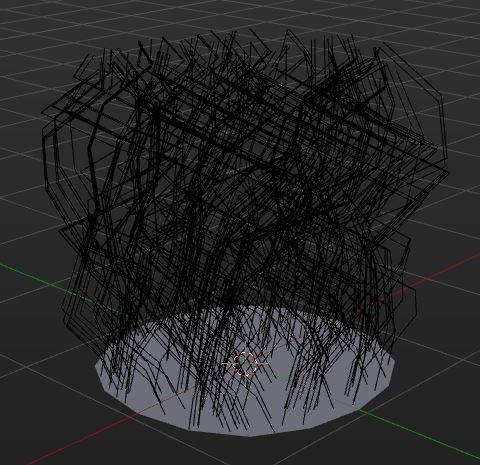
original patch
group name

Step 2: Create another hair particle system on the target mesh and select the group to be duplicated:
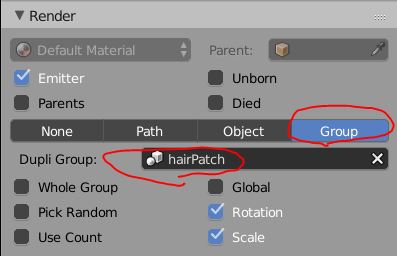
dupligroup

At this point you'll see a glitch: you can see the base mesh from which you emitted your hair system from distributed across, but the grass blades are all in the center of the mesh. Luckily, this is only happening in the viewport, when you render they distribute fine. The last thing you need to do is orient and scale the blade patch correctly. Blender emits by default the instance along the Y-Axis. If you change the particle system to "advanced", you can set the emission velocities manually. The higher the velocity the larger the instance. By default there is a velocity set on the "Normal" value. If you use the "Tangent" value instead, the emission happens in Z axis direction. For scaling in my scene these values worked:
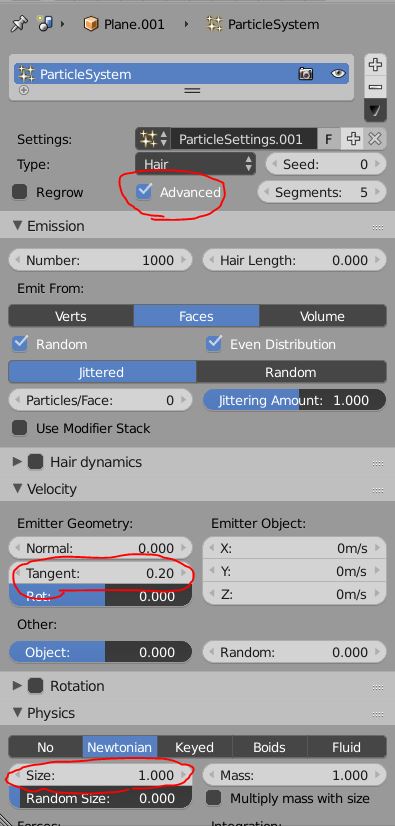
rotation and scale values

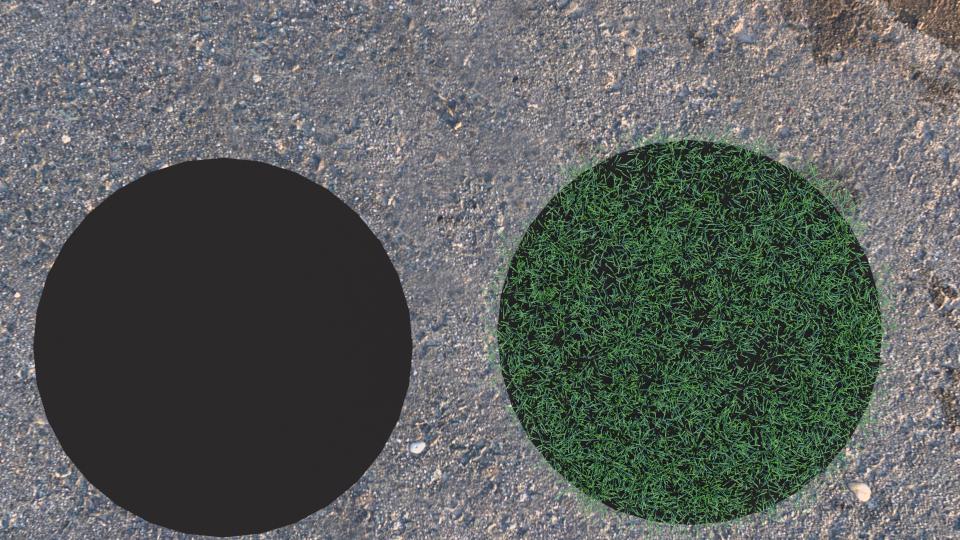
notice that the rendering starts almost immediately, which is a sign that really only one instance of the grass patch is exported to cycles. The memory report in the viewport from my point of view cannot be used as a reference unfortunately. For me it reported LESS memory used when rendering the complete scene than it did for just rendering the single grass patch, which cannot be the case. Anyways, this is the final image (I know, it's a masterpiece):
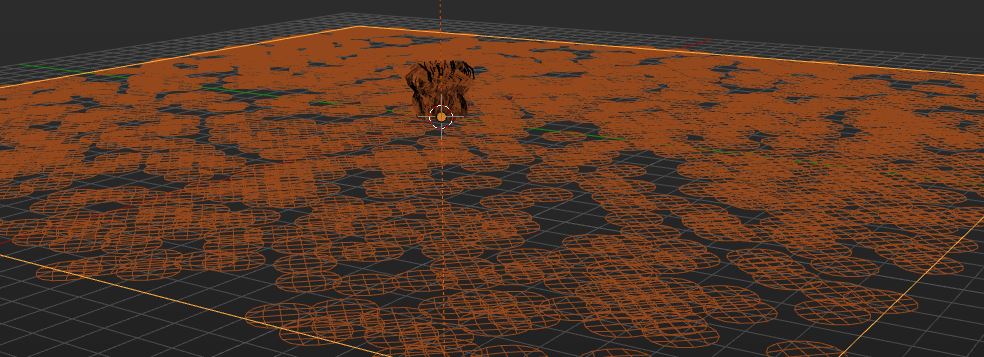
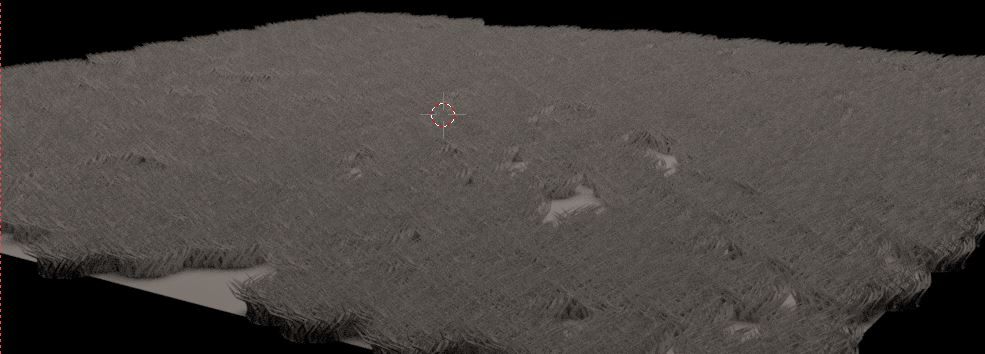
scene view final render

$\endgroup$

You must log in to answer this question.

Not the answer you're looking for? Browse other questions tagged .