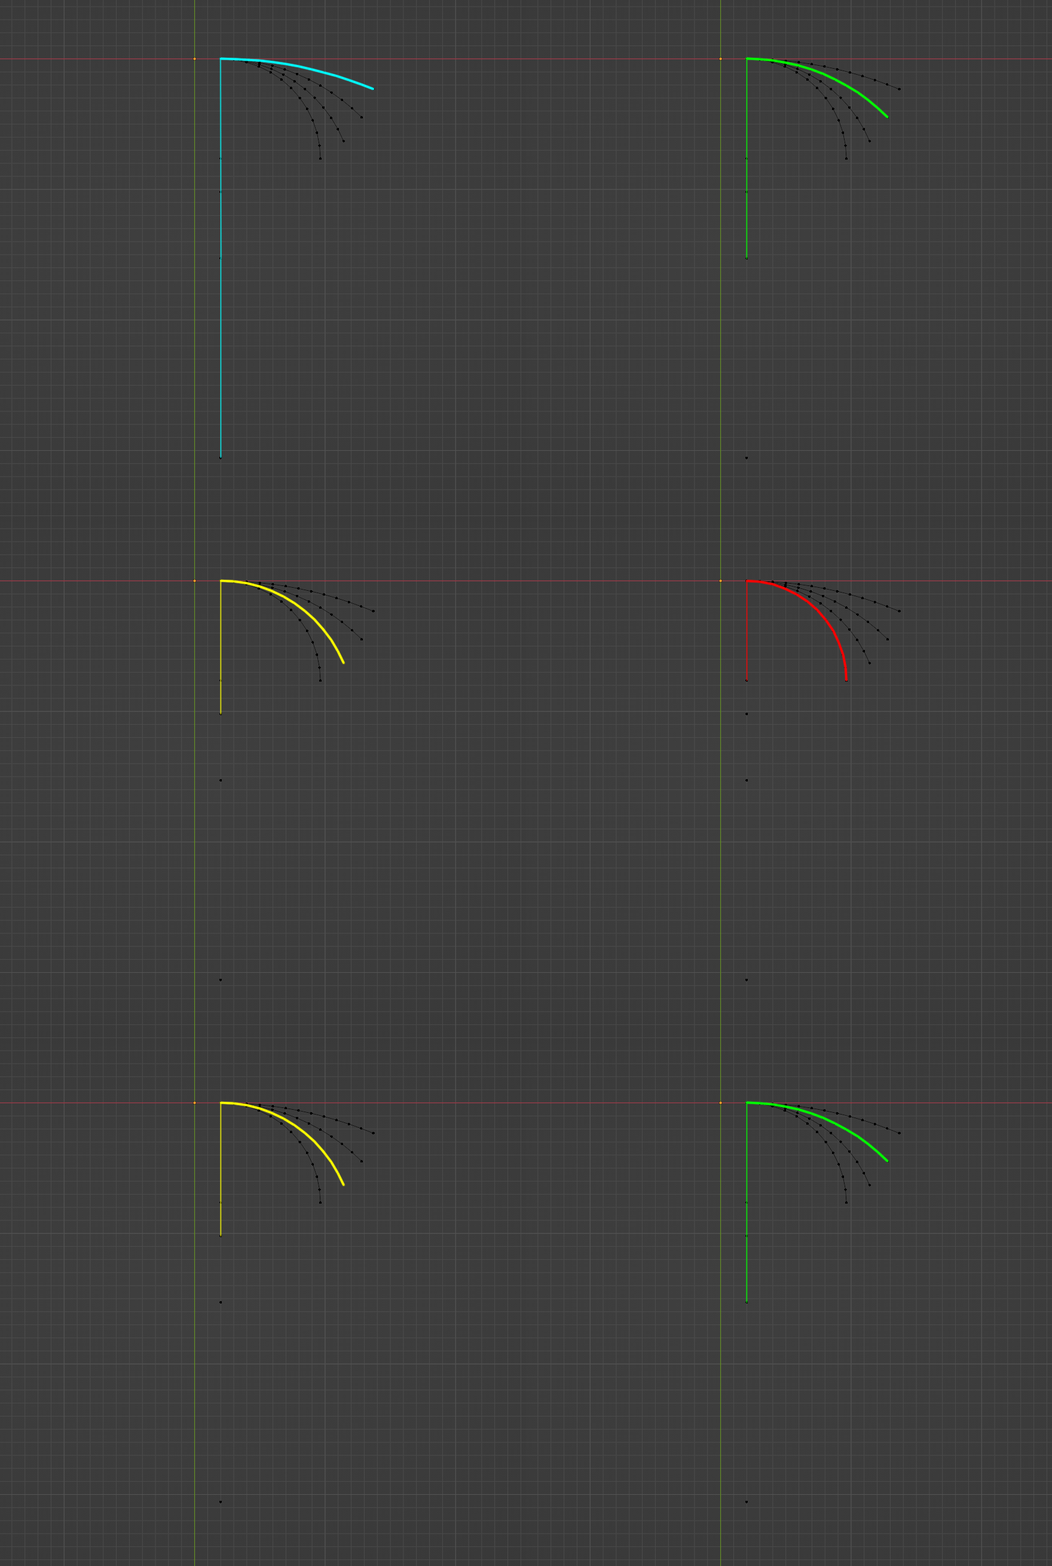
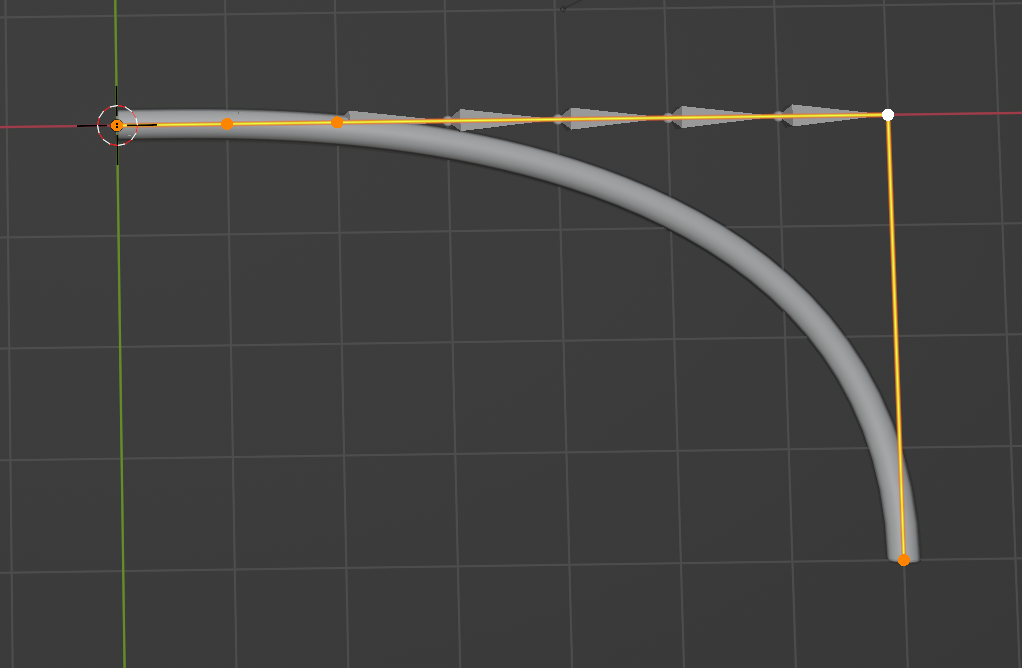
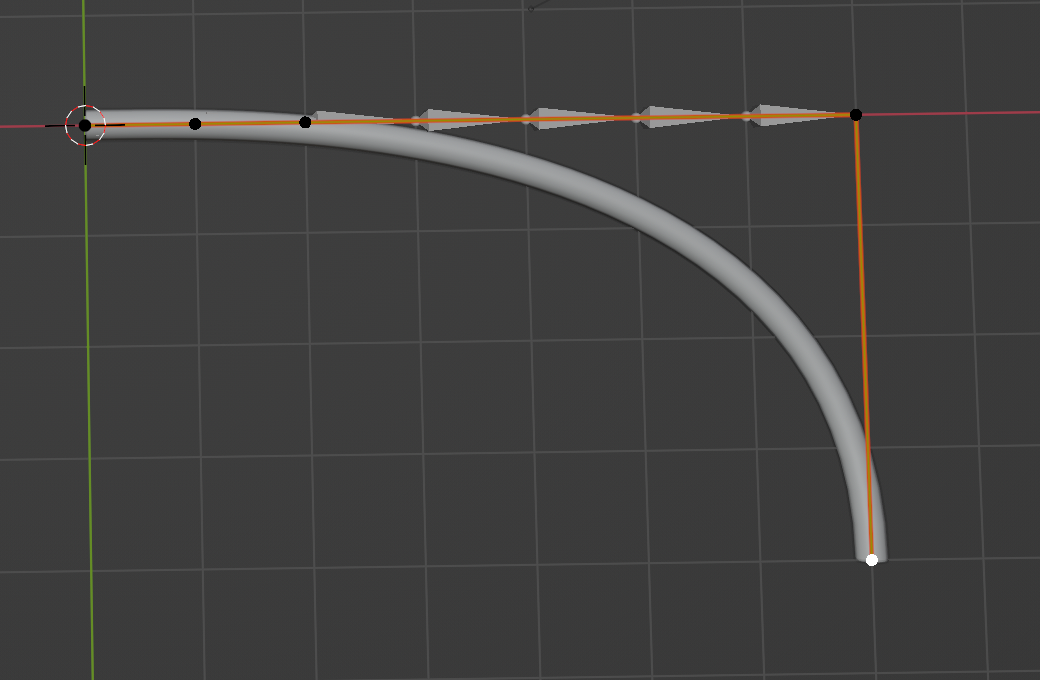
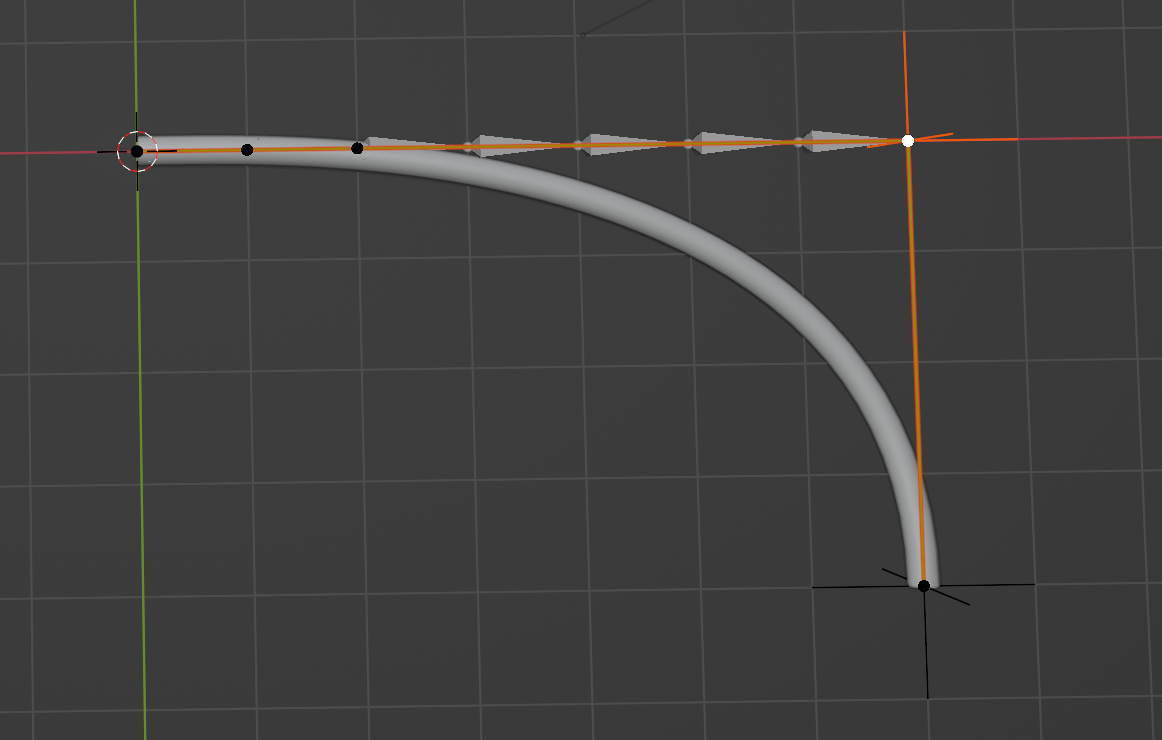
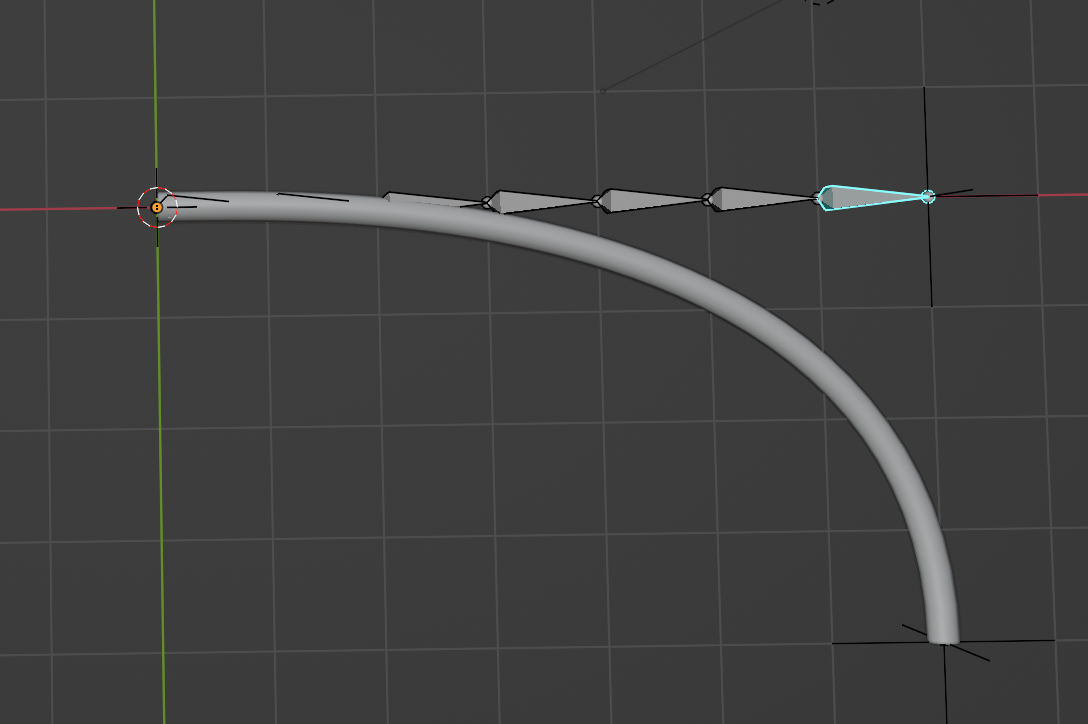
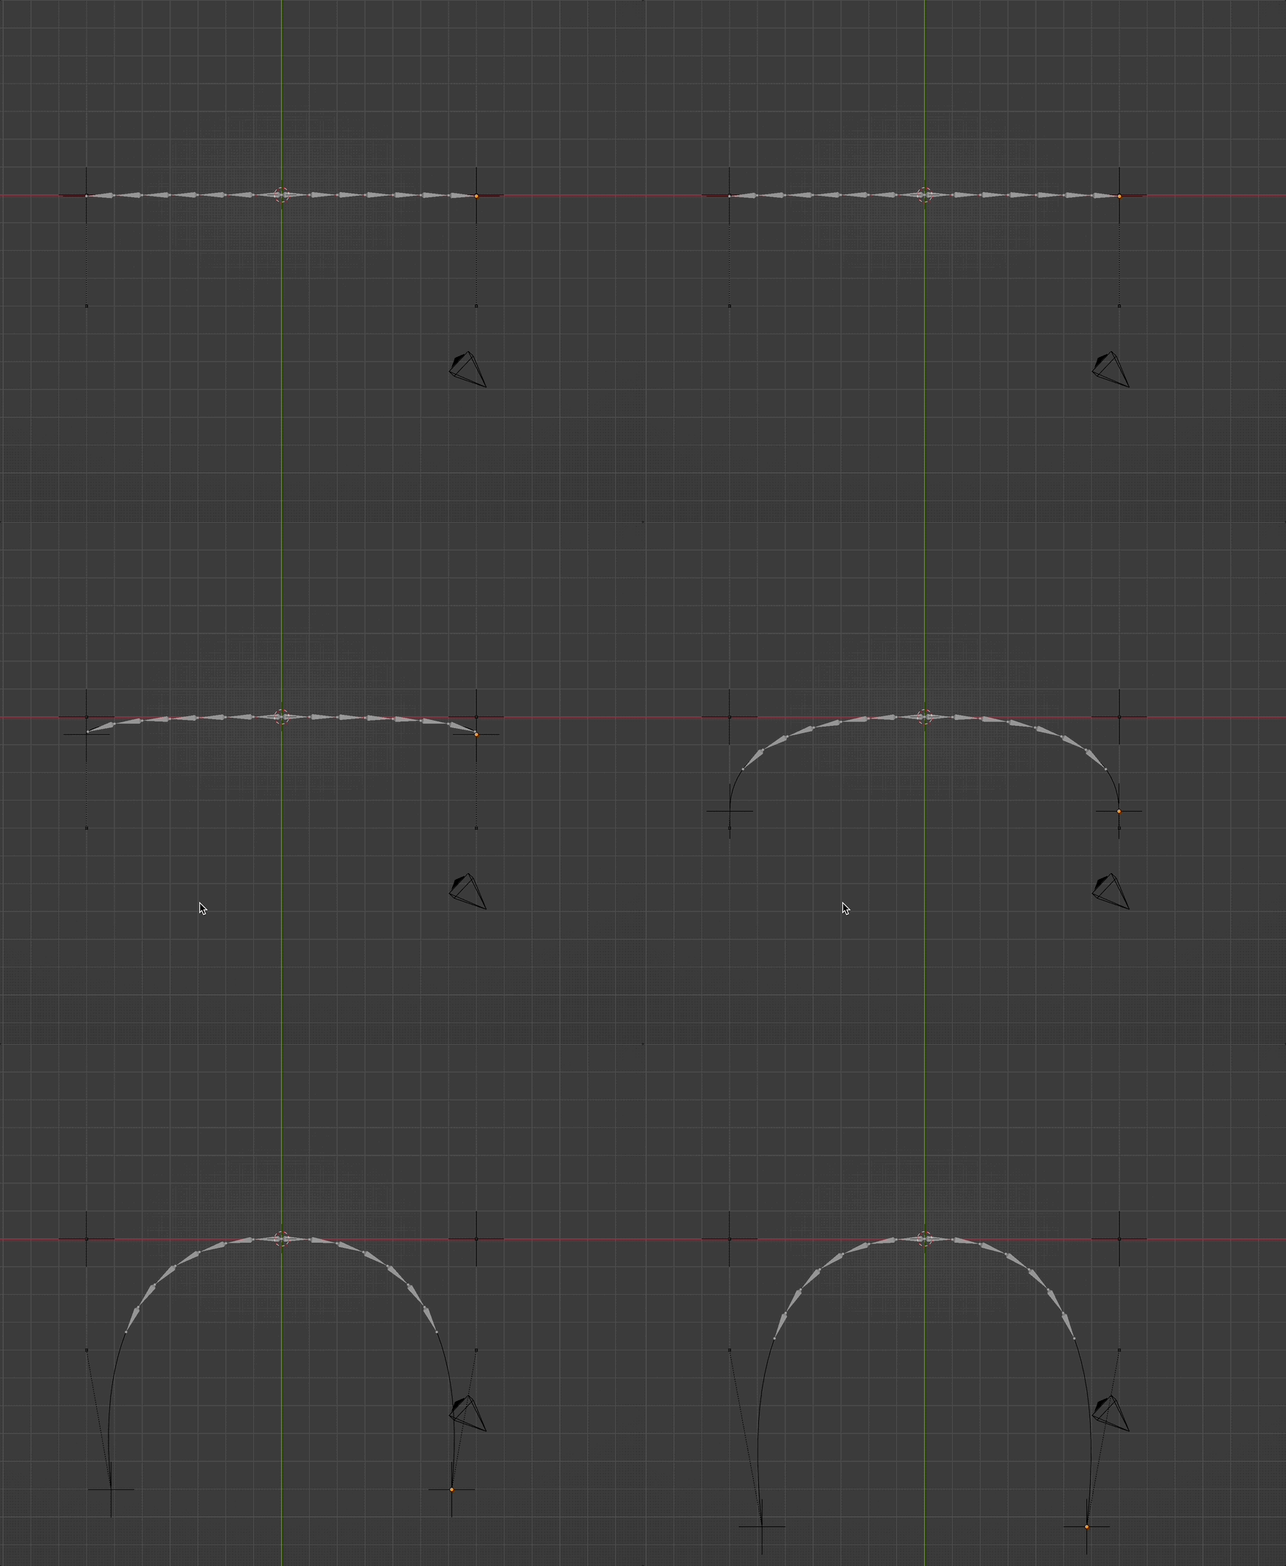
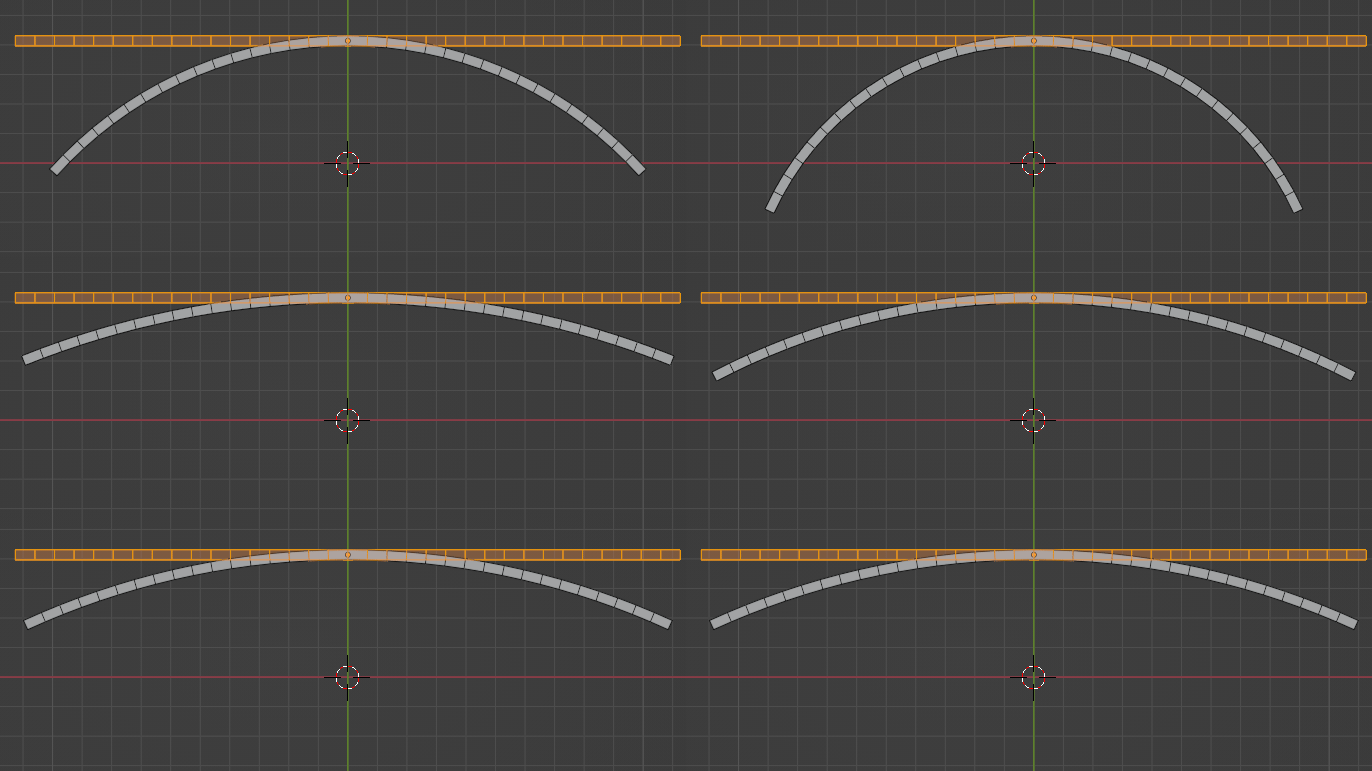
Here is a straightforward way to accomplish your goal. I've described the approach but you'll have to tweak the constraints and driver to match your desired movement:

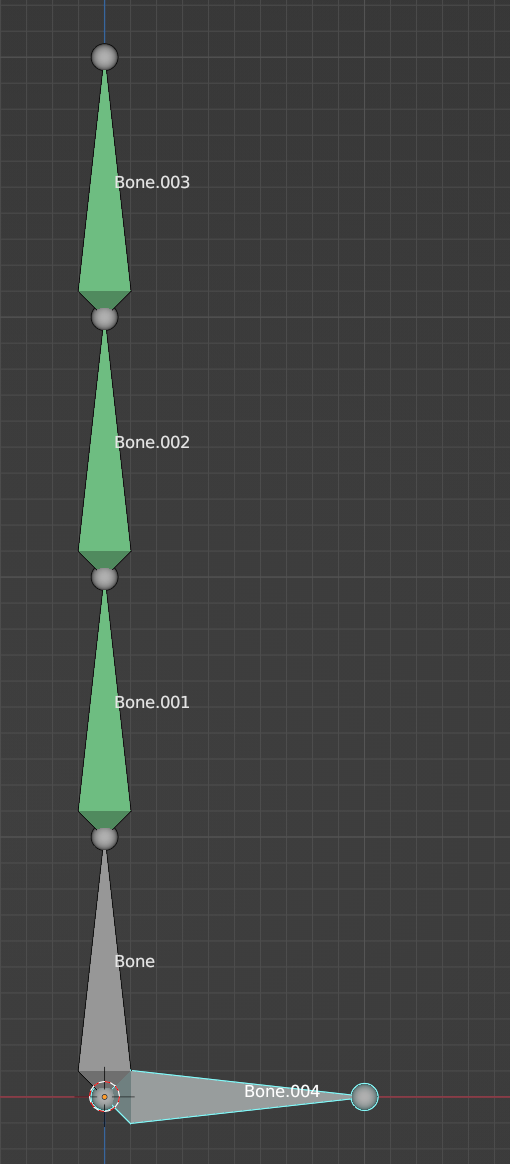
In this example, the 4 bones in the Z chain represent the object you want to curve. They are chained and connected: Bone is the parent of Bone.001 is the parent of Bone.002 is the parent of Bone.003. There's nothing special about it being 4 bones, that's just a convenient number.
All of the bones have a Copy Rotation constraint to copy the rotation of their parent, except Bone. The idea is that rotating Bone will cause each of the other bones to rotate as well, creating the arc:

This is the constraint applied to Bone.001. It has the default settings, except that both Target and Owner are set to Local Space. Since we are rotating the bones on their local Z axis, we could lock out the X and Y axis in the Axis setting, but I didn't bother.
The technique for getting the bow right is to set the Influence of each bone so as to achieve the result you want.
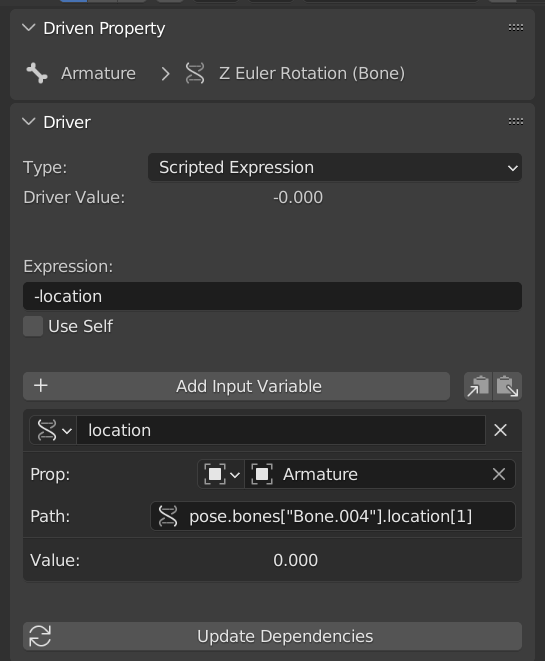
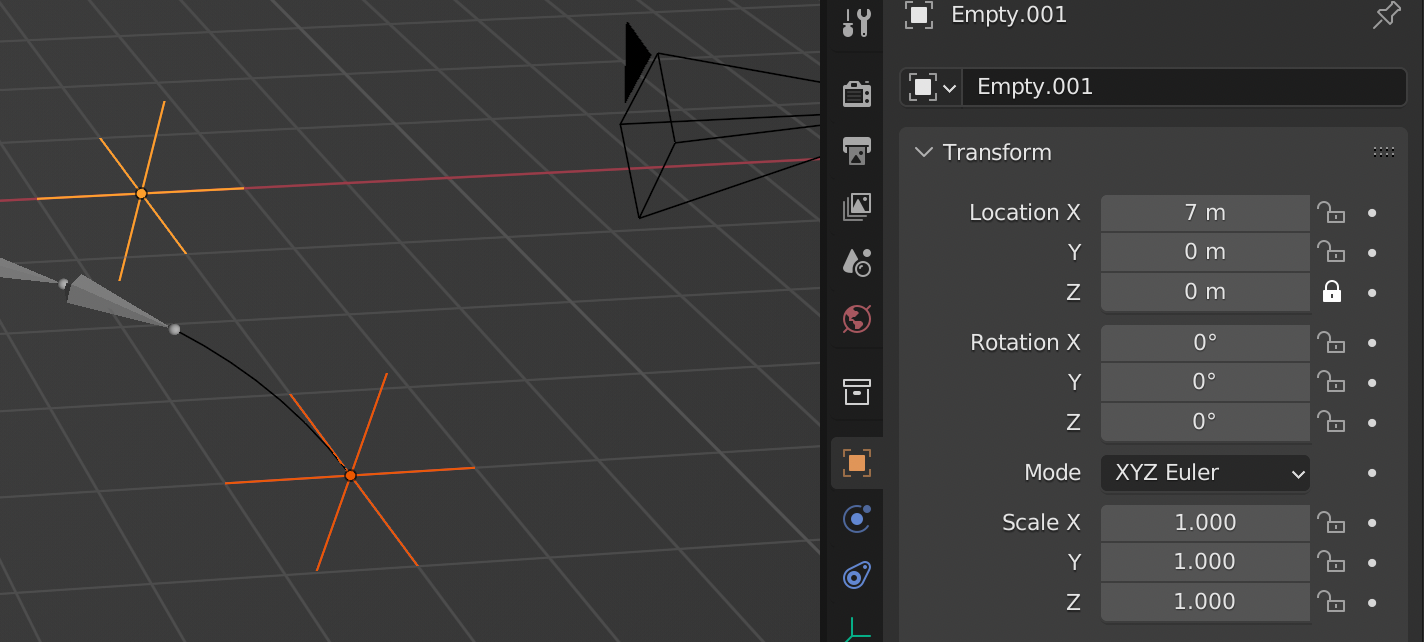
Bone.004 is meant to move along the world X axis (its local Y axis.) Its Y location is used in a driver that controls the Z rotation of Bone:

This is a crude version of the setup. Bone.004 is not reasonably positioned and should be placed where you want your control bone. The expression I used in the driver, $-location$, is not scaled properly or properly converted into radians to use for the rotation value.
But the above is the basic setup. Modify it by tweaking the constraint influence on each of the constrained bones and modify the expression appropriately and you can produce your desired curves.
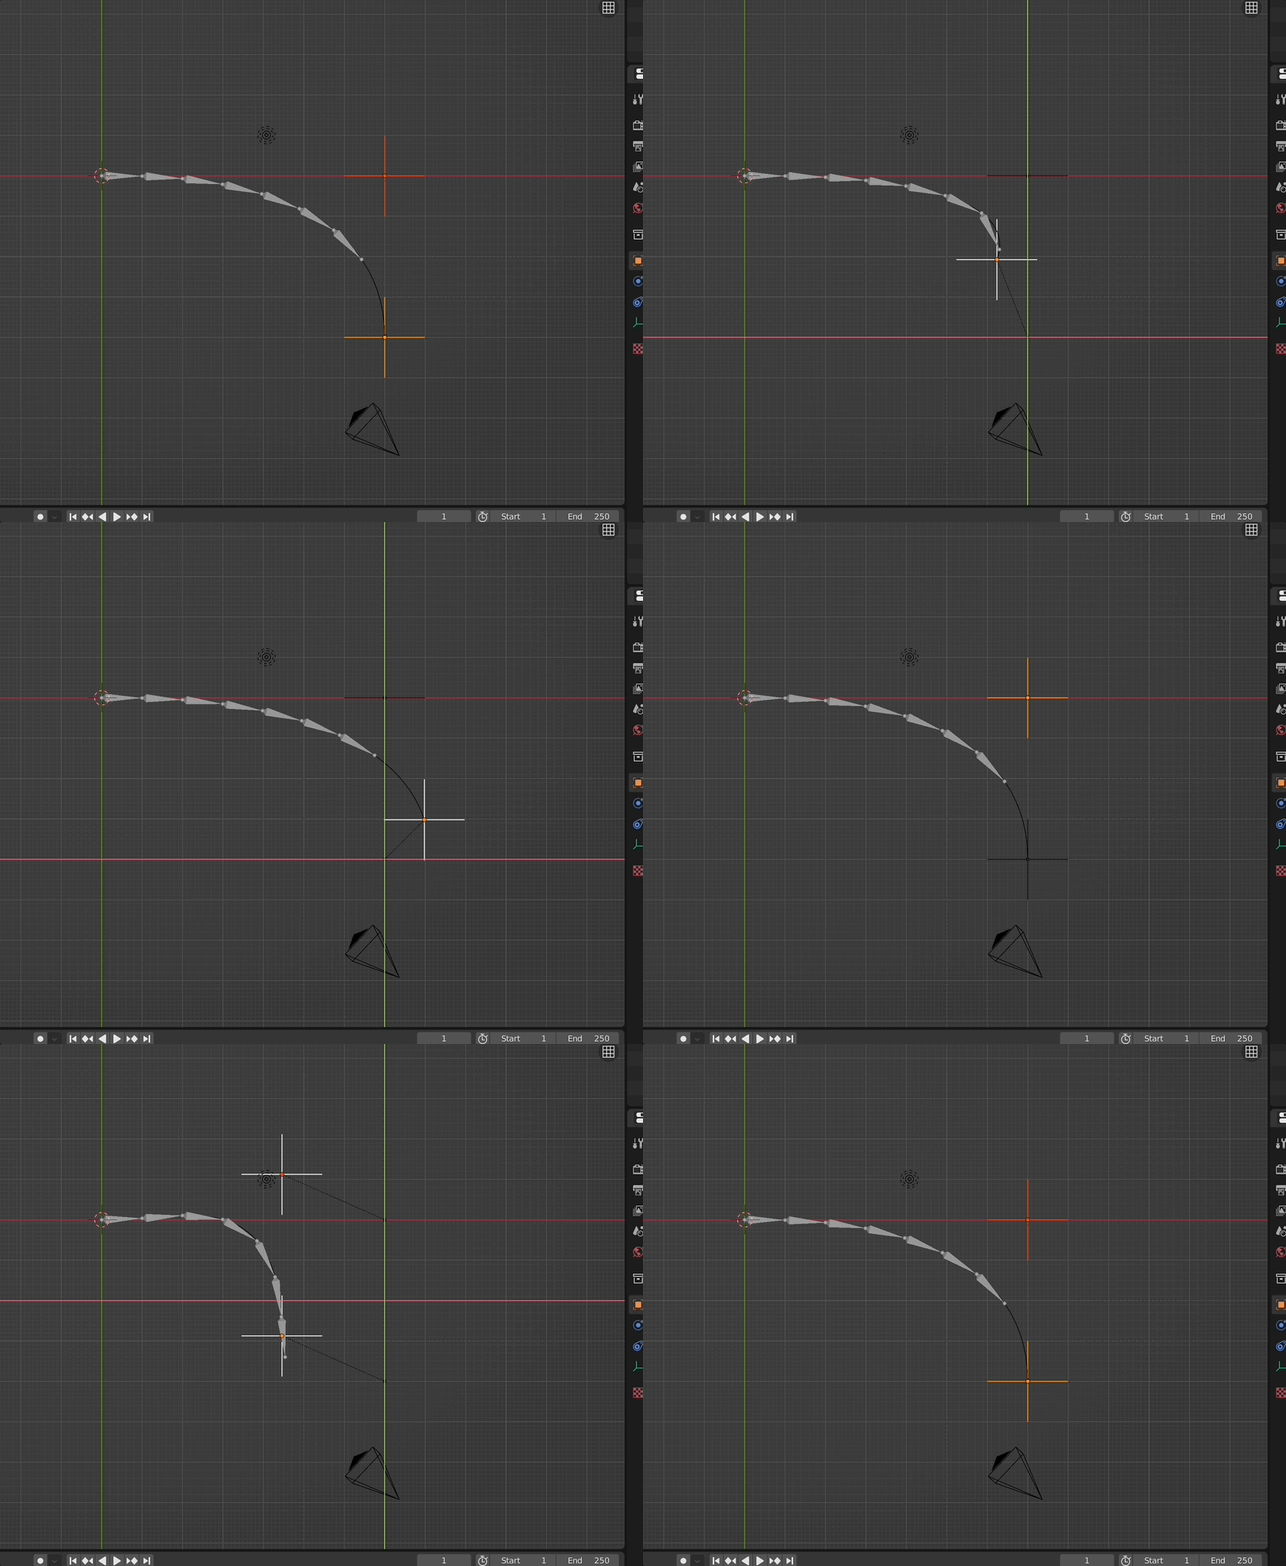
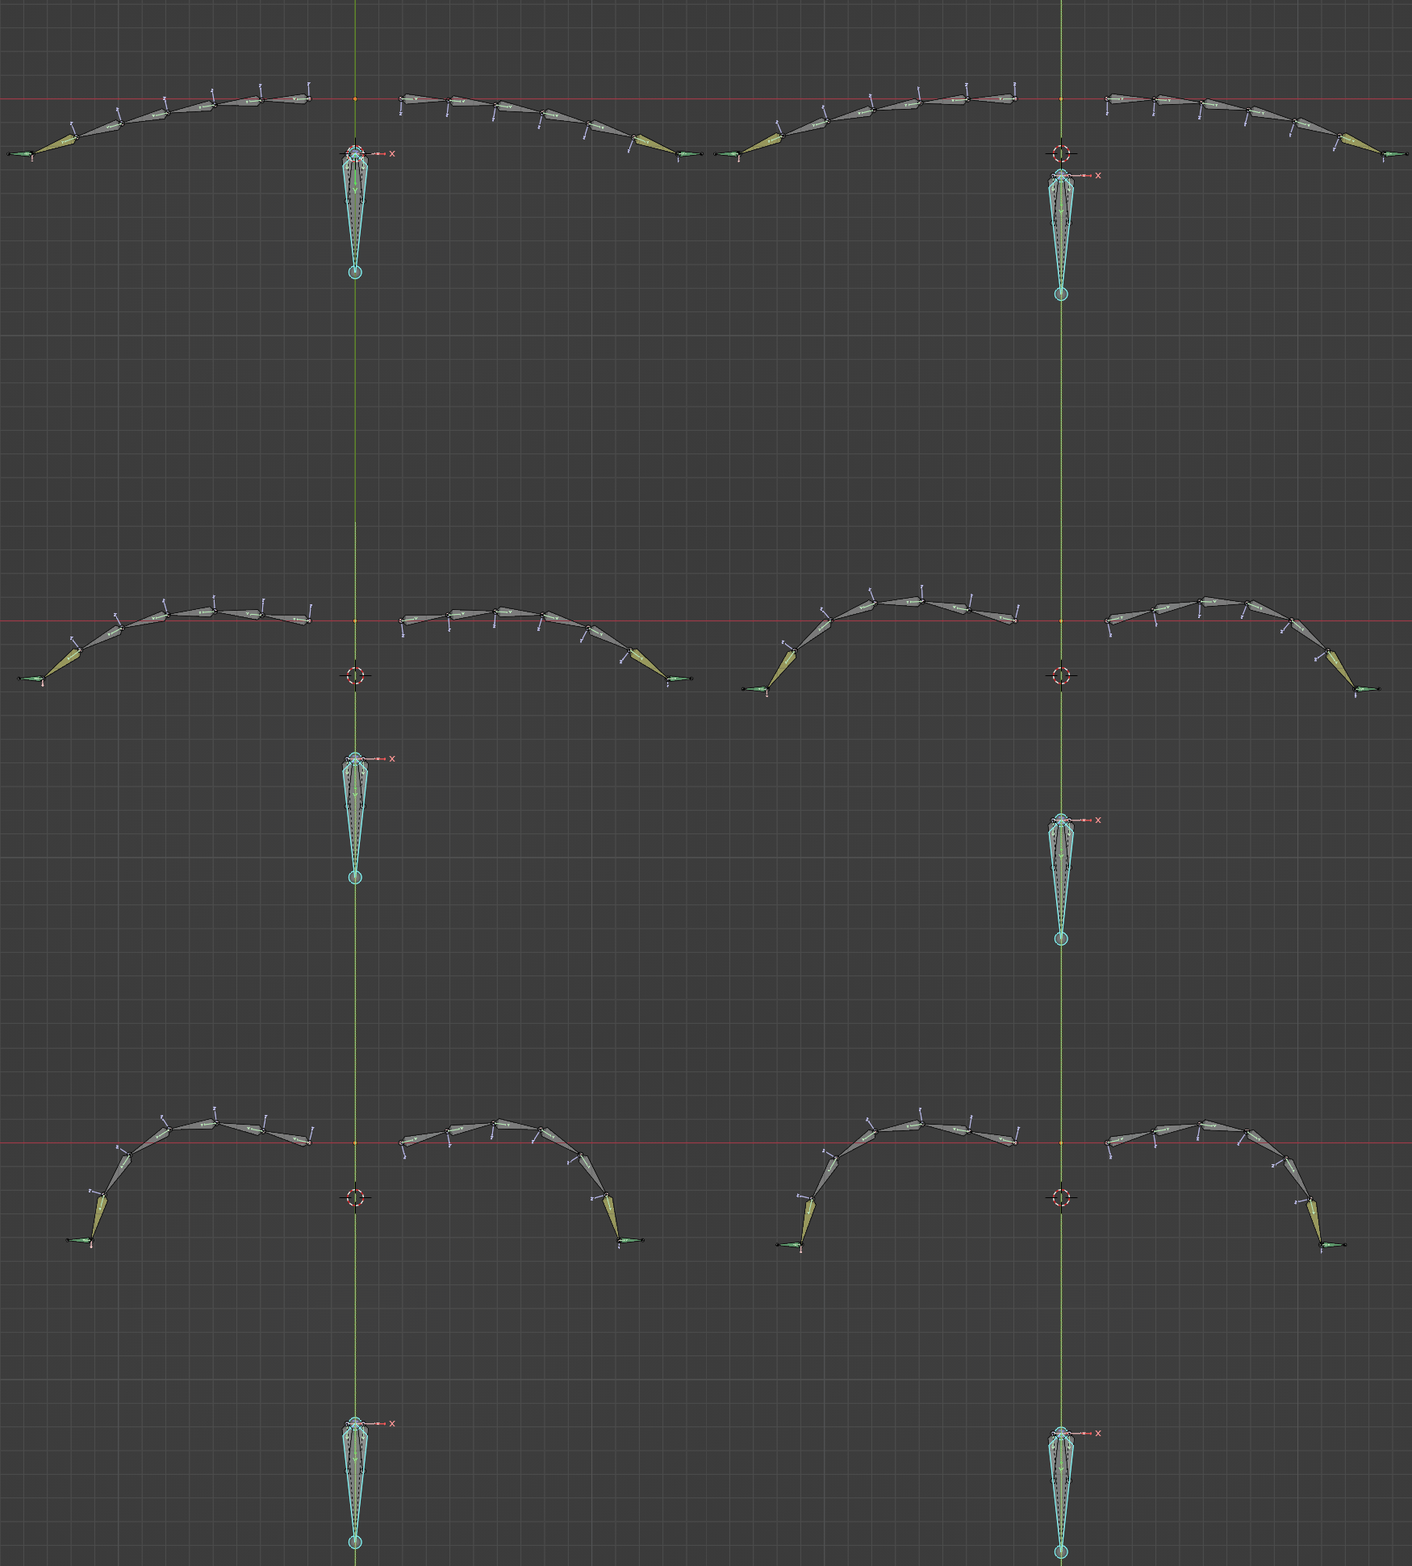 Each of the limbs is controlled by an an IK constraint. The targets of the IK constrain have a limit distance constraint, which moves them as the string is pulled.