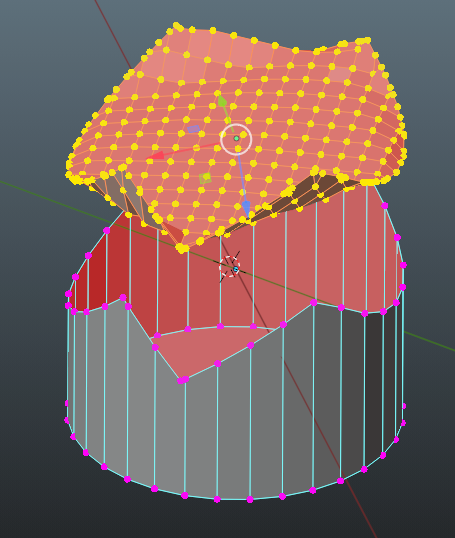
OK, this is going to be a long one...
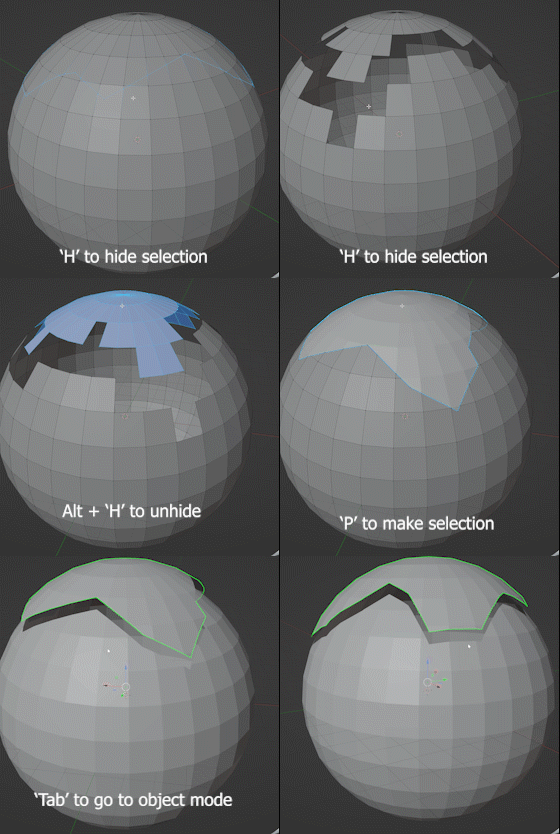
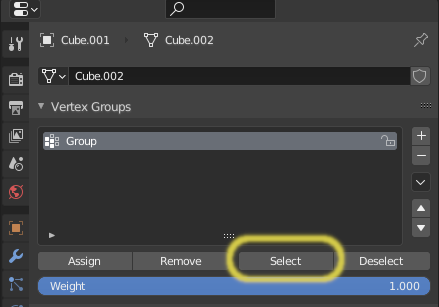
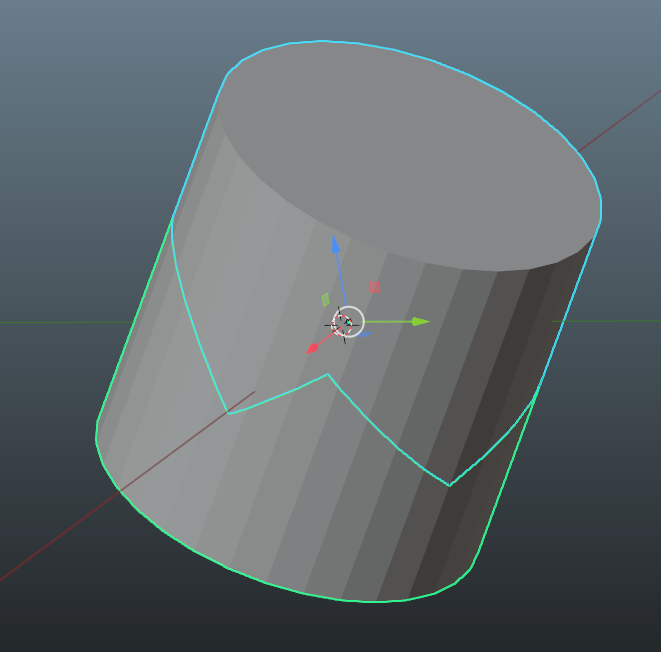
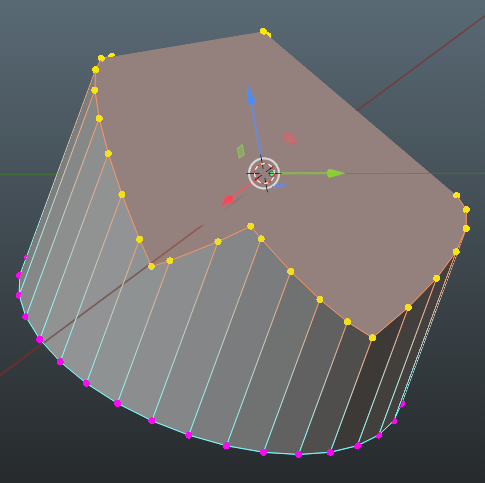
When you first create the "weird" cut, add the vertices to a vertex group, CTRL-G is the shortcut. With the vertices selected hit V to "rip" the edges creating 2 separate bodies, best to have Auto Merge off, RIGHT CLICK to end to tool without moving the verts. Quick tip, no need to select a vertex first then CTRL-L to select linked, just hover your mouse over the vertex you want and hit L Once you have one of the bodies selected, move them to a new object P. The new object and the original with both have the same vertex group so you can select in Edit Mode making the edge loop selection a breeze!

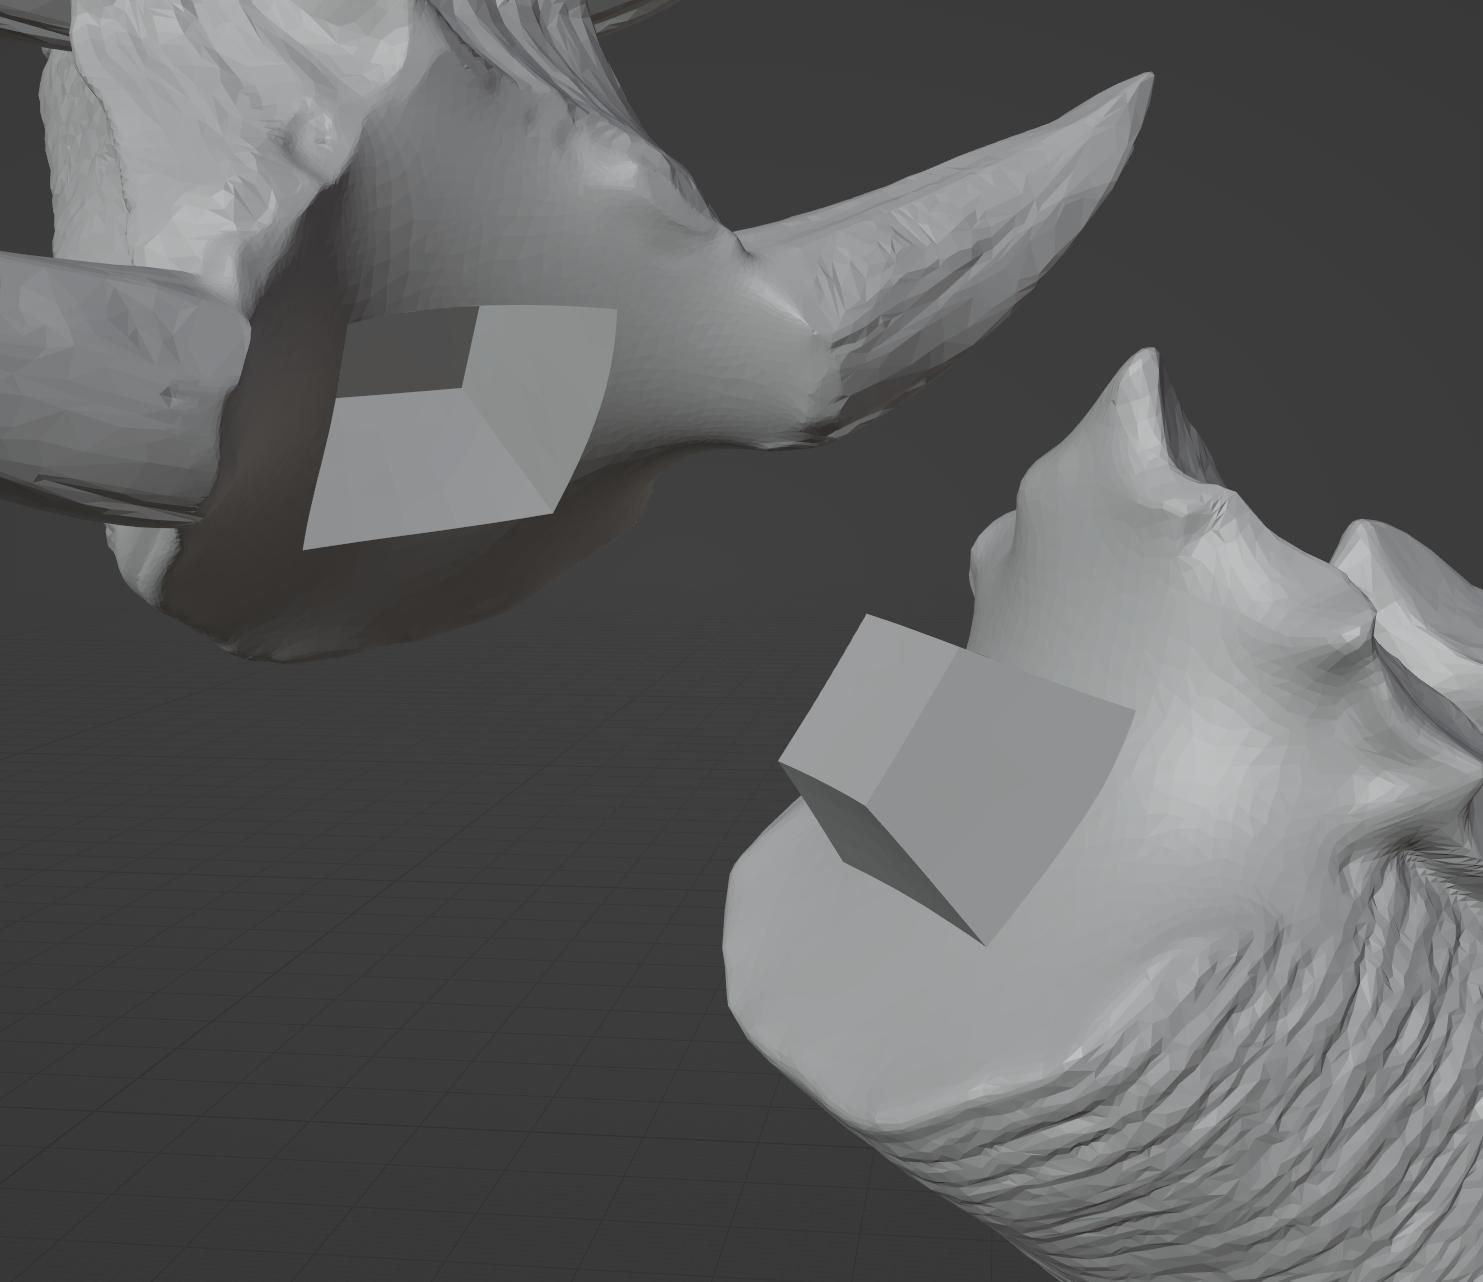
 I've put my object at a weird angle so the following makes more sense.
The next step, to make the same face on each part is the trick!
Back in Object Mode, hide one of the objects for now.
First, edit the visible object and select the edge loop as described above ;) then hit F, it will look terrible but we'll fix that in the next step.

With that terrible face selected place the 3D Cursor at it, SHIFT-S To Selected CTRL-I to invert selection and H to hide it. Now back to Object Mode.
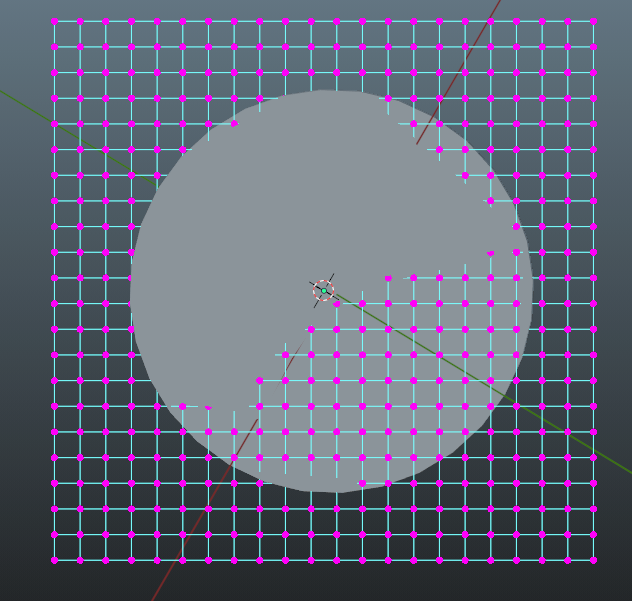
Square your view up as best you can to that terrible face you just created, doesn't have to be perfect, just good enough. Add a plane, align to view, edit plane, scale it to be bigger than the face and subdivide it, the more you sub the better the face will end up. Select all and X Only Faces so you are left with a grid of edges.

Object mode again.
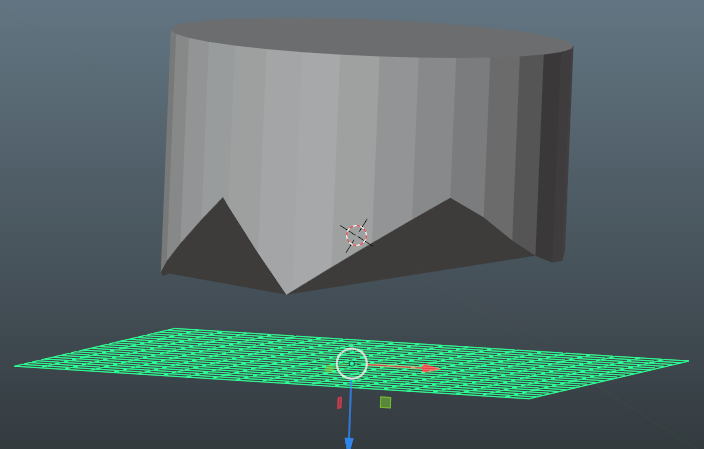
Move the plane so that it is not intersecting the object but is still bigger when viewed normal to it and your face. Making the Transform Orientation Normal will help here.

Now the cool part!
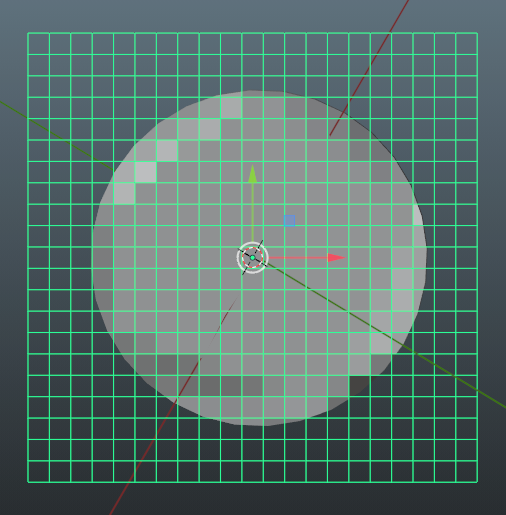
Select the plane SHIFT-7 or SHIFT-CTRL-7 to view normal to the plane with the plane in front of the object.
Select the plane FIRST then select the object, enter edit mode. Make sure you still have all but the terrible face still hidden in the object. From the menu select Mesh->Knife Project If done correctly, this will project the edges of the plane onto the object and slice up that terrible face, there will be plenty of N-Gons but as this is for 3D printing it wont matter.

Now the matter of making the same face on the other part... Easy! (I won't give you key strokes here... you get the point!)
Edit the object your just made the "cool" faces for, use the vertex group again to select the vertices we need, then from the menu choose Select->Select Loops->Select Loop Inner-Region (you may need to invert that selection then select the group again) Duplicate the faces, move them to a new object.
Back in Object Mode join the new faces object with your original object that we hid at the start. Edit it...

Now select the linked verts of those added faces.
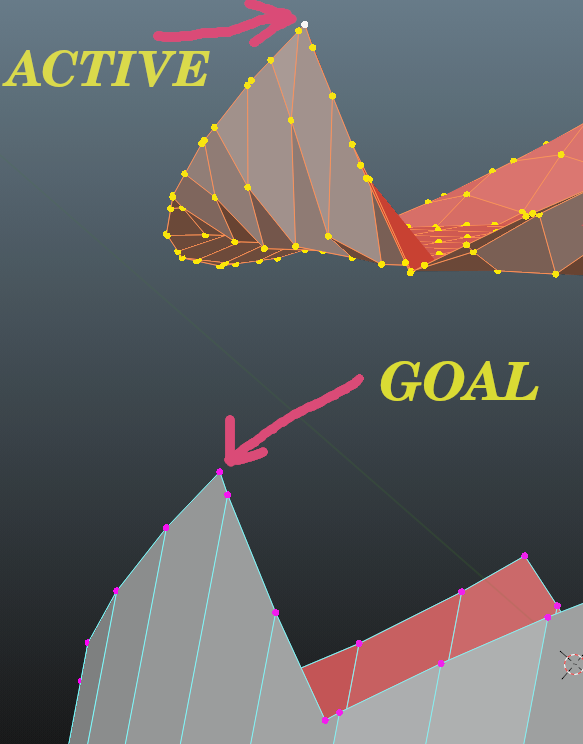
Choose a vertex that "stands out/easy to find on both bodies", make sure that is the active vertex.

Now with Snap to -> VertexSnap with -> Active selected move the selected vertexes to the correct spot, select all, merge by distance...
The alignment features should be a simple matter using booleans.
You're done!!
You should now have 2 separated objects with exactly the same faces that are readily 3D printable.
(I REALLY hope this answered your question!!)

