19
$\begingroup$

I usually face this problem when I cut objects to make them printable in my 3D printer. As you may know, you need your object to have a nice base to be printed.

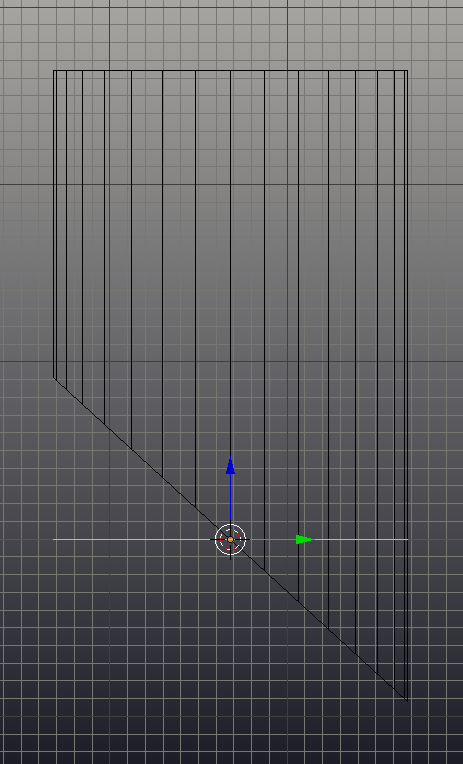
So I usually use bisect to cut an object to different pieces. As in this example:
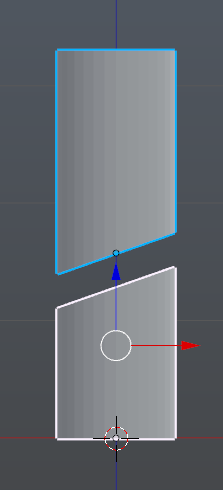
Object bisected

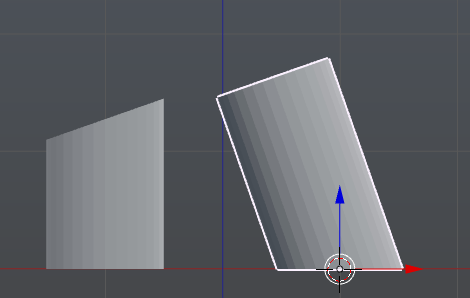
and I need to rotate the top part to have a face as bottom:
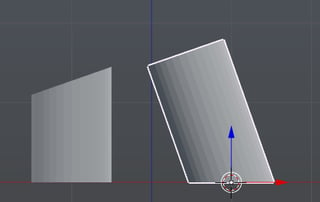
Final Object

I'll share my workflow in an answer, but I'm asking for a simpler solution, if there were any.

$\endgroup$

5 Answers 5

13
$\begingroup$

So this is my workflow:

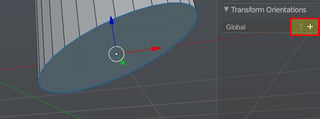
First select the face you want to be the ground of the object, and create a custom Transform Orientation from the N panel:

Custom transformation

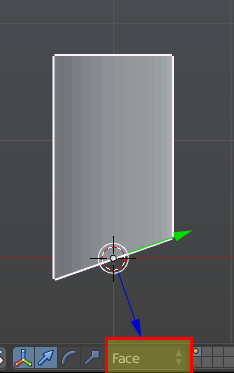
Then select the new orientation and place 3D Cursor at the face center with ShiftS, Cursor to Selected. You could also move object center to the same place with ShiftCtrlAltC>Object to 3D Cursor.

Select custom orientation

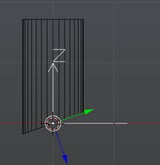
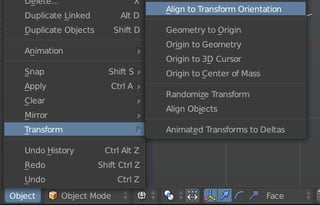
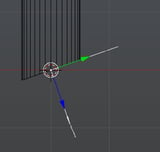
Now add an emtpy and align it to my custom orientation.

added emtpy align to transform orientation aligned empty

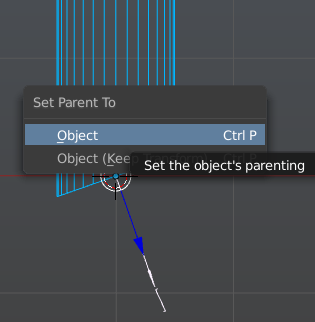
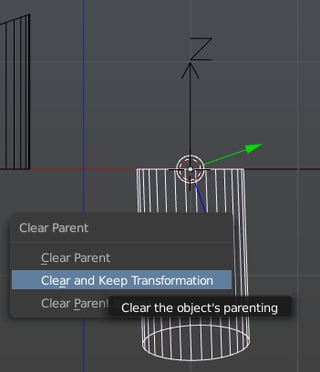
Now parent the object to the empty (CtrlP), clear the empty rotation (AltR), and clear the object's parent keeping transformation (AltP>...).

parenting unparenting

Finally rotate the piece 180º, and you have the face as the ground.

Final

$\endgroup$
10
$\begingroup$

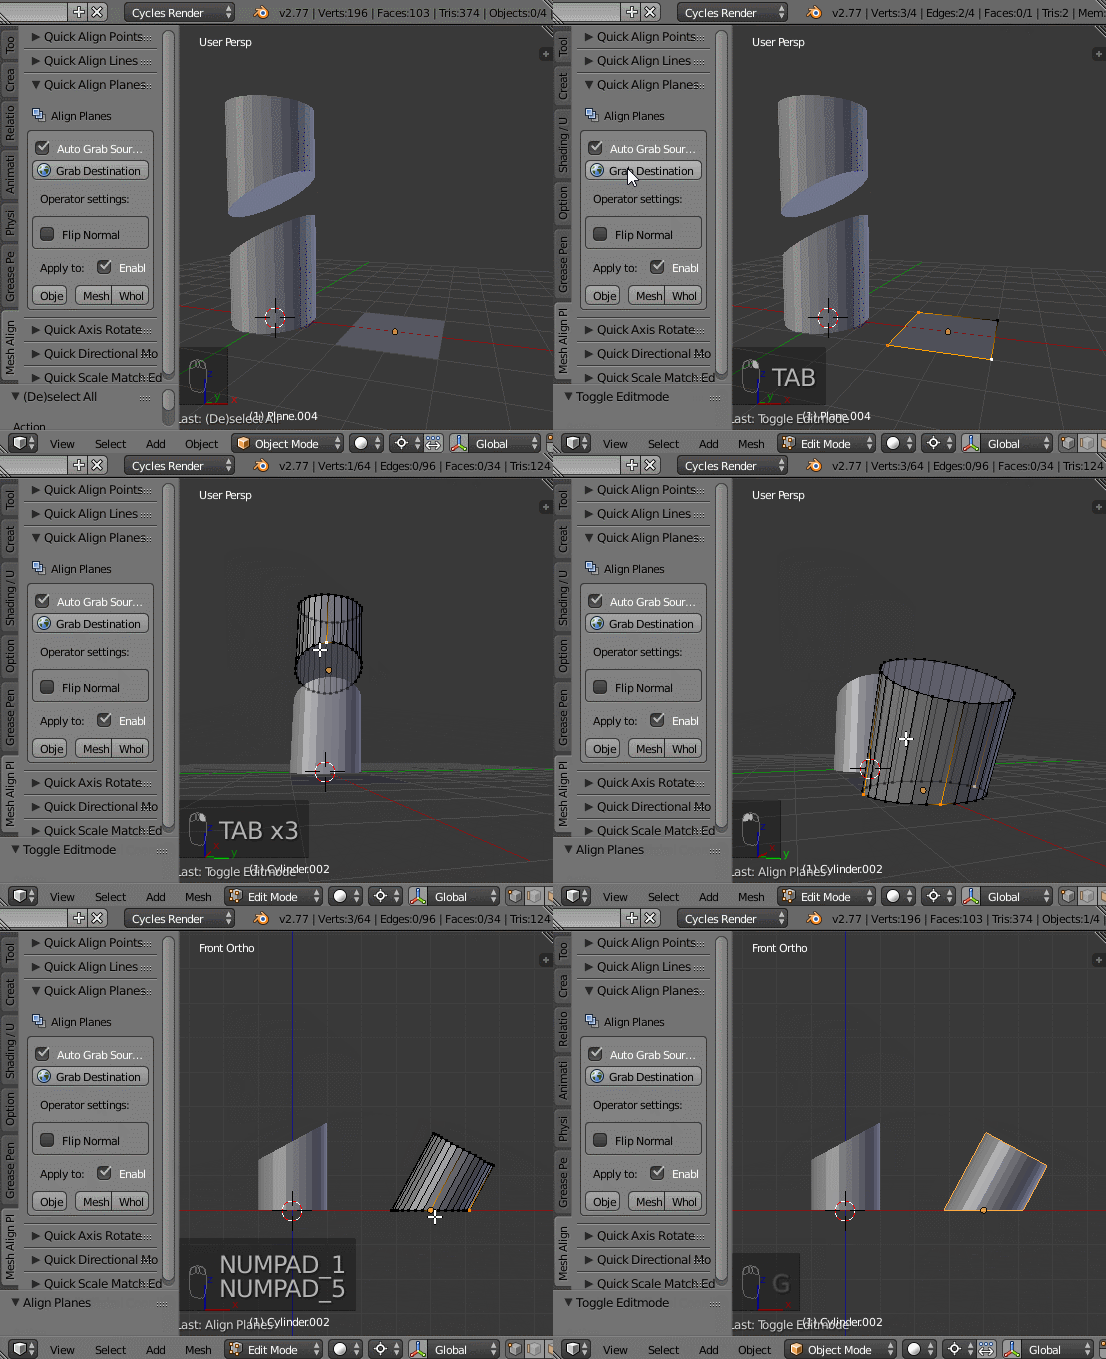
Try my addon, Mesh Align Plus (we align an object in the example below, but you can also do this to a mesh selection or whole mesh):

enter image description here

$\endgroup$
5
$\begingroup$

You can use vertex snapping to achieve this effect.

Note before we begin: You can activate snapping by holding down Ctrl

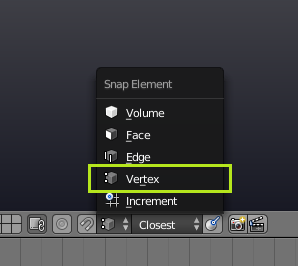
  1. Enable vertex snapping
    enter image description here

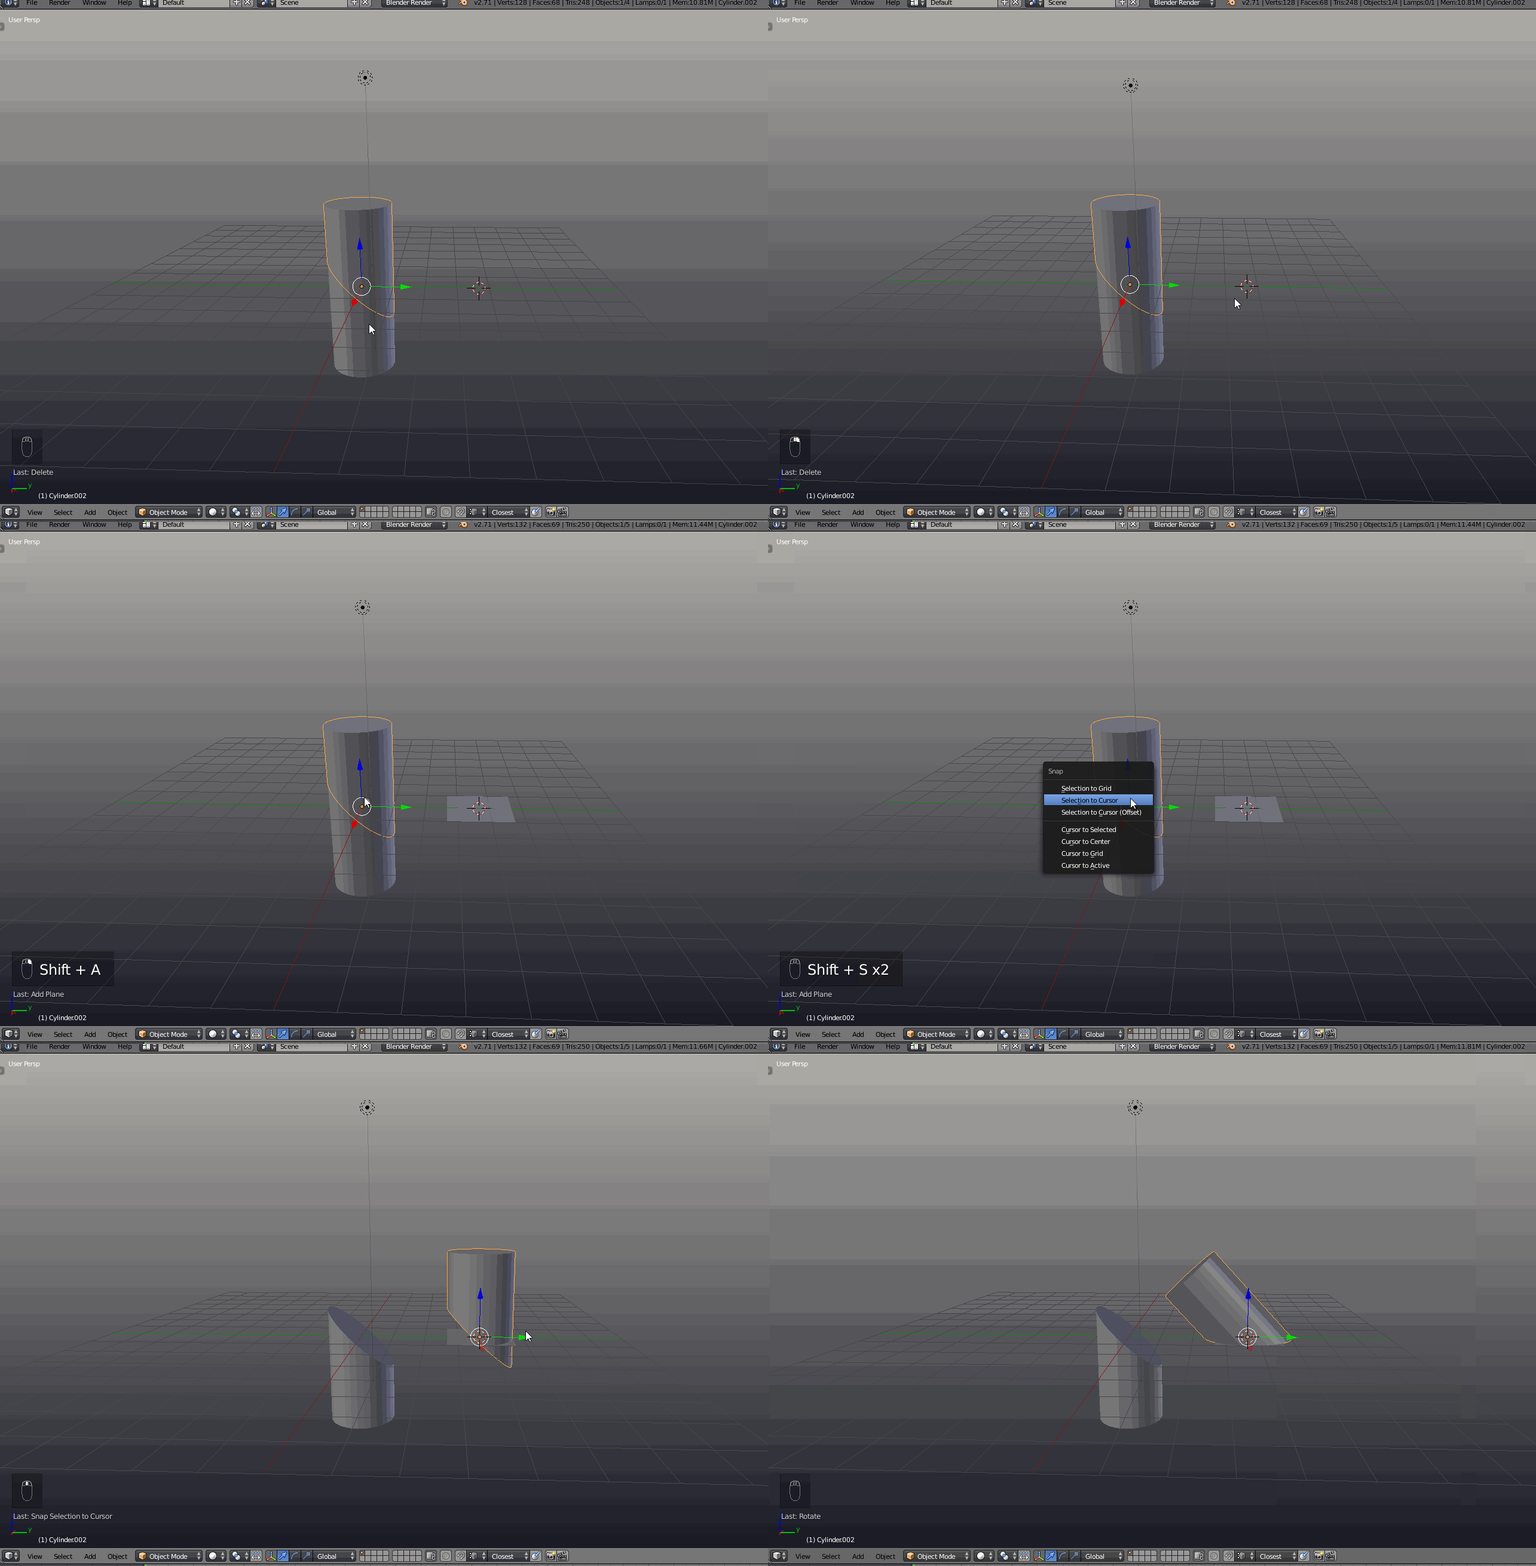
  2. Select all the vertices along the edge of the cut face, then with the pivot point set to anything except active element, press Shift S > Cursor to selected

  3. Set the origin of the mesh to the 3D cursor(ShiftCtrlAltC>Origin to 3D cursor) If you don't want to move the origin, set the pivit point to 3D cursor.
  4. Add a plane in object mode. we will align the mesh to this plane. enter image description here
  5. Now with the mesh selected, hit R, (lock rotation to the axis of the cut mesh). With snapping turned on, move your cursor over one of the vertices on the plane.

Gif Demo:

enter image description here

Edit: This will work on multiple axis, first perform the snap on the X then the Y. I will note that it is incredibly difficult to get the snapping right. The best technique is to do the rotation in edit mode with snapping set to active.

$\endgroup$
3
  • $\begingroup$ Exactly, you can rotate the mesh using snapping. I will add a .gif demonstrating this to the post in a second. $\endgroup$ Commented Jul 21, 2014 at 19:14
  • 1
    $\begingroup$ Nice one. But as you say, it seems it only works if you cut the object in one of the main views. $\endgroup$
    – DavidGasku
    Commented Jul 21, 2014 at 22:22
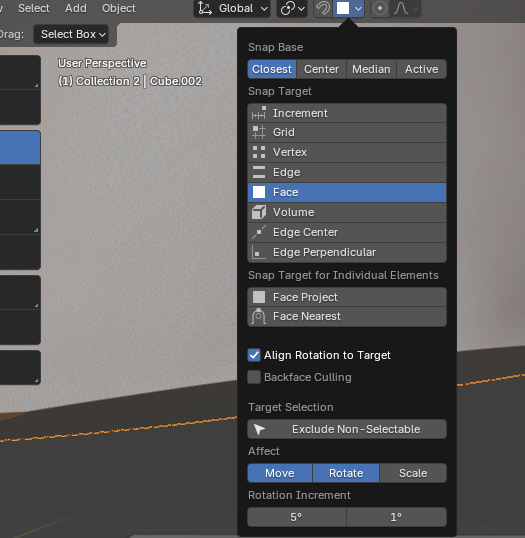
  • $\begingroup$ I've been trying to apply this method in Blender 3.0, and I couldn't get it to work. I then figured out that in the little snap options, you need to make sure that "Affect: Rotate" is enabled, and "Align rotation to Target" is checked. $\endgroup$ Commented Jan 1, 2022 at 17:18
0
$\begingroup$

Although developed in a fork there is a tool that simplifies this requirement.

It works over selected data, in ob and editmode, and developed as a new transform tool. It's not and addon. You must specify 1, 2, or 3 points as origin (using snap tool most times), and then the same number of points as destiny. First point is a translation. With the second point it performs and axis match, and with the 3rd point a plane match (rotating over the axis defined).

The project also allows to move the view during transform, which is also great.

https://vimeo.com/161994522

http://www.mechanicalblender.org/features/match-tool.html

$\endgroup$
1
  • 1
    $\begingroup$ Welcome to the site :) Is it possible you could add a short summary of the linked video, describing how to use the feature? We like answers to be able to stand on their own if linked content becomes unavailable in the future. Thanks $\endgroup$
    – gandalf3
    Commented Apr 25, 2016 at 5:40
0
$\begingroup$

You have an object that is rotated in an strange angle.

  • You add a default cube then by use of snapping as in below you drag it to the surface that you want to be un-turned of a strange angle

enter image description here

  • As a result the cube will be turned into the same orientation.

  • Next you select your object then the cube and press CTRL+J. This join the object, and by doing so your object gets a new origin
    which is rorated as the cube.

  • Now you can go to your object and undo any strange rotations by setting the object roations to zero

$\endgroup$

You must log in to answer this question.

Not the answer you're looking for? Browse other questions tagged .