5
$\begingroup$

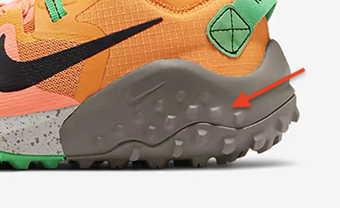
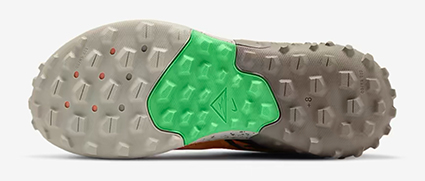
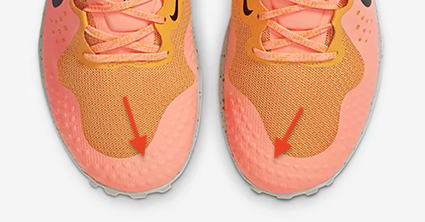
I'm trying to figure out how to model small and weir details above a curved surface like a shoe's sole. Here a couple examples:

  1. In this case the detail on the sole also fades. Is this modeled or sculpted with a brush?

enter image description here

  1. Here the details are all around to the curved surface and they starts from the lower part of the sole and continues on the side and they looks all at the same distance between them, how could it be made?

enter image description here enter image description here enter image description here

Thanks a lot in advance!
$\endgroup$
2
  • $\begingroup$ related blender.stackexchange.com/questions/194667/… $\endgroup$
    – lemon
    Commented Dec 8, 2020 at 12:41
  • 1
    $\begingroup$ There are few workflows you can use. it depends what you will like or what will suit you. First one is sculpting, yes that can be a thing but it wont be much precise if you are not skilled enough, and your mesh will be destroyed for normal modeling. You can prepare a displacement map that will be painted on the shoe for precision and then used as displacement. You can model it, which will take most knowledge about topology, or you can model it separately and then place it on the surface and boolean or voxel remesh it. $\endgroup$
    – Fowl
    Commented Dec 8, 2020 at 12:42

3 Answers 3

6
$\begingroup$

If what you want to do allows it (several kinds of shoes in the question, but maybe this is ok for second and third pictures), you can obtain this very simply:

enter image description here

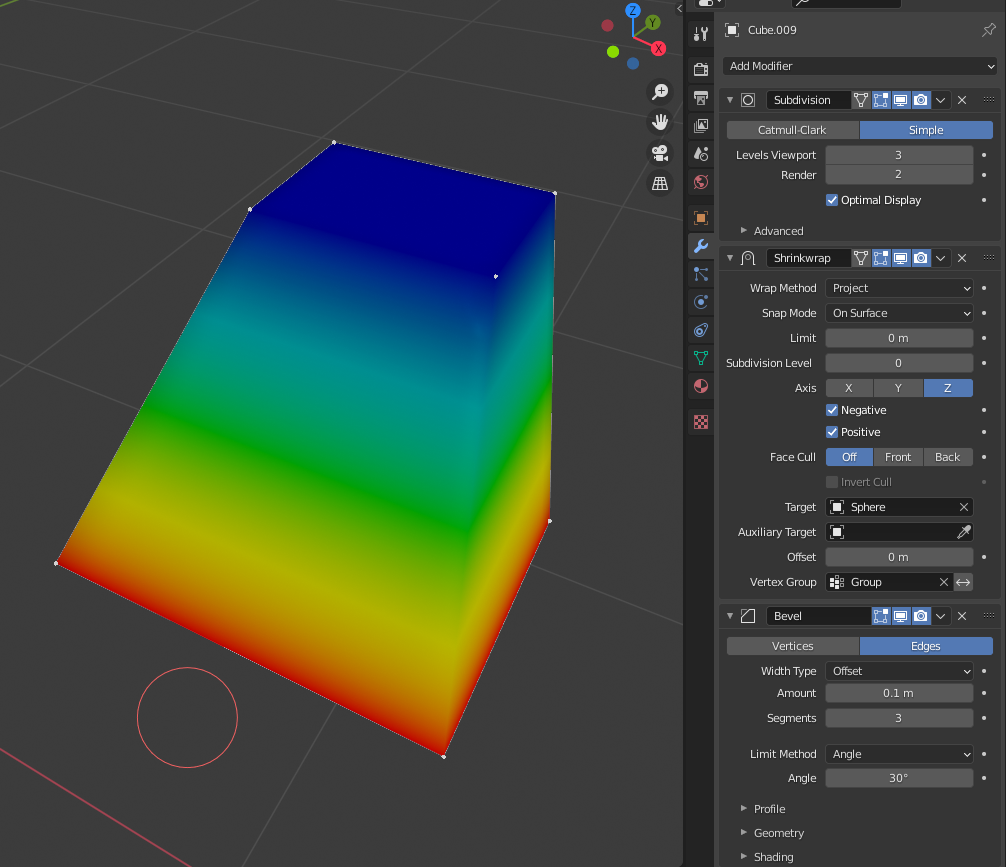
The model is a simple cube opened at its base, with a vertex group that is one for the bottom vertices and 0 for the top.

enter image description here

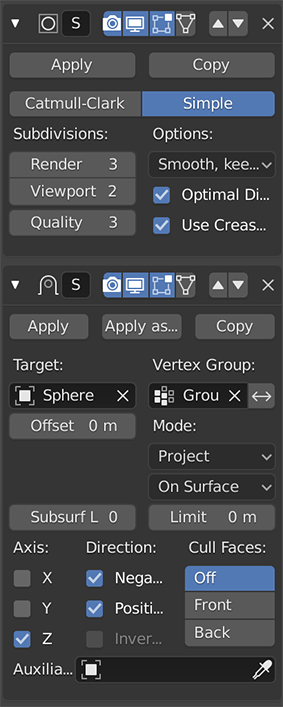
Modifiers:

  • Subdivision that will propagate smoothly the vertex group values and gives geometry for the shrinkwrap below
  • Shrinkwrap to project on the surface, using the vertex group
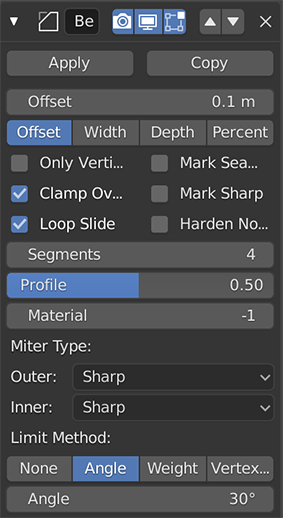
  • Bevel... to bevel and smooth the base

enter image description here

This is not a pure modeling, surely... but its quick and often invisible for small details.

$\endgroup$
3
$\begingroup$

For 3D patterns like in picture #1 and #4, you can create a black and white picture and use it to paint bump map on your shoe:

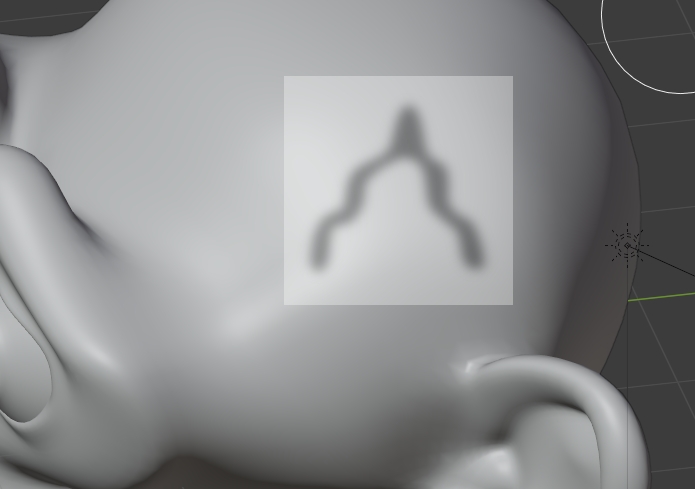
Create your pattern:

enter image description here

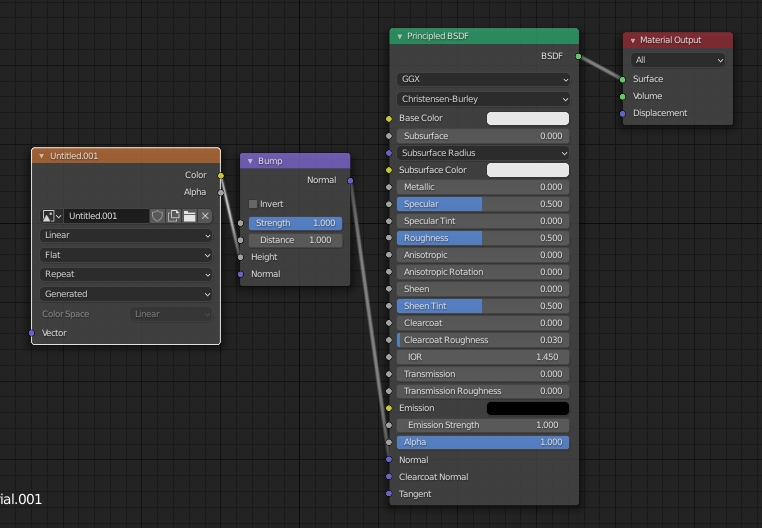
Create your material with a white image as Image Texture that you plug into the Height socket of a Bump map:

enter image description here

Unwrap your object, assign it the material, switch to Texture Paint mode, use a brush Blend > Multiply, use the image as Texture with Mapping > Stencil:

enter image description here

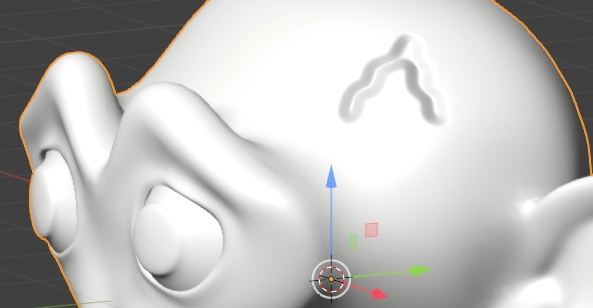
Paint on the surface where you want the pattern to appear:

enter image description here

$\endgroup$
0
$\begingroup$

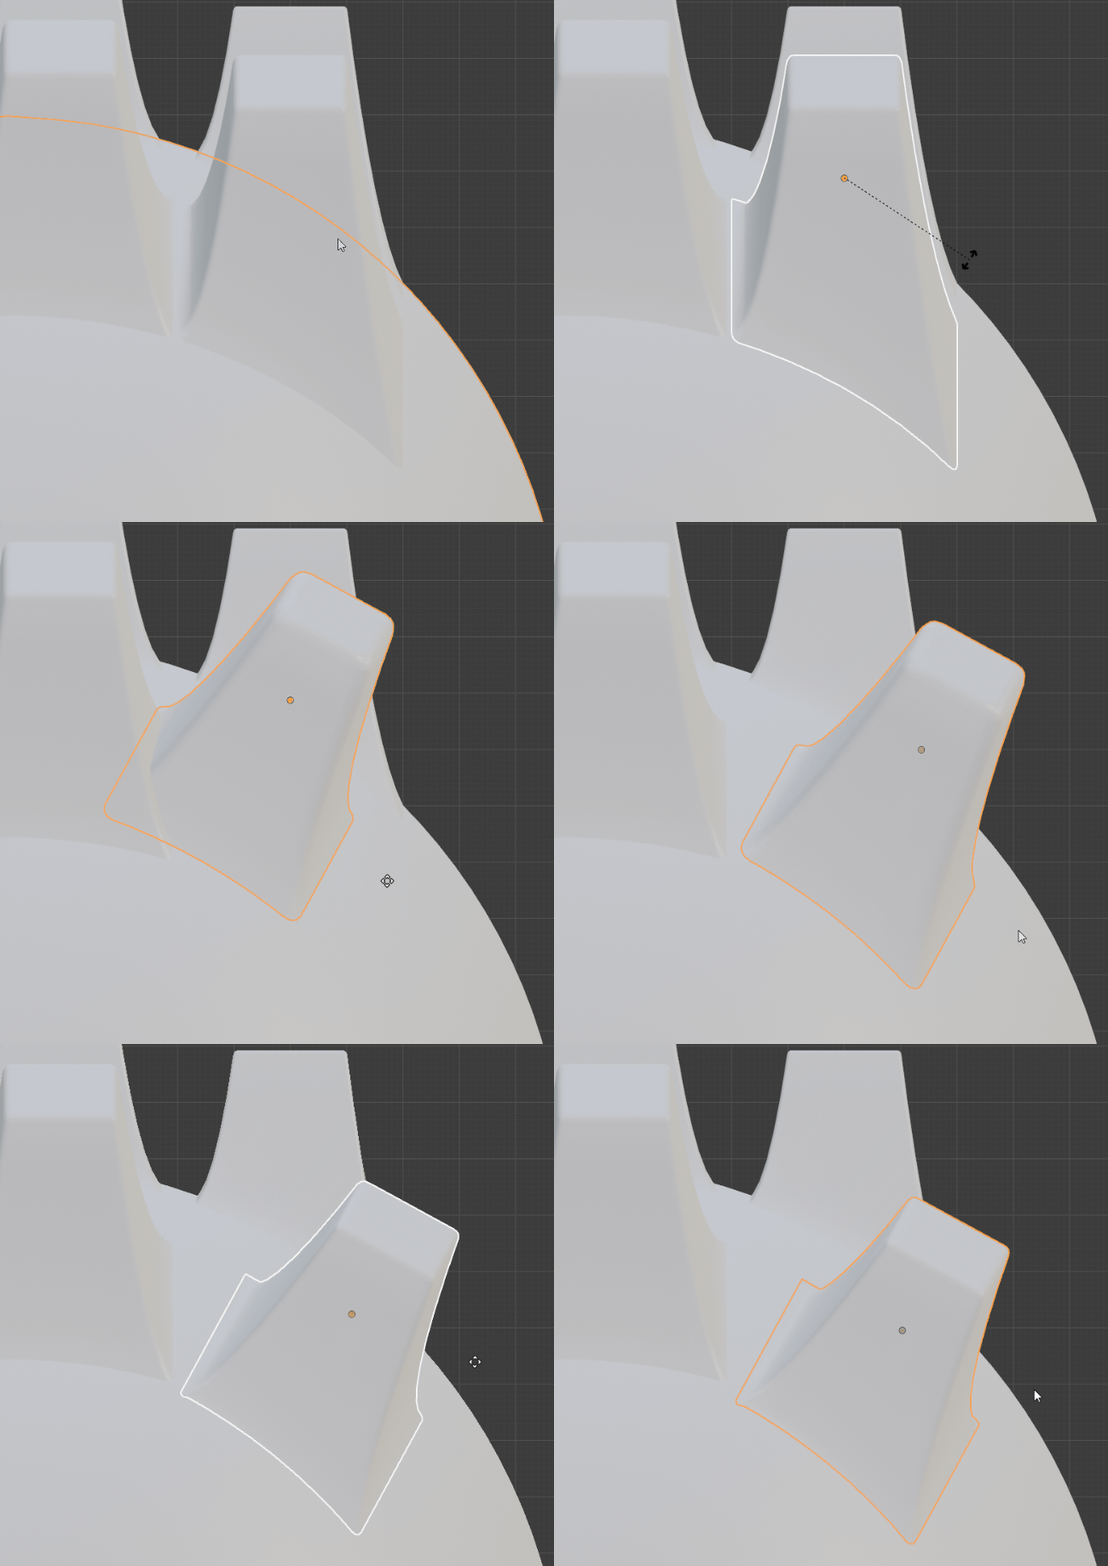
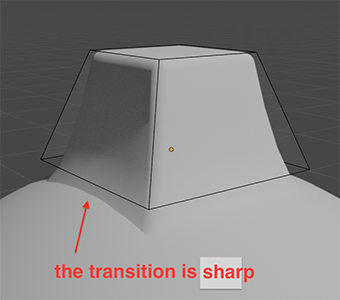
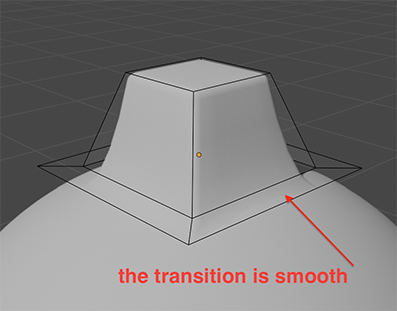
Hi @lemon thanks for your help, but i tried to replicate the shrinkwrap technique and i don't understand why because unlike you I have to extrude and scale extra geometry from the base of the cube to create the smooth transition through the two pieces.

1 without extruding and scaling extra geometry at the base:

enter image description here

2 extruding and scaling extra geometry at the base:

enter image description here

i used your same settings and order in modifiers:

enter image description here

enter image description here

which may be the difference?

Furthermore, when I change the orientation or direction of the element I am going to place on the surface, the shrinkwrap stops working in any way. Do you have any idea why?

$\endgroup$
4
  • 1
    $\begingroup$ Hello matibuc. This technic is not perfect but fast. As I said this is for small details (not the center of the scene). You can smooth the transition as you did (with maybe reweight the group). About the orientation, keep the object's Z to the surface as it is projected along Z (so rotate it in object mode, not in edit mode). $\endgroup$
    – lemon
    Commented Dec 9, 2020 at 17:37
  • $\begingroup$ And... you should not use the answer part for this... BSE is not a forum. instead you can complete you question and ping me below my answer in comments if you want to say me something. Thanks $\endgroup$
    – lemon
    Commented Dec 9, 2020 at 17:39
  • $\begingroup$ I'm sorry @lemon but here in comment i can't attach any picture. How could i show into detail which are my steps and relative perplexity? $\endgroup$
    – matibuc
    Commented Dec 16, 2020 at 16:11
  • $\begingroup$ Hi matibuc, you can edit your question. $\endgroup$
    – lemon
    Commented Dec 16, 2020 at 16:18

You must log in to answer this question.

Not the answer you're looking for? Browse other questions tagged .