2
$\begingroup$

I'm pretty new to Blender and trying to model various things, but I faced a problem which I can't properly describe to find an answer, so sorry for silly question if it is.

I tried to model several edge bridges like second bottom in a barrel (second bottom edges connect directly to an edge loop on outside wall) and regular edge bridge that connects inside edges to outside wall with a bridge and got strange behavior along connection lines.

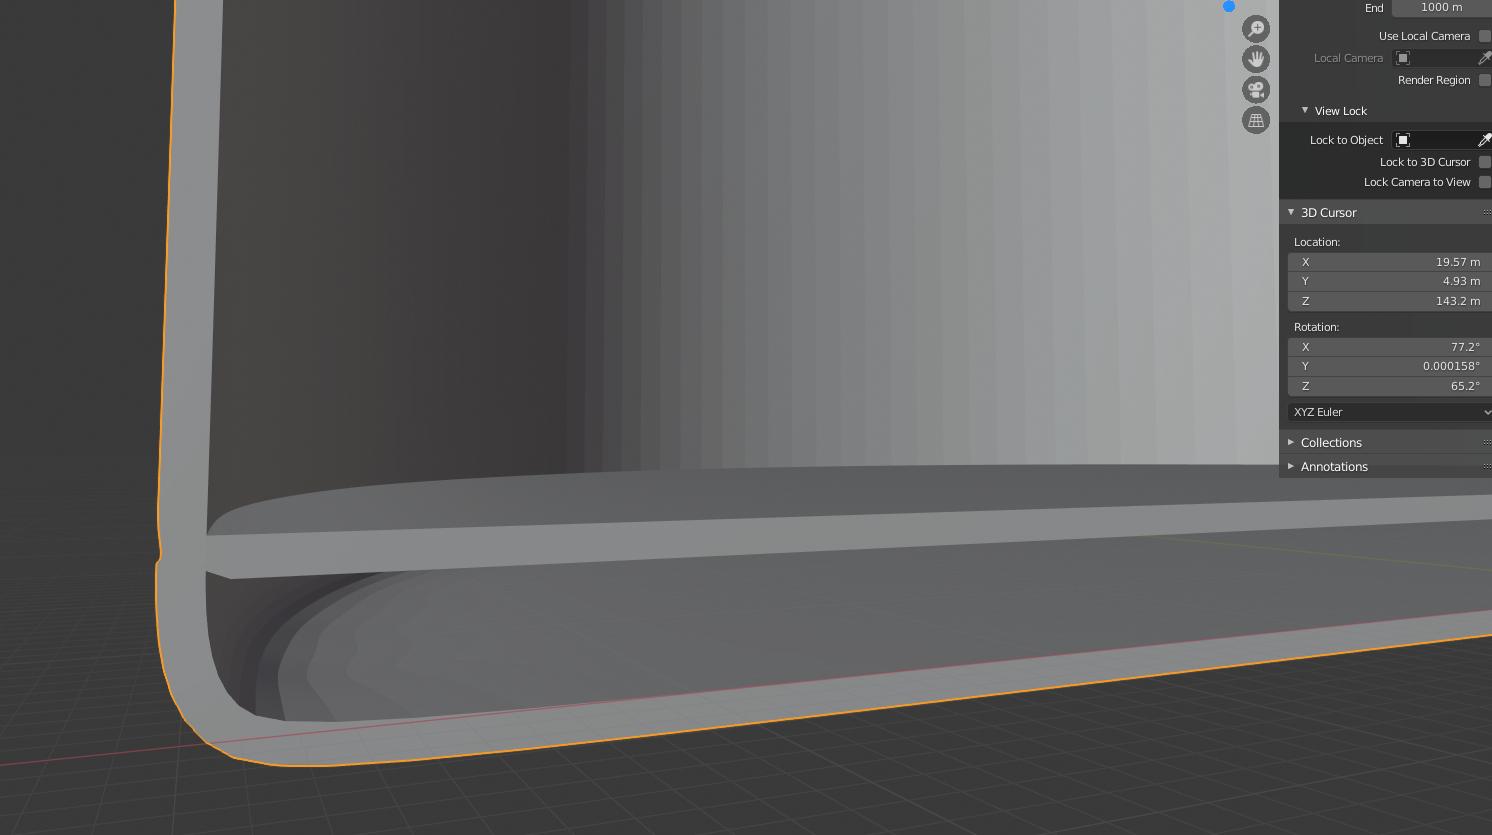
I want to 3d print this model thus I'm trying to solidify it and subdivision surface gives these artifacts. I tried to add supporting geometry, the distortion can be reduced but remains there.

I also tried to flip normals, but that has more cosmetic effect to the bottom case bec. it is still smth. wrong with edges but in this case inside.

In case of bridge it makes both edge loops sharp and ugly and I can't apply any bevel etc. to it. In case of second bottom it distorts outer wall. Without all this the model is smooth as expected without any issues.

Any help is much appreciated!


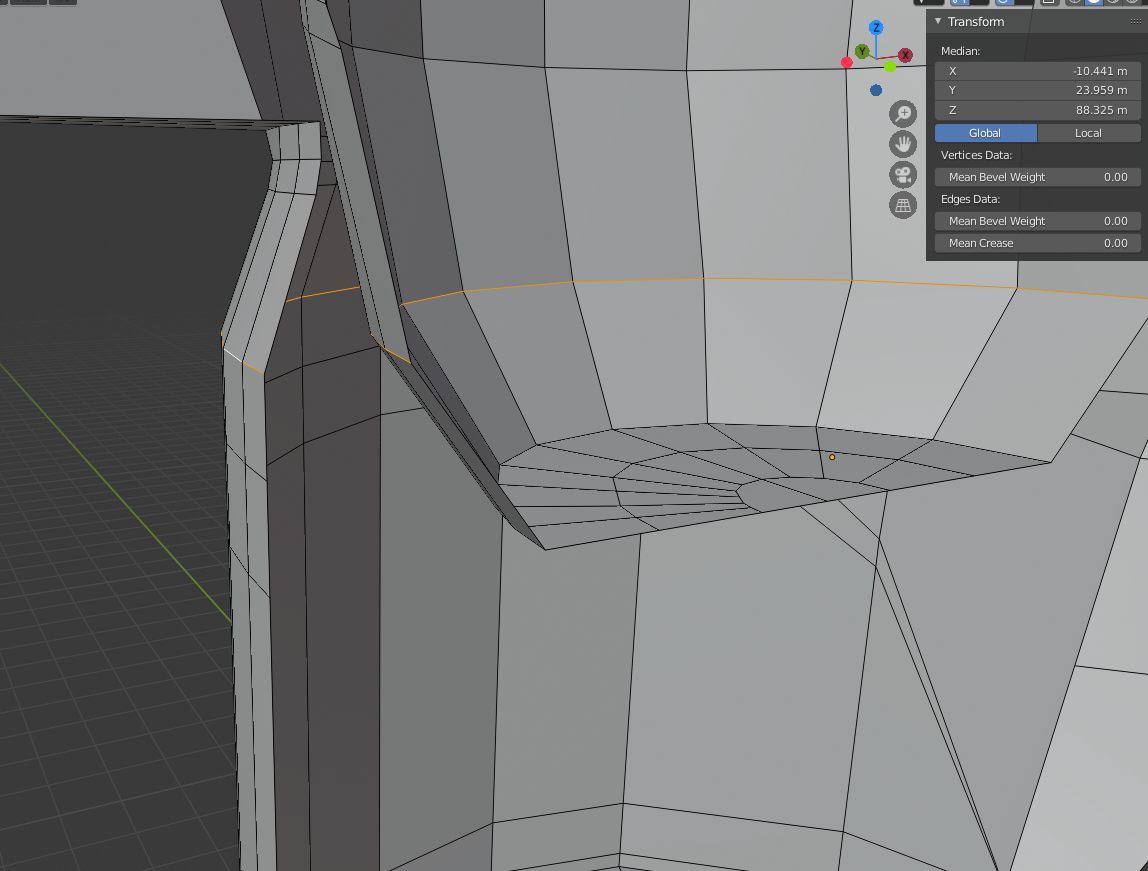
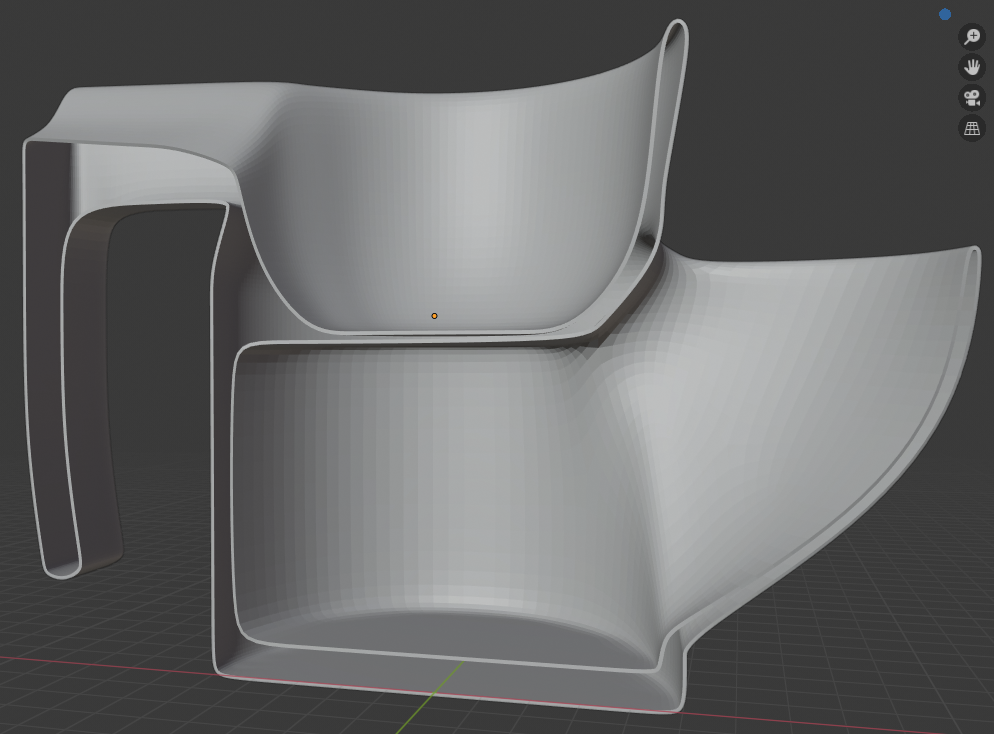
Model overview (symmetrical along X axis)
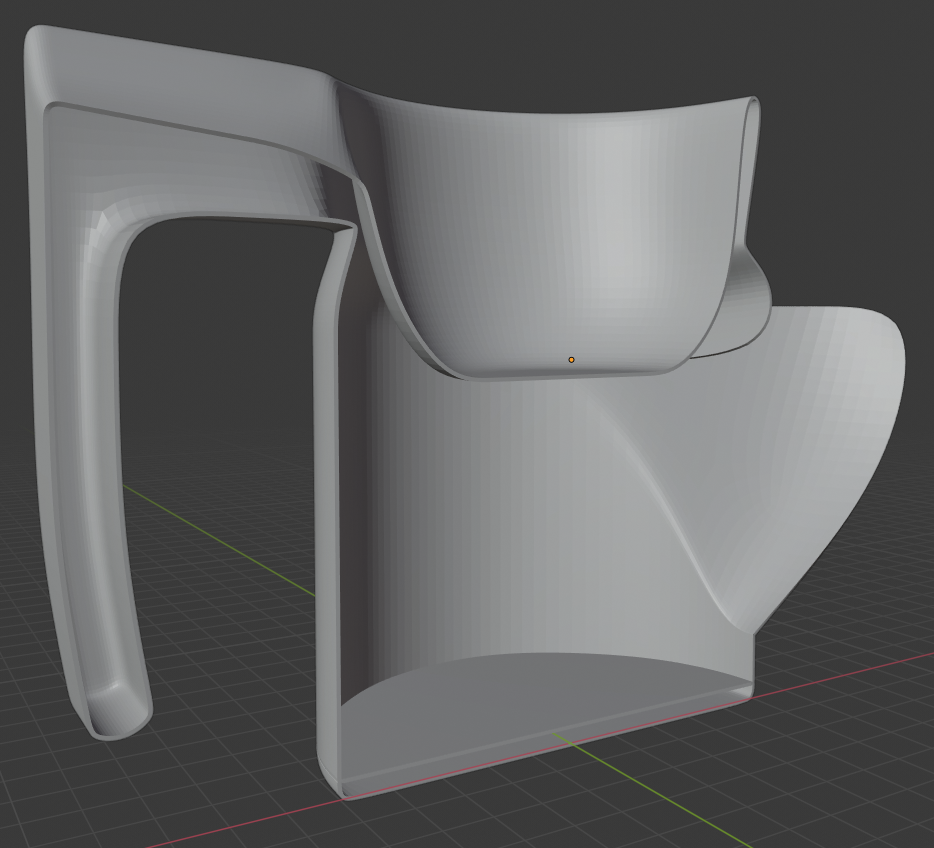
Model overview

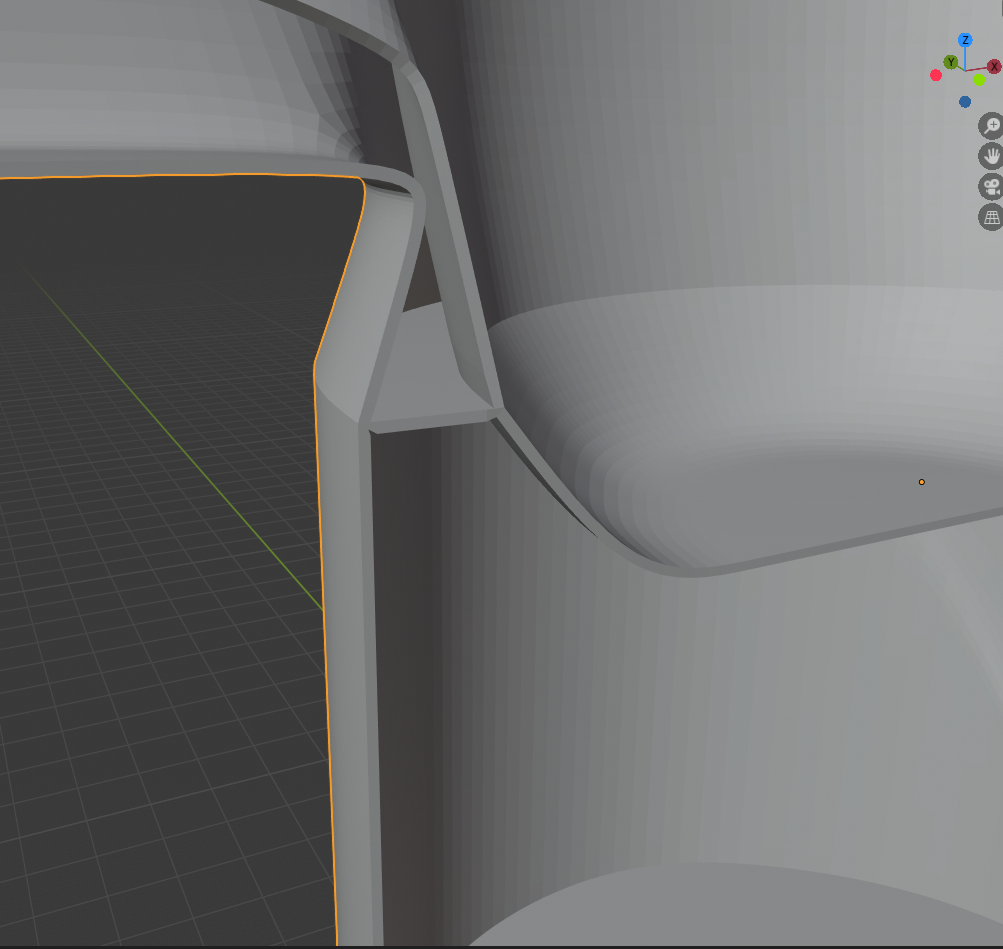
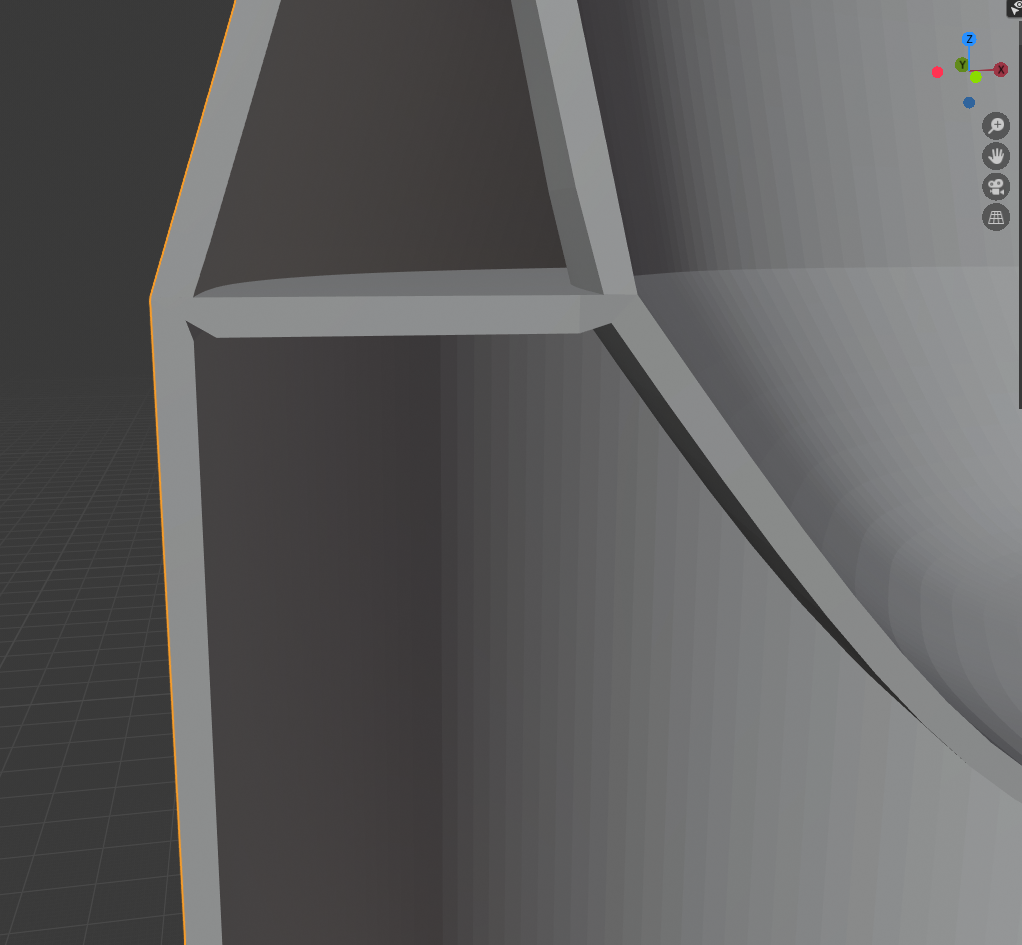
Inner edge bridge

Selected edge loops Bridge with sharp loops Solidified bridge

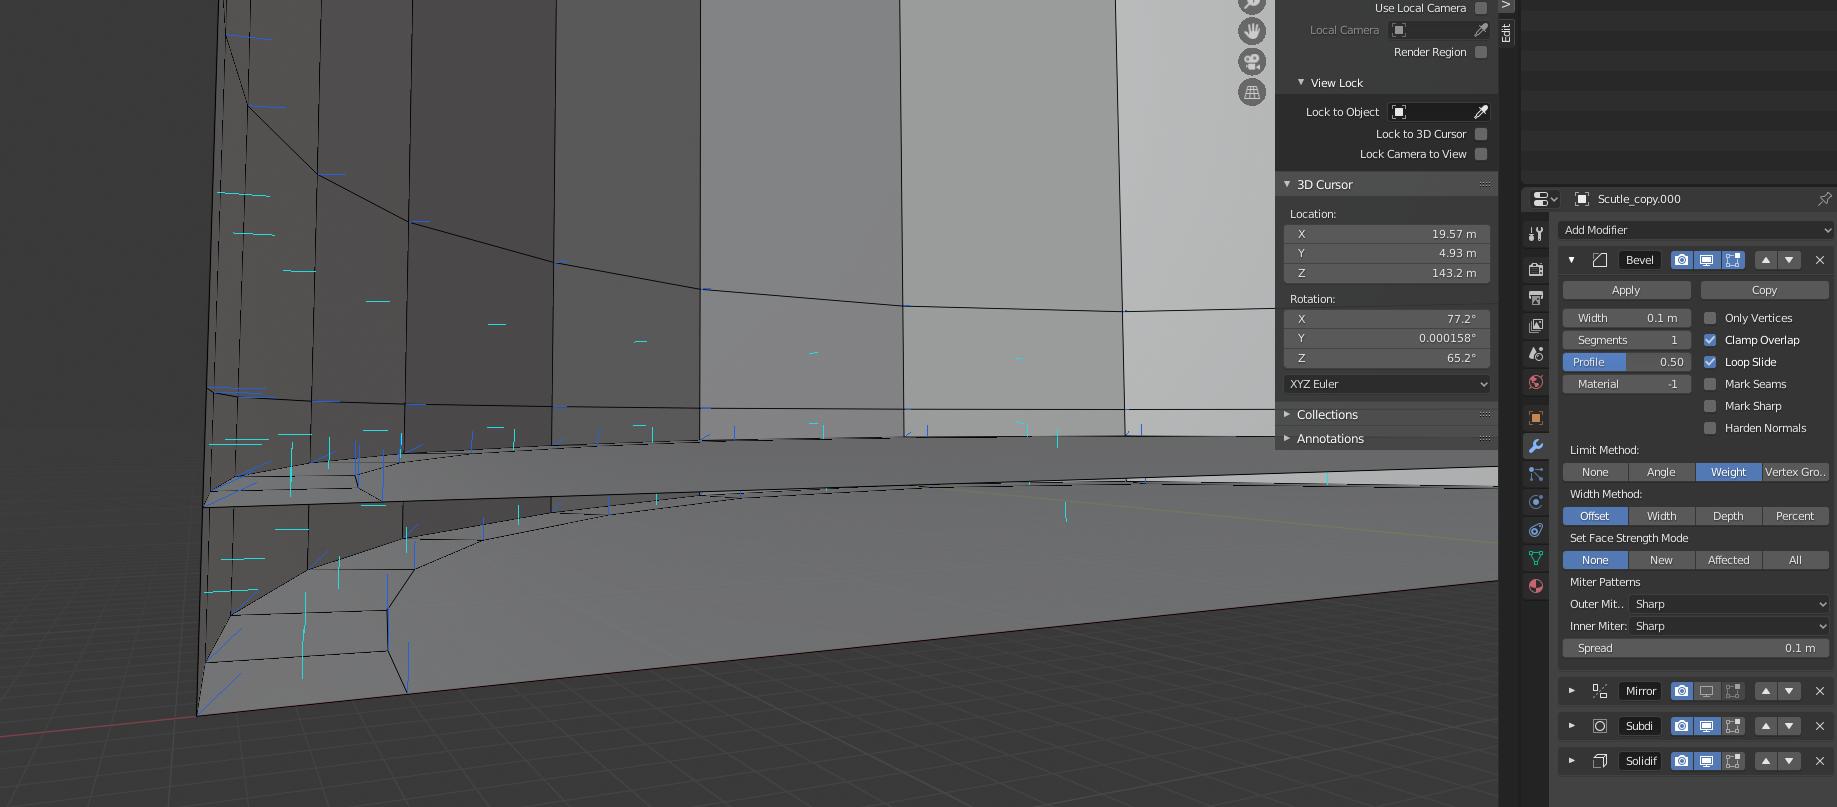
Second bottom

Second bottom with normals Distorted external wall (second bottom)

$\endgroup$

2 Answers 2

2
$\begingroup$

From what i know about 3D printing, you design the object without the support and filling, no connecting of inner and outer edge-loops either, the result you got there is to be expected, subdivision does not work without artifacts if you do that.

Rather you build and design the object first as it is supposed to look, export it to the slicer software and in there you should be able to set up filling and support.

Also, thickness in the bottom should be achieved by giving the object thickness, like we usually model a vase or glass, inner and outer wall connected through the lip at the opening and the inner bottom more distant from the outer bottom, thus giving it volume.

But regarding modelling with subdivision surface modifiers, i can tell you that the problems you got there, are normal considering what you connected, as you are not supposed to use it that way.

Solution: Model normal without anything other then the model in mind, then export and add those support or filled areas in the software to prepare for the 3D print.

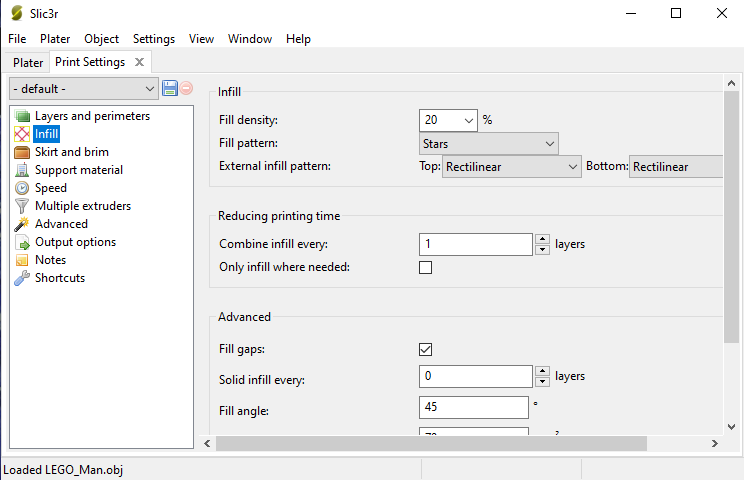
Regarding the infill, as i checked up now and even downloaded a slicer software just to be sure, the 3D object from Blender or any other 3D software does not need to concern itself with that. That does not mean that thin parts of the object can be filled, so giving the object a certain "hollow" thickness for the slicer software to fill is still recommended.

Here a picture of the infill options of "Slic3r" a free software:

enter image description here

So i would believe that most slicer software offers this as well.

I'd like to add this link as well 3D Slicer Settings, as it explains under "4. Fill Density" what i mentioned.

$\endgroup$
3
  • $\begingroup$ I agree that most (good) 3D printing softwares will automatically add the supporting geometry when exporting it. Moreover this type of modelling is not good practice namely because it messes up normals and most modifiers $\endgroup$
    – Gorgious
    Commented Feb 15, 2020 at 13:54
  • $\begingroup$ I see what you are talking about. I'm pretty familiar with 3d printing for the last few years. I'm not trying to provide a supporting structure here, but accomplish a closed volume for certain part of the model. I know that "solid" in Blender can be only manifold geometry and what I see is that closed volume done the way I did is not the same as we used to create a glass. I probably went wrong way since some point, but I'm curious if I can complete the model without re-doing it. P.S. I've added a model overview to the question. $\endgroup$ Commented Feb 16, 2020 at 12:25
  • $\begingroup$ @Gorgious I mentioned that normals are messed in areas of connection with this approach. What would be your recommendations for correcting or re-doing this model? I spent quite a bit of time on this and wondering if I completely messed it up and should attempt to re-create the geometry following another approach. $\endgroup$ Commented Feb 16, 2020 at 12:32
0
$\begingroup$

Thanks everyone responded to this question, that gave me an idea of how to proceed with this model.

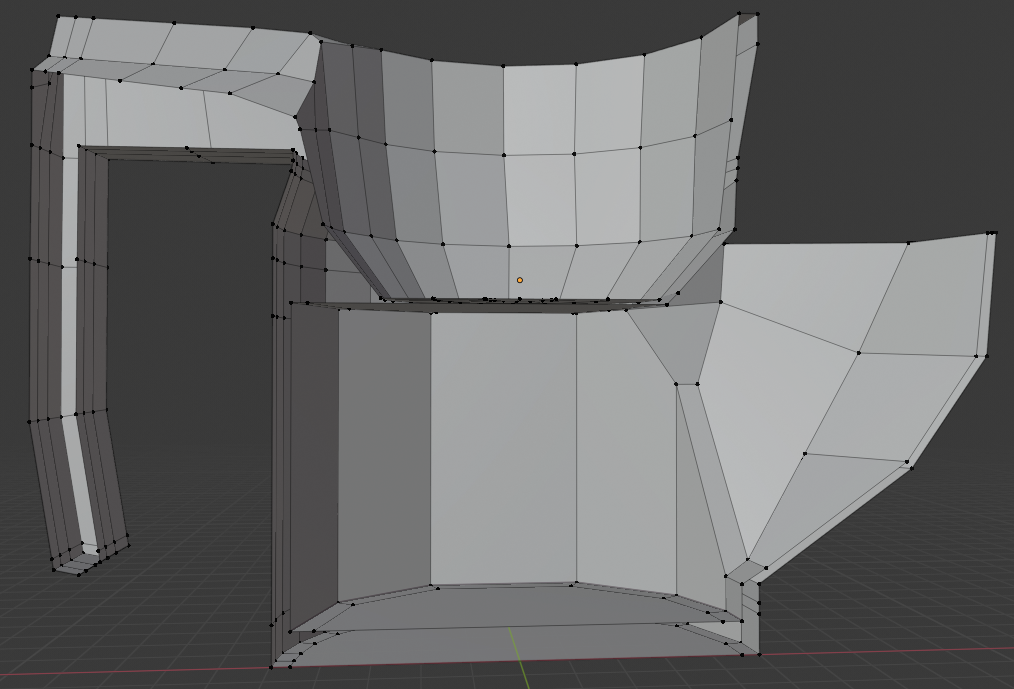
I created inner "cup" that replicates the shape of the model in given areas and connects with the lip of opened mesh creating a closed volume (as it is done in glass modelling).

Solution: solid Solution: mesh

$\endgroup$
3
  • $\begingroup$ Yes, that's what i meant exactly, the slicer software should give you the options regarding fill material maybe even up to solid, but that is something i do not know too much about. And the object now looks clean regarding geometry, as it should be. May i though ask you to close this question by accepting the answer, if the answer was what helped you, so it can be considered solved. $\endgroup$
    – Xylvier
    Commented Feb 16, 2020 at 15:33
  • $\begingroup$ @Xylvier Actually the problem with slicer here is that it can generate only support structures which are not the same as infill. Bec. supports are meant to detach easily after printing they can't be considered as infill which also provides rigidity to the model and has certain options for this. Solidify modifier provides what called solid (walls in this case), but I cant find out how clamp/limit excessive solidification which goes beyond model boundaries to actually make it whole solid. $\endgroup$ Commented Feb 16, 2020 at 15:43
  • $\begingroup$ I updated the answer, Slic3r standing in as example, since it's free, i believe other software should have the infill option too. $\endgroup$
    – Xylvier
    Commented Feb 16, 2020 at 16:27

You must log in to answer this question.

Not the answer you're looking for? Browse other questions tagged .