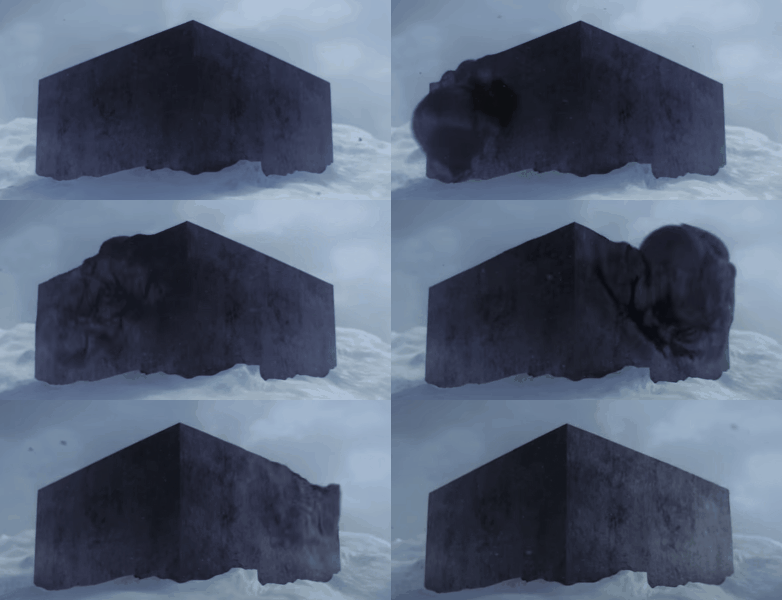
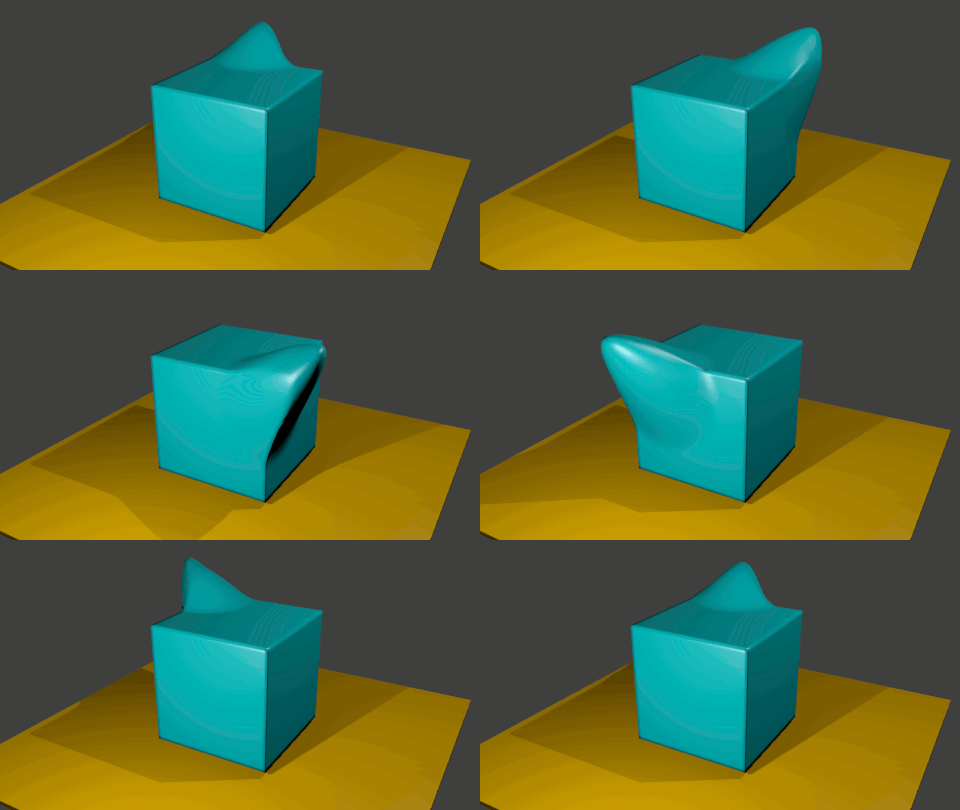
I've been struggling to understand how I should approach the following effect in Blender:
Watch the YouTube Video The Node (at 1:37)
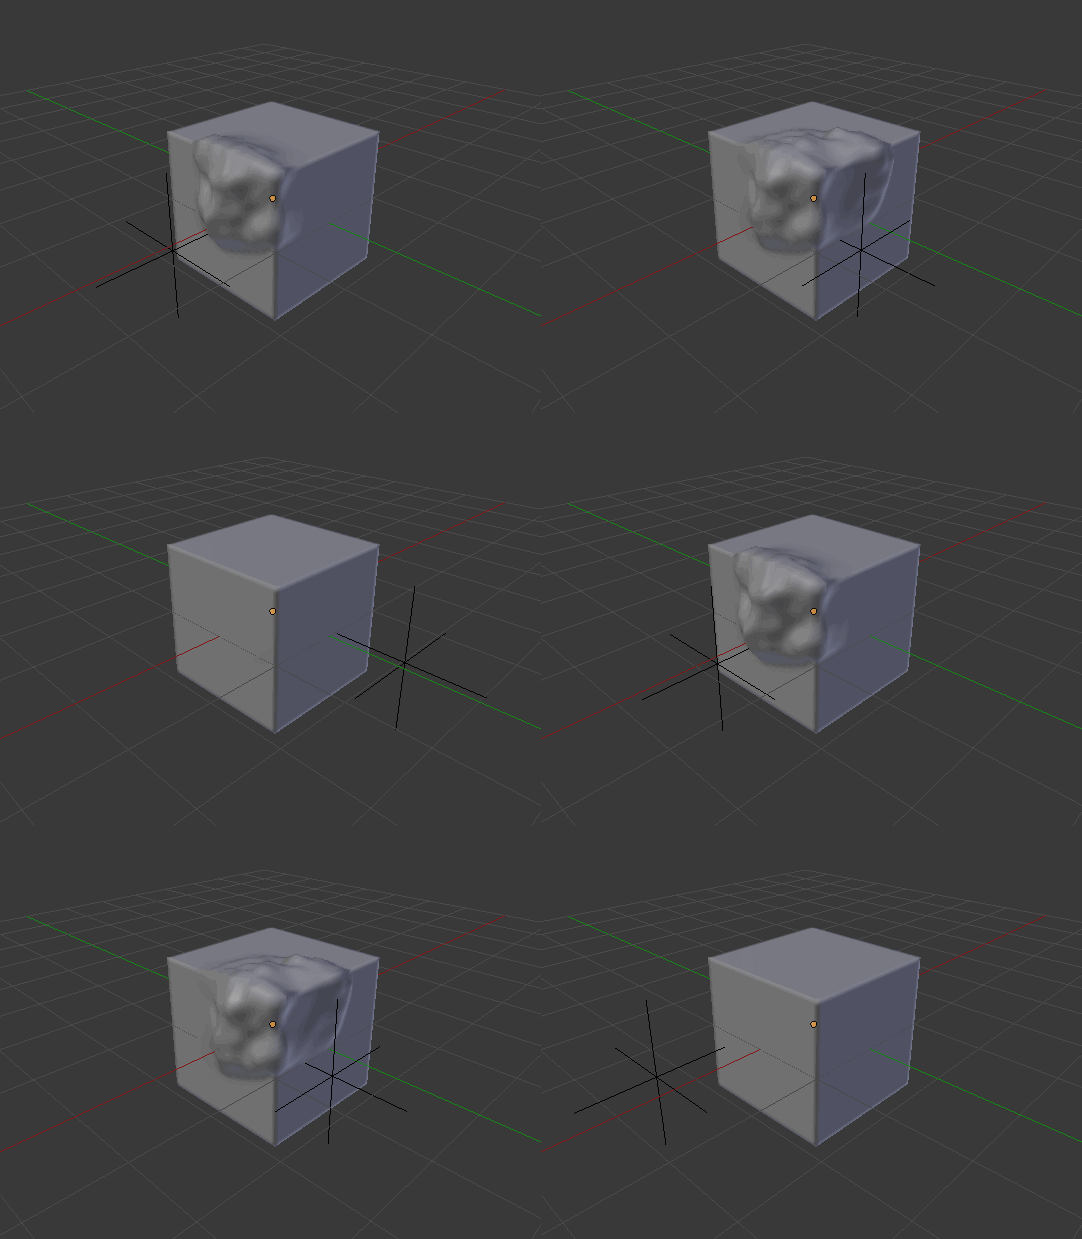
I've tried to solve this one through the displacement modifier (with vertex groups, custom displacement texture, etc), several cast modifiers with multiple points and more recently using shape keys to do it manually. None of these methods result in a "natural" enough look, like a fluid, and all of them take the animating process to an inefficient workflow.
I can't seem to solve this one by myself with the current knowledge I have with Blender, would you help me out please?
Thank you very much in advance!
Edit:
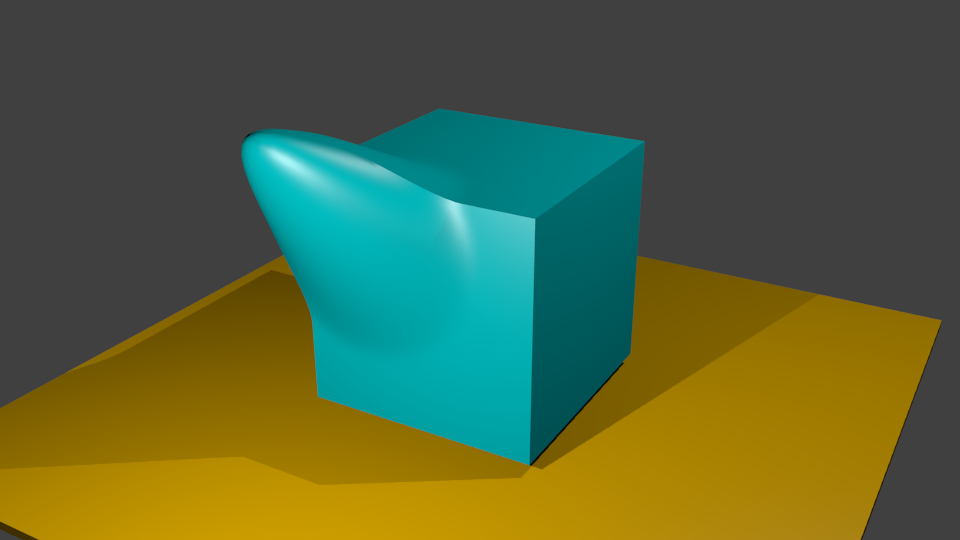
Ok so I tried the wave modifier with very simple settings, a vertex group limiting the effect of the modifier and I achieved this:
It's still not optimal, but that's the closest thing I've managed so far, some input would still be very helpful to look into this in a better way.
Edit 2:
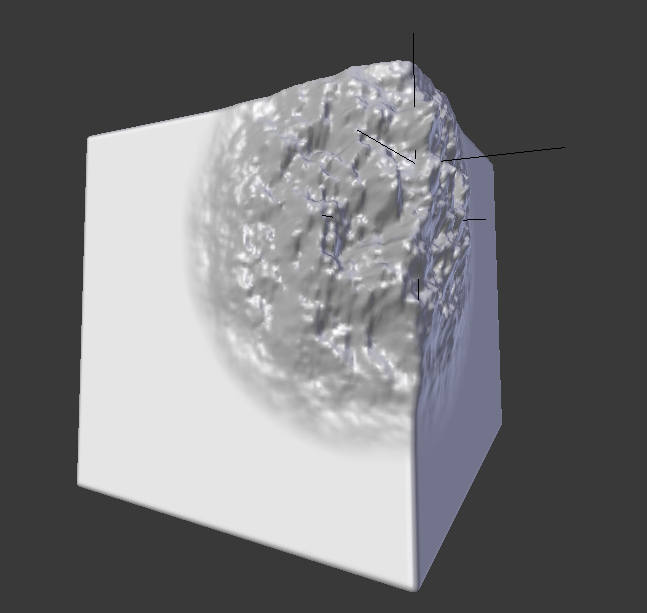
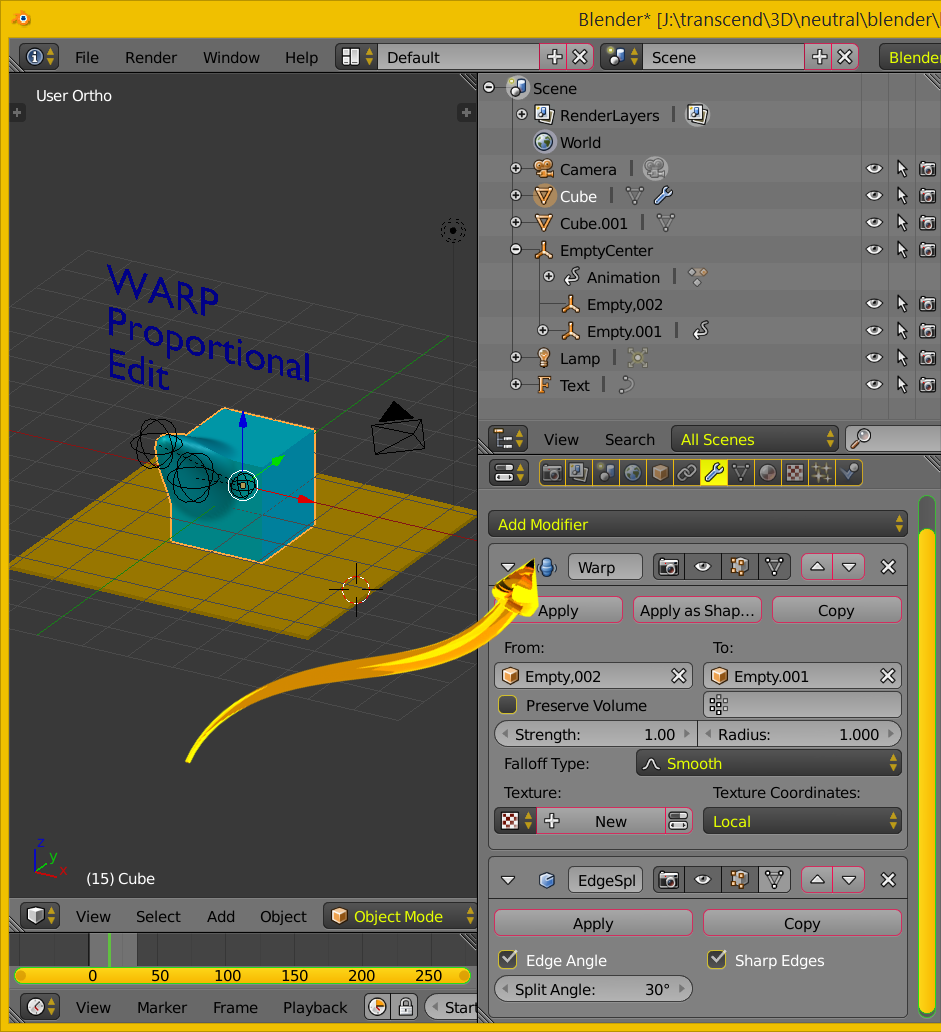
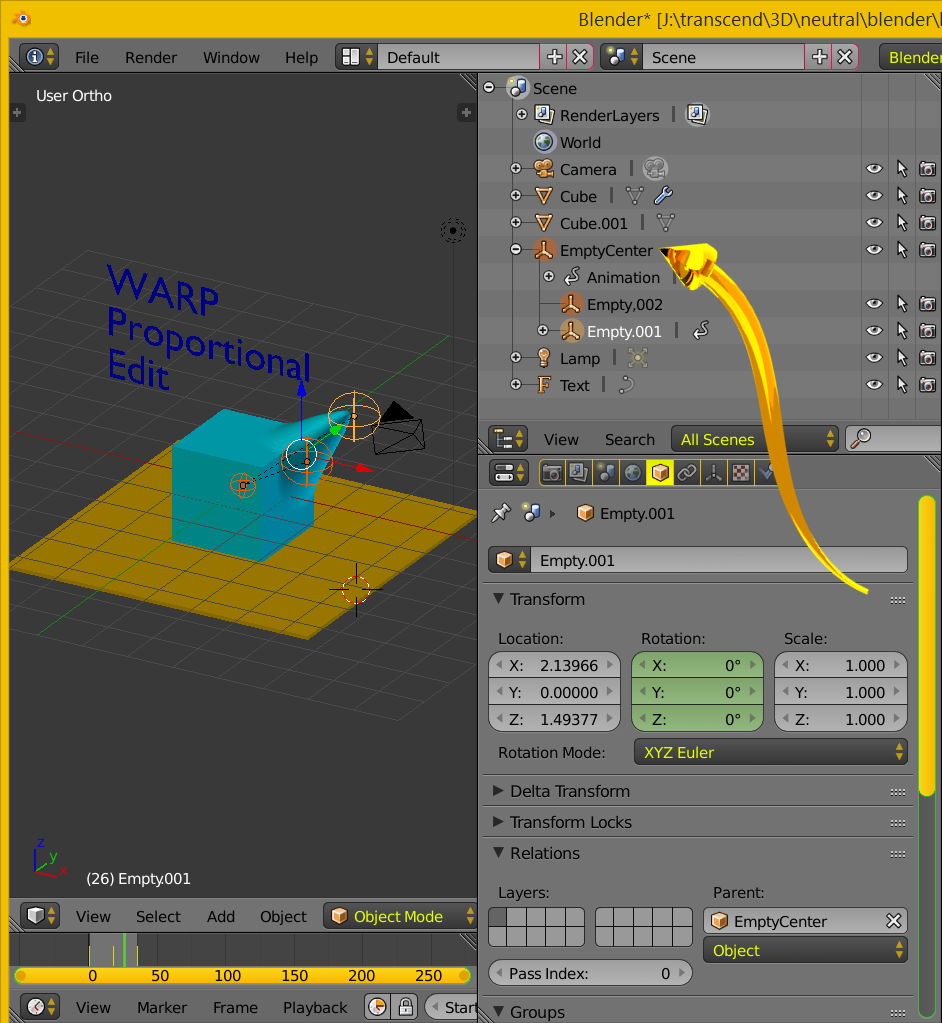
This is what I got with the Warp modifier using a clouds texture, as suggested by @atomicbezierslinger:

